Quick answer
A 7 ports USB hub lets you power multiple light kits from a single USB power bank or adapter, simplifying wiring for large Lumibricks builds. Plan your port assignments before connecting anything, and use the hub's 50cm cable to reach your power source without strain.
Why port count matters more than you think
With seven ports, you can run several light kits simultaneously without daisy-chaining power strips or swapping cables. That headroom is useful when your build has separate lighting zones—such as a street scene with individual buildings—because each zone can get its own port instead of sharing a splitter.
However, the hub does not increase the total power available from your source. If your USB power bank or adapter has a low current rating, adding more kits will dim the lights or cause flickering. Check your power source's output before filling all seven ports.
When a 4-port hub is the better choice
If you are lighting only one or two small sets, a 4-port version keeps your wiring tidy and costs less. The 7-port hub shines when you are building a multi-kit display or a large MOC with many separate light strings. Also consider cable management: more ports mean more cables, so plan a hidden route for them.
Step-by-step: wiring multiple light kits to one hub
- Map your light kits and power needs: List each light kit in your build and note its connector type and estimated power draw (check the kit's instructions). Group kits by location so you can assign one port per group. Common mistake: assuming all ports are equal—some hubs share power across ports, so avoid overloading a single port with too many high-draw kits.
- Position the hub centrally: Place the hub where its 50cm cable can reach your USB power source without tension, and where the ports face your light kit cables. Use adhesive pads or hide it inside the build. Checkpoint: tug gently on the cable—if it pulls tight, move the hub closer.
- Connect light kits one at a time: Plug in the first kit, turn on the power, and verify it lights correctly. Then add the next kit, repeating the test. This isolates any faulty cable or port immediately. Common mistake: connecting all kits at once and then troubleshooting a non-working light—you won't know which connection is the problem.
- Label each port and cable: Use small stickers or tape flags to mark which port feeds which part of the build. This saves time later when you need to swap a kit or clean the model. Checkpoint: after labeling, do a final all-on test to confirm every kit still works.
- Secure the wiring: Route cables along the build's frame and use clips or tape to keep them tidy. Avoid sharp bends near the hub's connectors. Common mistake: leaving cables loose—they can snag and unplug a port when you move the model.
Product facts
-
7 Ports USB Hub 2.0 USB Splitter White-Not for sale, points redemption only: 7-port USB 2.0 splitter with a 50cm connecting cable, available in black or white. The 50cm cable gives you flexibility to place the hub near your power source, while the color choice helps match your build's aesthetic.
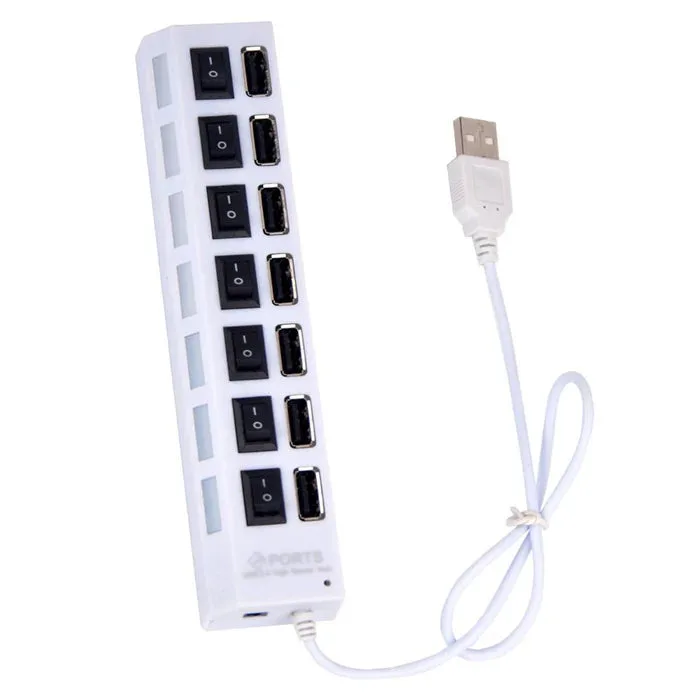
7 Ports USB Hub 2.0 USB Splitter White-Not for sale, points redemption only