Quick answer
Use the Balcony Easy Solar Bracket to mount panels on your railing without drilling. Check your lease and local rules first, then clamp the pre-assembled bracket to a sturdy railing and secure the panel. This keeps the installation reversible and renter-friendly.
Pre-installation checks for renters
Before you buy or install anything, confirm that your lease allows temporary balcony modifications and that your building or local authority permits plug-in solar. Look for clauses about attachments to railings or exterior changes. If you are unsure, ask your landlord in writing. Also measure your railing: the bracket fits most standard railings, but you need to know the railing shape and width. Check that the railing is structurally sound and can bear the weight of the panel and bracket. If the railing feels loose, do not mount on it.
Tools and parts you will need
The Balcony Easy Solar Bracket comes pre-assembled, so you mainly need basic tools for tightening. Gather an adjustable wrench or a set of metric wrenches, a screwdriver, and a level. You may also want a microfiber cloth to clean the railing before clamping. If your panel did not include mounting hardware, check the bracket kit for bolts and nuts. Do not substitute hardware unless you are sure it matches the bracket's specifications. A helper makes lifting the panel safer, especially on higher floors.
Step-by-step installation
Follow these steps in order. Work in dry, calm weather and never lean over the railing. If you are on an upper floor, keep all tools tethered or in a bucket to prevent drops.
- Unfold the pre-assembled bracket and place it over the railing at your chosen spot. Check that the clamp area is clean and free of debris.
- Tighten the bracket's fixing mechanism by hand first, then use a wrench to snug it. Do not overtighten; you can crack the railing or strip threads.
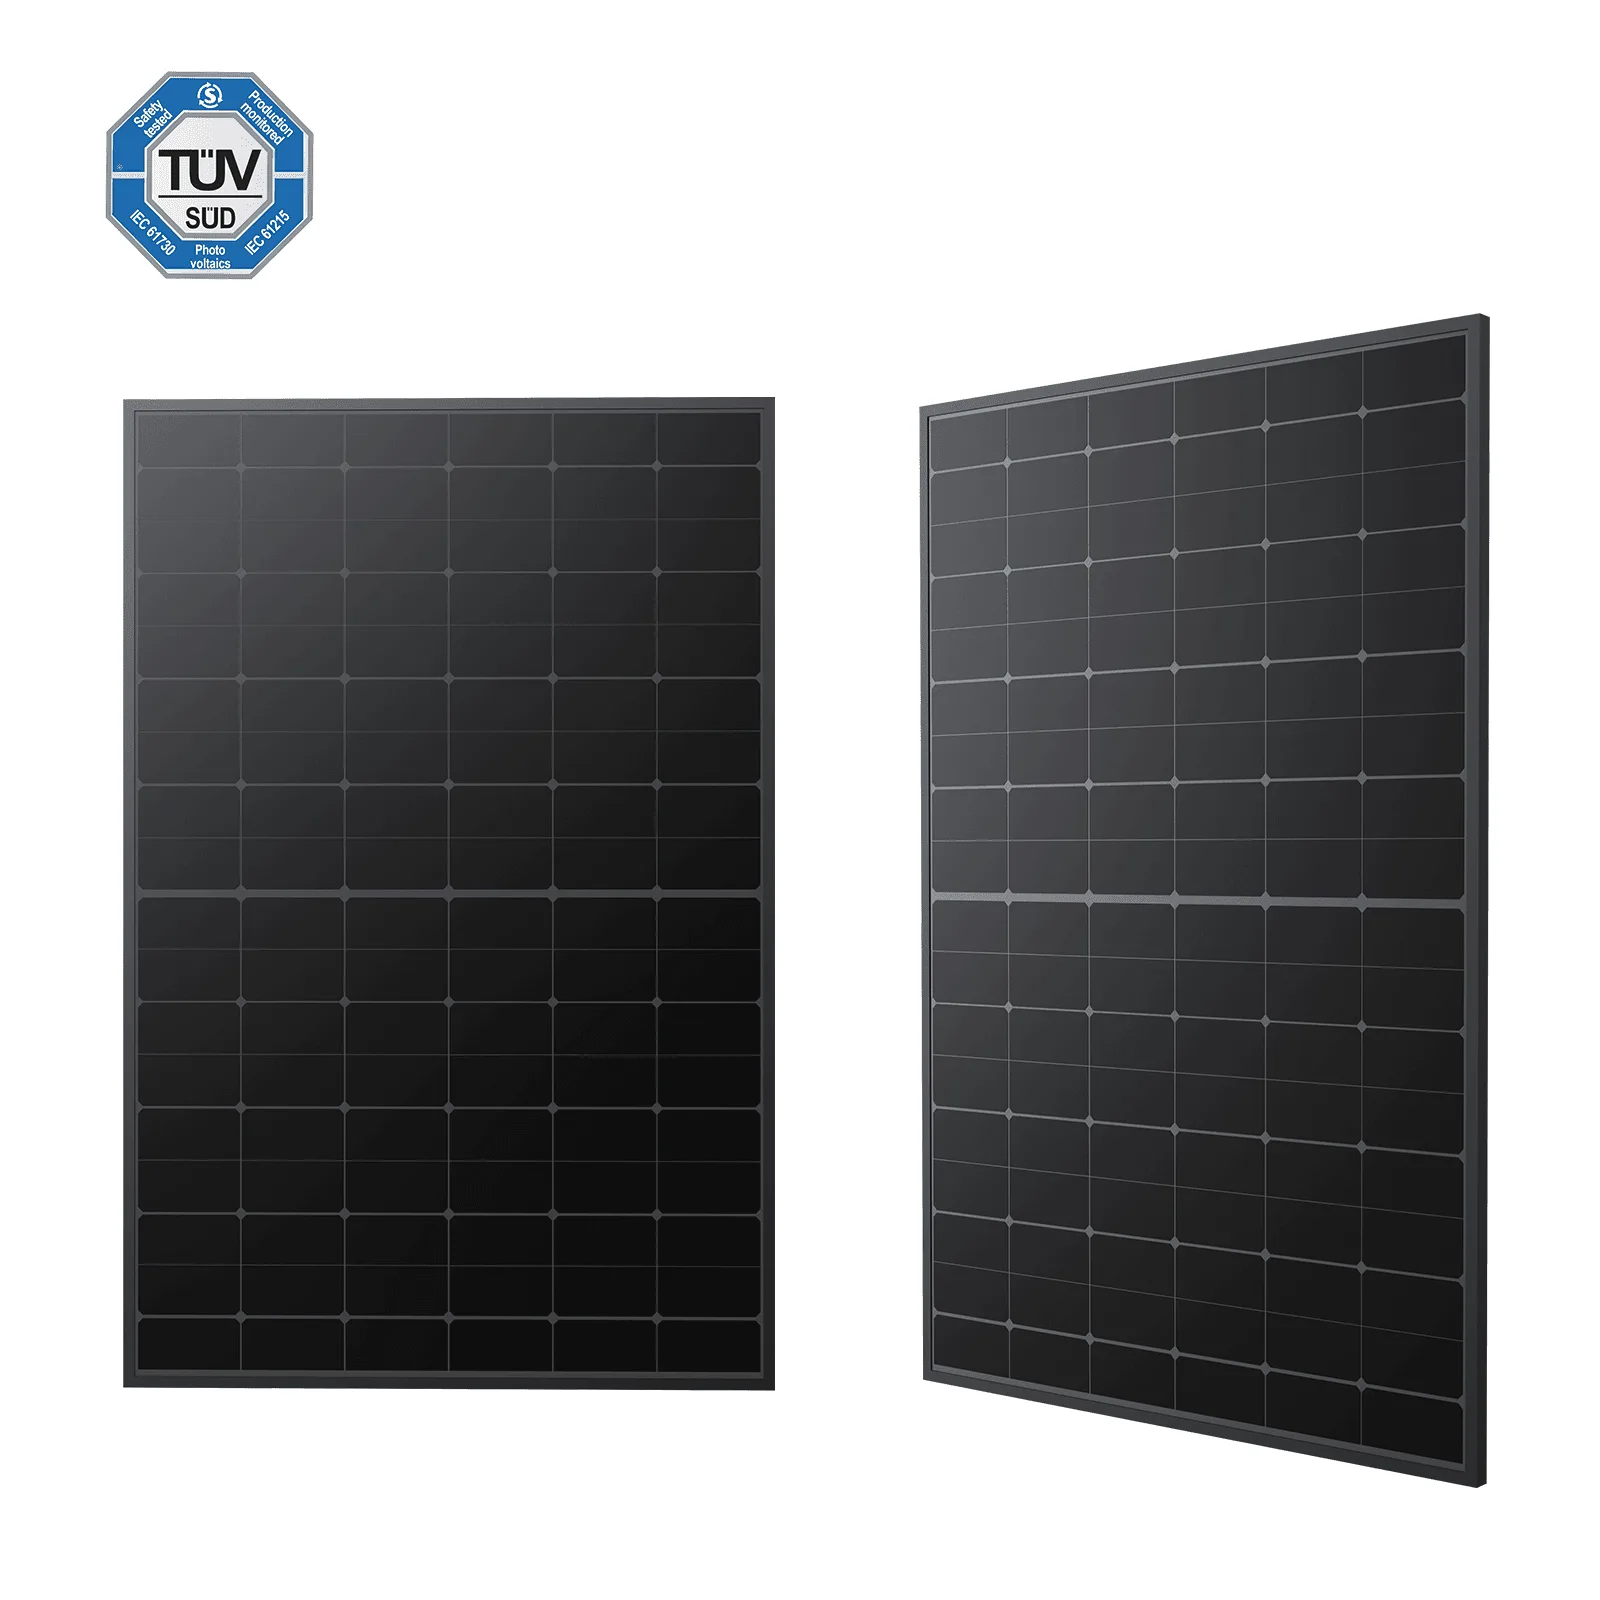
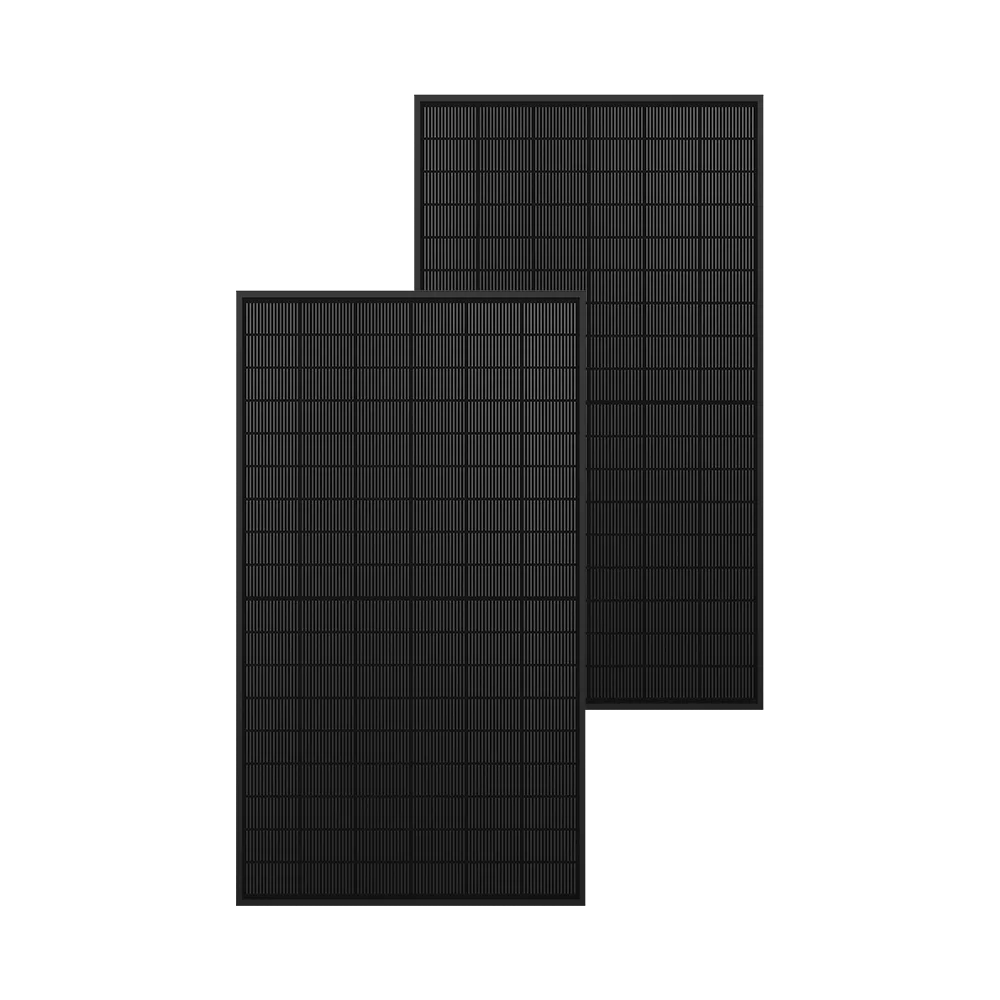
- Lift the solar panel onto the bracket and align the mounting holes. With a helper, secure the panel using the supplied bolts. Tighten them evenly in a cross pattern.
- Check that the panel is level and cannot shift. Gently push the panel in several directions to test stability. If it moves, tighten the clamps a little more.
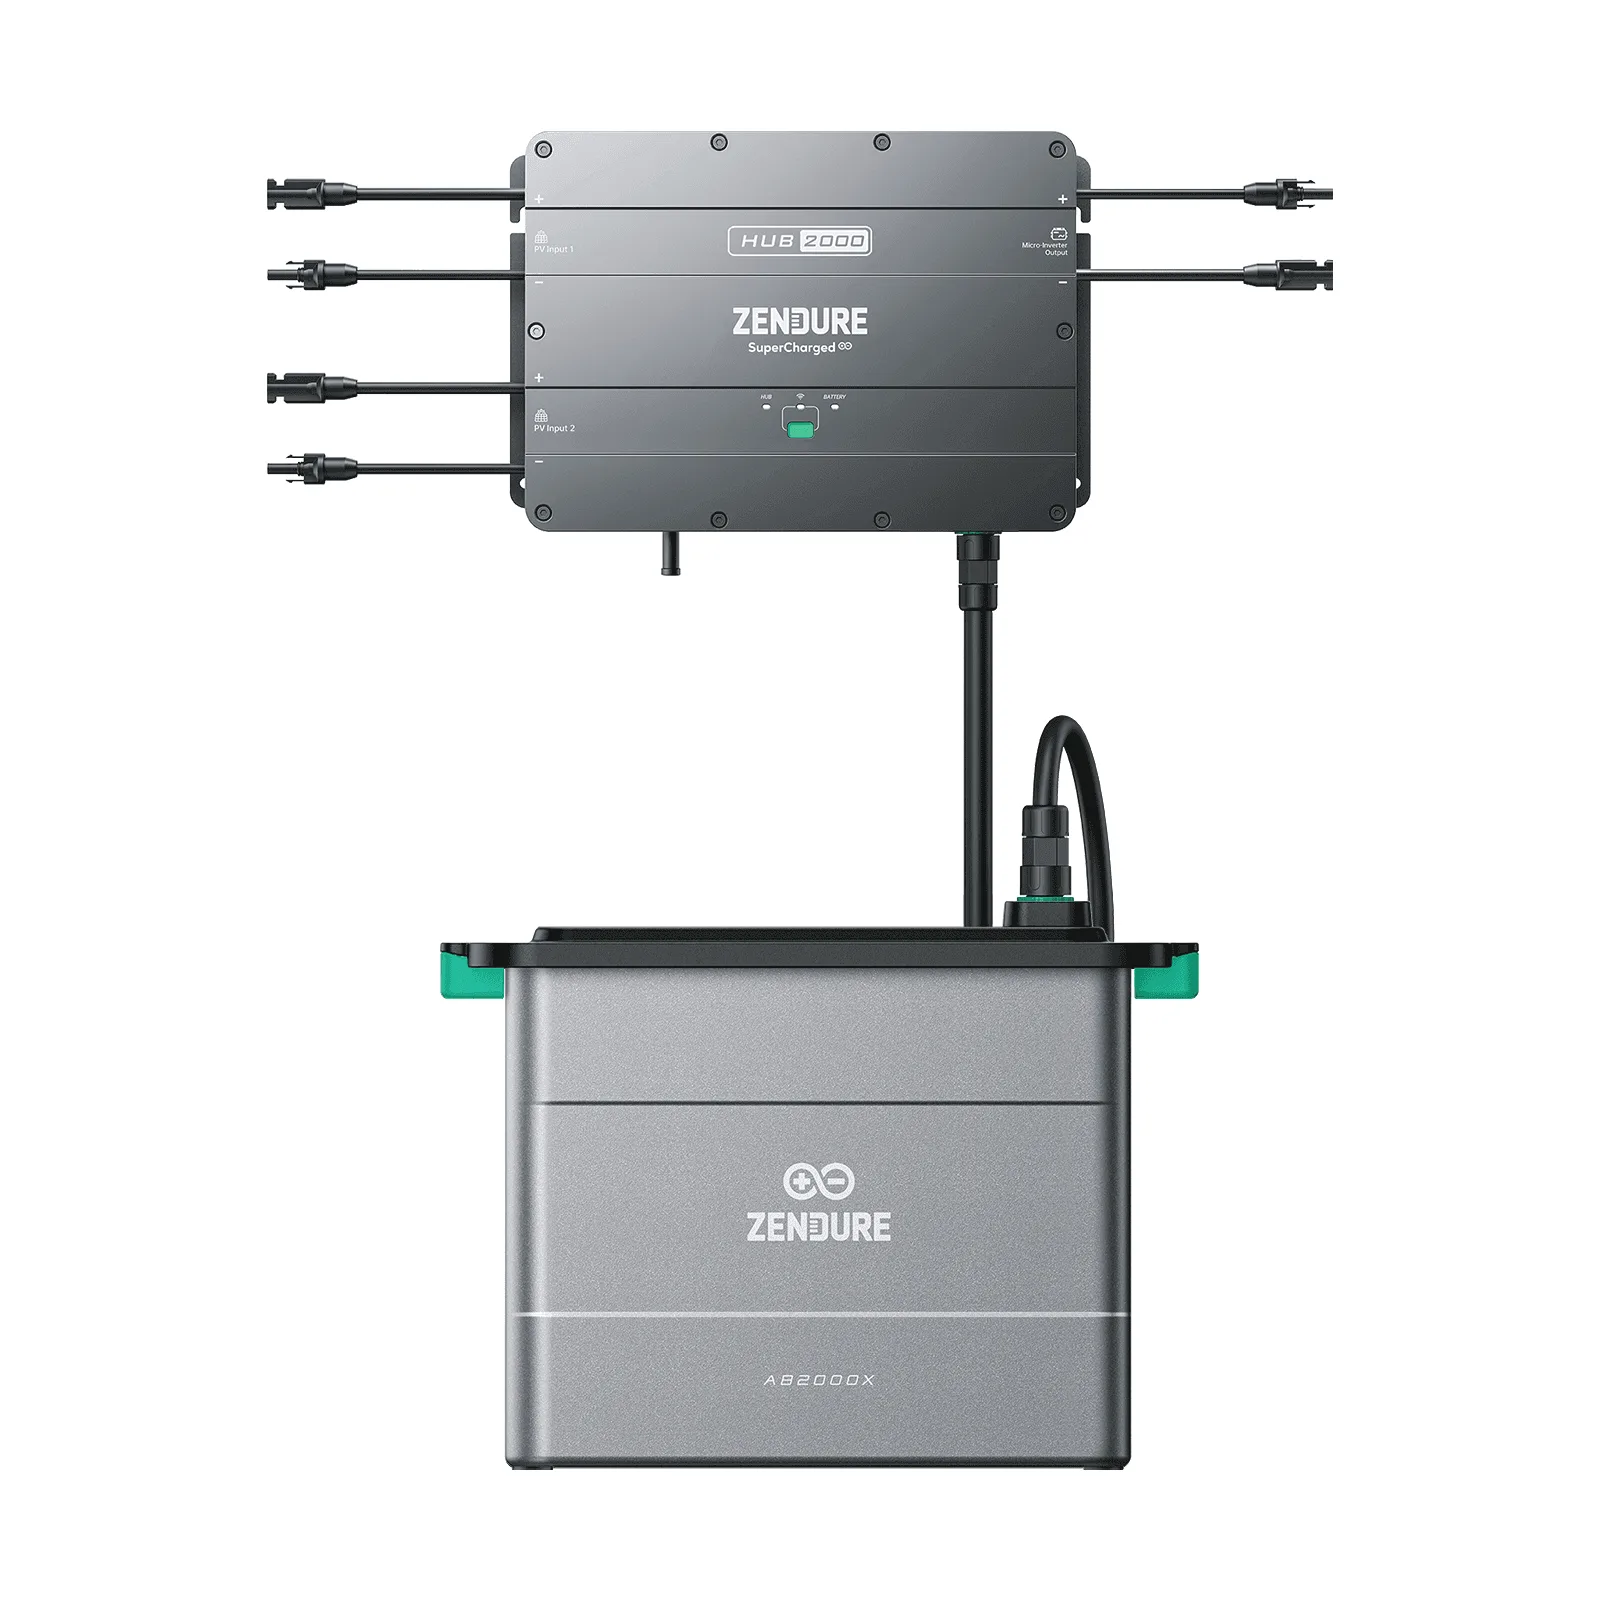
- Connect the panel cables to your SolarFlow system or microinverter according to the manufacturer's instructions. Keep cables away from sharp edges and secure them with UV-resistant ties.
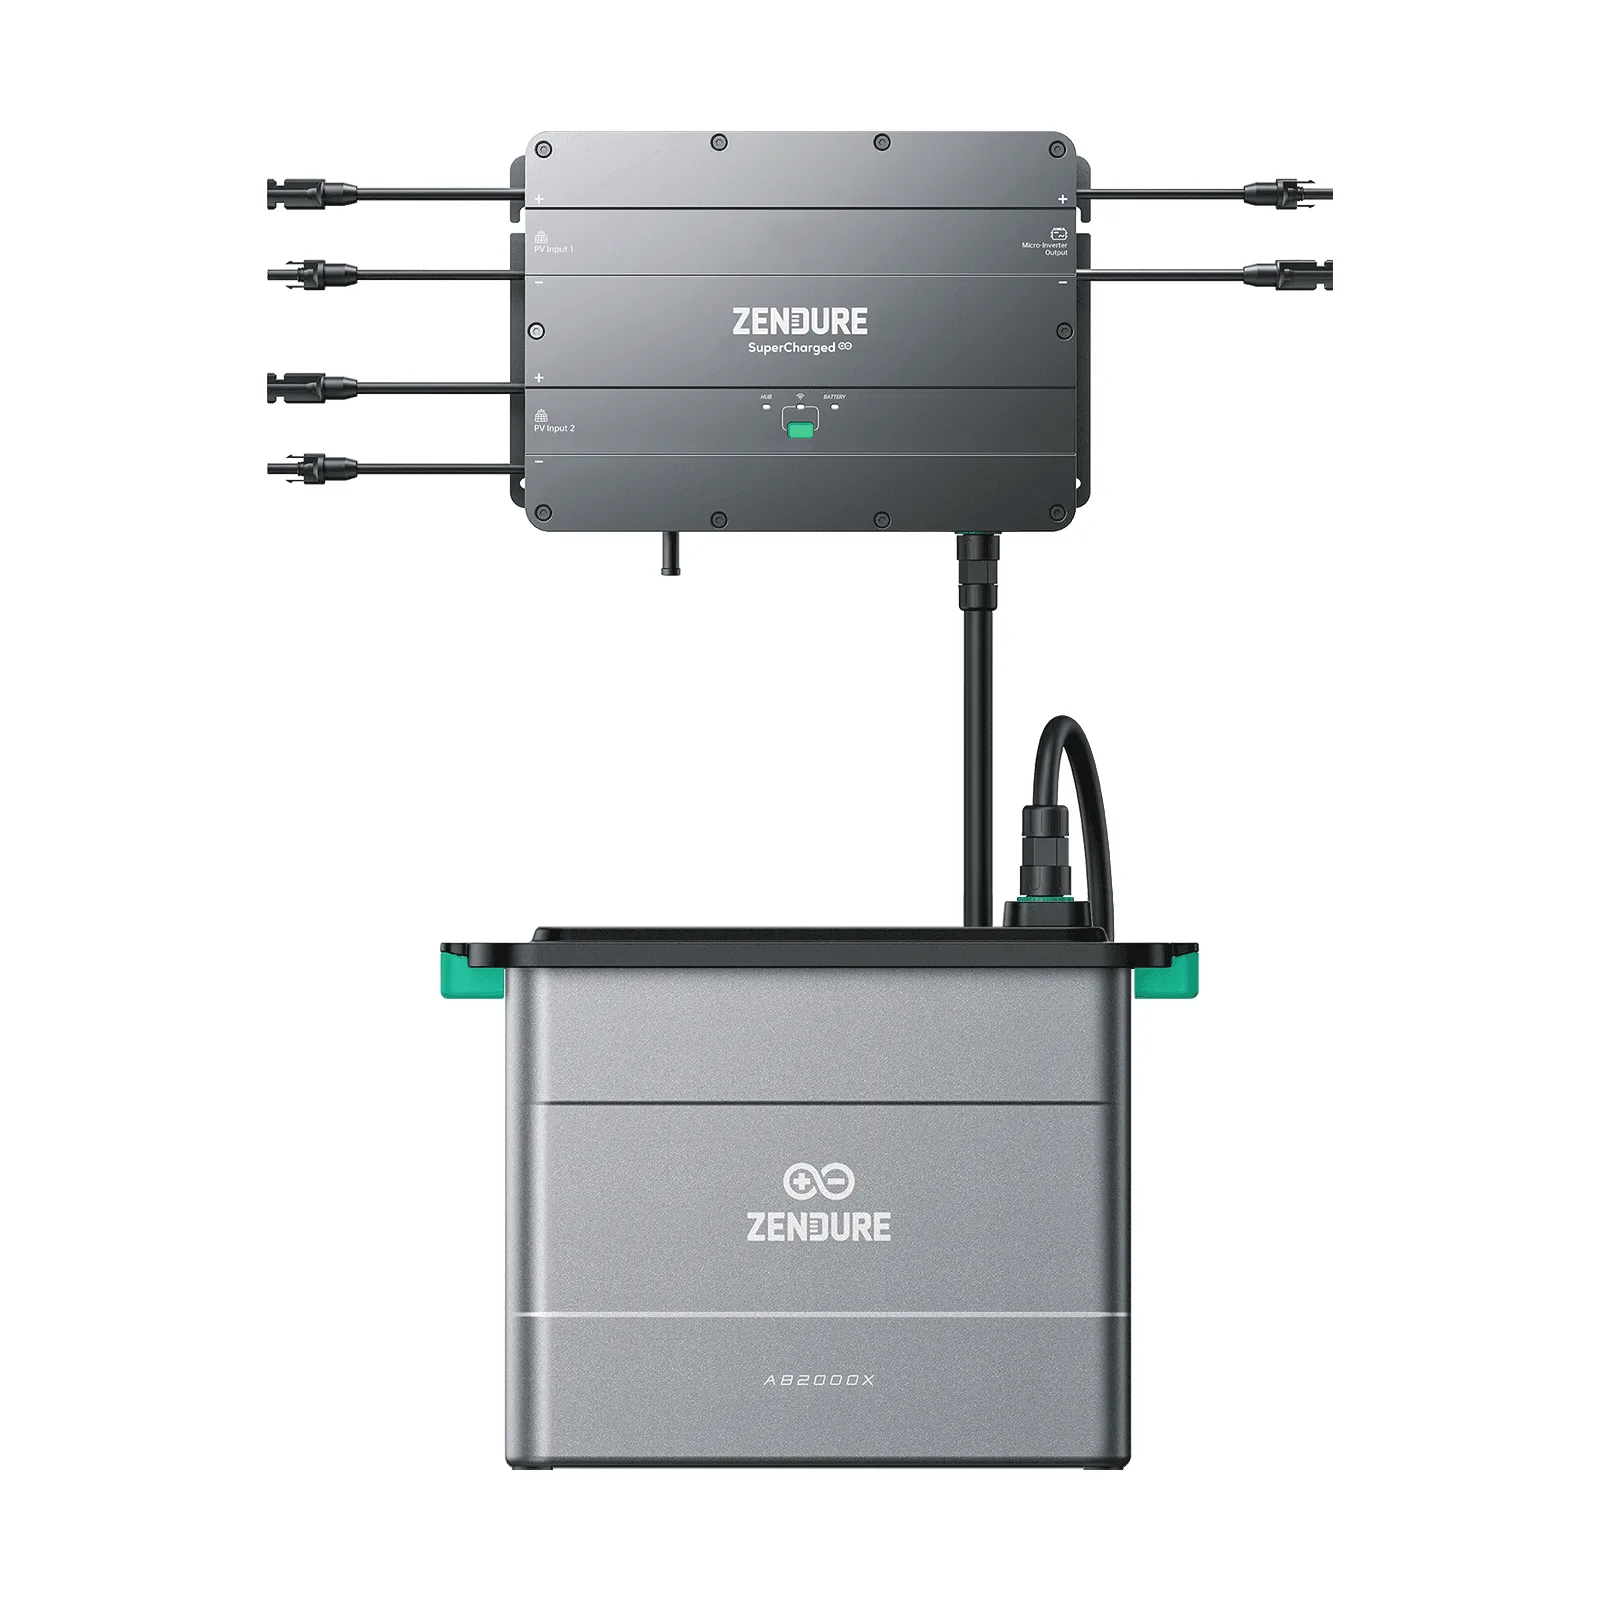
SolarFlow
Common mistakes to avoid
Renters often skip the lease check and later face complaints. Another mistake is mounting on a glass or weak railing that cannot take the load. Do not ignore wind: a panel acts like a sail, so if your area gets strong gusts, consider a more sheltered spot or additional safety straps. Avoid overtightening clamps, which can dent railings and leave marks. Finally, do not run cables through windows that close on them; this can damage the cable and create a safety hazard.
Maintenance and removal
Inspect the bracket and panel monthly for loose bolts or rust. The Balcony Easy Solar Bracket uses anti-corrosion materials, but checking helps. Clean the panel with water and a soft cloth; avoid abrasive cleaners. When you move out, reverse the installation: disconnect cables, remove the panel, loosen the bracket, and clean the railing. Store the bracket indoors. This leaves the balcony as you found it, which helps with your deposit.
Renter-friendly installation steps
- Check your lease and local rules: Read your rental agreement for clauses about balcony modifications and confirm that plug-in solar is allowed in your area. If unclear, ask your landlord in writing. Checkpoint: Get written permission if needed before you buy or install.
- Inspect and measure your railing: Ensure the railing is sturdy and can bear the panel's weight. Measure the railing width and shape to confirm the bracket will fit. Clean the railing surface. Checkpoint: If the railing is loose or glass, do not mount on it.
- Attach the bracket without drilling: Unfold the pre-assembled Balcony Easy Solar Bracket and clamp it over the railing. Tighten by hand, then snug with a wrench. Do not overtighten. Checkpoint: The bracket should not shift when you gently push it.
- Mount the solar panel: With a helper, lift the panel onto the bracket and align the holes. Secure with the supplied bolts, tightening evenly in a cross pattern. Checkpoint: The panel must be level and firmly attached.
- Connect cables and test: Connect the panel to your SolarFlow system or microinverter following the manual. Route cables away from sharp edges and secure with UV-resistant ties. Checkpoint: Verify the system powers on and monitor output.
- Perform regular safety checks: Inspect the bracket and panel monthly for loose bolts, rust, or cable wear. Clean the panel gently. If you move, reverse the installation and store the bracket indoors. Next step: Set a monthly reminder to check your setup.
Product facts
- Balcony Easy Solar Bracket: Crafted from highly anti-corrosion 6005-T5 aluminum alloy and robust 304 stainless steel, these brackets are built to last, offering exceptional durability and reliability for outdoor installations. These materials resist rust and weather, so the bracket can stay outside long-term without frequent replacement, which is ideal for renters who want a durable but removable setup.
- Balcony Easy Solar Bracket: With a flexible fixing method, these fully pre-assembled brackets can be easily unfolded and secured to your balcony, allowing for... The pre-assembled design means you can install it quickly without complex tools, and the flexible fixing method lets you clamp it to a railing without drilling, preserving your lease.