Welcome to our comprehensive guide on building the 30MS Atria Base Option Body Parts. Whether you're a seasoned modeler or just starting your 30 Minutes Sisters journey, this step-by-step tutorial will walk you through every stage of assembly, from unboxing to final customization. The Atria Base offers incredible versatility, and with the right techniques, you can create a figure that's uniquely yours.
In this guide, we'll cover everything from the necessary tools and preparation to advanced customization options like painting and part swapping. We'll also share tips on how to achieve a clean, professional finish that will make your Atria stand out. So, grab your nippers and let's dive into the world of 30MS!
Unboxing and Initial Preparation
When you first open the 30MS Atria Base Option Body Parts box, you'll find a well-organized set of runners. Take a moment to inventory all the parts against the instruction manual to ensure nothing is missing. The Atria Base includes multiple face plates, hair parts, and body options, so it's essential to keep them sorted.
Before starting assembly, prepare your workspace with a cutting mat, a good pair of nippers, and a hobby knife. For a cleaner cut, we recommend using a high-quality nipper like the Godhand, which is known for its precision. Always cut away from the part and then trim the remaining nub with a knife for a flush finish.
- Use a cutting mat to protect your work surface.
- Sort parts by runner and label them if necessary.
- Keep a glass file or sandpaper handy for smoothing nubs.
Assembling the Core Body
Start with the torso and hip joints. These are the foundation of your Atria, so make sure the connections are snug but not overly tight. The ball joints should rotate smoothly without popping out. If you encounter resistance, gently sand the joint with a fine-grit file to improve articulation.
Next, attach the arms and legs. Pay attention to the orientation of the shoulder and thigh joints—they should angle naturally for a dynamic pose. The Atria Base is designed for compatibility with other 30MS parts, so feel free to mix and match with other kits in your collection.
- Test the articulation of each joint as you go.
- Apply a tiny amount of silicone grease to stubborn joints for smoother movement.
Customizing with Option Parts
One of the biggest advantages of the 30MS line is the ability to swap parts. The Atria Base comes with several interchangeable face plates and hair styles. Experiment with different combinations to create a look that matches your personality. You can also incorporate parts from other 30MS kits, such as the 30MS Option Body Parts sets, to expand your options.
If you're looking to add a unique touch, consider painting the armor pieces. Use a primer like Citadel Spray: Death Guard Green Spray Paint for a smooth base, then apply your chosen colors. For fine details, a panel liner can make the features pop. Just be sure to mask off any areas you don't want painted.
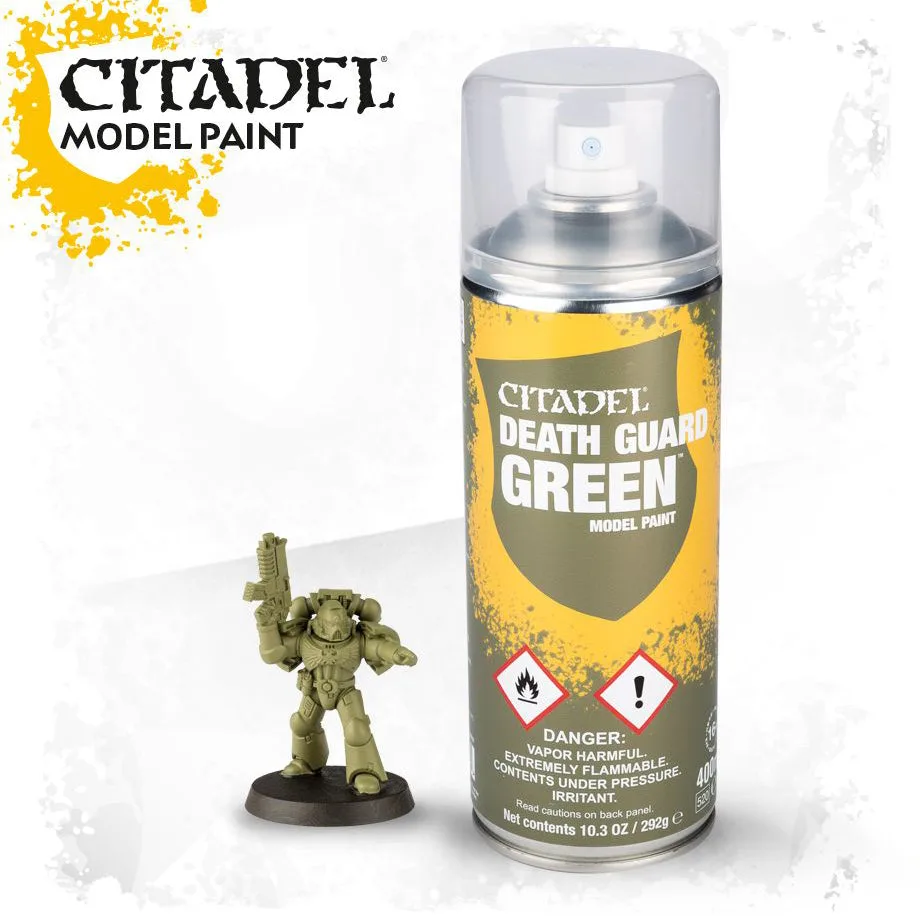
Citadel Spray: Death Guard Green Spray Paint
- Try combining the Atria Base with the 30MS Option Body Parts for more variety.
- Use a hobby knife to carefully remove parts from the runner to avoid stress marks.
Painting and Finishing Techniques
Once the assembly is complete, you can move on to painting. The Atria Base features many small parts that benefit from a careful hand-painting approach. Start with a primer to ensure the paint adheres well. For the main body, you can use a spray can for an even coat, but be sure to work in a well-ventilated area.
For details like the eyes and facial features, a fine brush and acrylic paint work best. Take your time and use multiple thin coats rather than one thick layer. After the paint dries, apply a top coat to protect your work. A matte finish will give a realistic look, while a gloss finish can make the figure appear more vibrant.
- Always let paint dry completely between coats to avoid smudging.
- Use a magnifying lamp for precision work on small details.
Display and Pose Ideas
After all your hard work, it's time to show off your Atria. The 30MS line is known for its excellent articulation, so you can create a variety of dynamic poses. Consider using an Action Base to display your figure in mid-air or action-packed stances. The base also allows you to adjust the height and angle for the perfect showcase.
If you're into dioramas, the Atria Base can be combined with other 30MS figures to create a scene. The possibilities are endless, so let your creativity run wild. Don't forget to share your builds online and connect with the 30MS community for inspiration.
- Use an Action Base to enhance your display.
- Pose the figure with other 30MS kits for a group scene.
Building the 30MS Atria Base Option Body Parts is a rewarding experience that offers endless customization possibilities. By following this guide, you'll be able to assemble, paint, and display a figure that truly reflects your style. For more great model kits and supplies, check out the wide selection at GUNNZO, including the [Pre-Order] HGUC #206 Efreet Schneid 1/144 and the HGGQ #07 Xavier's Gyan Hakuji-Packs 1/144 Gundam GquuuuuuX. Happy building!

[Pre-Order] HGUC #206 Efreet Schneid 1/144

![30MS OP-11 Option Parts Set 11 Fang Costume [COLOR A]](https://xilands.com/api/media/sync/e9/e97f826354c6dc55cf1b060c04ac85e7d1e639b75d4f7d8746bf9faaaa407cb6.webp)