Quick answer
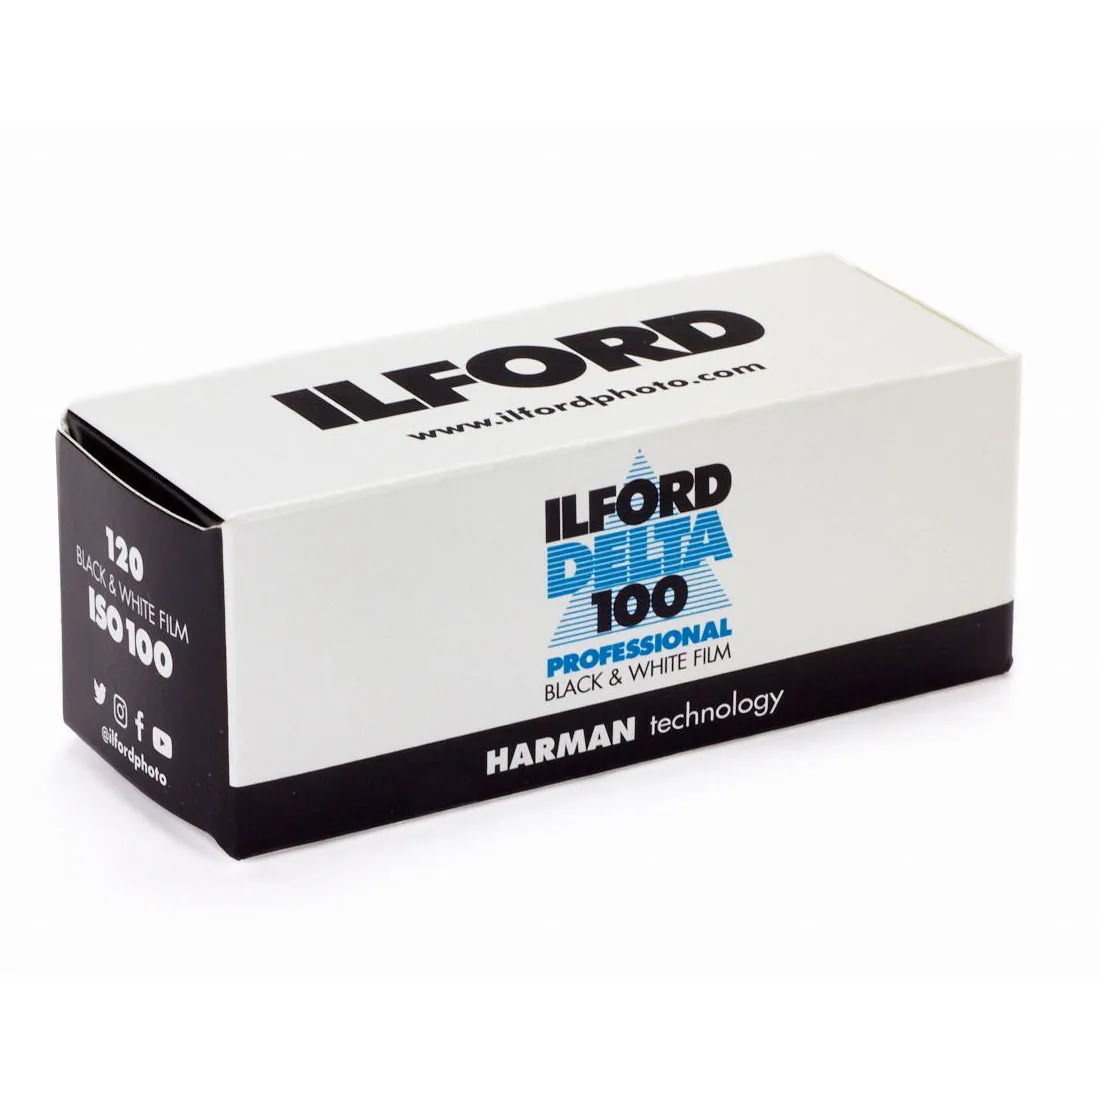
To develop Ilford Delta 100 in 120 at home, use a fine-grain developer like Ilford ID-11 or Kodak D-76 at 1+1 dilution for about 11 minutes at 20°C, with gentle agitation. Delta 100 is a medium-speed ISO 100 black and white film that rewards careful technique, so consistency in temperature and timing matters more than exotic chemistry.
Why Delta 100 in 120 Is a Great Starting Point
Ilford Delta 100 Professional Black and White Negative Film in 120 format is an excellent choice for your first home development because its ISO 100 speed and fine grain give you a forgiving margin for small errors. The 120 roll size means you only handle one roll at a time in a tank, which simplifies loading and chemistry measurement. If you are new to black and white film development, starting with a medium-speed film like Delta 100 helps you focus on process rather than fighting high contrast or excessive grain.
Gather Your Equipment and Chemistry
You will need a developing tank with a 120 reel, a changing bag or darkroom, a thermometer, measuring cylinders, and storage bottles for mixed chemistry. For developers, Ilford ID-11, Kodak D-76, or Ilford Microphen are all good matches for Delta 100. You will also need a stop bath (or plain water), a fixer like Ilford Rapid Fixer, and a wetting agent such as Ilford Ilfotol. If you prefer to skip mixing chemistry from scratch, you can use a liquid concentrate like Ilford Ilfosol 3, but note that development times will differ from powder developers.
Step 1: Load the Film in Complete Darkness
In a changing bag or darkroom, open the 120 roll and remove the film from its backing paper. Feed the film leader onto the reel and wind it on with a gentle rocking motion. Delta 100 has a thin emulsion and a flexible base, so avoid touching the image area. A common mistake is loading the reel while the film is still attached to the backing paper, which causes uneven winding and light leaks. Checkpoint: once loaded, close the tank and turn on the lights. If you can see any part of the film outside the reel, reload.
Step 2: Mix and Temper Your Developer
Mix your developer according to the manufacturer's instructions. For ID-11 or D-76, use a 1+1 dilution for one-shot use. Bring the developer, stop bath, and fixer to 20°C (68°F). Temperature control is critical: a 2°C drift can change density noticeably. Use a water bath to stabilize all solutions before you start. A common mistake is mixing chemistry with tap water that is too warm or too cold, leading to inconsistent results. Checkpoint: verify the developer temperature with a reliable thermometer—not your hand.
Step 3: Develop with Consistent Agitation
Pour the developer into the tank, start the timer, and agitate for the first 30 seconds by inverting the tank gently. Then agitate for 5 seconds every 30 seconds. For ID-11 1+1 at 20°C, a starting time for Delta 100 is around 11 minutes, but always confirm with the developer's official data sheet. A common mistake is over-agitating, which increases contrast and grain. Checkpoint: keep your agitation rhythm steady—count the inversions so you repeat the same motion each cycle.
Step 4: Stop, Fix, and Wash
After development, pour out the developer and immediately add stop bath for 30 seconds with agitation, or use two changes of fresh water. Then pour in fixer and fix for 5–10 minutes, depending on the fixer strength. Agitate for the first 30 seconds, then 5 seconds every minute. After fixing, wash the film in running water for 5–10 minutes. A common mistake is insufficient washing, which leaves fixer residue that stains negatives over time. Checkpoint: use a hypo clearing agent to cut wash time if you are in a hurry.
Step 5: Dry and Store Your Negatives
Add a few drops of wetting agent to the final rinse, then hang the film to dry in a dust-free area. Use film clips to weight the bottom. Do not squeegee the film—it can scratch the emulsion. Delta 100 dries relatively quickly, but allow at least 2–3 hours. Once dry, cut the negatives into strips of 3 or 4 frames and store them in archival sleeves. A common mistake is handling the film while it is still damp, which can leave fingerprints. Checkpoint: label your sleeves with the date and developer used for future reference.
Step-by-step development checklist
- Load film in darkness: Use a changing bag or darkroom to load the 120 film onto the reel. Ensure the film is completely free of the backing paper before winding. Checkpoint: after closing the tank, turn on lights and confirm no film is exposed.
- Mix chemistry at 20°C: Prepare developer, stop bath, and fixer. Use a water bath to bring all solutions to 20°C (68°F). Checkpoint: verify temperature with a thermometer, not by touch.
- Develop with timed agitation: Pour in developer, agitate for first 30 seconds, then 5 seconds every 30 seconds. Use a starting time of 11 minutes for ID-11 1+1. Checkpoint: confirm exact time from your developer's data sheet.
- Stop and fix: Use stop bath for 30 seconds, then fix for 5–10 minutes with agitation. Checkpoint: ensure fixer is fresh and not exhausted.
- Wash and dry: Wash for 5–10 minutes, then rinse with wetting agent and hang to dry in a dust-free space. Checkpoint: do not touch film until completely dry.
Film and processing options
- Ilford Delta 100 Professional Black and White Negative Film - 120 Roll Film: Ilford Delta 100 Professional Black and White Negative Film - 120 Roll Film is a medium-speed ISO 100 film with exceptionally fine grain and Core-Shell crystal technology. Its fine grain and ISO 100 speed make it ideal for beginners learning black and white development, as it tolerates slight timing errors better than higher-speed films.
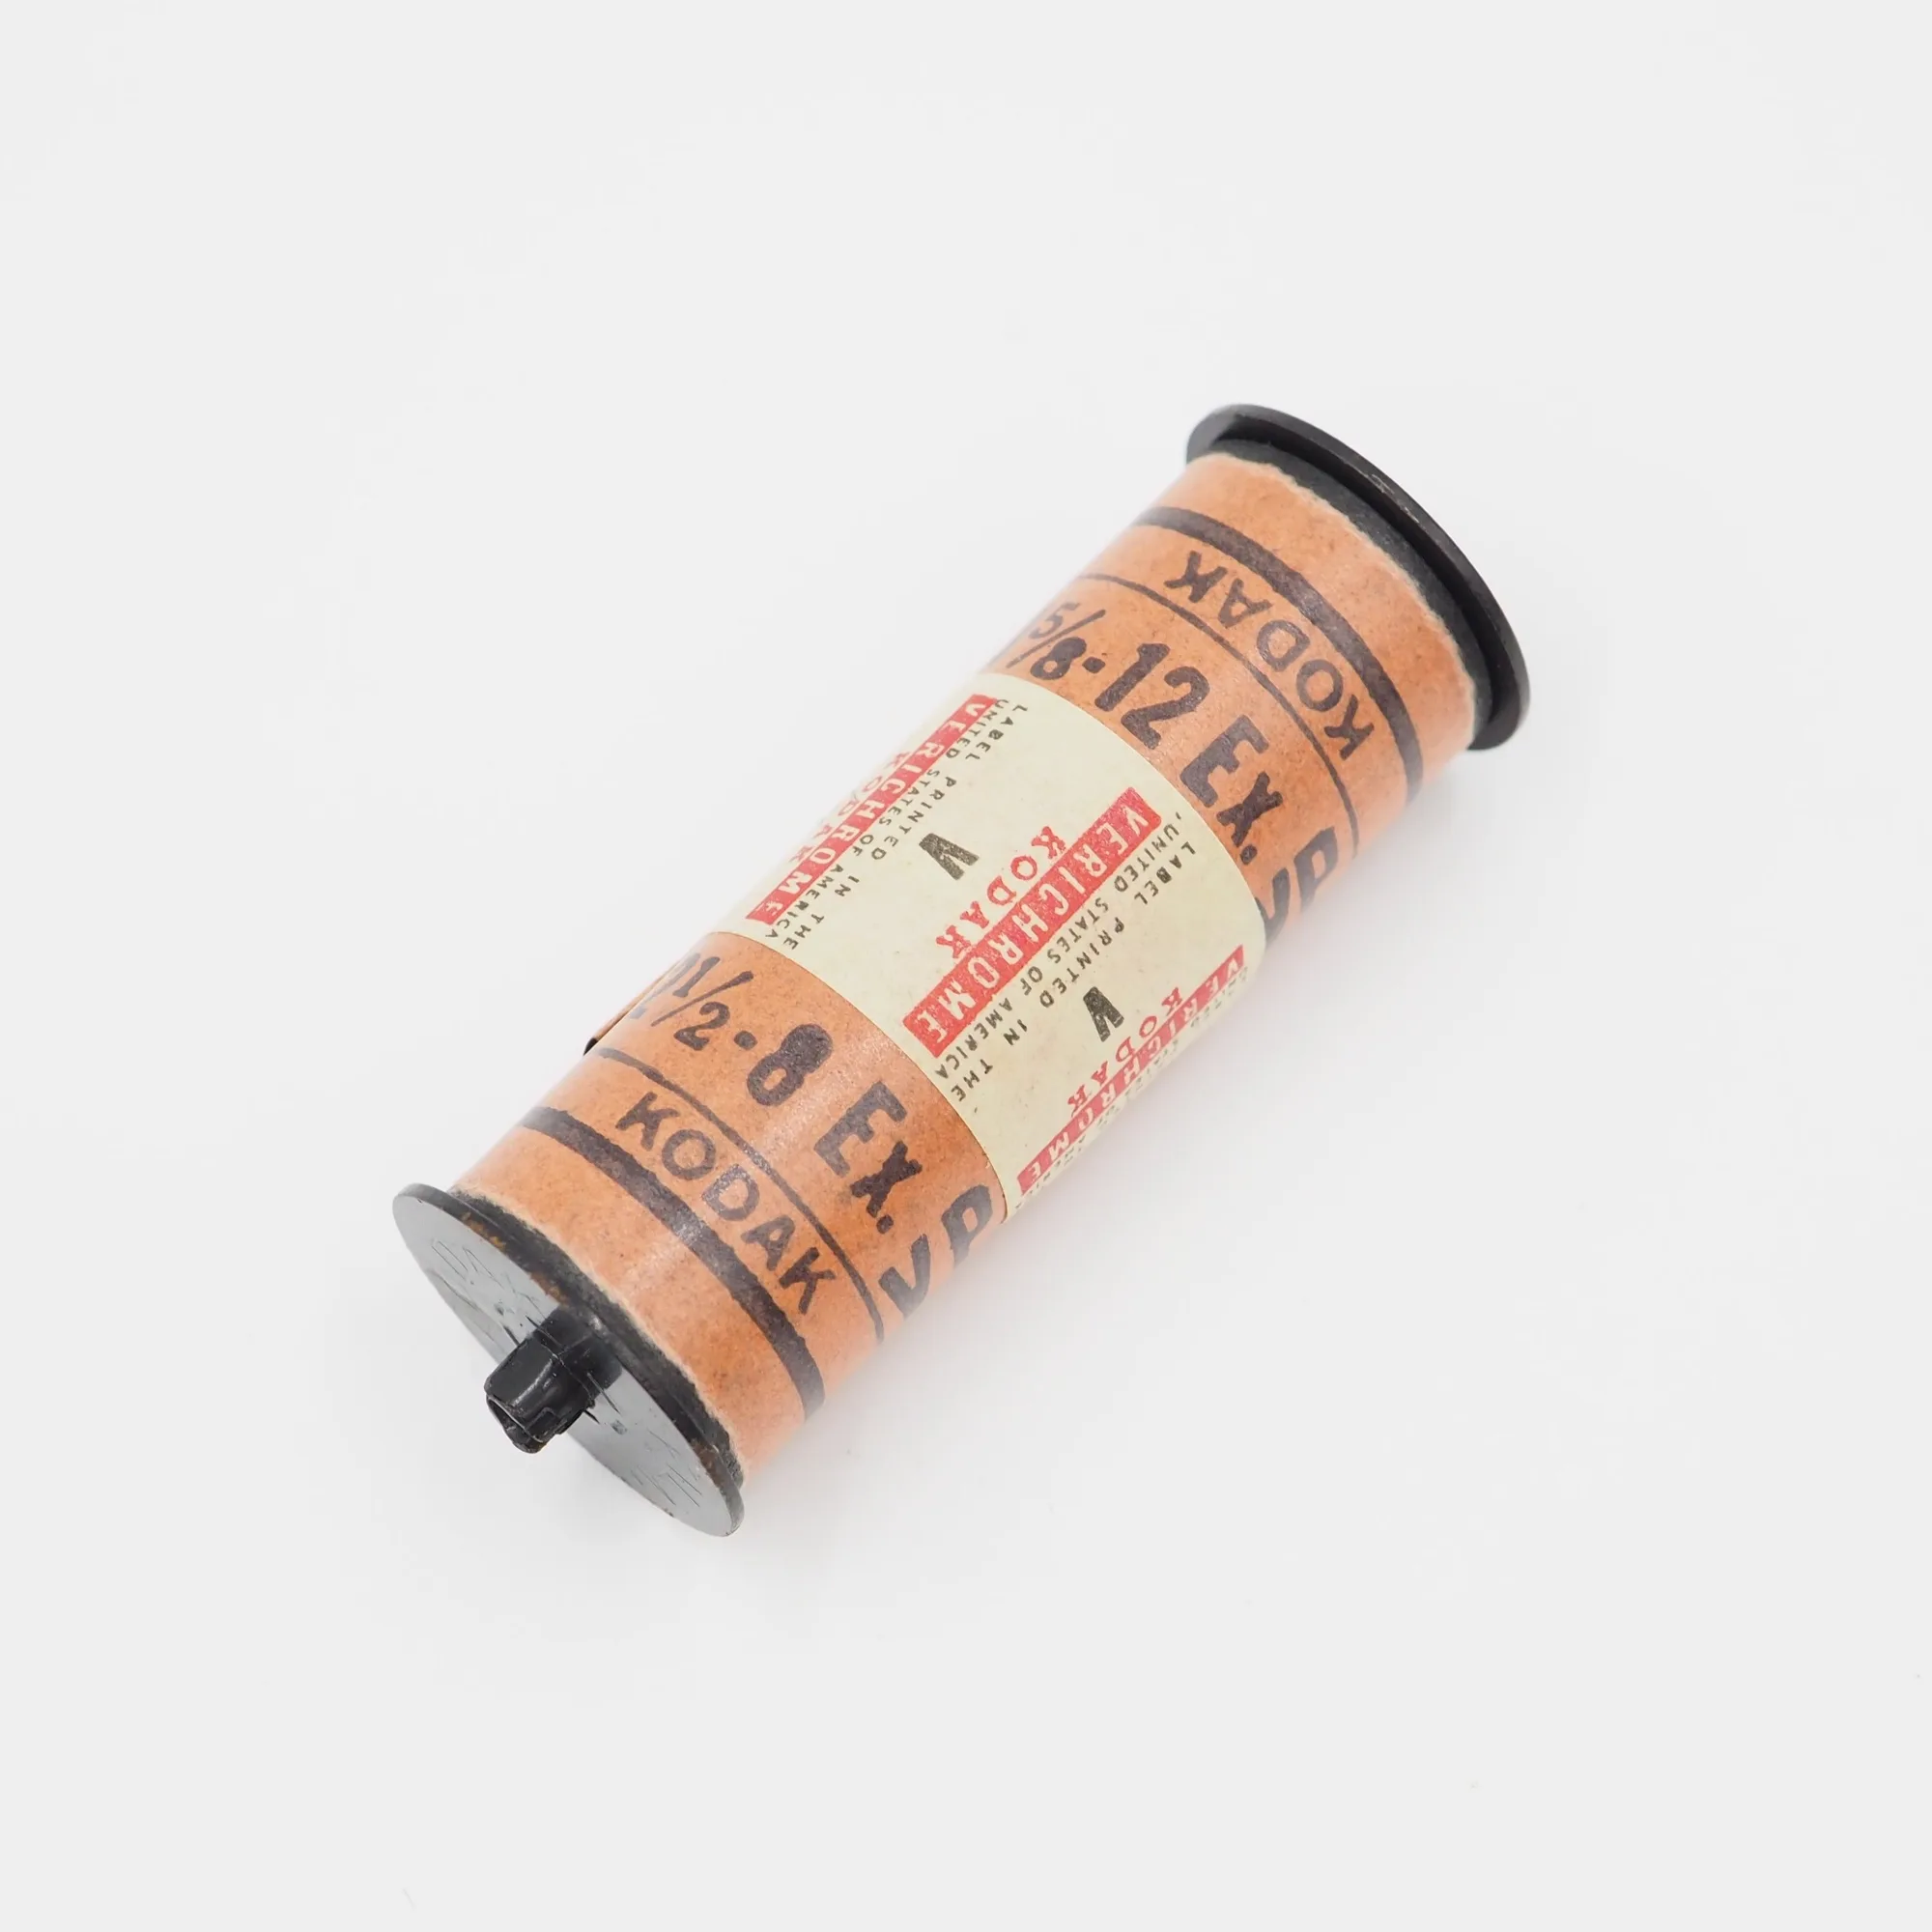
- 110 / 126 / 127 / 620 Film Development: 110 / 126 / 127 / 620 Film Development service offers develop-only turnaround next day, with options to add scans or prints. If you shoot other small formats alongside 120, this service lets you compare your home-developed Delta 100 results against professional lab work.