Quick answer
Build your duty belt setup around your body's center of gravity, not around habit. Place the heaviest items — firearm and double magazine pouches — on your dominant side, balance them with cuffs, radio, and a less-lethal tool on the support side, and keep the front and back of the belt as flat as possible. Then adjust each pouch so nothing digs into your hips or lower back when you sit in a patrol vehicle.
Why pouch placement matters more than belt tightness
A duty belt setup that feels fine while standing can become painful after two hours in a driver's seat. The problem is usually not how tight the belt is — it is where the weight sits. When pouches cluster on one side, the belt rotates and the buckle migrates off-center, which pulls the strap into your hip bone and lower back. Spreading mass evenly around the belt keeps the buckle centered and reduces the pressure points that cause hot spots. This is also why an inner belt and an outer belt should work as one system: the inner belt holds your pants, the outer belt carries the load, and the two hook-and-loop surfaces keep the outer belt from shifting when you get in and out of a vehicle.
Map your load before you mount anything
Lay every pouch, holster, and accessory on a table and sort them into three groups: primary (firearm, magazines, handcuffs), secondary (radio, tourniquet, flashlight, keys), and occasional (gloves, notebook, citation holder). Weigh the primary group mentally — those items dictate the layout. If you carry a double magazine pouch, it belongs on the same side as your firearm so your reload hand does not cross your body. If your radio is heavy, it should sit on the support side to counterbalance the firearm. Occasional items go wherever they fill a gap without crowding your draw stroke.
Set the belt height and buckle position first
Before you attach a single pouch, put on the inner belt and outer belt and find the height where the outer belt sits on top of your hip bones, not above or below them. The buckle should land slightly off-center — about one to two inches to your non-dominant side — so it does not press into your navel when you bend forward. Mark that position with a piece of tape or a mental note, because every pouch you add will try to pull the belt out of alignment. If your belt uses a ratchet track rather than holes, you can fine-tune the fit in small increments without committing to a new hole, which makes this step much easier to repeat after you add weight.
Place the heaviest items first, then work outward
Mount your holster and magazine pouches on your dominant side, starting at the 3 o'clock or 9 o'clock position depending on your handedness. Leave a small gap between the holster and the magazine pouch so your wrist does not catch on the pouch during a reload. Next, place handcuffs on the support side, slightly forward of your hip bone so they do not dig in when you sit. Add the radio behind the cuffs, then fill the remaining space with lighter items. Keep the back of the belt — roughly the 5 o'clock to 7 o'clock zone — as clear as possible; anything mounted there will press into your spine when you sit in a vehicle.
Test the setup in the positions you actually work in
Stand, sit in a chair, sit in your vehicle, kneel on one knee, and squat. At each position, notice where the belt contacts your body and whether any pouch restricts your movement. A common mistake is testing only while standing in front of a mirror. The real test is the driver's seat: if a pouch digs into your back or the buckle presses into your stomach, move that pouch forward or backward by one or two inches and retest. Repeat until you can sit for several minutes without shifting your belt.
Fine-tune with small adjustments, not a full rebuild
Once the layout is close, make one adjustment at a time and wear it for a full shift before changing anything else. Moving a single pouch by an inch can change how the whole belt rides, so changing three things at once makes it impossible to know what helped. If you use a ratchet belt, take advantage of the incremental tightening to compensate for the way the belt settles after you add or remove an item. Keep a small notebook or phone note of your final layout — positions, pouch models, and belt height — so you can rebuild it quickly after cleaning or gear changes.
Duty belt setup steps: position, balance, and test
- Step 1: Find belt height and buckle position: Put on the inner and outer belt without pouches. Set the outer belt so it rests on your hip bones, and shift the buckle one to two inches off-center toward your non-dominant side. Checkpoint: the buckle should not press into your stomach when you bend forward.
- Step 2: Mount the heaviest items on your dominant side: Attach the holster and magazine pouches first, leaving a small gap between them so your wrist clears the pouch during a reload. Mistake to avoid: placing magazines on the opposite side of your firearm, which forces a cross-body reach.
- Step 3: Balance the support side with cuffs and radio: Place handcuffs slightly forward of your support-side hip bone, then the radio behind them. Keep the back of the belt clear from about 5 o'clock to 7 o'clock. Checkpoint: sit in a chair — nothing should press into your spine or lower back.
- Step 4: Fill remaining space with lighter items: Add gloves, flashlight, tourniquet, and keys in the gaps that remain, working from the heaviest remaining item to the lightest. Mistake to avoid: crowding the front of the belt so the buckle rotates off-center.
- Step 5: Test in every working position: Stand, sit in your vehicle, kneel, and squat. Move any pouch that digs in by one to two inches and retest before changing anything else. Checkpoint: you should be able to sit for several minutes without shifting the belt.
- Step 6: Lock in the layout and record it: Wear the final setup for a full shift before making further changes. Note pouch positions, belt height, and belt model so you can rebuild the same configuration later. Next step: recheck the layout after any gear change, cleaning, or seasonal clothing swap.
Gear that supports a stable setup
- Timberline Americana Belt, Black – Crazy Horse Leather Strap, 1.575" [40mm]: The Timberline Americana Belt is made from premium Crazy Horse leather with a 1.575-inch (40mm) strap and a deep black finish that develops tonal variation over time. A wider leather strap spreads the weight of heavy pouches across a larger area, and the leather's gradual patina means the belt looks better as it breaks in — useful for a duty-style belt that sees daily wear.
- Stealth & Sand Set, 1 3/8" Strap [35mm]: The Stealth & Sand Set pairs an Explorer Smooth Black belt with an Explorer Smooth Tan belt in a 1 3/8-inch (35mm) strap width, designed as a bundle for active use. Two belts in neutral colors let you keep one dedicated to range or training days and one for daily wear, so your primary duty setup stays consistent and your backup belt is already broken in.
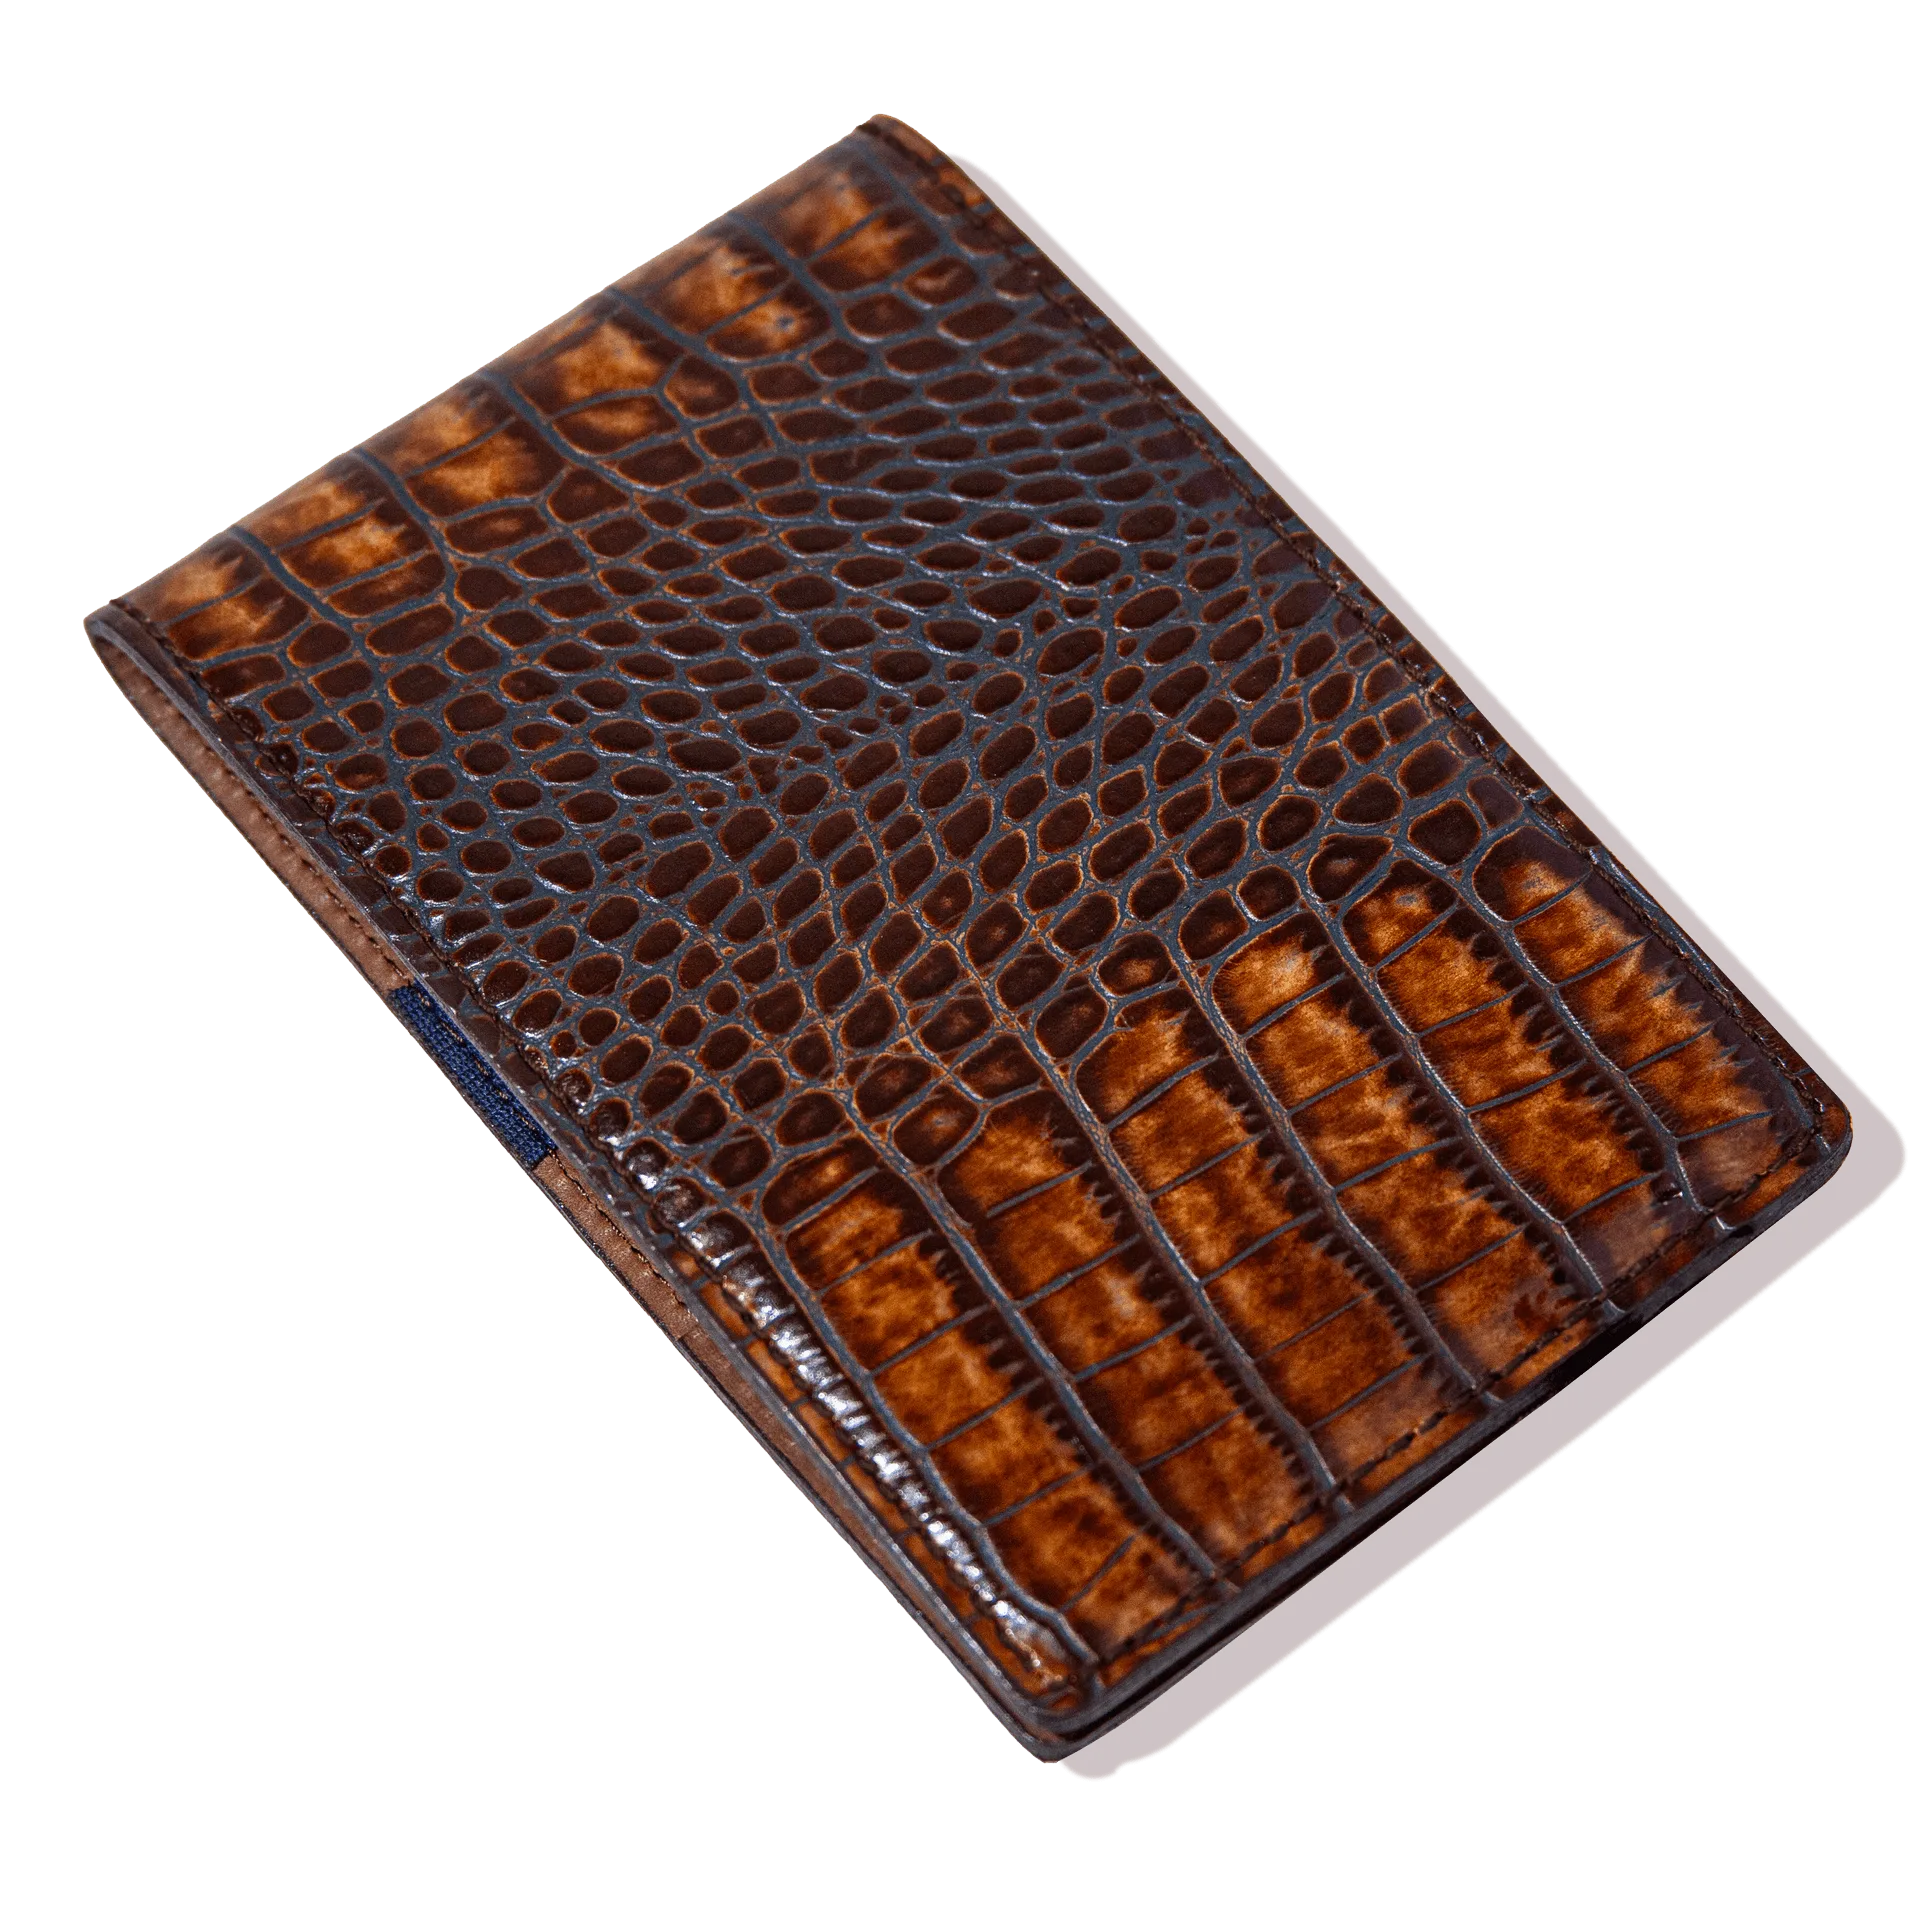
- Scorecard Holder Kayiman - Brown w/ Brown Thread: The Scorecard Holder Kayiman is made from Italian calfskin leather in brown with brown thread, produced in the USA, and can be paired with Rowland Thomas belts for a coordinated look. If your off-duty or plainclothes setup needs a small leather accessory that matches your belt, this holder gives you a coordinated option without adding bulk to your duty belt.
![Stealth & Sand Set, 1 3/8" Strap [35mm]](https://xilands.com/api/media/sync/17/17bafcffdda577dfe40dcbe5eee5e55cbad544a244f6d7943a1e387b8d4672f7.webp)
![Timberline Americana Belt, Black – Crazy Horse Leather Strap, 1.575" [40mm]](https://xilands.com/api/media/sync/69/696b987f69392efda985c0a39cf0e66f3ffb682f5a860beabf0821bd3f87a23e.webp)