Quick Answer
Use a sheared-bristle ombre brush to blend gel polish in one coat for a smooth, airbrush-like gradient. Position the brush correctly to avoid harsh lines.
Why a Dedicated Ombre Brush Makes a Difference
Standard liner or flat brushes can leave streaks or uneven fade lines when creating a gradient. The Easy Ombre Brush uses short, densely packed bristles that pick up and release color gradually, so you get a soft transition in fewer strokes.
The bristles are dyed darker on one side to show exactly where to hold the brush against the color block. This visual cue removes the guesswork and helps you maintain consistent pressure across every nail.
What to Watch Out For
Ombre brushes are not ideal for detailed nail art like fine lines or dots because the bristle shape is too wide for precision work. If you need a liner or detail brush, look for a separate tool.
The 15mm brush width works best on medium to large nail beds. On very short or narrow nails, you may need to angle the brush slightly to avoid flooding the cuticle.
Step-by-Step Gradient Nails With an Ombre Brush
- Prep and Base Color: Apply a thin layer of gel base coat and cure. Then apply one coat of your lightest gradient color (e.g., nude or pastel) and cure. This ensures the finished gradient has a solid, streak-free background. Skipping the base color can make the gradient look patchy because the natural nail shows through unevenly.
- Apply the Color Block: Paint a stripe of your darker gradient color across the tip or center of the nail, leaving the cuticle area bare. Keep the stripe about 5–7 mm wide — too wide makes blending harder, too narrow won't give enough color. If the stripe is too thick, the brush will push polish into the cuticle instead of blending it outward.
- Blend With the Ombre Brush: Hold the Easy Ombre Brush so the darker-dyed bristle side faces the color block. Gently dab and sweep the brush from the edge of the color block toward the cuticle in short, light strokes. Do not press hard — let the bristles do the work. Wipe the brush on a lint-free pad between each nail to avoid muddying the colors. Using the wrong brush orientation (lighter side toward color) will push pigment into the clear area and create a hard line instead of a soft fade.
- Cure and Repeat if Needed: Cure the blended layer for the recommended time. If the gradient looks too subtle, apply a second thin color block and repeat the blending step. One coat is usually enough with a sheared-bristle brush, but sheer colors may need a second pass. Curing between layers prevents the brush from dragging wet polish and ruining the gradient.
- Seal With Top Coat: Apply a thin layer of gel top coat to smooth out any brush marks and add shine. Cure fully. Wipe off the sticky residue if needed. A thick top coat can blur the gradient edges, so use a thin, even layer.
Product Used in This Tutorial
-
Easy Ombre Brush: Easy Ombre is a 15mm sheared-bristle brush with bristles dyed darker so you know exactly where to position the brush when blending out a block of color. The dye mark acts as a placement guide, so you don't have to guess where the brush should sit on the polish to get an even fade.
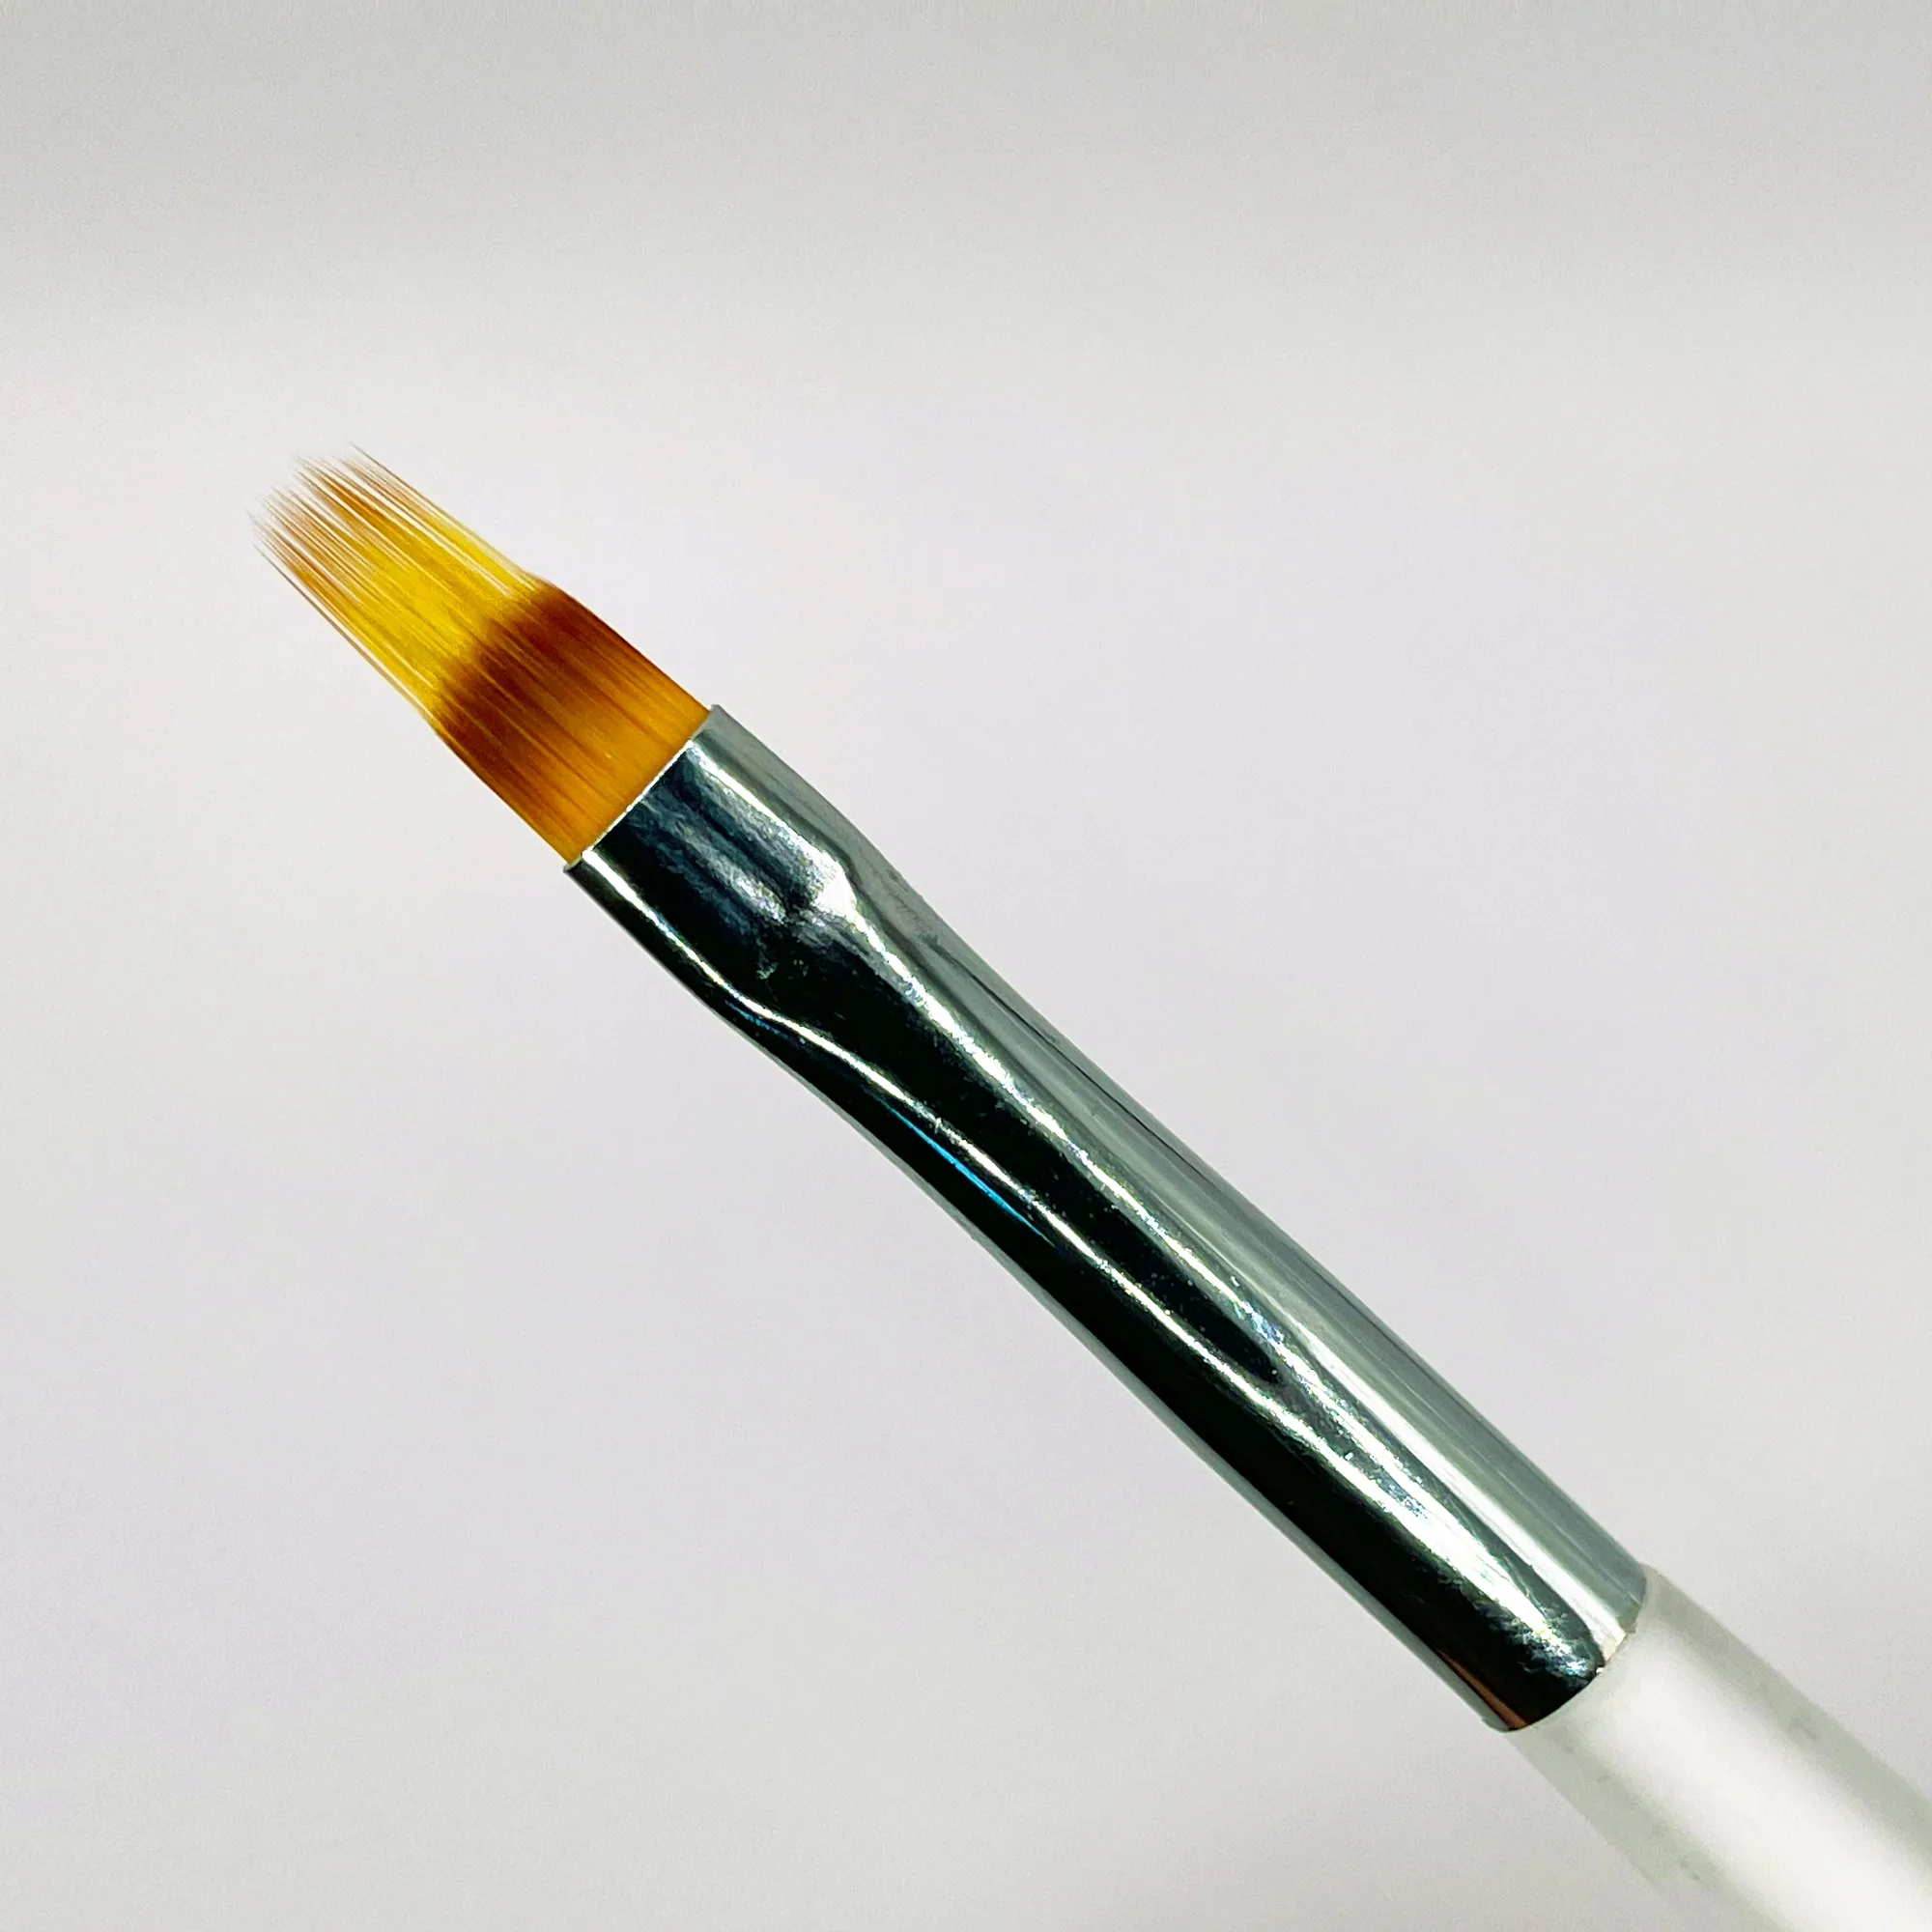
Easy Ombre Brush