Quick Answer
Plug the Nyko Retro Controller Adapter or Nyko Retro Controller Hub Plus into a USB port on your Switch dock, connect your GameCube controller, and enable Pro Controller Wired Communication in System Settings. The adapter is recognized instantly—no extra drivers needed.
What You Need Before Starting
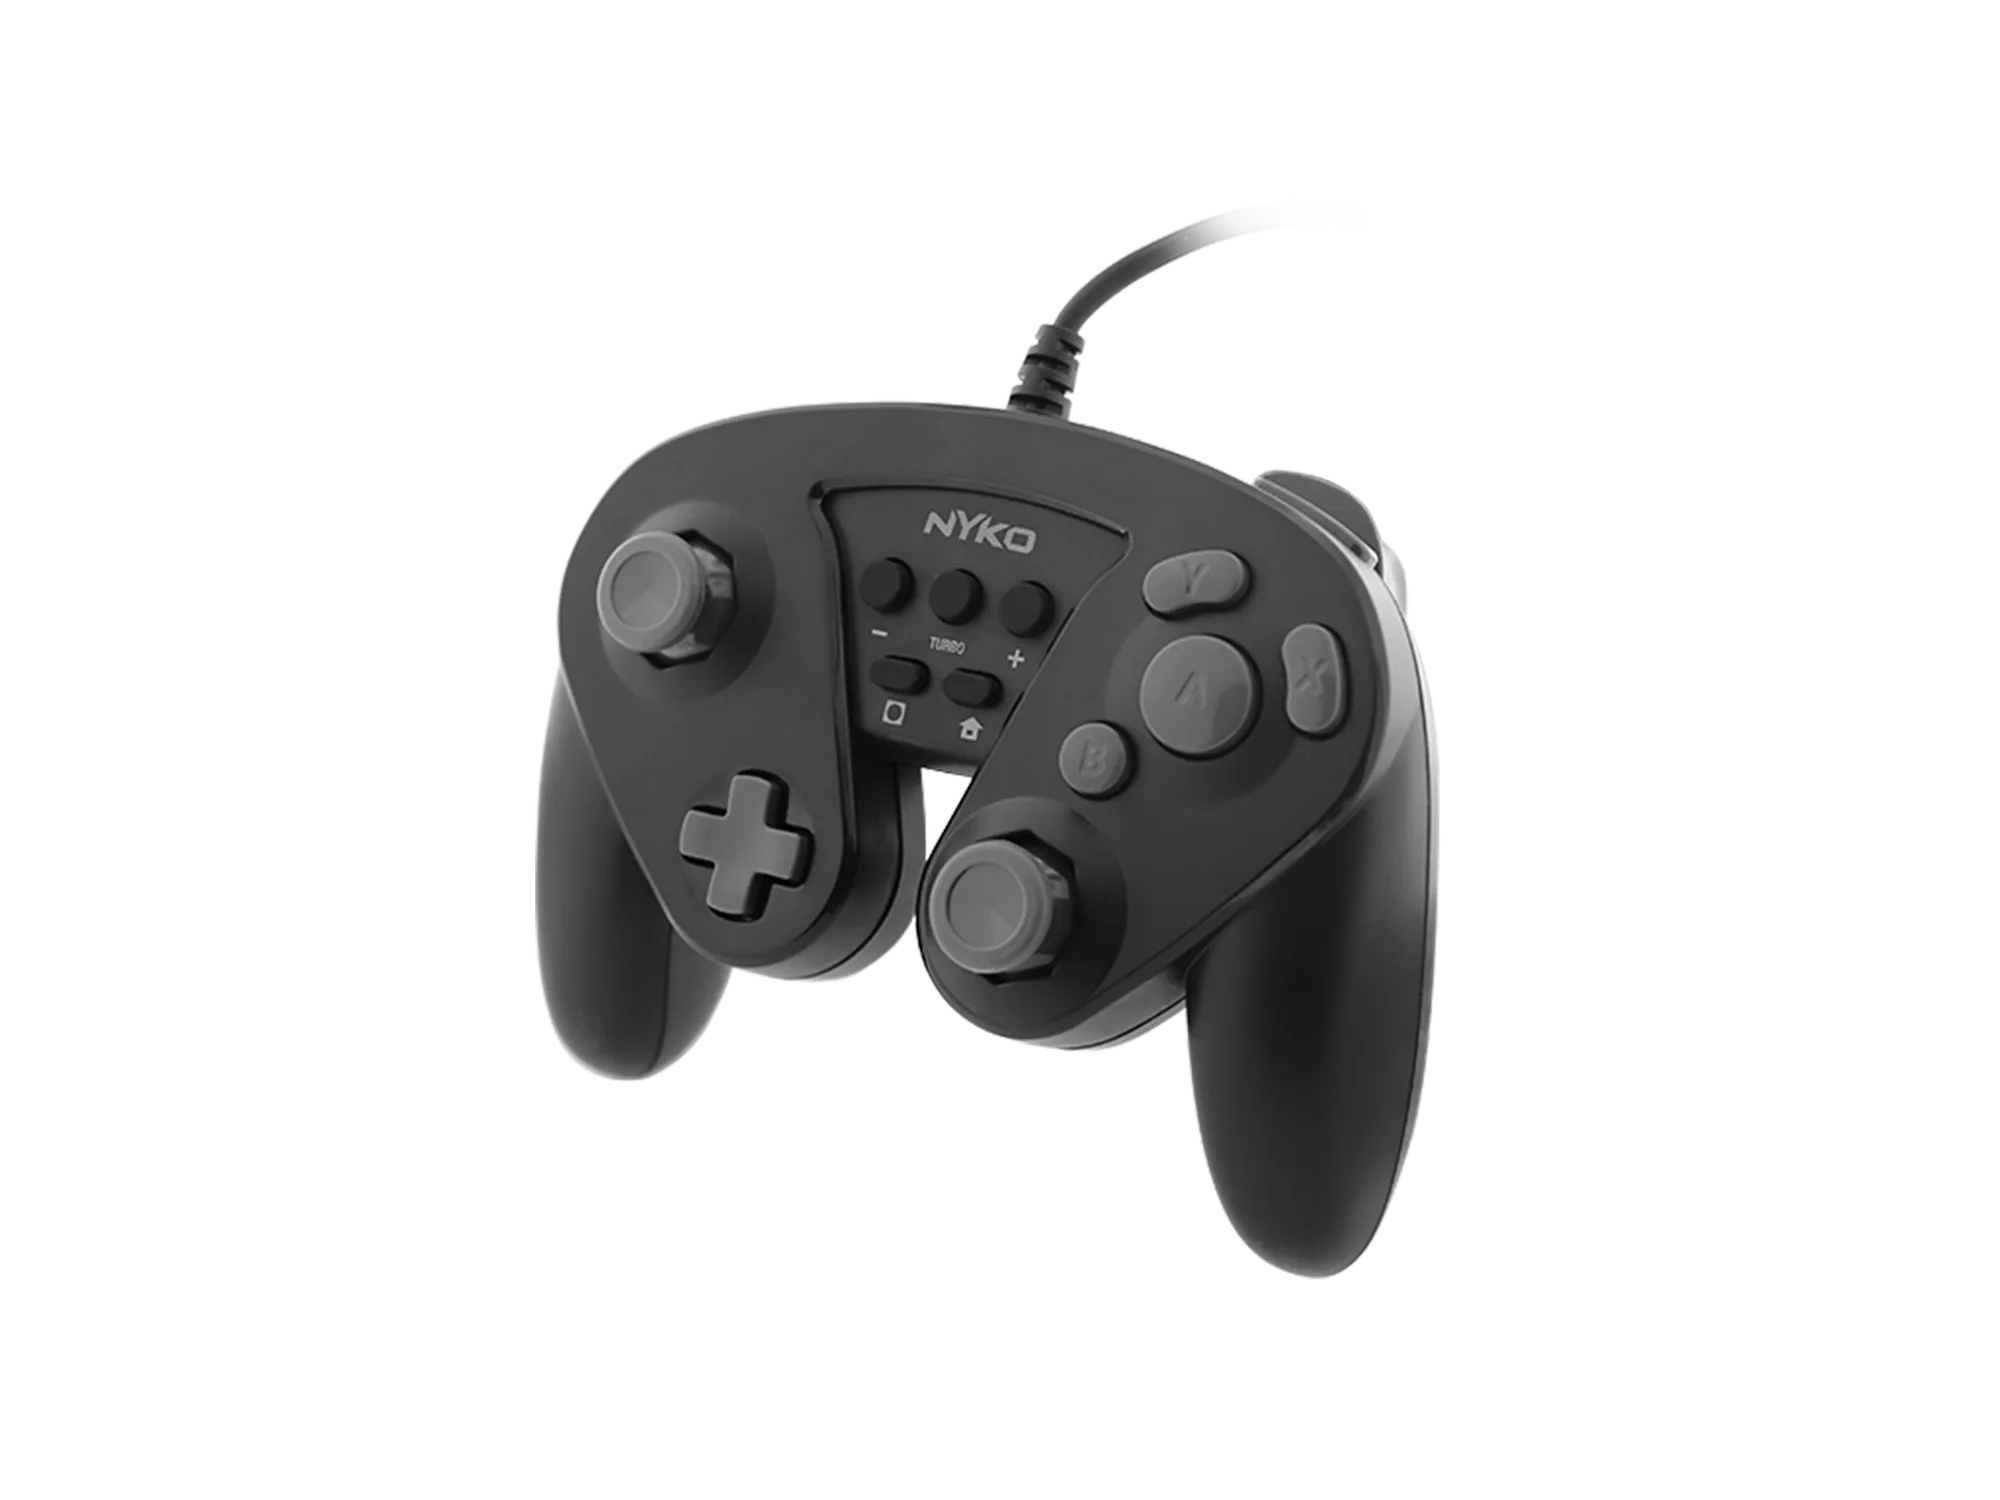
You’ll need a Nintendo Switch dock (the adapter does not work in handheld mode without a USB-C hub), a wired GameCube controller, and a compatible GameCube adapter. The Nyko Retro Controller Hub Plus supports up to four controllers for local multiplayer, while the single-port Retro Controller Adapter is a compact option for solo play or co-op with one controller.
Make sure your Switch system software is updated to the latest version. Older firmware may not recognize the adapter correctly. Also, third-party GameCube controllers may work, but original Nintendo controllers are the most reliable.
Common Setup Mistakes to Avoid
The most frequent error is forgetting to enable Pro Controller Wired Communication in the Switch settings. Without this, the adapter won’t send inputs. Another common issue is plugging the adapter into a USB port on the Switch console itself while in handheld mode—the console’s USB-C port does not support this adapter directly. Always use the dock or a powered USB-C hub.
If the controller seems unresponsive, check that the adapter’s USB cable is fully inserted into the dock. A loose connection can cause intermittent input or no response at all. Restarting the Switch after connecting the adapter often resolves lingering detection issues.
Setup Steps: GameCube Adapter on Switch
- Connect the Adapter to the Dock: Plug the Nyko adapter’s USB cable into any available USB port on your Nintendo Switch dock. For the Hub Plus, use the USB 3.0 port for best performance. Checkpoint: The adapter’s LED should light up. If it doesn’t, try a different USB port.
- Attach Your GameCube Controller: Insert the controller’s plug into one of the adapter’s controller ports. The Hub Plus has four ports; the single-port adapter has one. Push firmly until the connector clicks into place. Common mistake: Forcing the plug in upside down can bend pins. Align the connector’s shape with the port.
- Enable Wired Communication in System Settings: On your Switch, go to System Settings > Controllers and Sensors > Pro Controller Wired Communication and set it to On. This tells the console to accept input from the adapter. If the controller isn’t recognized, double-check this setting. It must be On for the adapter to work.
- Test the Controller in a Game: Launch any game that supports the Switch Pro Controller (most Switch games do). The GameCube controller should work immediately. Test all buttons and analog sticks. If inputs are reversed or missing, the game may not fully support the adapter. Try a different game or restart the console.
Adapter Options at a Glance
- Nyko Retro Controller Hub Plus for Nintendo Switch™ – 4-Port GameCube® Adapter with Turbo & Home Buttons: The Nyko Retro Controller Hub Plus for Nintendo Switch is a 4-port GameCube adapter with Turbo and Home buttons. It supports up to four wired controllers for local multiplayer. If you host Super Smash Bros. tournaments or play four-player games regularly, the Hub Plus lets everyone use their preferred GameCube controller without swapping cables.
- Retro Controller Adapter for Nintendo Switch™ (1-Port GameCube® Adapter): The Retro Controller Adapter for Nintendo Switch is a single-port GameCube adapter with a direct wired USB connection for zero-lag performance. For solo practice or casual two-player sessions, the single-port adapter is more affordable and takes up less space on your desk or in a travel bag.