Quick answer
Match temperature first, then slowly blend tank water into the bag over 45 to 90 minutes. Use the drip method for shrimp and sensitive fish, and the floating bag method for hardy fish. Always quarantine new livestock for two to four weeks before adding them to your main tank.
New shrimp and fish often die within the first week not because of disease, but because of shock. The water they travelled in has a different temperature, pH, and mineral content than your tank. Moving them too fast forces their bodies to adjust all at once, and that stress opens the door to illness.
Acclimation is the bridge between the bag and your aquarium. Done well, it takes under two hours and costs nothing but patience. This guide walks through the exact steps, the tools that make it easier, and the mistakes that cause most losses.
Why acclimation matters more for shrimp than fish
Shrimp are far more sensitive to sudden changes in water parameters than most fish. They moult, and a rapid shift in temperature or hardness can trigger a failed moult or a stress-induced death. Fish can often tolerate a quick float-and-release, but shrimp usually cannot.
That does not mean fish are tough. A sudden pH swing can burn gills, and a temperature drop can bring on ich. The difference is margin for error. With shrimp, that margin is thin enough that a proper drip acclimation routine is not optional—it is the baseline.
- Test the bag water and your tank water before you start. If the pH difference is more than 0.4, slow the drip rate.
- Never pour bag water into your tank. It can carry ammonia, pathogens, and copper from the supplier.
Setting up a quarantine tank before you buy livestock
A quarantine tank is a small, bare-bottom aquarium with a sponge filter, a heater, and a few hides. It is not a display tank. Its job is to let you observe new arrivals for two to four weeks before they meet your existing fish or shrimp.
You do not need a large setup. A ten-gallon tank works for most beginners, and a five-gallon is fine for shrimp-only batches. Keep a spare sponge filter running in your main tank so it stays cycled, then move it to the quarantine tank when you need it.
- Keep a lid on the quarantine tank. Jumping is a common cause of lost fish during the first week.
- Do not medicate automatically. Observe first, then treat only if you see symptoms.
Step-by-step acclimation: drip method and floating bag method
The floating bag method is the fastest. Float the sealed bag for 15 to 20 minutes to equalise temperature, then open it and add a small cup of tank water every five minutes for about half an hour. Net the fish out and release them. This suits hardy species like danios, barbs, and most livebearers.
The drip method is slower and safer. Float the bag to match temperature, then pour the livestock and bag water into a clean bucket. Run a length of airline tubing from your tank to the bucket with a loose knot to control flow—aim for two to four drips per second. Let it run for 45 to 90 minutes, then net the animals into the tank.
- Check the bucket temperature during a long drip. A small heater or a towel wrap prevents a slow chill.
- If you see the shrimp lying on their sides or the fish gasping at the surface, slow the drip and dim the lights.
Tools that make acclimation easier
You can acclimate with a bucket and a piece of airline tubing, but a few inexpensive tools reduce the guesswork. A dedicated shrimp acclimation kit usually includes tubing, a valve, and a clip that holds the line in place. That frees your hands and keeps the drip rate steady.
For the quarantine tank, a sponge filter is the workhorse. It provides gentle biological filtration without sucking up shrimplets or small fish. A clear shrimp tube shelter gives new shrimp a place to hide while you observe them, which lowers stress and makes them easier to monitor.
- Rinse new sponges in dechlorinated water before use to remove loose fibres.
- Keep a small net dedicated to the quarantine tank to avoid cross-contamination.
Acclimation steps at a glance
- 1. Prepare the receiving tank or quarantine tank: Set up a bare-bottom tank with a sponge filter, heater, and hides. Match the temperature to the bag water before the livestock arrives. Checkpoint: the tank should be fully cycled and ammonia-free before you float the bag.
- 2. Float the sealed bag for 15 to 20 minutes: Turn off the tank lights to reduce stress. Let the bag float so the temperature equalises. Mistake to avoid: opening the bag early and adding water before the temperature matches.
- 3. Choose your method: drip or floating bag: For shrimp and sensitive fish, pour the bag contents into a bucket and drip tank water at 2 to 4 drips per second for 45 to 90 minutes. For hardy fish, add a cup of tank water every five minutes for 30 minutes. Checkpoint: if the pH difference is more than 0.4, extend the drip time.
- 4. Net the livestock into the tank: Use a soft net to lift the animals out of the bucket or bag. Do not pour the bag water into the tank. Mistake to avoid: dumping bag water into your aquarium and introducing ammonia or pathogens.
- 5. Observe and leave the lights off: Keep the tank dark for the first few hours. Do not feed for 24 hours. Watch for gasping, lying on one side, or erratic swimming. Next step: if all looks well after 24 hours, offer a small amount of food.
- 6. Quarantine for two to four weeks: Keep new arrivals in the quarantine tank for at least two weeks, ideally four, before adding them to your main display. Checkpoint: only move them over if they are eating well and show no signs of disease.
Products that support a calm acclimation
- Mini Ultra Quiet 3-in-1 Biochemical Sponge Filter Replacement Sponges Set of 10: Pack of 10 single-layered replacement sponges, 4.3 x 3 cm, made from ethically sourced cotton, designed to fit any brand of mini air-driven bio sponge filter of similar size. A spare set lets you swap out a dirty sponge in your quarantine tank without disturbing the cycle, so new arrivals stay in stable water.
- Crystal Glass Shrimp Tube Shelter: Transparent, non-porous crystal glass tube housing that gives a 360-degree view and is easily cleaned. New shrimp can hide inside while you observe them through the glass, and trapped food or debris is easy to spot and remove.
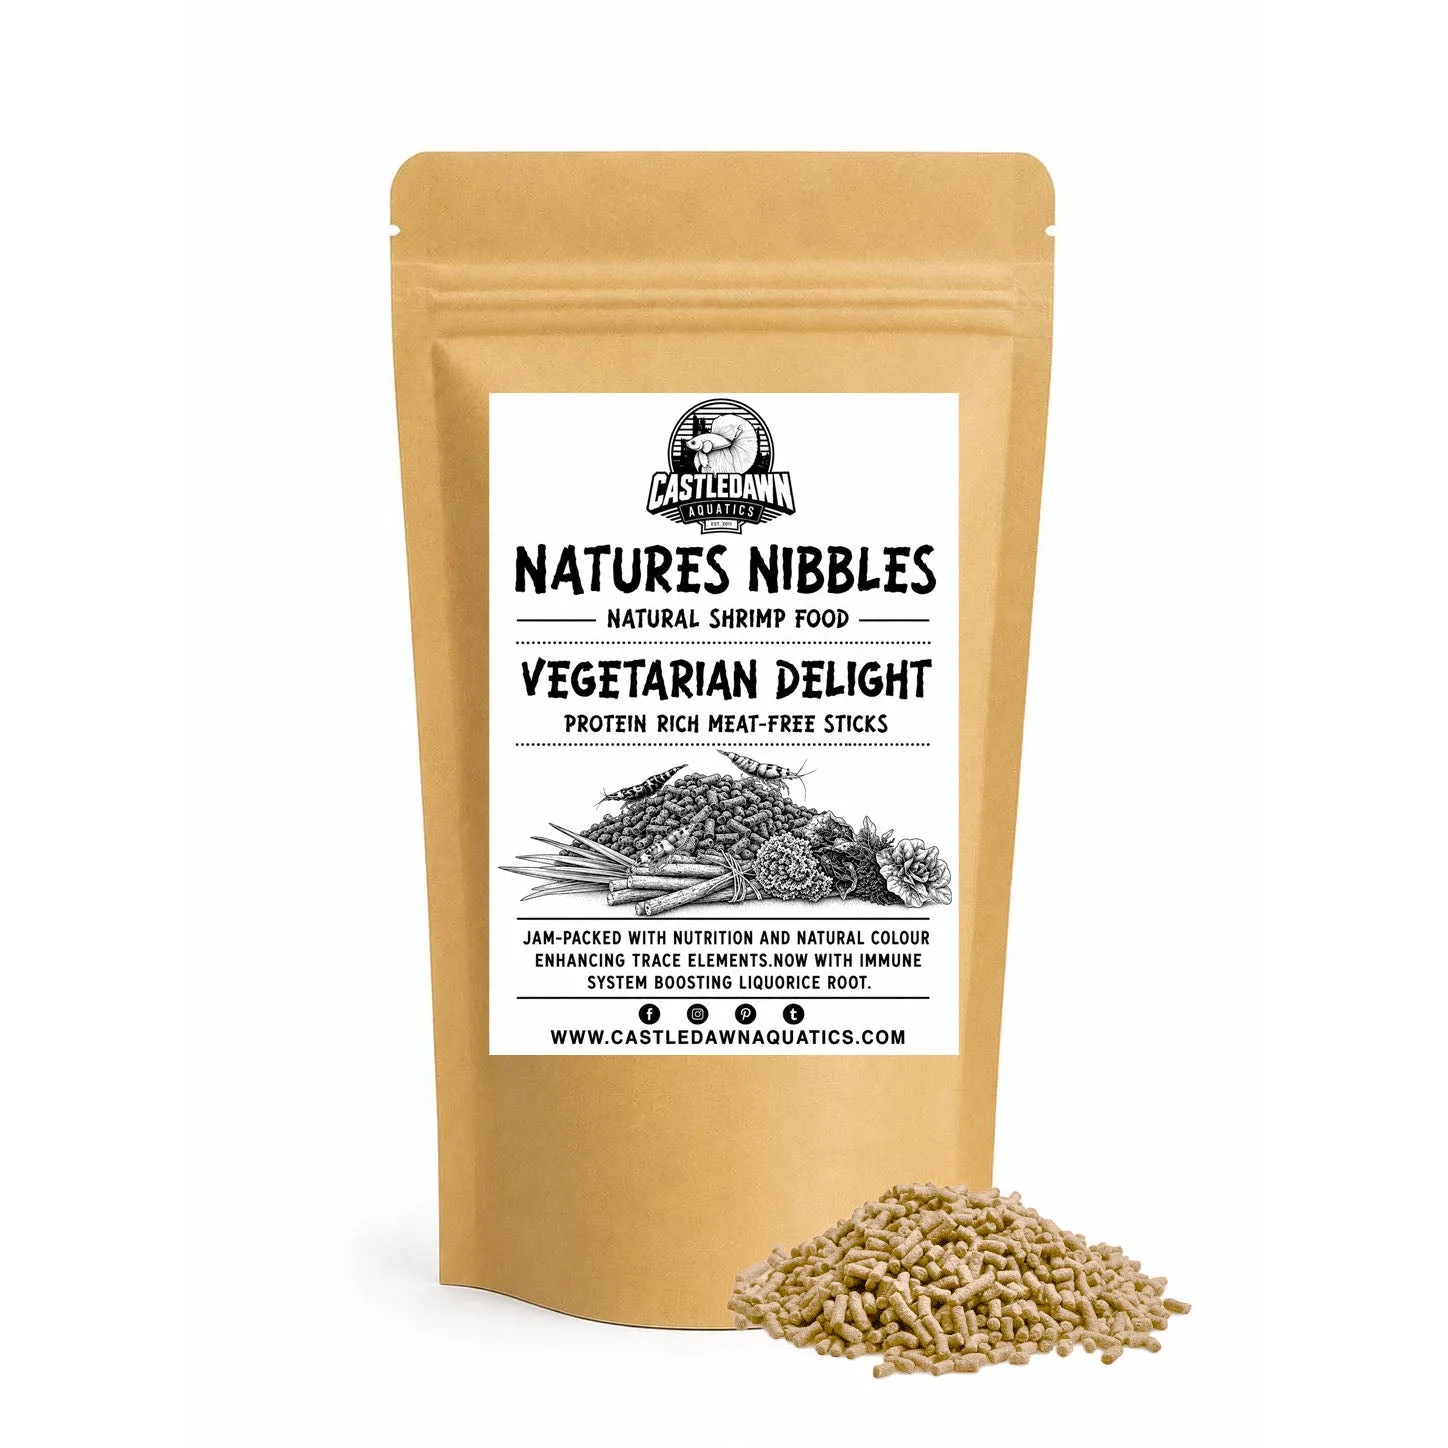
- Natures Nibbles GARNET Colour Enhancer Shrimp Food 50g: Colour-enhancing shrimp food with natural carotenoids and phytonutrients including astaxanthin, betalains, lutein, and beta-carotene from organic ingredients. Once acclimated, a balanced diet rich in natural colour boosters helps shrimp recover condition and show their best colour.
Acclimation is not complicated, but it is unforgiving of shortcuts. Match the temperature, blend the water slowly, and quarantine every new arrival. That routine costs you an afternoon and saves you the heartbreak of losing livestock to shock.