Quick Answer
To apply gel polish stickers without bubbles, start with a clean, dry nail surface, press from the center outward, and seal the edges with a top coat. Avoid trapping air by working slowly and using a soft tool to smooth the sticker.
Why Stickers Bubble and Lift
Bubbles and lifting happen when air gets trapped between the sticker and the nail plate. This is often caused by applying the sticker over a tacky layer, not fully pressing it down, or skipping the top coat seal. Even small dust particles or oils can create gaps that lead to peeling within days.
The key is to work on a perfectly clean, dry nail surface and to press the sticker from the center outward, pushing air to the edges. Using a soft silicone tool or your finger wrapped in a cloth helps avoid stretching the sticker, which can also cause bubbles.
Choosing the Right Sticker for Your Design
Not all stickers are created equal. Thicker stickers with a strong adhesive layer tend to lie flatter and resist lifting better than thin, flimsy ones. For detailed designs like flower sticker nails, look for stickers that are flexible enough to conform to the nail curve without wrinkling.
If you want to add a playful touch to your workspace, the Flower Power Logo Sticker is a cute option for decorating your nail lamp or storage, though it's not meant for nail application. For actual nail art, stick to thin, flexible decals designed for gel polish.
Step-by-Step: Bubble-Free Sticker Application
- 1. Prep the nail surface: Remove all oils and dust with a lint-free wipe and alcohol or nail prep solution. Do not apply a sticky base layer—stickers adhere best to a matte, dry surface. Skipping this step is the most common cause of bubbles and early lifting.
- 2. Apply a thin base coat and cure: Brush on a thin layer of base coat and cure under a lamp. Wipe off the tacky layer with alcohol to create a smooth, non-sticky surface. This prevents the sticker from sticking unevenly. A tacky layer can trap air and cause bubbles—always wipe it off.
- 3. Position the sticker before pressing: Peel the sticker from its backing and hold it just above the nail. Lower it slowly, starting from the cuticle area, and check alignment. Once it touches, you cannot reposition without risking air pockets. Use tweezers for precise placement without touching the adhesive.
- 4. Press from center outward: Using a soft silicone tool or your fingertip wrapped in a cloth, press firmly from the center of the sticker toward the edges. This pushes air out and prevents bubbles. Work slowly around curves. Do not press from the edge inward—that traps air inside.
- 5. Seal with a top coat: Apply a thin layer of no-wipe top coat over the entire nail, making sure to cap the free edge. Cure fully. The top coat locks the sticker in place and prevents moisture from seeping under the edges. Missing the free edge is the top reason stickers lift within a day.
- 6. Avoid thick layers: Keep both base and top coats thin. Thick layers can create uneven surfaces that cause the sticker to wrinkle or bubble. If you need more shine, add a second thin top coat after curing the first. Thicker is not better—thin coats give the flattest finish.
Product Spotlight
-
Flower Power Logo Sticker: The cutest nail artist sticker designed by Maddox and Mr. Ballpit. Perfect for bringing some pizazz to your nail lamp or anywhere in your nail space. This sticker features a gorgeous holo effect. While not for nail application, this sticker adds personality to your nail station and reminds you to keep your workspace clean—a key step for bubble-free nail sticker application.
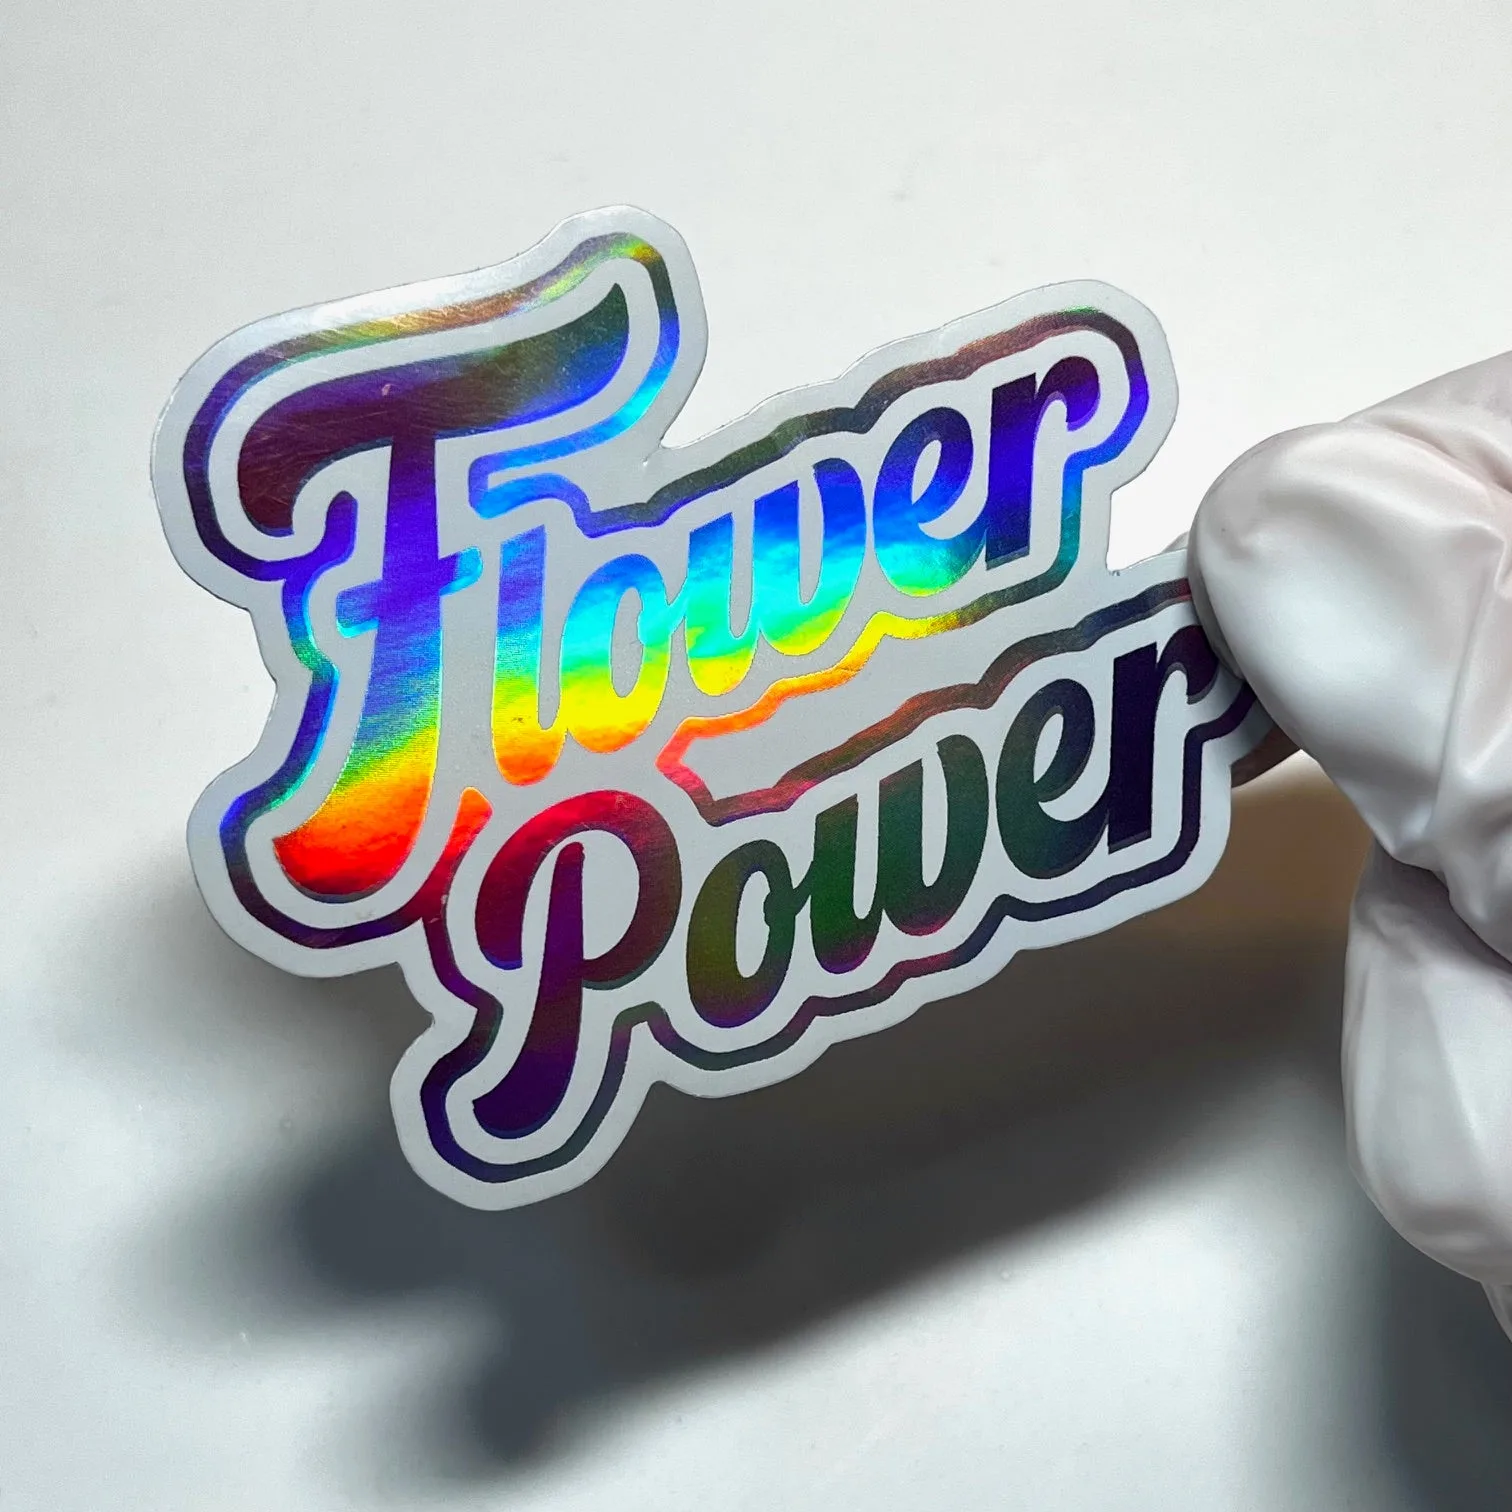
Flower Power Logo Sticker