Welcome to the exciting world of model kits! Whether you're a fan of anime, robots, or vehicles, assembling and painting your own model kit is a rewarding hobby that combines creativity and patience. If you're just starting, the process might seem daunting, but with the right guidance, you'll be creating stunning pieces in no time. This beginner's tutorial will walk you through everything you need to know, from gathering tools to applying the final coat of paint.
In this guide, we'll cover the basics of model kit assembly, the essential tools you'll need, and step-by-step painting techniques. We'll also share some tips on how to avoid common mistakes and make your models look professionally done. By the end, you'll have the confidence to tackle any kit, whether it's a simple Pokémon model or a complex Gunpla.
Essential Tools for Model Kit Assembly
Before you start, it's crucial to have the right tools. While some kits come with basic tools, investing in a few quality items will make the process much smoother. At a minimum, you'll need a pair of sprue cutters (also known as nippers) to remove parts from the runners, a hobby knife for cleaning up nubs, and a sanding file or fine-grit sandpaper to smooth edges. A cutting mat will protect your work surface, and a set of tweezers can help handle small parts.
For painting, you'll need brushes (both flat and fine tips), model paint (acrylic or enamel), and a palette. If you're planning to use spray cans or an airbrush, you'll also need a well-ventilated area and appropriate safety gear like a mask and gloves. Many beginners find it helpful to start with a simple kit that has fewer parts, such as the Pokémon Model Kit - Quick!! 15 Slowpoke, which is perfect for practicing basic assembly.
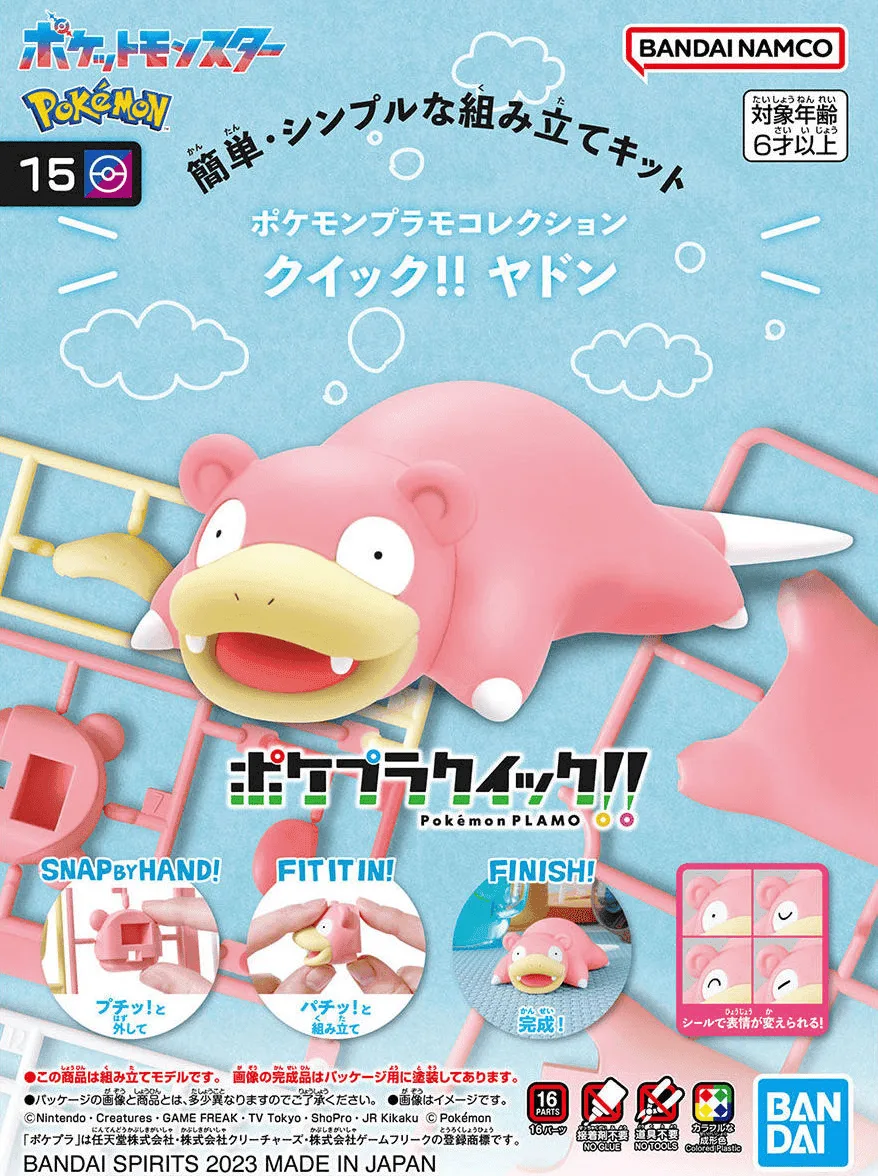
Pokémon Model Kit - Quick!! 15 Slowpoke
- Sprue cutters: essential for clean cuts
- Hobby knife: for precision trimming
- Sandpaper: to smooth rough edges
- Cutting mat: to protect your desk
- Tweezers: for small parts handling
Step-by-Step Assembly: From Sprue to Finished Model
Start by carefully removing parts from the sprue using your cutters. Cut a little away from the part to avoid damaging it, then trim the remaining nub with your hobby knife. Sand the area if needed. Next, dry-fit the parts (without glue) to see how they fit together. This helps you identify any areas that need adjustment before you commit to gluing. For most model kits, you'll use plastic cement to bond parts, but some kits are snap-fit and don't require glue.
Follow the instruction manual closely, as it shows the correct order of assembly. Take your time and be patient – rushing can lead to mistakes. If you're building a kit with stickers or decals, apply them after the main assembly. For a fun and easy start, consider the Pokémon Model Kit - Quick!! 15 Slowpoke, which features simple snap-fit parts and comes with stickers for details. Once you've assembled your model, you can move on to painting.
- Always cut parts away from the sprue, not flush
- Dry-fit before gluing to ensure a perfect fit
- Use plastic cement sparingly to avoid excess glue
- Follow the manual's assembly order
Painting Your Model Kit: Techniques and Tips
Painting is where your model truly comes to life. Before you start, make sure the model is clean and free of dust. Prime the surface with a primer to help paint adhere better. You can use a spray primer or brush-on primer. Once primed, you can start painting. For beginners, brush painting with acrylic paints is the easiest method. Use thin layers and let each coat dry completely before applying the next. This prevents brush strokes and gives a smooth finish.
If you're feeling more adventurous, you can try spray painting or airbrushing for a more even coat. Always paint in a well-ventilated area and use a mask. For details, use a fine brush and a steady hand. You can also use panel liners to add depth to recessed lines. Practice on spare parts first to get the hang of it. With time, you'll develop your own style. For inspiration, check out the Ichiban Kuji - Metal Gear Solid : Snake Eater, which features highly detailed figures that showcase the potential of painted models.
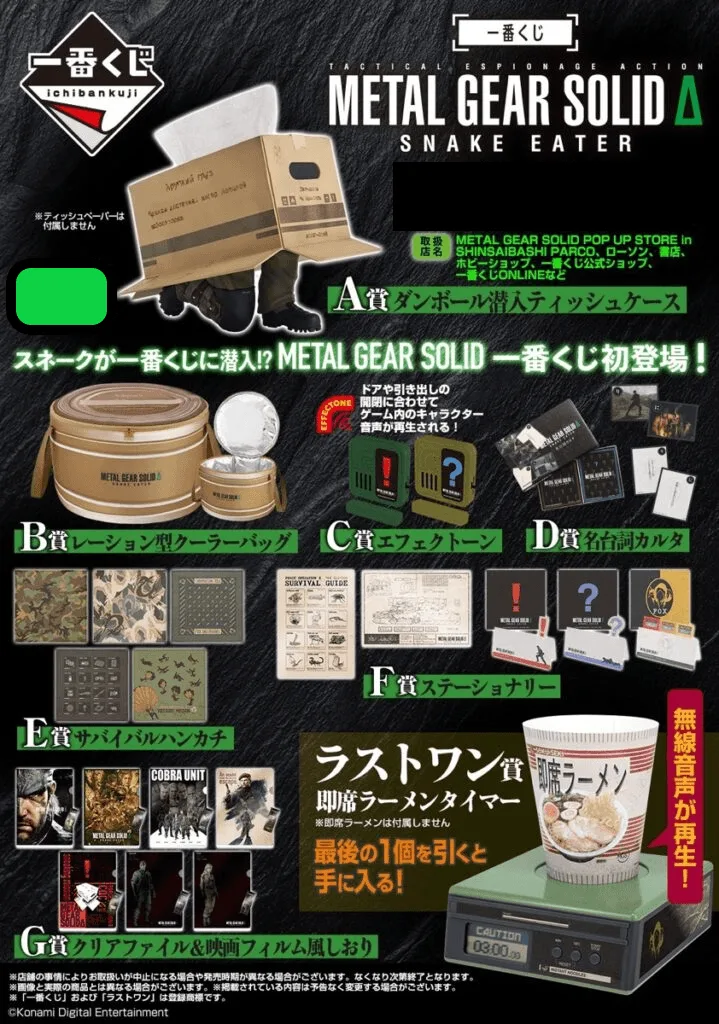
Ichiban Kuji - Metal Gear Solid : Snake Eater
- Always use primer for better paint adhesion
- Apply thin coats and build up color gradually
- Use a fine brush for intricate details
- Practice on spare parts before painting the final model
Common Mistakes to Avoid as a Beginner
One of the most common mistakes is using too much glue, which can cause parts to stick together and ruin the finish. Another is painting too thickly, leading to drips and uneven coverage. Rushing the process can also result in misaligned parts or missed details. To avoid these, take your time, follow the instructions, and test your techniques on scrap parts.
Another mistake is not cleaning your brushes properly, which can ruin them. Always clean brushes immediately after use with the appropriate thinner. Also, be careful with decals – they can tear if handled roughly. Use a decal solution to help them adhere smoothly. By being mindful of these pitfalls, you'll enjoy a smoother building experience and achieve better results.
- Use glue sparingly and apply with a toothpick for precision
- Thin your paints to avoid brush marks
- Clean brushes immediately after painting
- Handle decals carefully and use setting solution
Assembling and painting model kits is a fulfilling hobby that anyone can learn. With the right tools, patience, and practice, you'll be able to create beautiful models that you'll be proud to display. Start with a simple kit, and don't be afraid to experiment with different techniques. Happy building!