Quick Answer
Assembling your Kiwi Gliding Ottoman takes about 15 minutes and requires just a Phillips screwdriver. Follow the steps below to get it done safely and correctly.
Before You Start: What to Know
The Kiwi Gliding Ottoman pairs with the Babyletto Kiwi Glider Recliner and Cali Glider, but assembly is straightforward on its own. Make sure you have enough floor space and a soft surface to avoid scratching the wood or upholstery.
Check the box for all parts before beginning. If anything is missing or damaged, contact customer support before proceeding.
Common Assembly Mistakes to Avoid
Many people overtighten the screws, which can strip the threads or crack the wood. Tighten until snug, then stop.
Another common error is attaching the base upside down. Double-check that the gliding mechanism faces the floor and the smooth surface faces up.
Finally, don't skip the step of checking the gliding motion after assembly. A smooth glide is essential for the ottoman's function.
Step-by-Step Assembly Instructions
- Unpack and Inventory: Remove the ottoman from the box and lay out all parts and hardware. Verify that you have the ottoman body, base, screws, and any included tools. Check for any visible damage. If any parts are missing, stop and contact support before proceeding.
- Prepare the Base: Place the base on a flat, soft surface with the gliding mechanism facing down. Ensure the screw holes align with the mounting points on the ottoman body. Double-check the orientation to avoid attaching the base upside down.
- Attach the Base to the Ottoman: Position the ottoman body on top of the base, aligning the holes. Insert the screws and tighten them with a Phillips screwdriver. Do not overtighten; just snug is enough. Overtightening can strip threads or crack the wood.
- Test the Gliding Motion: Flip the ottoman right side up and place it on a level floor. Gently push it to ensure it glides smoothly and evenly. If it wobbles or catches, loosen the screws slightly and adjust alignment. A smooth glide is essential for safe and comfortable use.
- Final Check and Placement: Once the gliding motion is smooth, place the ottoman next to your glider. Give it a final once-over to ensure all screws are secure and the ottoman is stable. Confirm the ottoman pairs correctly with your glider for a seamless look.
Product Facts
-
Kiwi Gliding Ottoman: The Kiwi Gliding Ottoman features a smooth-gliding base and is designed to pair with the Babyletto Kiwi Glider Recliner and Cali Glider. This means the ottoman moves in sync with your glider, providing a comfortable and seamless rocking motion for you and your baby.
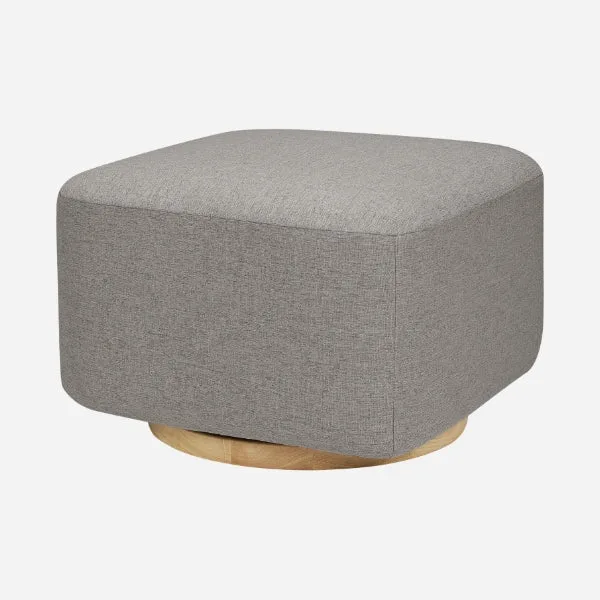
Kiwi Gliding Ottoman
Now that your Kiwi Gliding Ottoman is assembled, you're ready to enjoy comfortable feedings and bonding time. If you need additional help, refer to the product manual or contact customer support.