Quick answer
Place the decorative front of the needle minder on the right side of your canvas, then hold the loose back magnet underneath so the two magnets sandwich the fabric. Keep the minder on an unstitched border or corner, never on finished stitches, and slide it off rather than pulling it straight up. That routine protects both the canvas threads and the painted design.
A magnetic needle minder is one of the simplest tools in needlepoint, but the wrong placement or a rough removal can leave a mark on your canvas. The good news is that a few consistent habits prevent almost all of that damage.
This guide walks through the full process, from choosing a spot on the canvas to storing the minder between sessions. It also explains why magnet strength and minder size matter, using real examples from the Cavalier Needlepoint catalog.
Choose the right spot before the magnets touch
The safest place for a needle minder is an unstitched area of the canvas border, a corner, or a section you have not painted or stitched yet. Finished stitches are more fragile than they look, and a magnet pressing on them can flatten the thread or leave a faint ring. On a small canvas, work near the edge rather than the center of the design.
Think about how you hold the frame, too. If the minder sits where your palm rests, you will bump it constantly and the magnets may shift. Move it to the side you do not grip, and check that the front and back pieces line up before you let them snap together.
- Avoid placing the minder on top of beads, French knots, or raised stitches.
- On a 4.25" x 6" canvas like the Woodland Creatures Ornament Sized Bauble Stocking, a corner placement keeps the design area clear.
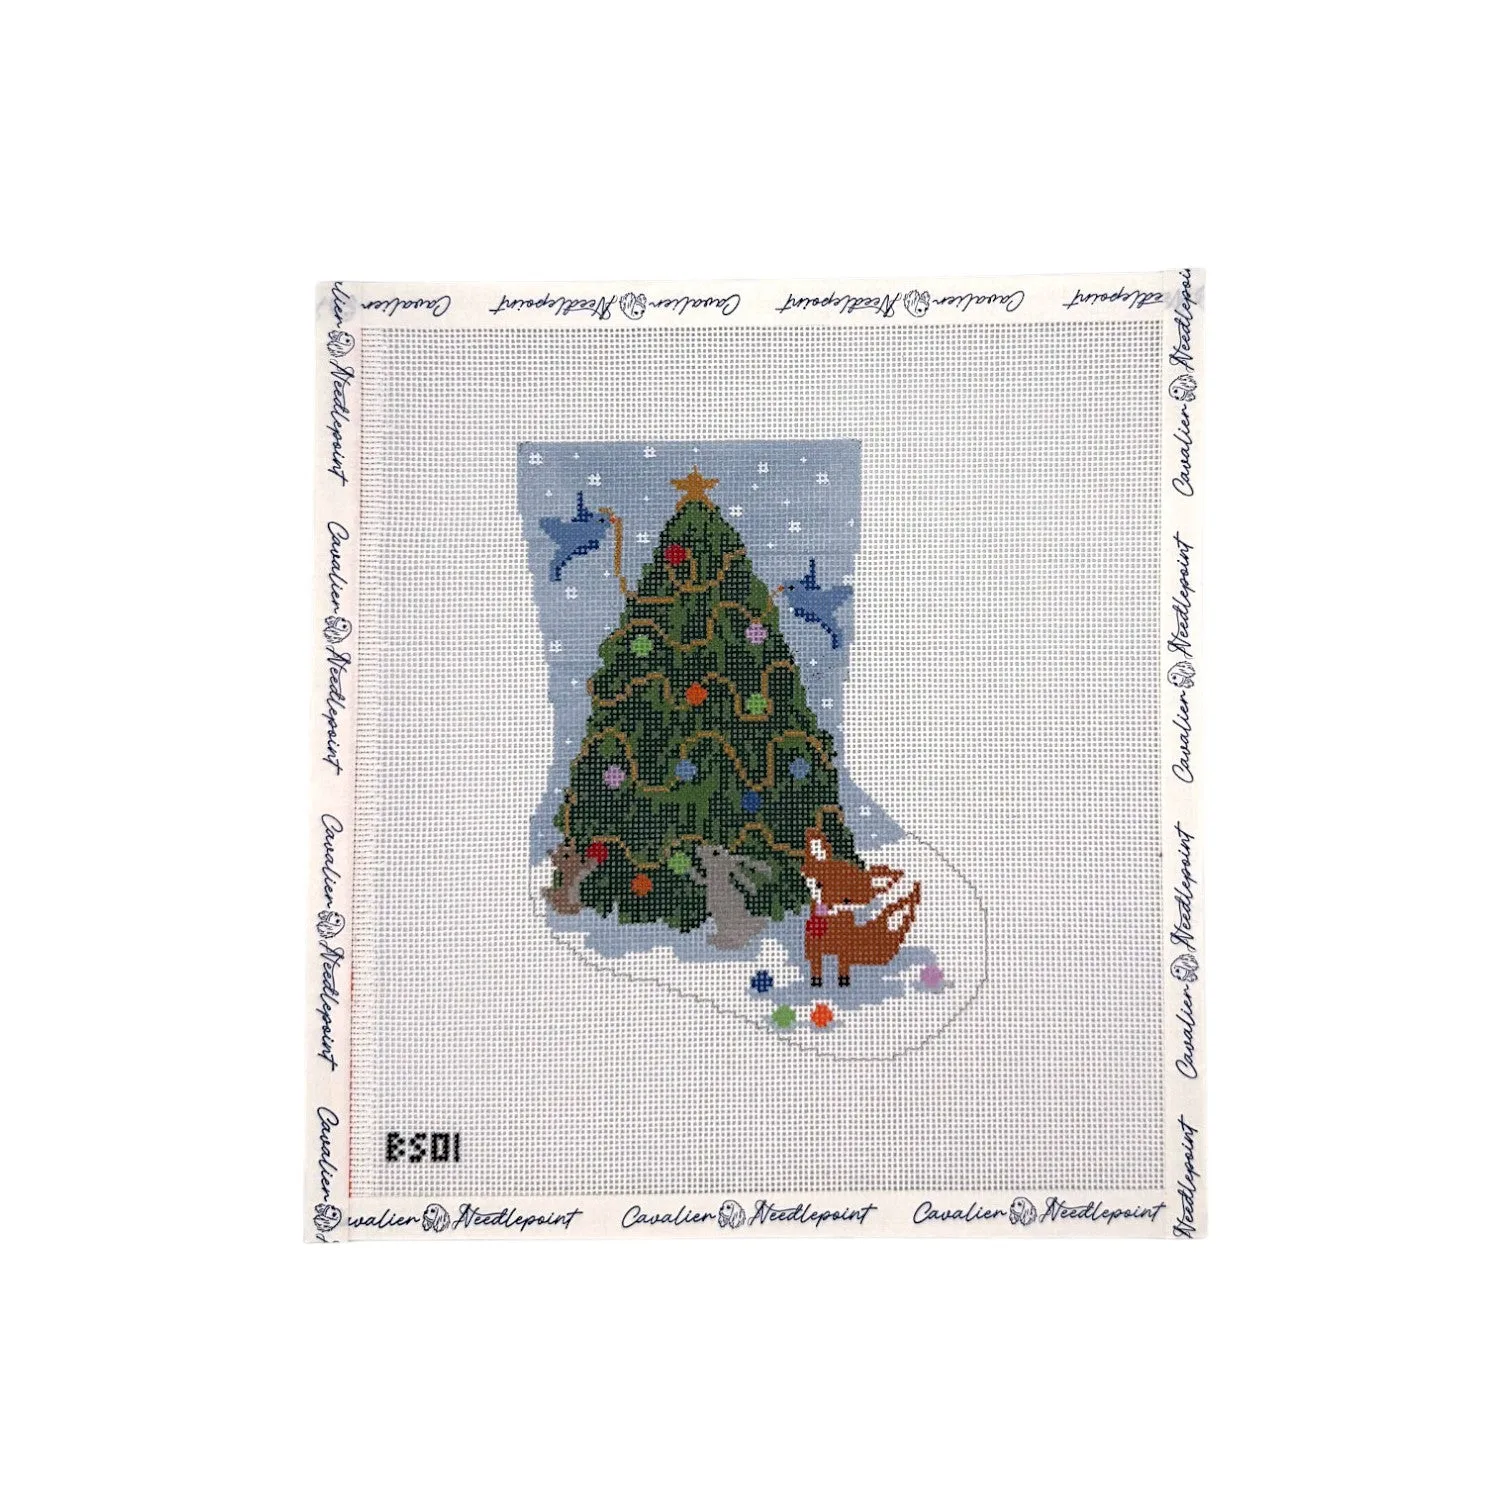
Woodland Creatures Ornament Sized Bauble Stocking
Attach the two magnets without pinching the canvas
Hold the decorative front piece on the right side of the canvas with one hand. With the other hand, bring the loose back magnet toward the same spot from underneath. Let the magnets meet through the fabric on their own; do not press them together with your fingers, because that is how canvas threads get crushed or pulled.
Once the two pieces connect, give the minder a gentle nudge to confirm it is holding but not clamped tight. If the canvas puckers around the magnet, the pull is too strong for that spot, so move it to a thicker border or use a smaller minder. Strong magnets are useful, but they should never dent the weave.
- If you feel resistance, stop and reposition instead of forcing the magnets together.
- A thinner minder design can sit more flush against the canvas and reduce bulk.
Use the minder correctly while you stitch
The whole point of a needle minder is to park your needle safely between stitches, so rest the needle on the decorative front rather than stabbing it into the canvas. Laying the needle across the minder keeps the point away from the fabric and makes it easy to pick up again. If you use a needle threader or scissors, keep them off the magnet so they do not jump and scratch the canvas.
Check the minder every so often during a long stitching session. Magnets can creep slightly as you rotate the frame, and a minder that has slid onto stitched areas is no longer protecting anything. A quick glance and a small adjustment take seconds and save you from repair work later.
- Never use the needle minder as a pincushion by pushing the needle through the canvas.
- Keep a spare needle parked on the minder so you are not tempted to stab the fabric.
Remove, store, and travel with the minder safely
When you finish stitching, slide the back magnet sideways rather than pulling it straight off. Sliding breaks the magnetic hold gradually and avoids the sudden snap that can tug at canvas threads. Separate the two pieces completely, then store them stuck together somewhere they will not attract pins, scissors, or other metal tools.
If you take a project on the go, keep the minder in a small bag or attached to a project pouch instead of loose in your stitching case. A magnetic minder loose in a bag will find every needle and metal item you own. For a project like the Gingerbread Man Mini, a tiny 1.2" x 1.5" design on a 5.2" x 5.5" canvas, a small minder is easier to store and less likely to overwhelm the fabric.
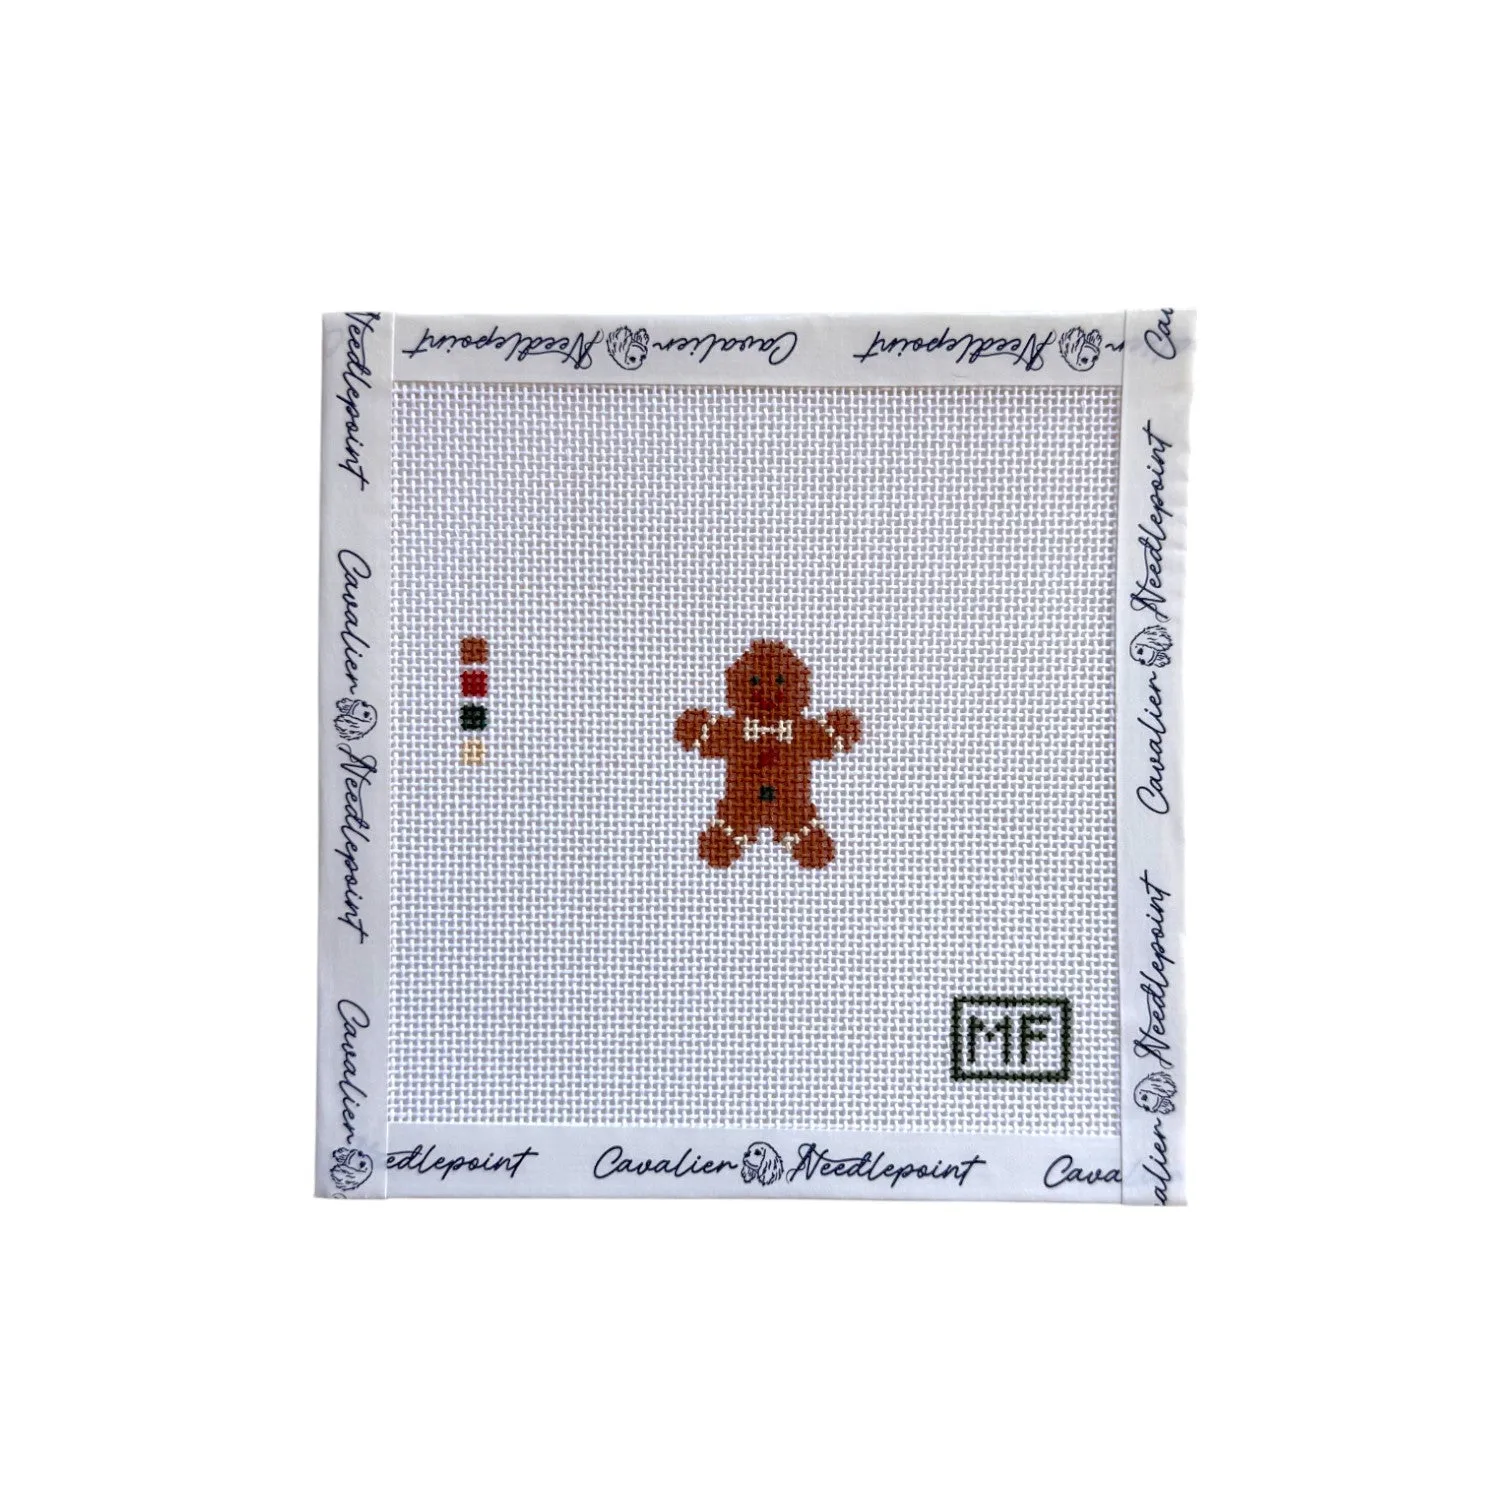
Gingerbread Man Mini
- Store the two magnet pieces together so you do not lose the back.
- Before packing a project, confirm the minder is not sitting on a stitched area.
Step-by-step: attach and remove a needle minder safely
- Pick an unstitched spot: Choose a canvas corner or border that has no stitches, beads, or raised work. Mistake to avoid: placing the minder in the center of the painted design where it will press on finished thread. Checkpoint: the spot should be flat, bare canvas.
- Line up front and back: Hold the decorative piece on the right side and the loose magnet underneath, aligned with each other. Mistake to avoid: letting the magnets snap together off-center, which pinches the canvas. Checkpoint: the two pieces should meet through the fabric without pulling it.
- Let the magnets connect: Allow the magnets to attract through the canvas instead of pressing them together with your fingers. Mistake to avoid: squeezing the magnets, which can crush the weave. Checkpoint: the canvas should stay flat, with no puckering around the minder.
- Park the needle on the minder: Rest your needle across the decorative front between stitches. Mistake to avoid: stabbing the needle into the canvas as if the minder were a pincushion. Checkpoint: the needle point stays off the fabric.
- Slide, do not pull, to remove: When you are done, slide the back magnet sideways to break the hold gradually. Mistake to avoid: yanking the minder straight off, which can tug at canvas threads. Next step: store the two pieces together so the back magnet does not go missing.
Needle minders and canvases that work well together
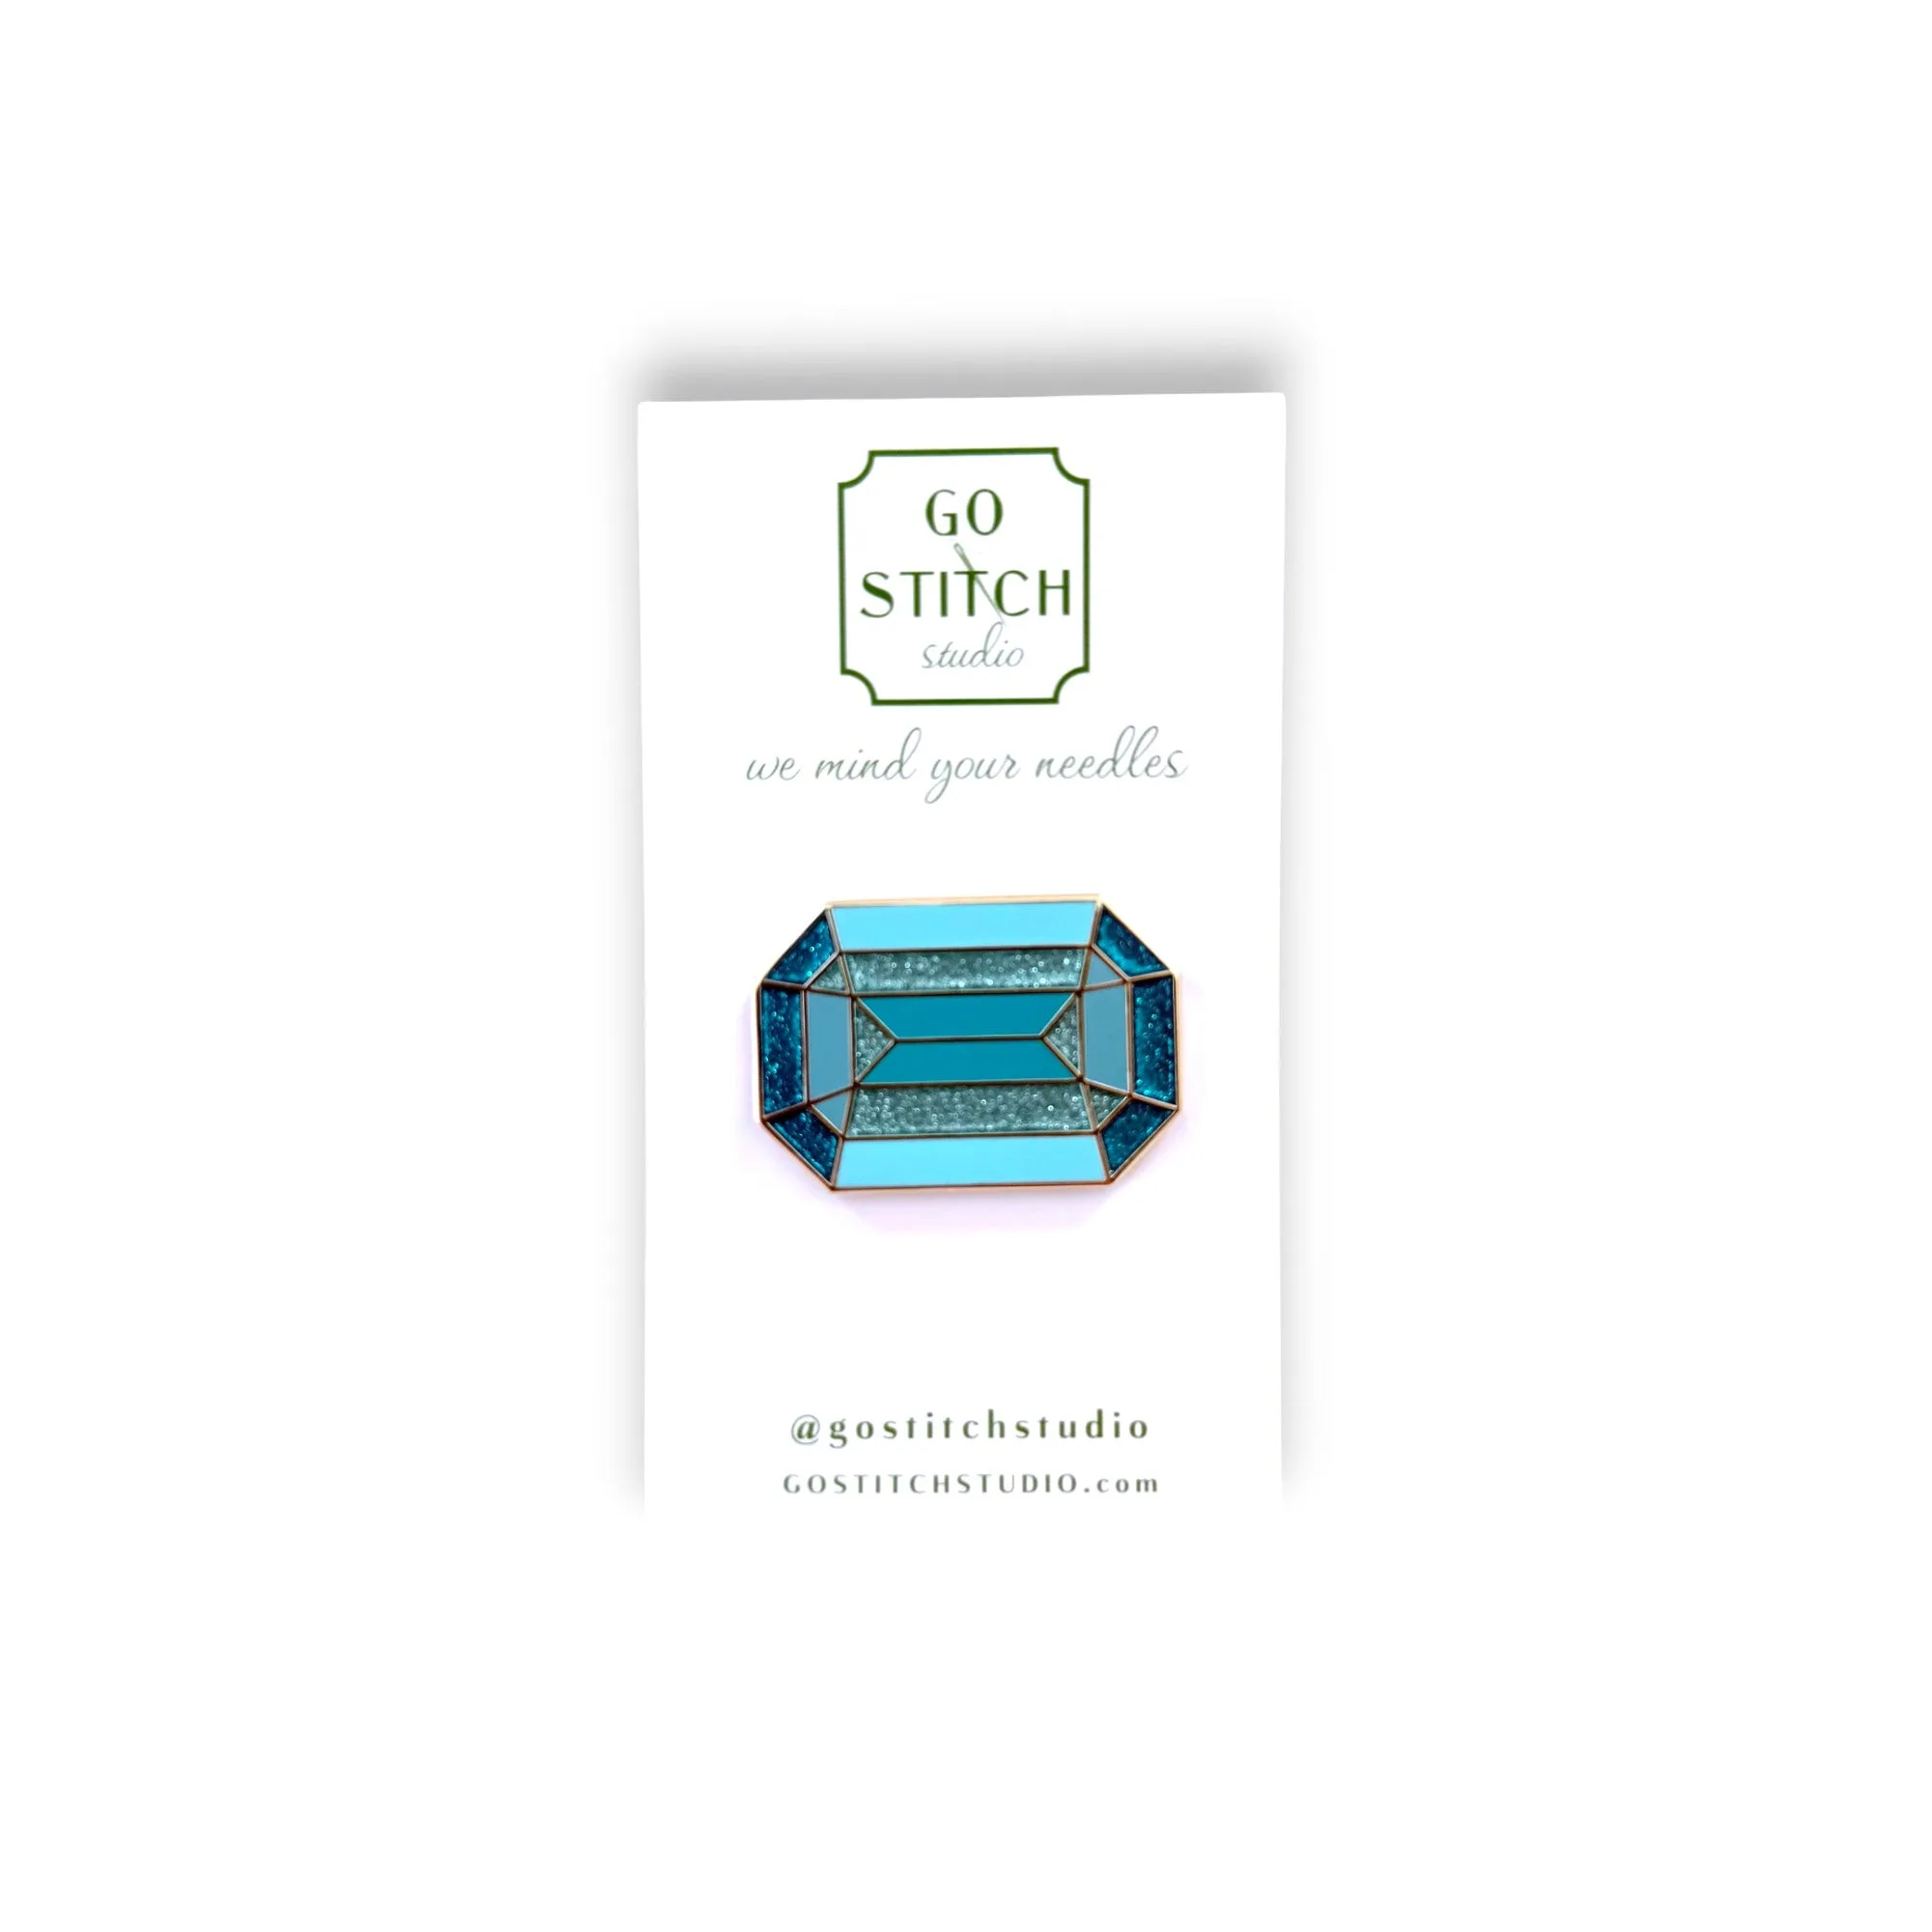
- The Roosevelt Aquamarine Needle Minder (Thin Design): This thin-design minder is 1 1/2 inches and uses strong N52 magnets with gold accents. The thinner profile sits closer to the canvas, which reduces bulk and makes it easier to keep the minder on a border rather than over stitches.
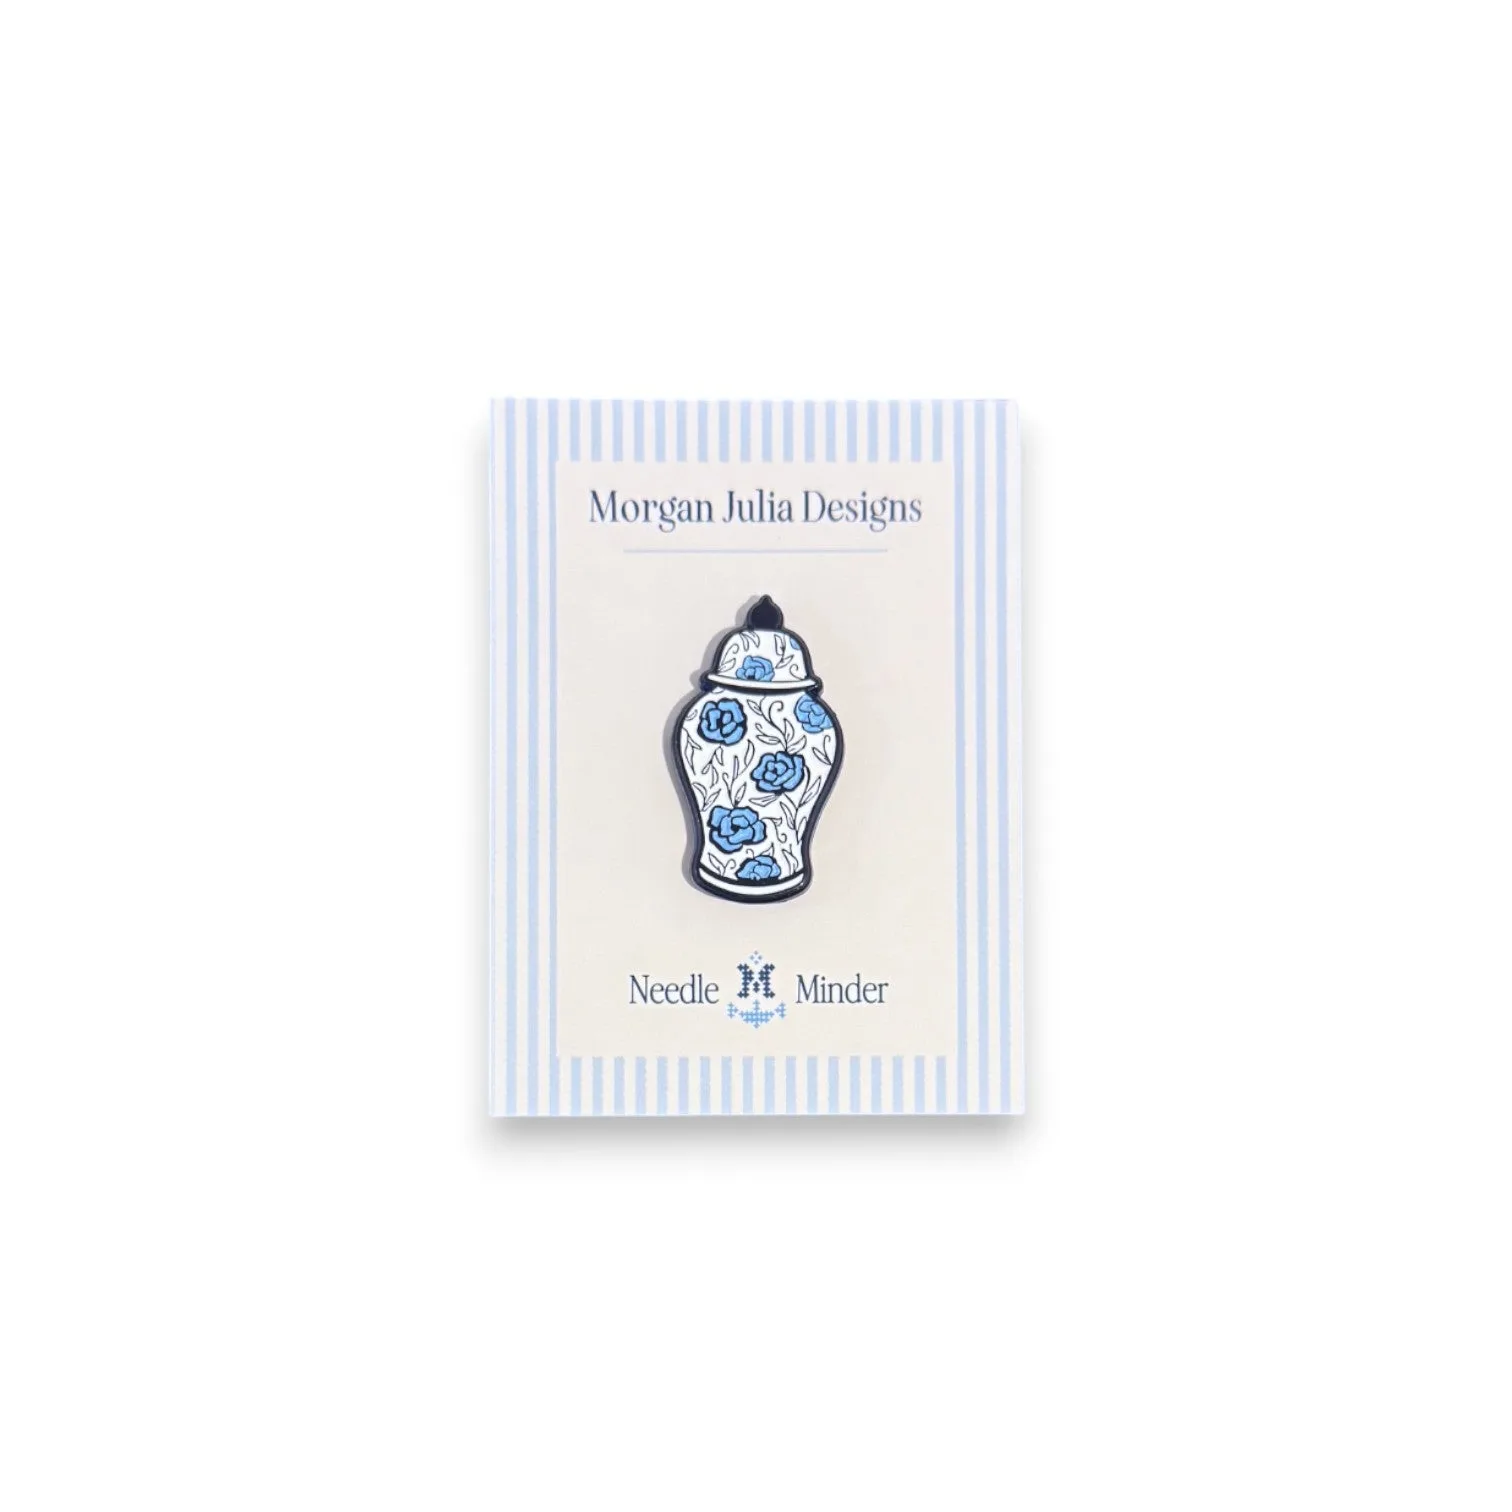
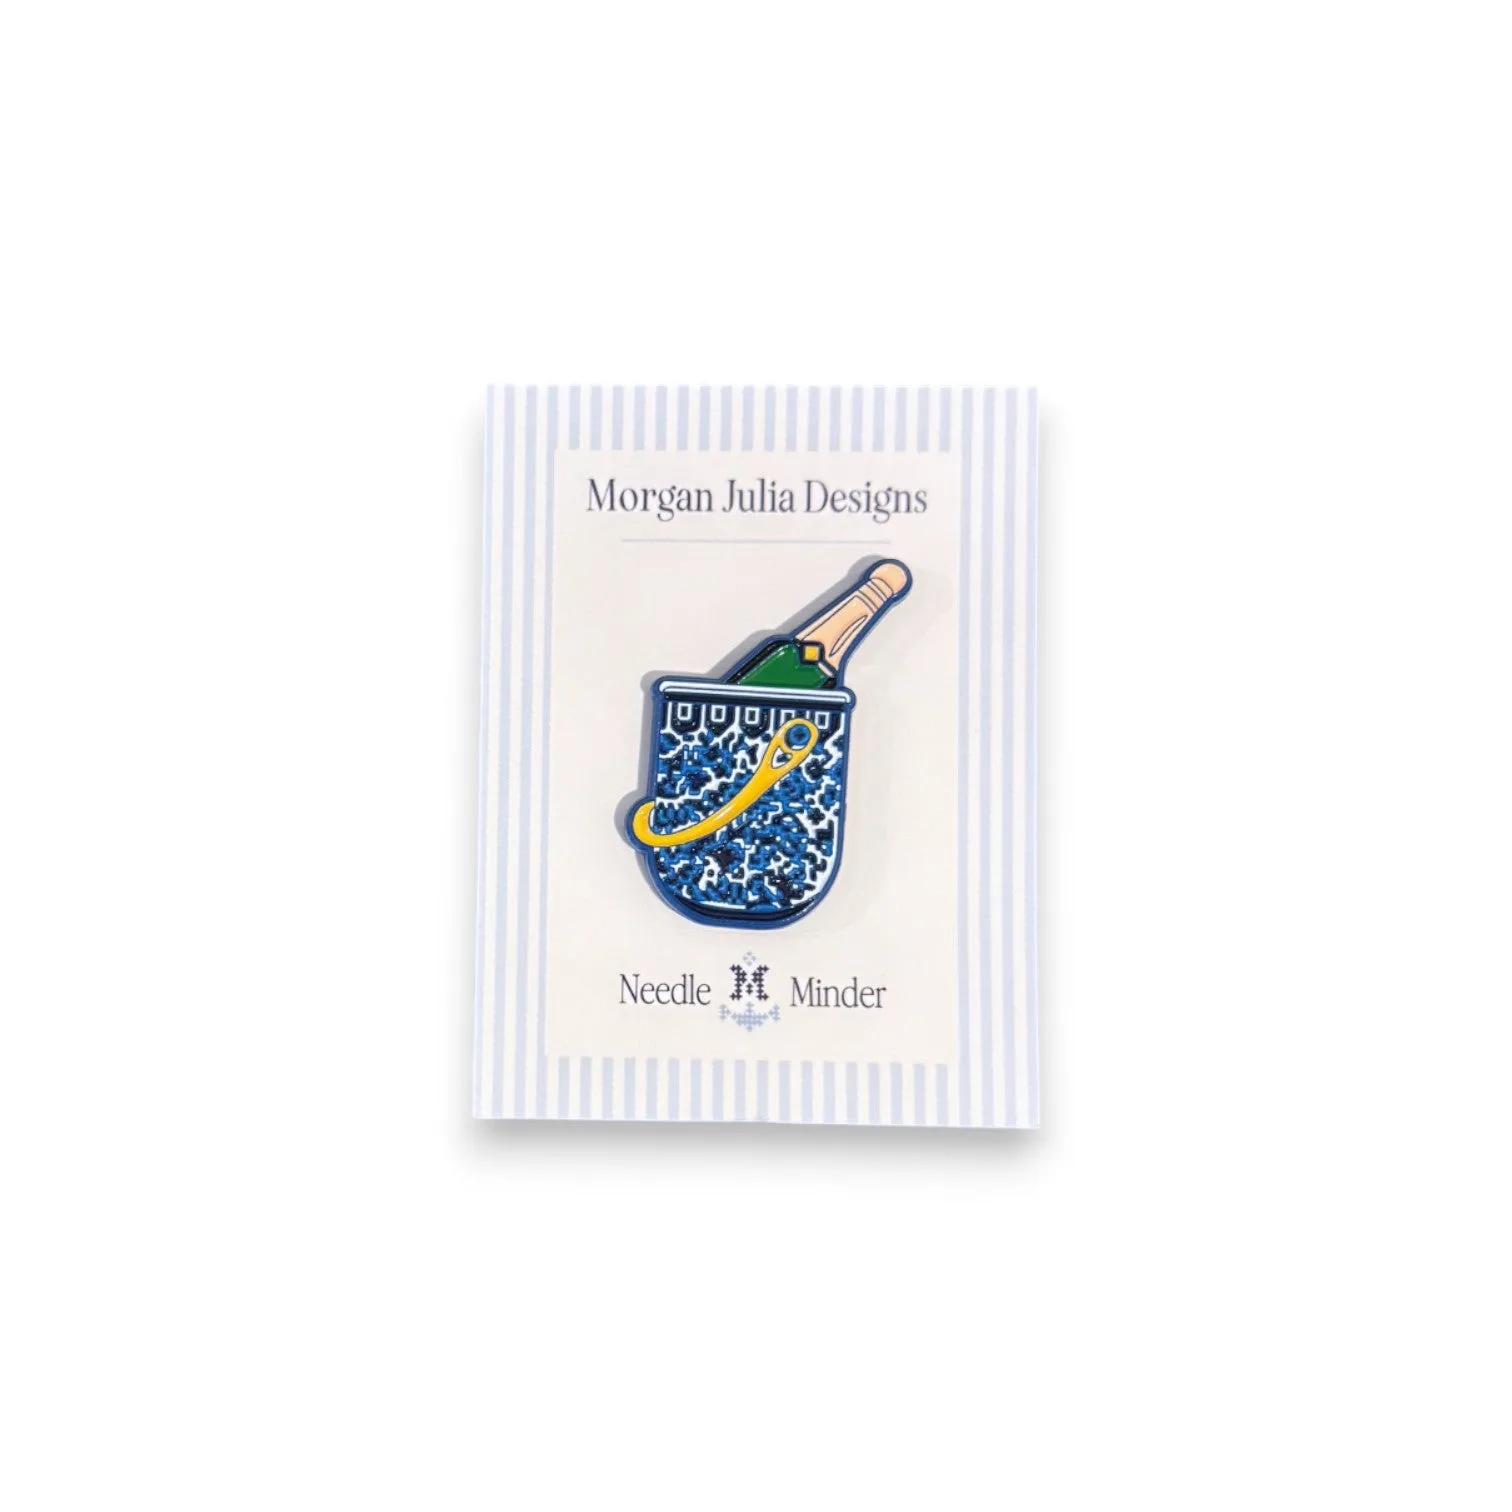
- Champagne Bucket Ginger Jar Needle Minder: This minder stands 1.5 inches tall and 1.2 inches wide at its largest point. Its compact size suits smaller canvases and tight stitching areas where a larger minder would cover too much of the design.
- Woodland Creatures Ornament Sized Bauble Stocking: This 18 mesh canvas measures 4.25" x 6" and is sold as canvas only. The unstitched border gives you a safe place to park a minder, and the compact size means placement matters more than on a large project.
- Gingerbread Man Mini: The painted design is 1.2" x 1.5" on a 5.2" x 5.5" 18-mesh canvas. With a design this small, a compact minder keeps the stitched area clear and leaves plenty of canvas edge for safe attachment.
A needle minder only damages canvas when it is placed on finished stitches or removed with a sudden pull. Keep it on bare border, let the magnets meet on their own, and slide it off when you stop stitching. Those three habits keep your canvas and your minder in good shape for every project.