Quick Answer
To build a custom lash look using 3-packs, start with a clean natural lash line and map your desired shape. Use one style as your base, then stack a second style on top for volume. Mix lengths and spikes to create dimension. Always check your bond for flexibility before applying.
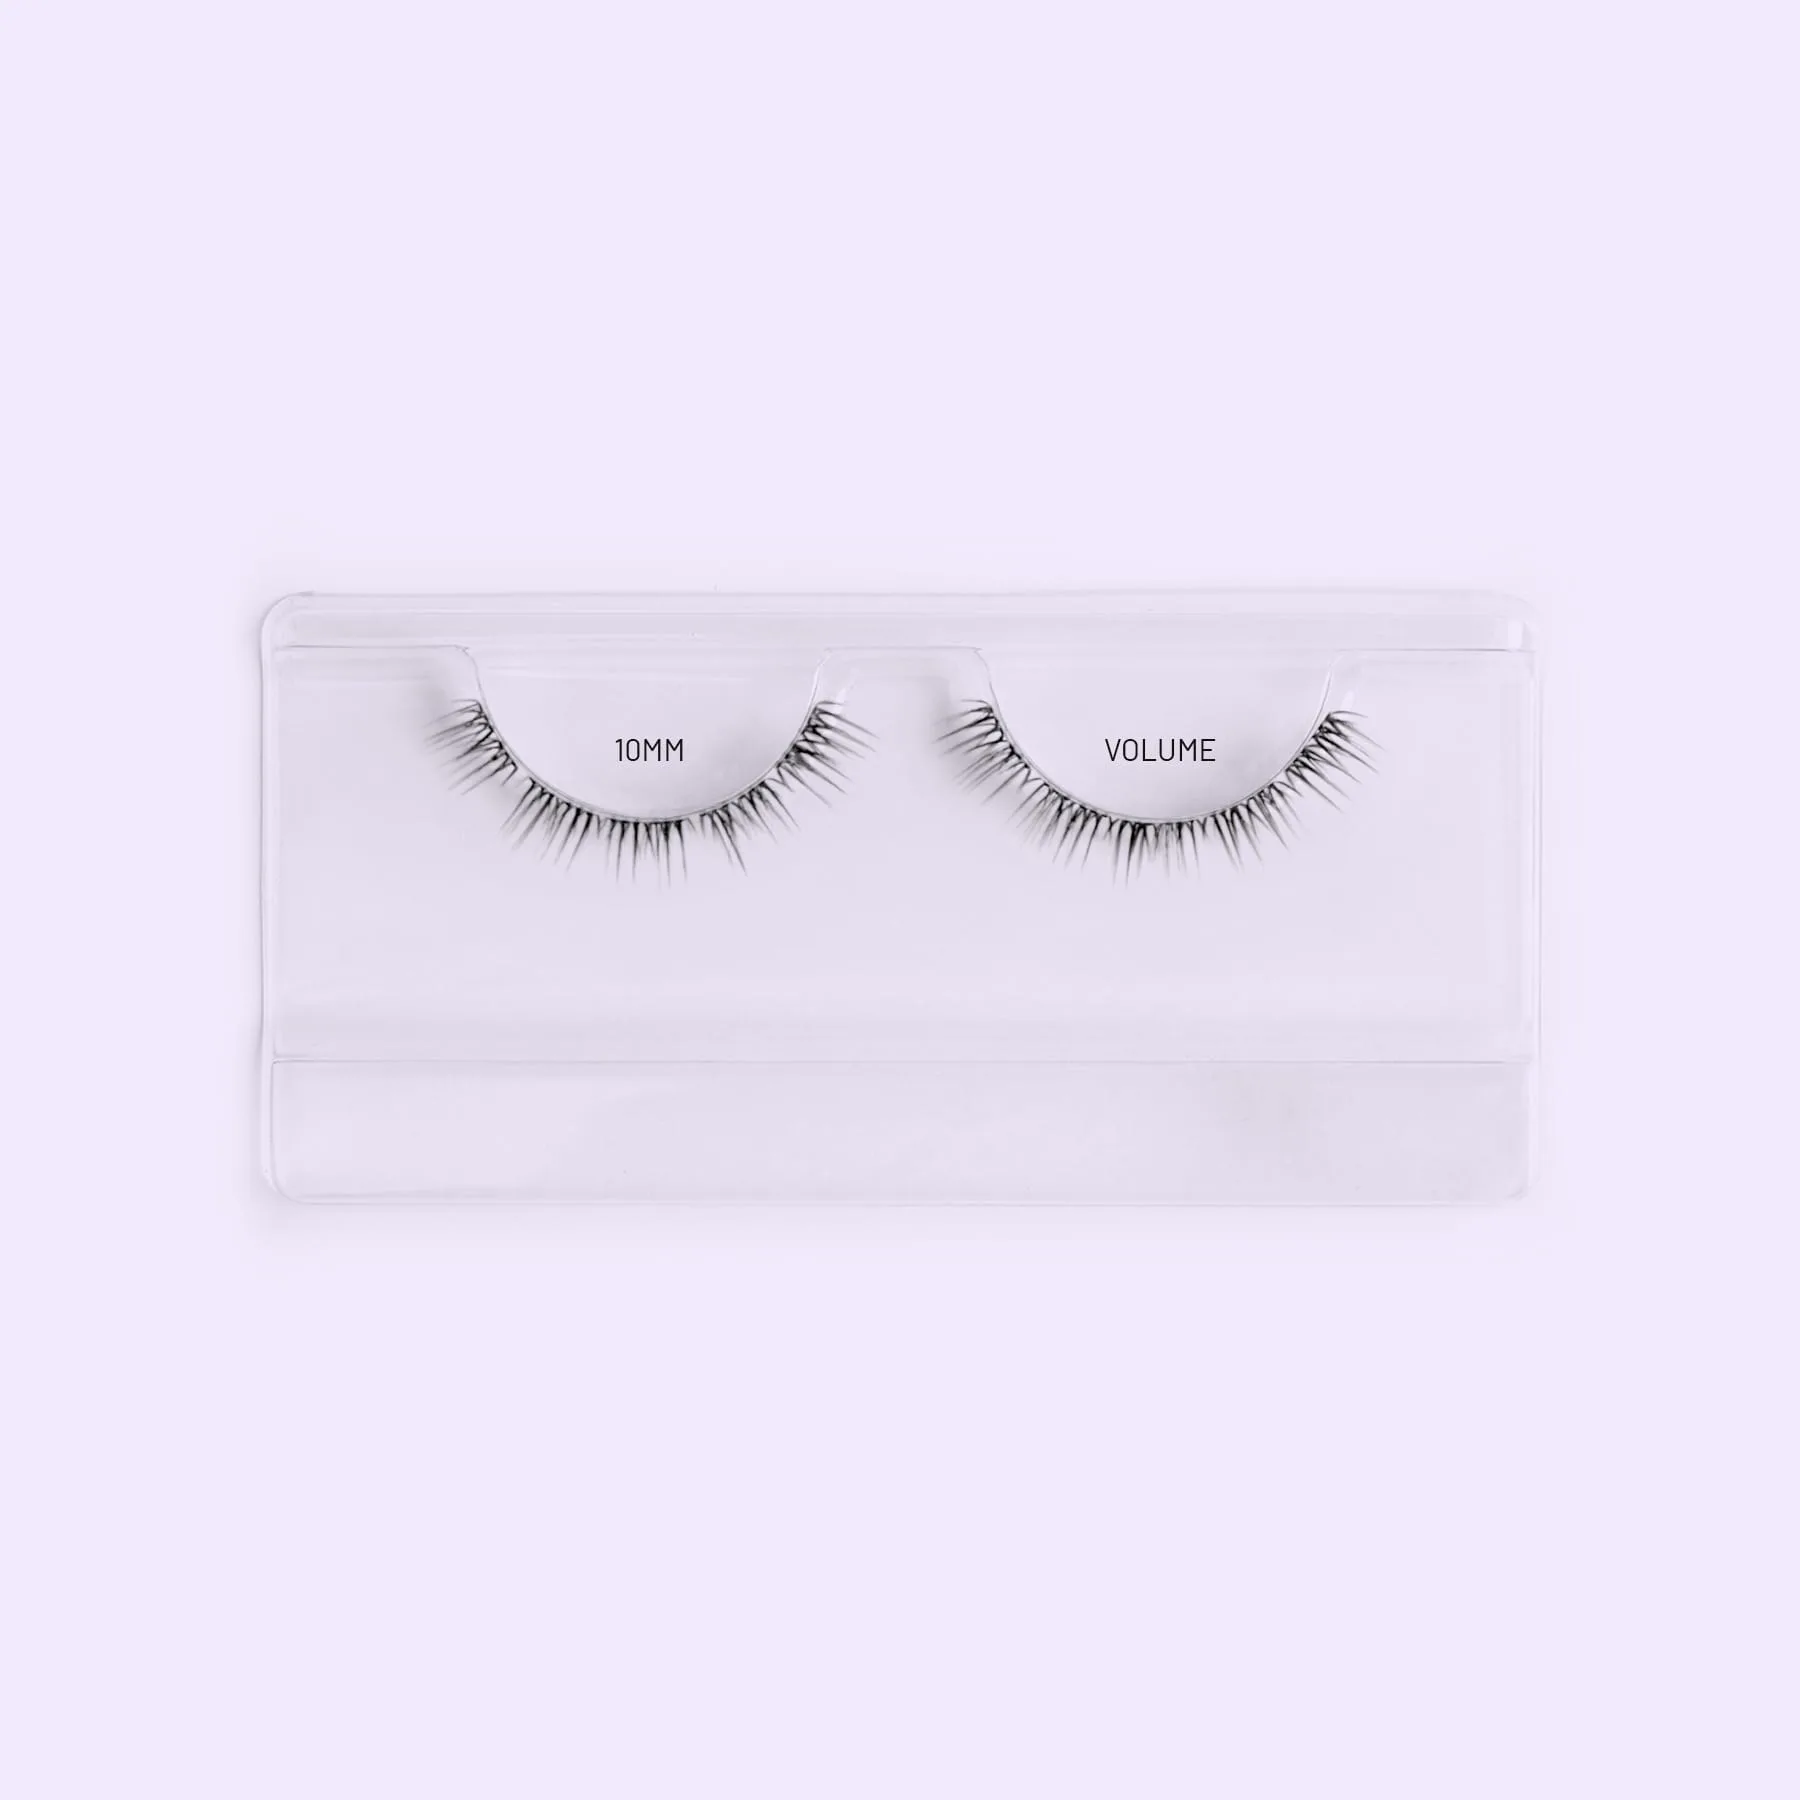
volume
Why 3-Packs Are Ideal for Custom Looks
3-packs give you multiple sets of the same style, which is perfect for experimenting with different mappings without committing to a full box of one lash. You can use one set for a natural base and another for accents, or combine two different 3-packs to create a truly unique look. This flexibility is why 3-pack lash extensions are a favorite for DIY lash mapping.
Step 1: Map Your Lash Line
Before you pick up any lashes, map your eye. Use a mirror and a gentle eye pencil or a lash map tool to mark where you want the longest lengths. A classic map places the longest lash at the outer corner for a cat-eye effect, while a doll-eye map places the longest in the center. For a custom look, you can create a map that blends both. This step is the foundation of DIY lash mapping and ensures you apply lashes with intention.
Step 2: Choose Your Base Style
Select one lash style to serve as your base. If you want a natural, everyday look, start with a style similar to your natural lashes. For more drama, choose a style with more length or volume. Apply this base style across your entire lash line, following your map. This creates a uniform foundation that you can build upon. Remember, the base style sets the overall tone of your custom lash look.
Step 3: Stack a Second Style for Volume
Once your base is set, take a second lash style and stack it on top of the base lashes. Lash stacking is the technique of placing one lash fan or spike over another to increase volume and dimension. Use a slightly shorter or longer length depending on the effect you want. For a spiky look, stack a dramatic spike over a natural base. For a softer look, stack a wispy lash over a fuller base. This is where your custom lash look truly comes to life.
Step 4: Mix Lengths and Curls
To avoid a uniform, artificial appearance, mix lengths and curls throughout your lash line. Alternate between 8mm, 10mm, and 12mm lashes to create a gradient effect. If you have different curl types, use a C curl for inner corners and a D curl for outer corners. This variation mimics natural lash growth and adds depth. When you mix lash styles, you create a lash volume guide that looks professionally done.
Step 5: Secure with Bond and Seal
After you've built your custom look, apply a thin layer of lash bond to the base of your natural lashes. Then, use a sealant to lock everything in place. Be careful not to use too much bond, as it can clump or cause irritation. A common mistake is applying bond to the entire lash instead of just the base. Always check that your bond is flexible and not stiff before you start.
Step 6: Check for Symmetry and Comfort
Once your lashes are applied, look straight ahead in a mirror and check for symmetry. Adjust any lashes that look uneven or feel uncomfortable. If a lash feels heavy or pulls, remove it and reapply with less bond. Comfort is key for at home lash extensions. A well-applied custom lash look should feel weightless and last through your day.
Step-by-Step Custom Lash Look
- Map your lash line: Use a mirror and eye pencil to mark where you want the longest lengths. Decide on a cat-eye, doll-eye, or custom map. Checkpoint: Your map should be visible and easy to follow.
- Apply base style: Choose one lash style and apply it across your entire lash line, following your map. This creates a uniform foundation. Checkpoint: Ensure base lashes are evenly spaced and secure.
- Stack second style: Take a second lash style and stack it on top of the base lashes. Use a shorter or longer length for dimension. Mistake to avoid: Don't stack too many lashes at once; it can look clumpy.
- Mix lengths and curls: Alternate between different lengths and curls to create a natural gradient. Use C curl for inner corners and D curl for outer corners. Checkpoint: The mix should look balanced and not uniform.
- Secure with bond and seal: Apply a thin layer of bond to the base of your natural lashes, then seal. Avoid using too much bond. Mistake to avoid: Applying bond to the entire lash instead of just the base.
- Check symmetry and comfort: Look straight ahead and adjust any uneven or uncomfortable lashes. Remove and reapply if needed. Final check: Your custom look should feel weightless and last all day.
Products for Your Custom Look
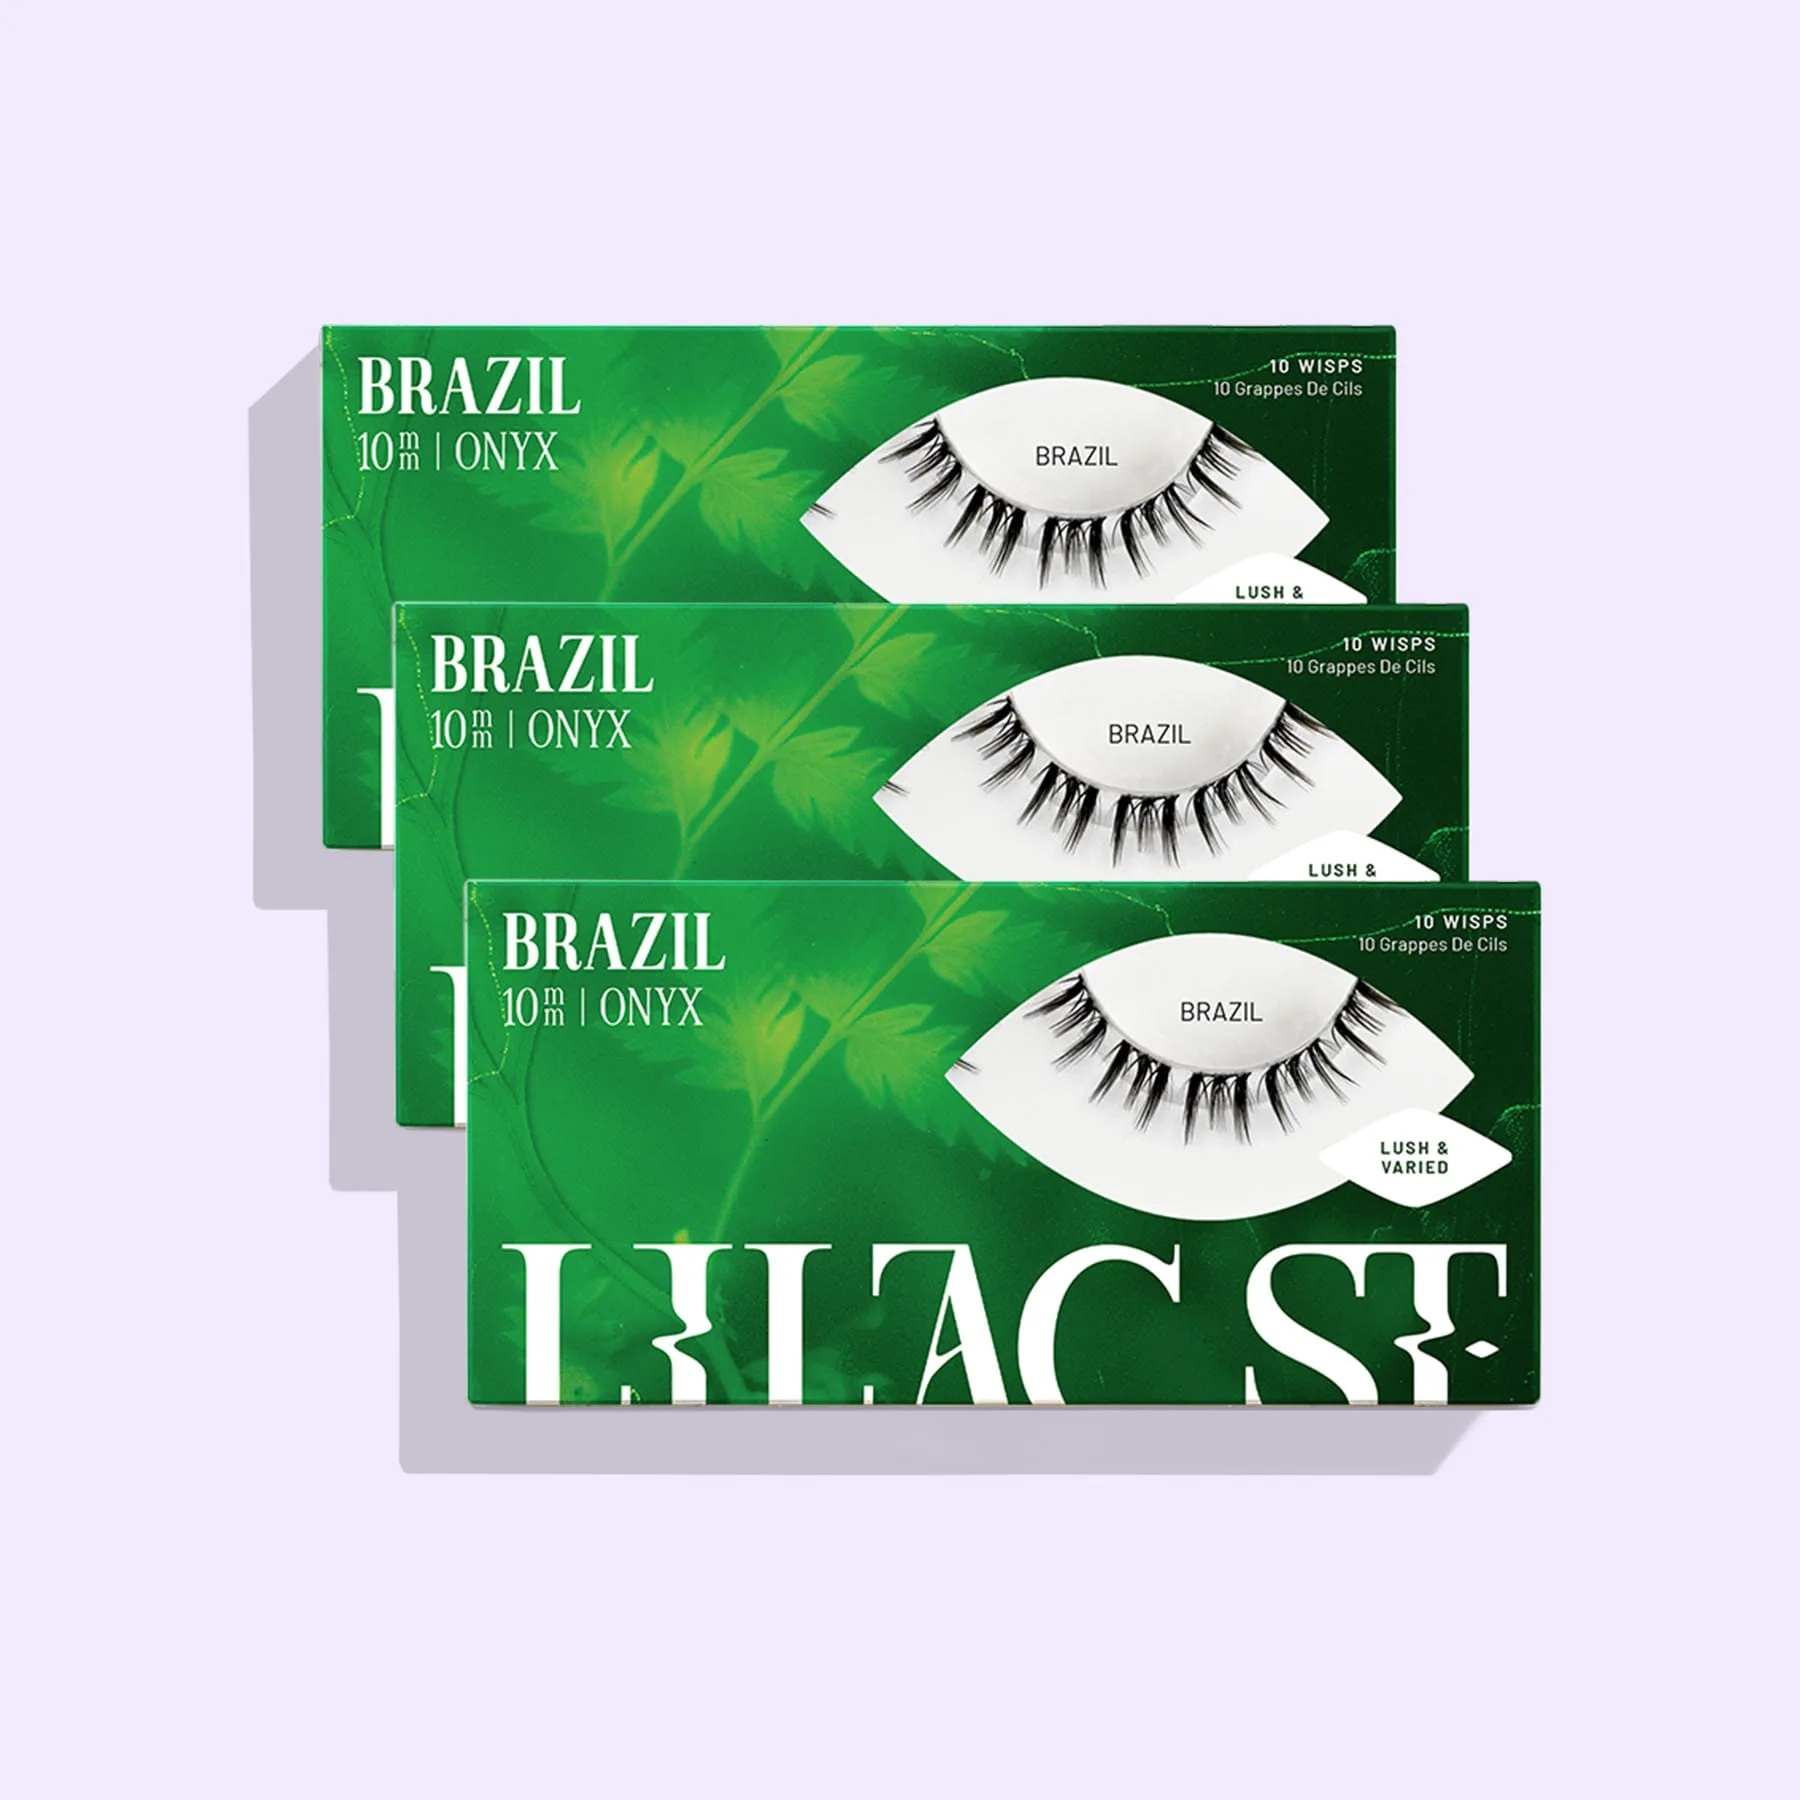
- Brazil 3-Pack: Brazil 3-Pack: A bold, dimensional lash. Buy 3 sets and save 15%. Brazil is a multi-length, hybrid lash. The multi-length hybrid design makes Brazil ideal for stacking and mixing with other styles to create a custom, dimensional look without needing multiple products.
- Met Gala 3-Pack: Met Gala 3-Pack: Love at first spike. Buy 3 sets and save 15%. This single-spike, dramatic lash. The single-spike design is perfect for adding dramatic accents to a natural base, allowing you to create a bold, spiky custom look with just one style.
- Originals: Originals: The lash that started it all. Originals are similar to your natural lashes. Use Originals as a natural base for your custom look, then stack bolder styles on top for volume and drama without overwhelming your natural lashes.