Quick answer
Pick one theme and one palette first, then build the shelf from the back forward: large plush at the rear, figures in the middle, and a pin board or pin strip at the front edge or on the wall beside it. Place your tallest or most detailed piece first, space items so each reads on its own, and light the shelf from above or the side. If a piece does not fit the theme or palette, leave it off.
Choose a theme that can hold three formats at once
A theme works best when it can be told as a small story rather than a category. Nostalgic Saturday-morning TV, a zodiac sign, or a favorite film character all give you a reason to place a plush, a pin, and a figure on the same shelf. A single character is usually too narrow; a whole decade or genre is usually too broad and turns into clutter.
Test the theme before you commit shelf space. Gather the pieces you want to include, then ask whether a visitor could name the theme in one sentence without you explaining it. If not, narrow it. If you cannot find three pieces that fit, widen it slightly.
Lock a palette before you place anything
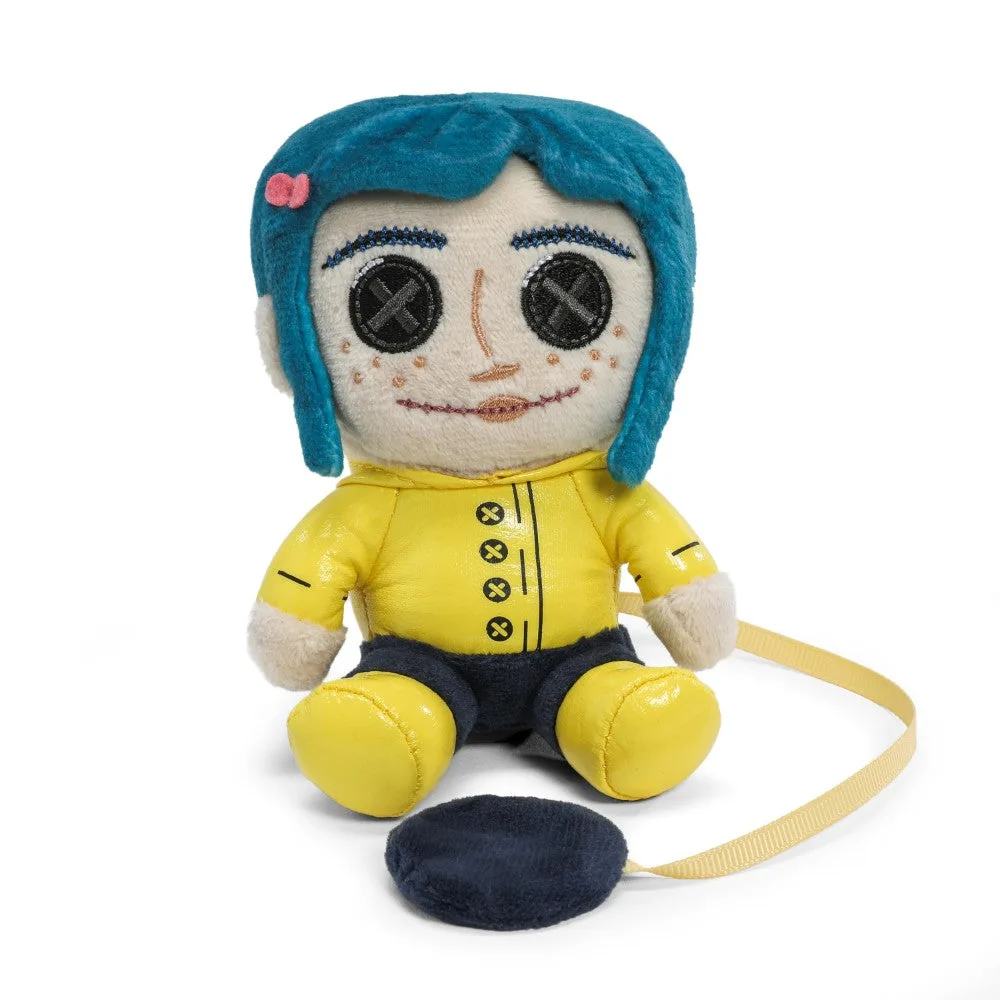
Color is what makes a mixed shelf look intentional instead of accidental. Pull two or three dominant colors from your largest piece, then let the smaller pieces echo those colors. A yellow raincoat, blue hair, and a red bow, for example, give you a natural palette that ties a plush to pins and figures even when the characters are unrelated.
Write the palette down as three color words, such as cream, coral, and teal. Any new piece that does not match at least one of those words is a candidate for a different shelf. This one rule prevents the slow creep of random items that makes collector shelves look messy over time.
Build the shelf in layers from back to front
Treat the shelf like a small stage. The back layer holds the tallest and softest pieces, because plush has volume and reads well from a distance. The middle layer holds figures and hard collectibles at eye level, where details are visible. The front edge or the wall above holds enamel pins, which are small and need to be close to the viewer.
Leave visible gaps between layers. A common mistake is pushing everything flat against the back wall, which hides the depth of the shelf and makes plush look like it is falling backward. Pull the front pieces slightly forward so the shelf has a clear foreground, middle, and background.
Give pins their own zone so they do not disappear
Enamel pins are the hardest format to display well because they are small. Group them on a dedicated pin board, a fabric-covered strip, or a framed panel beside the shelf rather than scattering them among plush and figures. A tight cluster of pins reads as one object; loose pins read as clutter.
Keep the pin zone at or slightly above eye level. Below eye level, pins get lost behind plush shadows. If you use a pin board, match its background to your palette so the pins pop instead of competing with the board itself.
Light the shelf from above or the side
Overhead or side lighting creates soft shadows that give plush and figures dimension. A small clip light or LED strip placed at the top front of the shelf is usually enough. Avoid lighting from directly in front, which flattens the display and creates glare on enamel pins.
Check the shelf at night, when most collectors actually see it. If the pins turn into tiny bright dots and the plush goes dark, move the light higher or add a second low-intensity source. Lighting is the step most people skip, and it is the one that makes a themed shelf look finished.
Steps to build the shelf
- Pick one theme and write it down: Choose a theme you can express in a single sentence and that at least three of your pieces already fit. Write the sentence on a note and keep it near the shelf. Checkpoint: if a visitor cannot guess the theme without asking, narrow it before you place anything.
- Choose three palette colors: Pull two or three colors from your largest or favorite piece and use them as the filter for everything else on the shelf. Checkpoint: remove any piece that does not match at least one palette color.
- Place the largest plush at the back: Set the biggest or softest piece in the back layer, slightly off-center rather than dead center, so the shelf does not look symmetrical and stiff. Checkpoint: step back two paces. If the plush hides the figures behind it, move it to one side.
- Set figures in the middle layer: Arrange hard collectibles at eye level, varying height by using small risers or stacked books if needed. Keep at least a finger-width of space between pieces. Checkpoint: every figure should be visible from a standing position without moving anything.
- Create a dedicated pin zone: Group enamel pins on a board, strip, or framed panel at or above eye level, either on the shelf edge or on the wall beside it. Checkpoint: if the pins read as separate dots instead of one cluster, tighten the spacing.
- Add light and do a night check: Place a small light above or to the side of the shelf, then look at it in the evening when the room is dim. Checkpoint: adjust the light until plush has soft shadow and pins do not glare.
Pieces that work well on a themed shelf
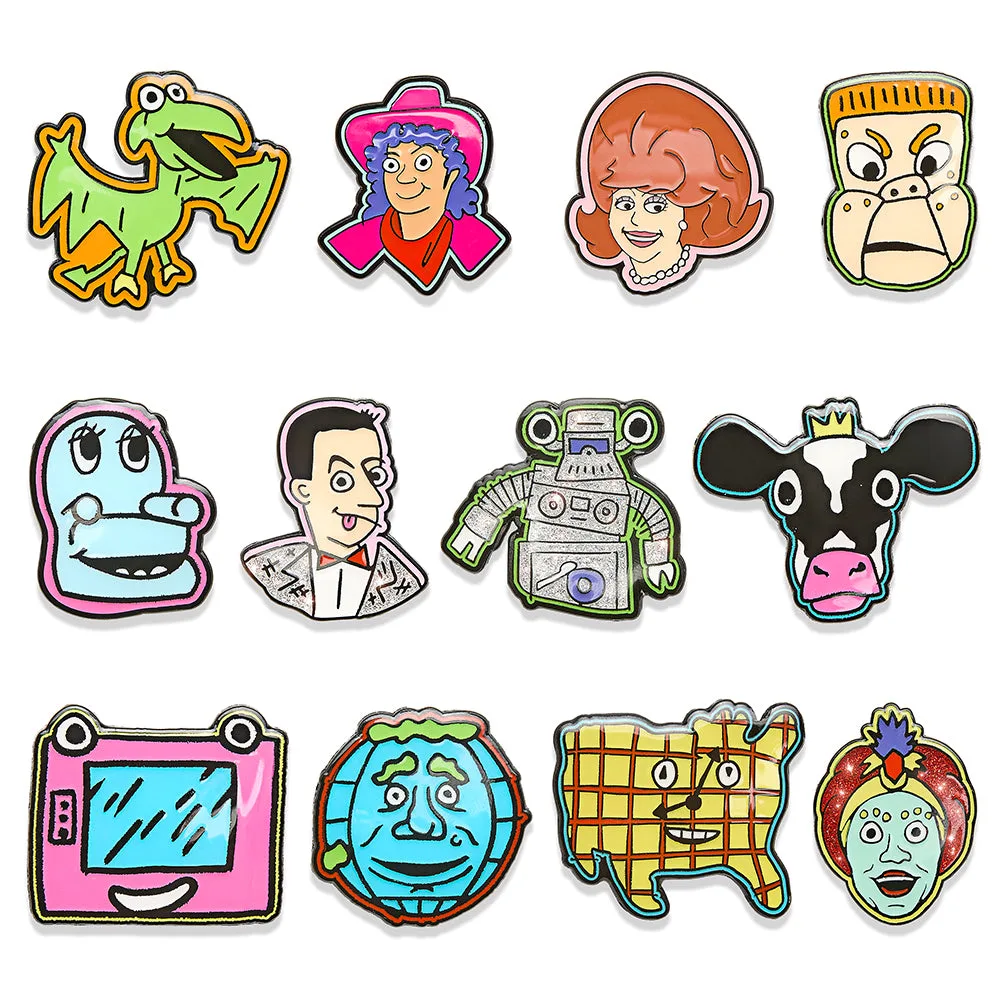
- Pee-wee's Playhouse Enamel Pin Series: Pee-wee's Playhouse Enamel Pin Series features Pee-wee Herman, Conky the Robot, and other Playhouse characters as enamel pins. A character pin set gives you a ready-made pin cluster that already shares one theme, so the pin zone on your shelf looks intentional without mixing unrelated designs.
- Coraline with Button Eyes Plush Shoulder Phunny: Coraline with Button Eyes Plush Shoulder Phunny measures 4.5 inches and uses magnets to attach to a shoulder or strap. Its small size and magnets mean you can perch it on a shelf edge or move it onto a bag, which makes it a flexible piece when you are still testing a layout.
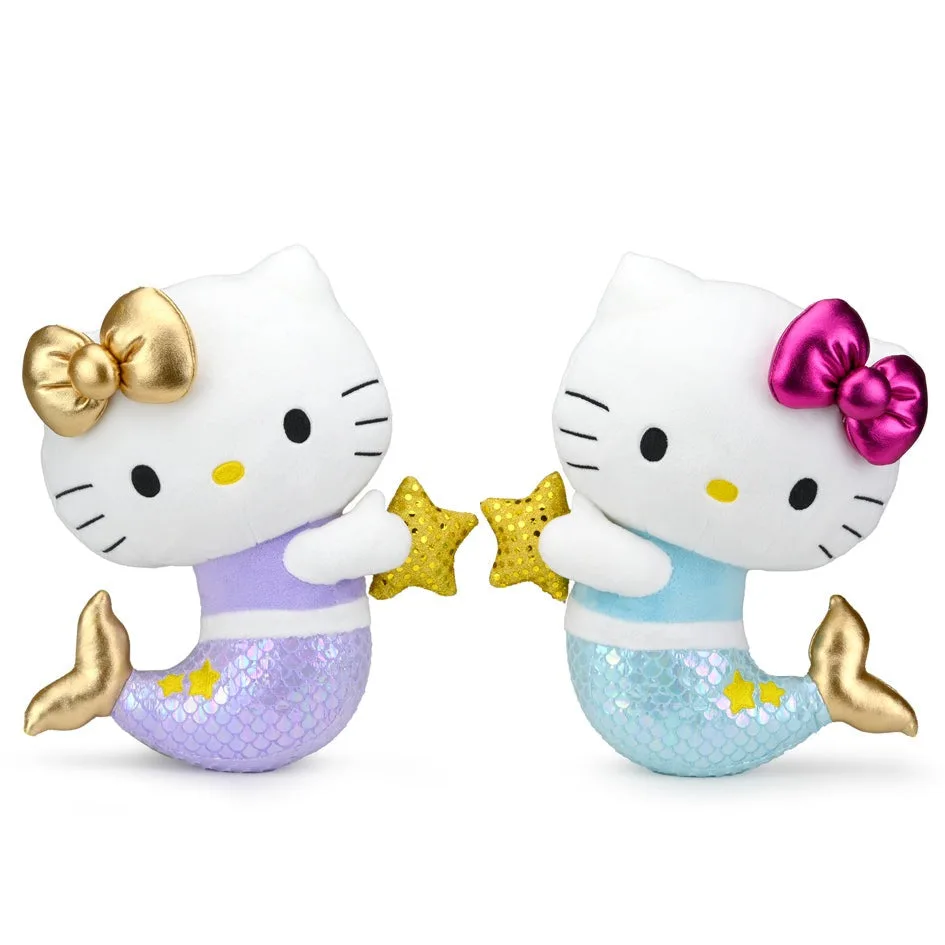
- Kidrobot Hello Kitty® Zodiac Medium Plush - PISCES Edition: Kidrobot Hello Kitty Zodiac Medium Plush - PISCES Edition is a premium plush themed as the Pisces star sign, for birthdays between February 18 and March 20. A zodiac plush gives a themed shelf a built-in story and palette, which makes it easier to choose figures and pins that belong beside it.