Quick answer
Finish a needlepoint canvas in three stages: block the stitched piece so it dries square, mount it on a rigid board or sew it into a shaped finish, then frame, back, or hang it. Blocking first solves most of the pulling and distortion that stitching creates, so framing needlepoint and ornament finishing both go more smoothly when you do it in that order.
Stitching is only half the project. A finished needlepoint canvas that is still slightly diamond-shaped, rippled at the edges, or curled at one corner will fight you through every later step, whether you plan to frame it or turn it into an ornament.
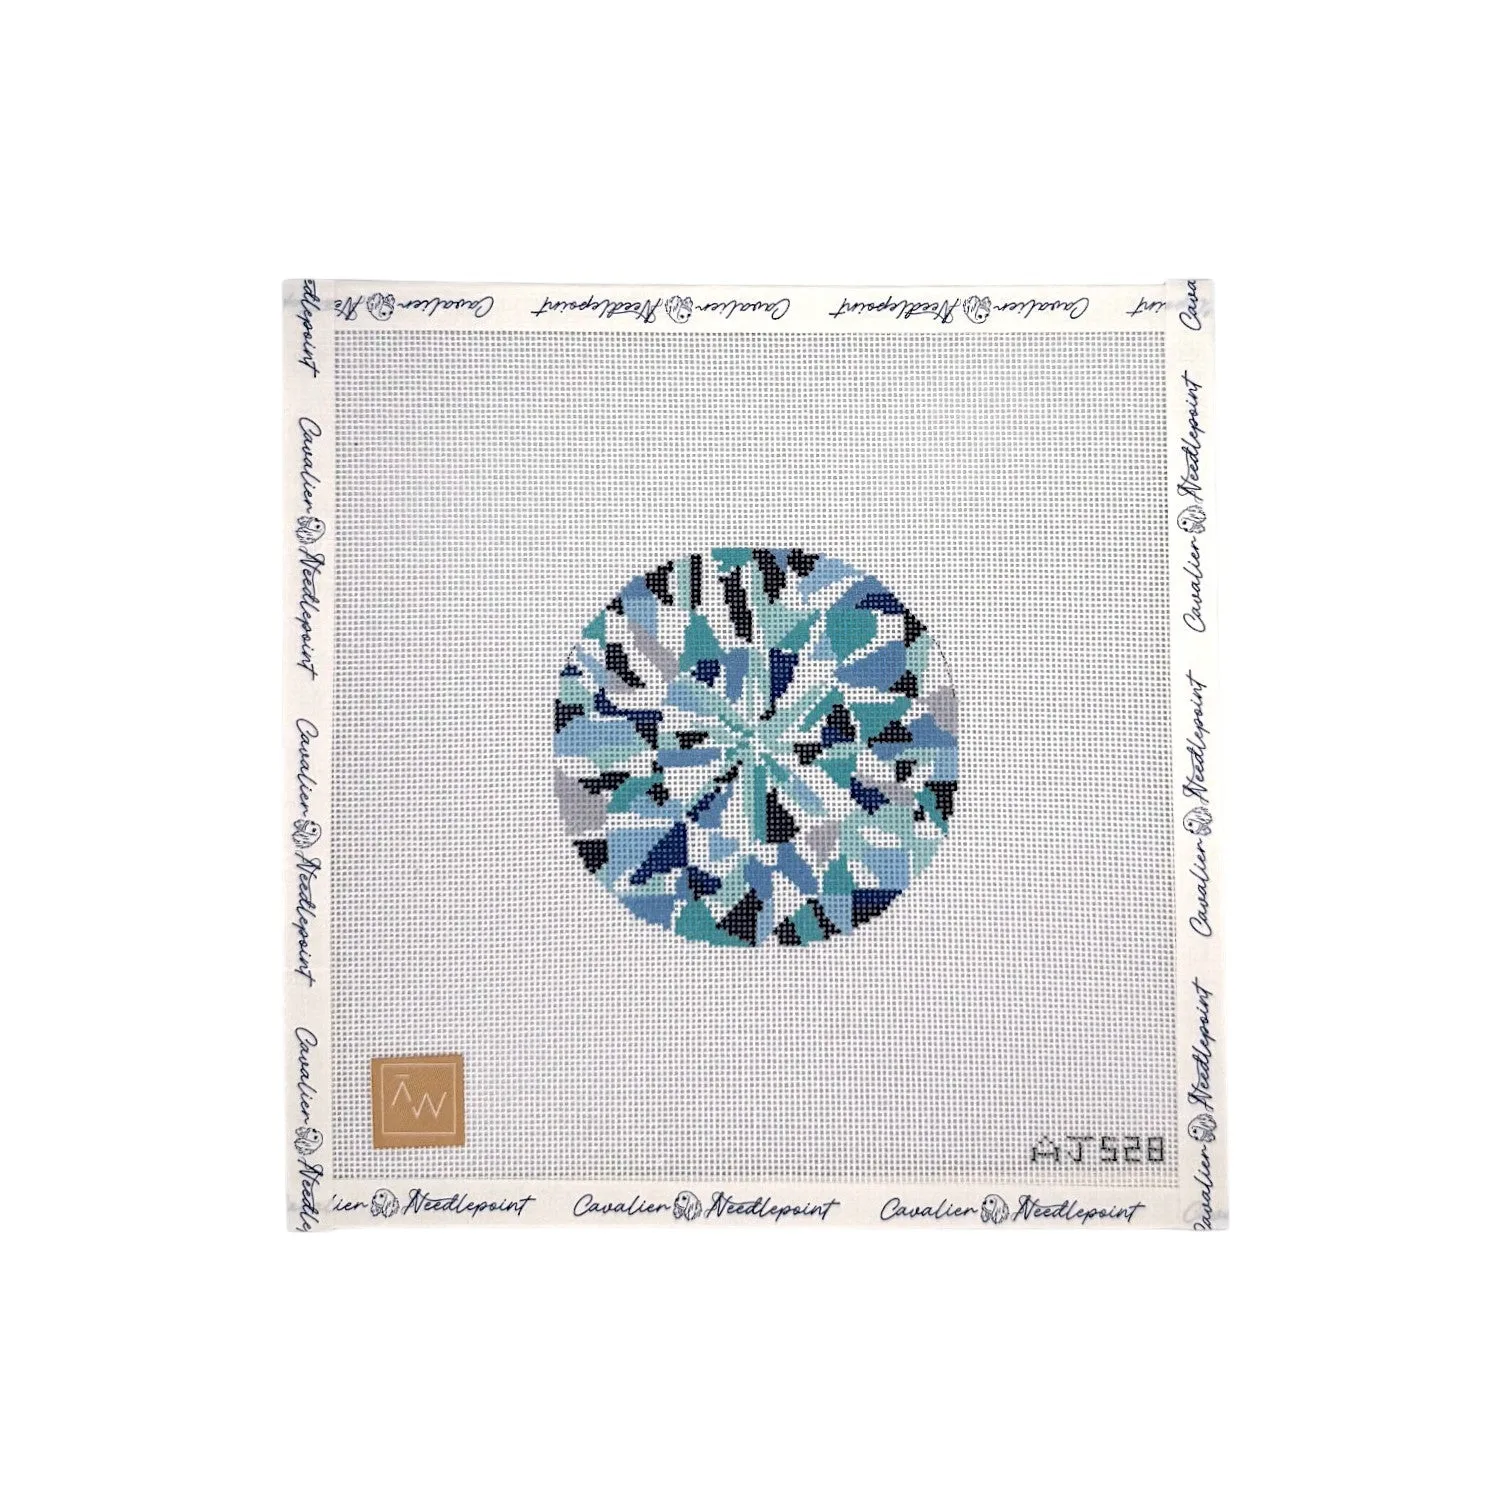
diamond
This guide walks through the order that works: block the canvas, decide between framing and a shaped finish, then mount or sew it with materials that match the mesh you stitched on. Along the way you will see where a specific canvas and thread choice changes the finishing plan.
Before you finish: check the canvas is ready
A canvas is ready to finish when the stitching is complete, the thread tails are woven in on the back, and the piece has been pressed face-down on a towel, never ironed flat on the front. Trim excess canvas to about 1.5 to 2 inches beyond the stitched area for framing, or closer for ornaments where bulk matters.
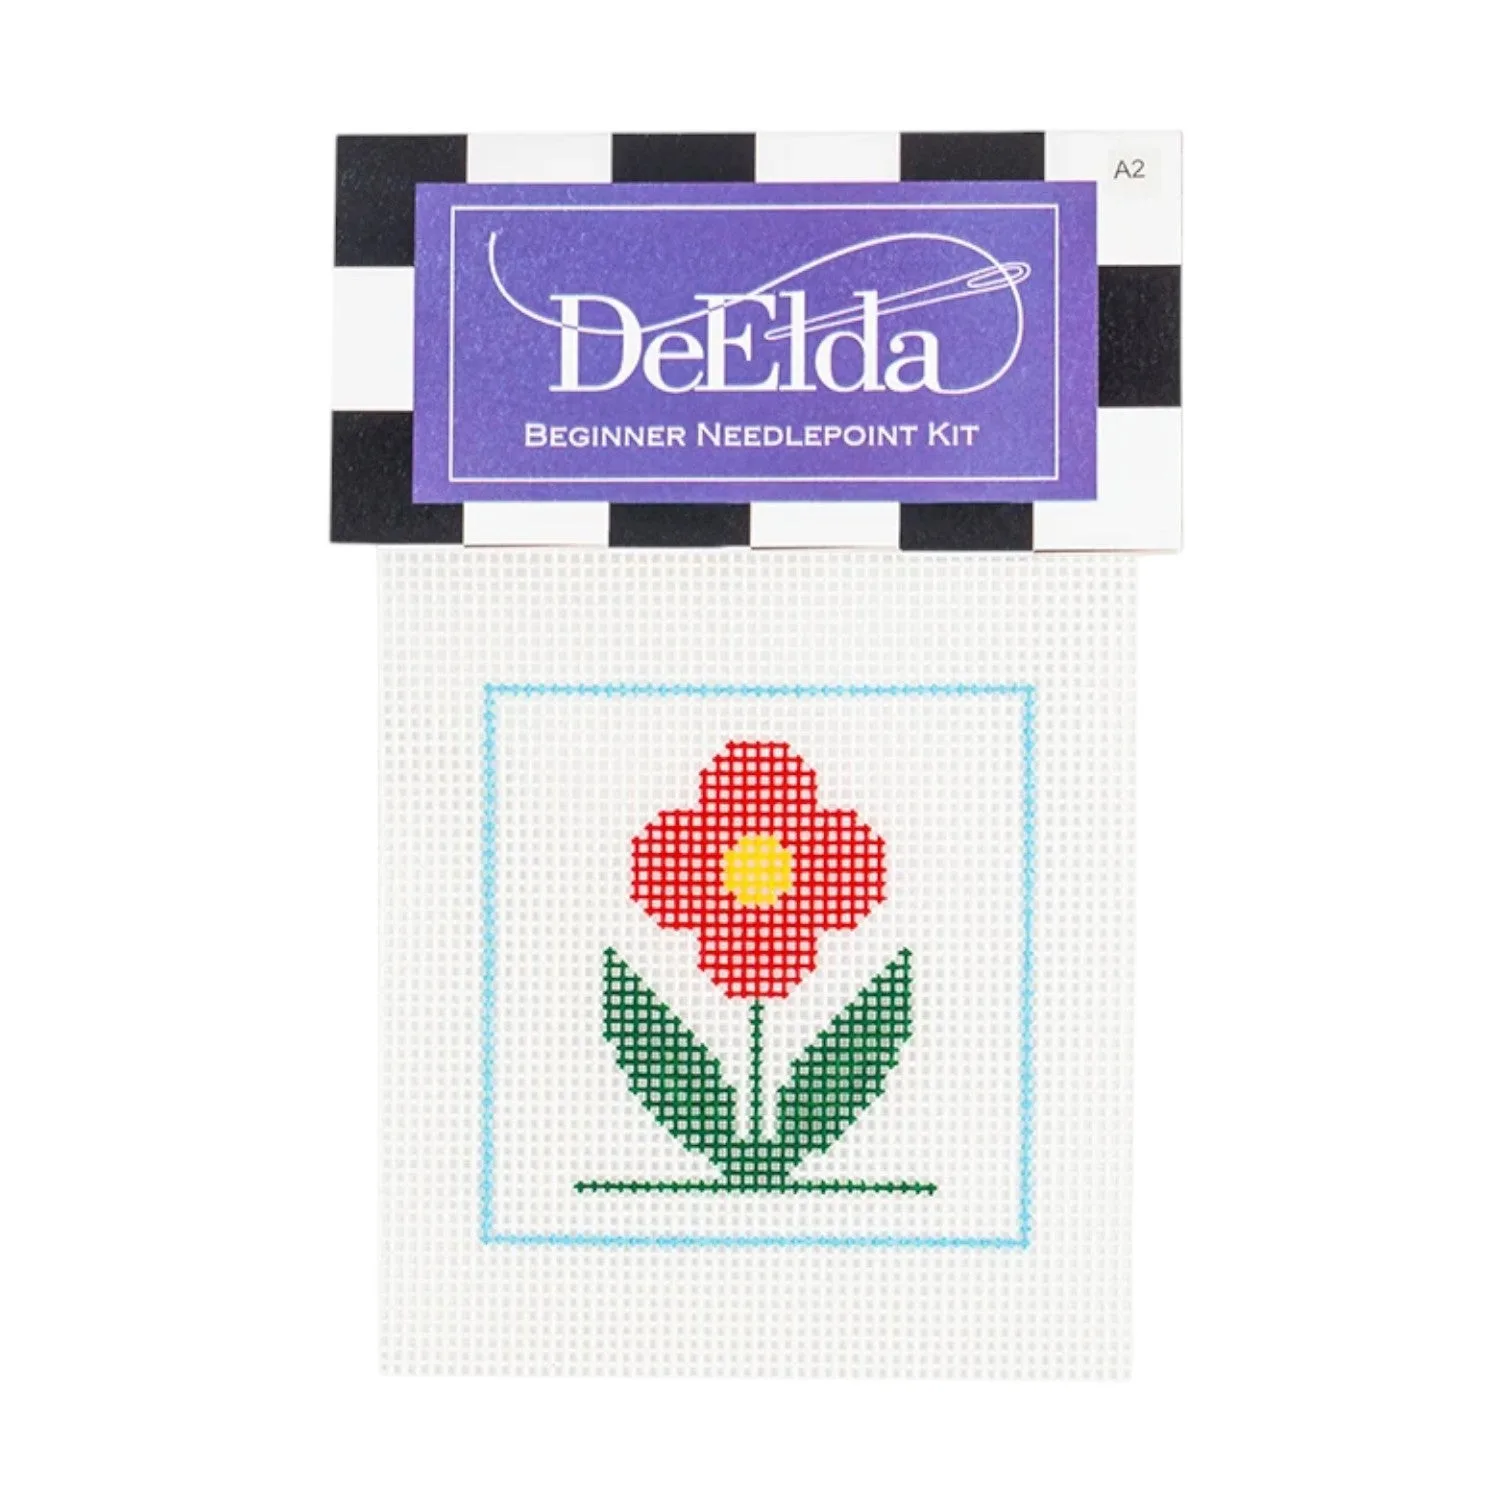
This is also the moment to look honestly at the mesh. A 10-mesh beginner canvas such as the Red Flower Beginner Needlepoint Kit covers ground quickly but has larger holes, so any pull shows more; an 18-mesh canvas such as Byzantine Cross holds a tighter surface and generally blocks back to square more easily.
- Checkpoint: if the canvas still smells of sizing or feels stiff, let it rest flat overnight before blocking.
- Mistake to avoid: cutting the canvas flush to the stitching before you know how you will finish it.
Step 1: Block the canvas square
Blocking is the step most stitchers skip and later regret. Dampen the canvas evenly with cool water, either by misting or by laying it on a clean towel and patting it with a wet sponge. Do not soak it, and do not wring it.
Lay the canvas face-down on a cork or foam board over graph paper or a cutting mat, then pin the edges every inch or so, pulling gently until the sides line up with the grid. Let it dry completely, which usually takes a full day, before removing pins. If the canvas springs back out of square, repeat the process once rather than pinning harder.
- Checkpoint: measure both diagonals; when they match, the canvas is square.
- Mistake to avoid: using heat to speed drying, which can distort wool and silk fibers.
Step 2: Choose framing or a shaped finish
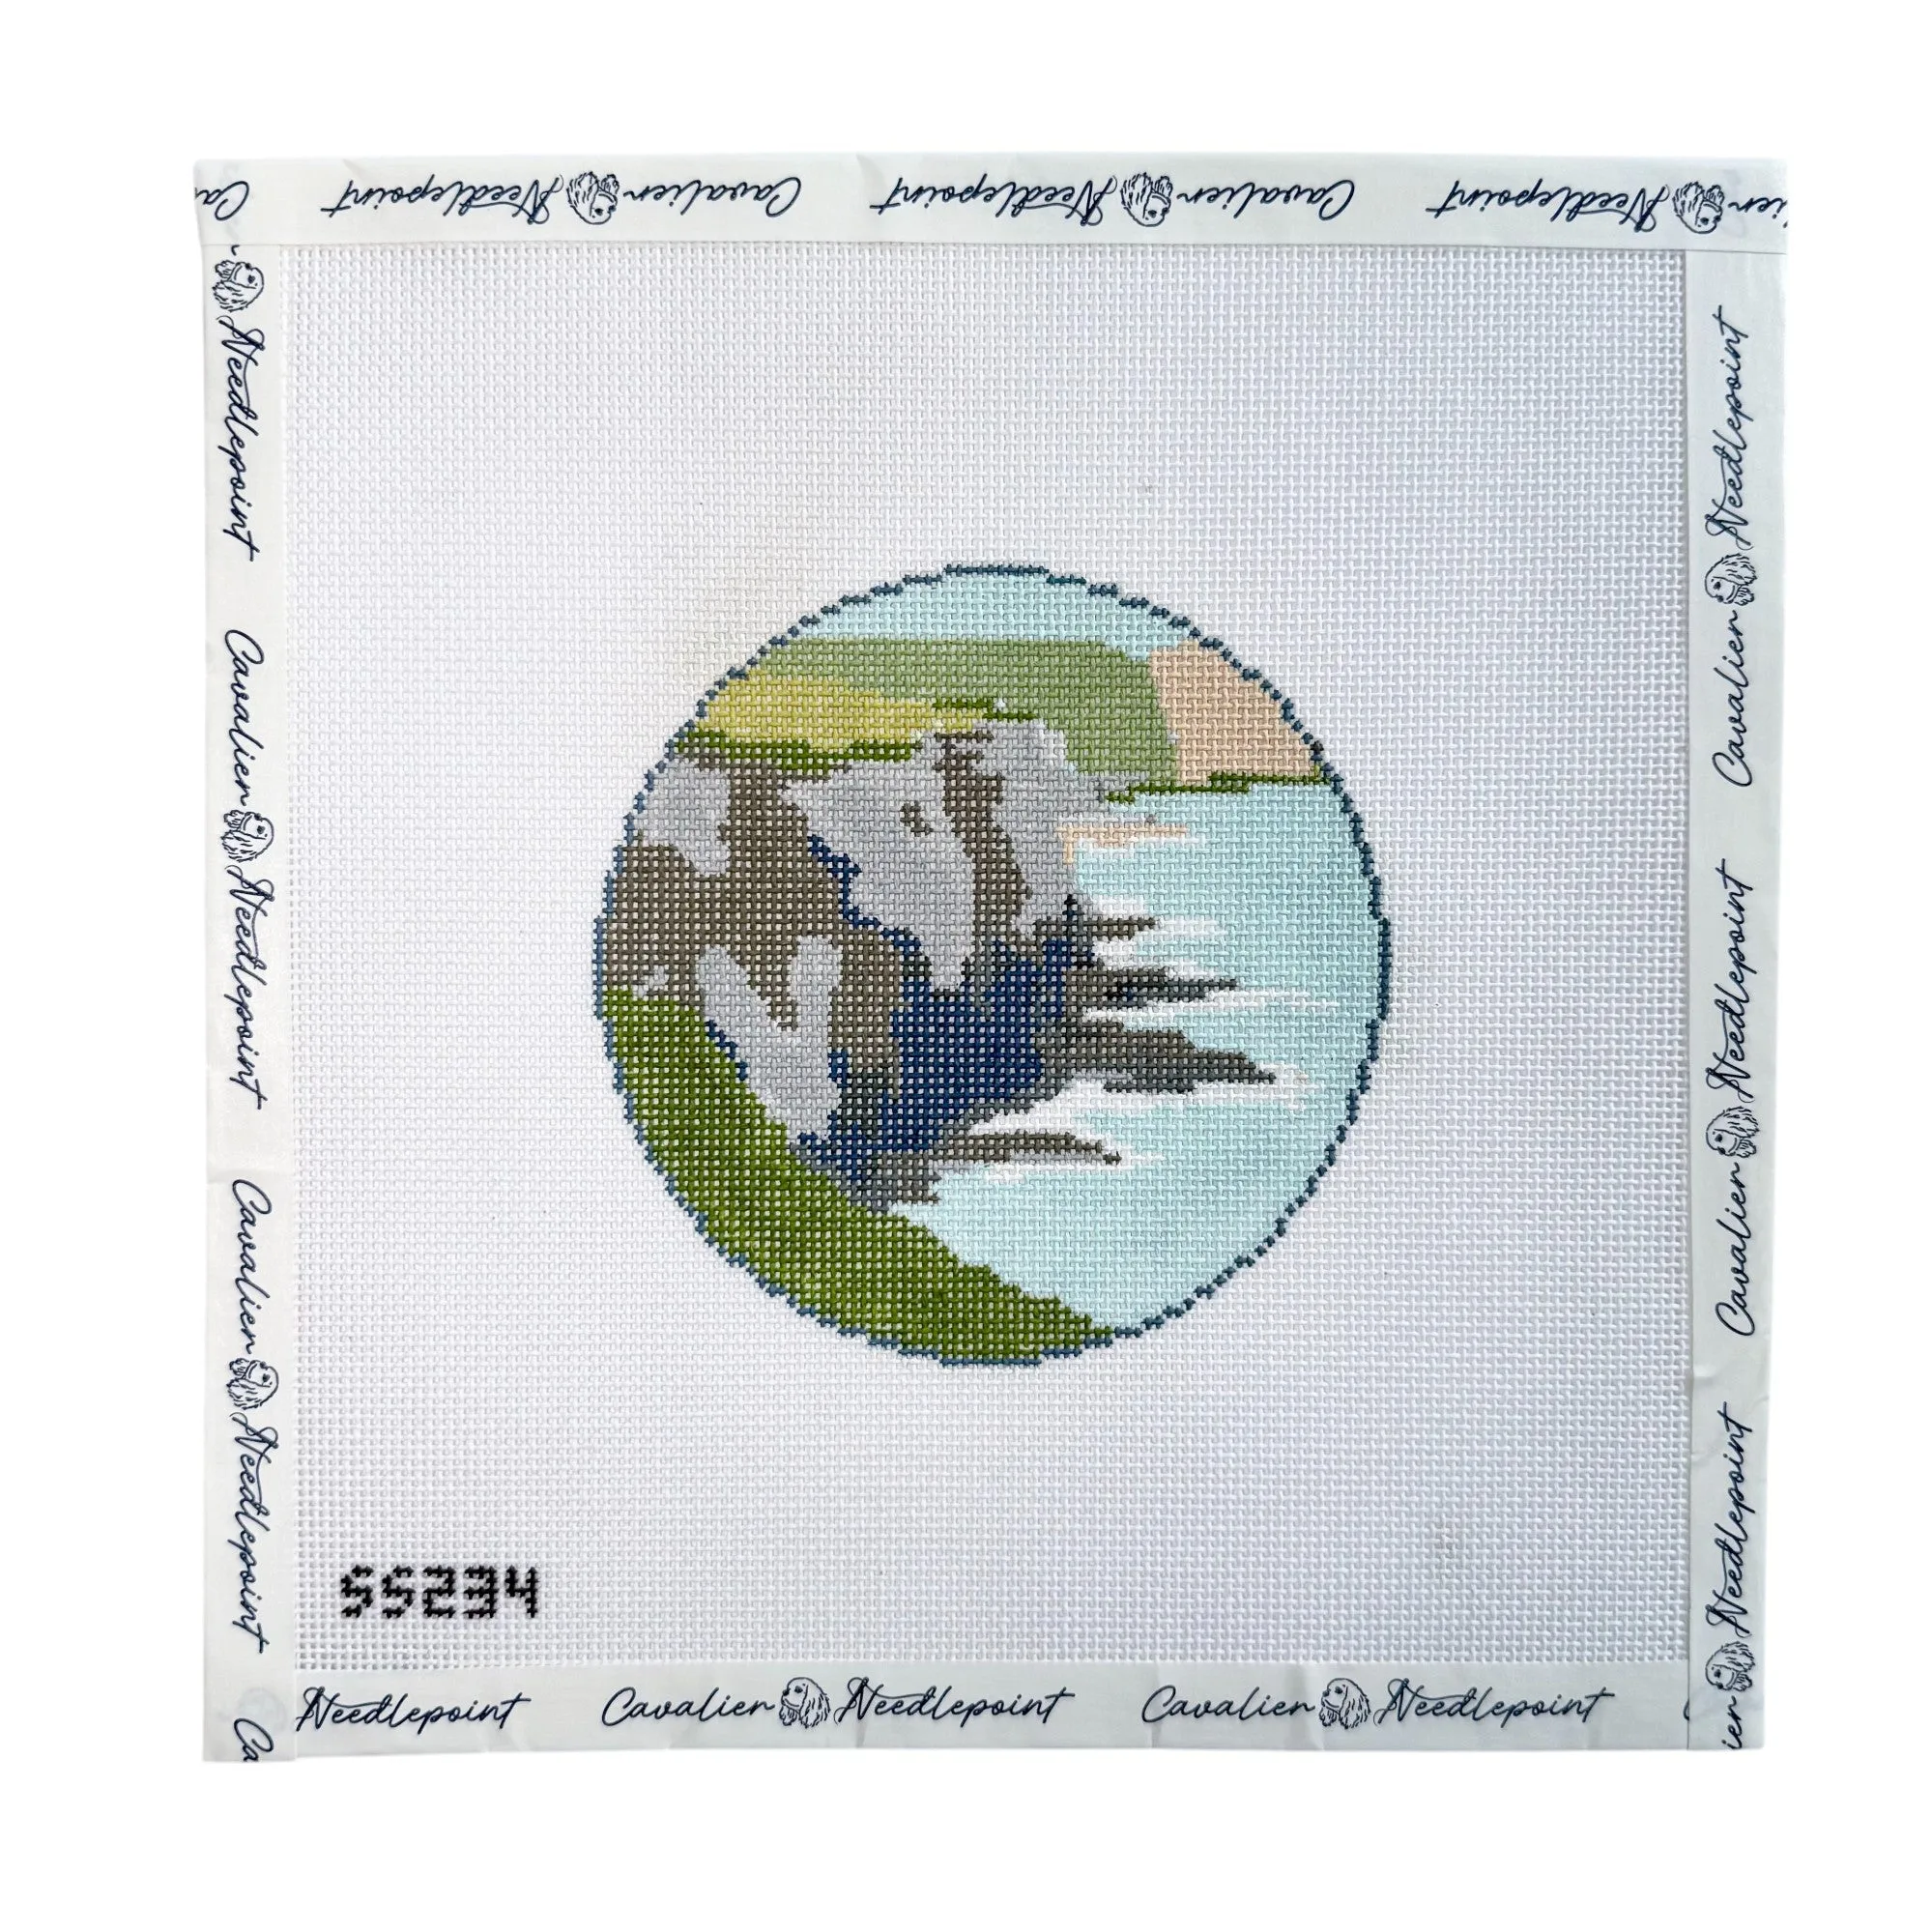
Framing suits rectangular or round canvases meant to hang, such as Cliffs of Moher, a 4.25-inch circular design on 18-count canvas. A shaped finish, such as an ornament, a pillow, or a small stand-up, suits pieces with a clear silhouette and a manageable size.
The decision affects how much canvas you keep. Framing needs enough margin to wrap around a mounting board and staple or lace on the back. Ornament finishing needs only a narrow seam allowance, but it also needs the stitched area to be symmetrical so the front reads correctly once the back is attached.
- Checkpoint: hold the canvas up at arm's length; if the shape reads clearly from that distance, a shaped finish will work.
- Mistake to avoid: choosing a frame size before measuring the stitched area, not the canvas edge.
Step 3: Mount needlepoint for framing
Cut a rigid mounting board, acid-free foam core or mat board, to the frame's opening size. Center the stitched area on the board and secure it with stainless pins or staples along the back edges, working from the center of each side outward to keep the design straight.
For a softer, more archival mount, lace the canvas to the board with strong thread in a crisscross pattern across the back. Lacing takes longer but avoids metal in the finished piece, which matters if the frame will be opened later or the piece will be stored.
- Checkpoint: flip the board face-up and confirm the design is level before the frame goes on.
- Mistake to avoid: pulling so hard that the canvas dimples around the pins.
Step 4: Finish an ornament or small shape
For ornaments, trim the canvas to a consistent seam allowance, fold the raw edges to the back, and press lightly. Sew a backing fabric or felt to the back by hand with a small whipstitch, or use a corded edge for a traditional look. Leave a gap for stuffing if you want a padded ornament, then close it.
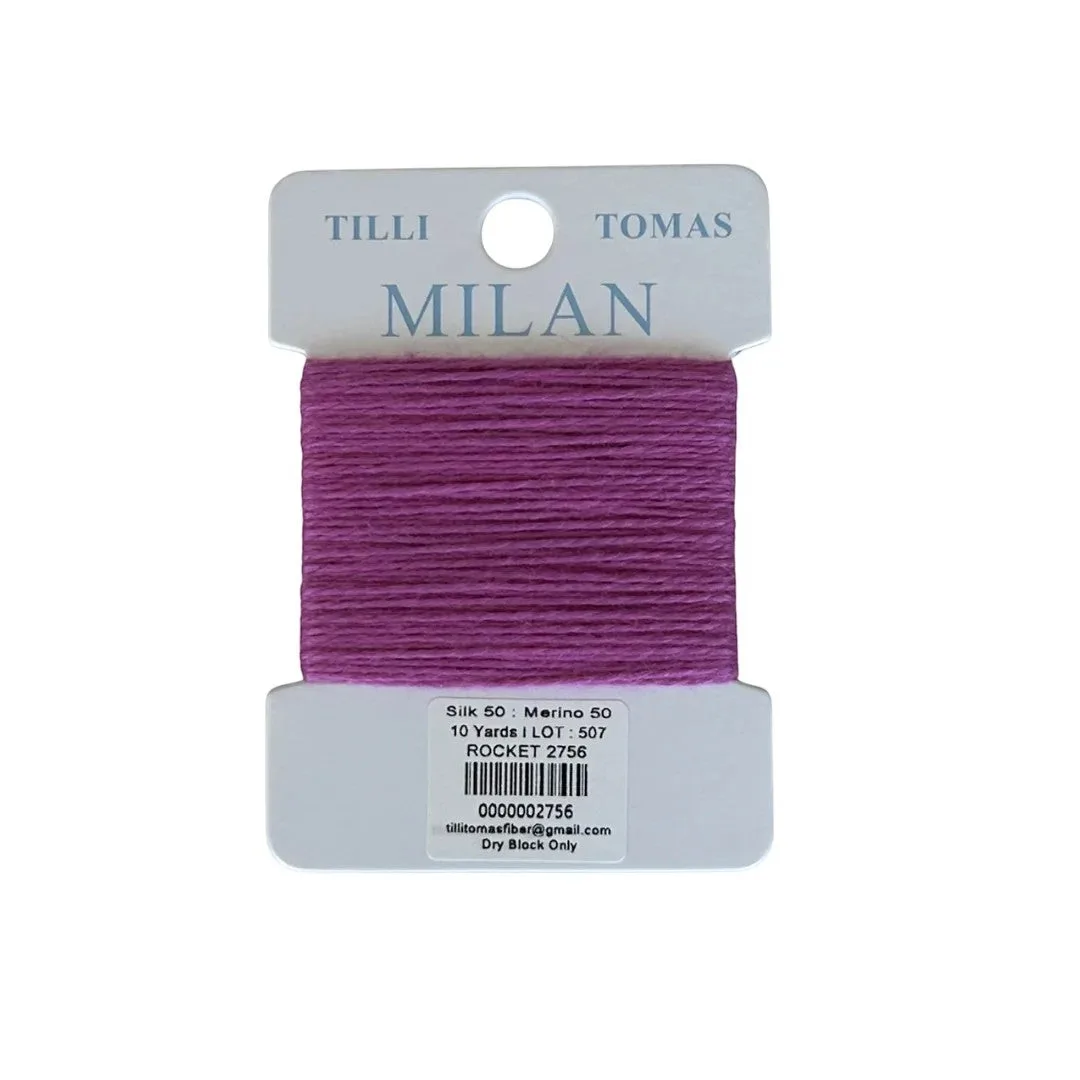
Thread choice matters here. Planet Earth Milan Fiber is a 50% silk and 50% wool blend that is non-strandable and sold in 10-yard cards, suited to 13 or 18 mesh. Its smooth hand makes it a good match for small, detailed shapes such as Milan Card - Taro 2865 or Milan Card - Rocket 2756, where a single strand keeps the surface even.
- Checkpoint: test the finished ornament's weight; if it hangs crooked, adjust the hanger placement.
- Mistake to avoid: overstuffing, which stresses the stitched surface and the seam.
Step 5: Protect the finished piece
Once framed or sewn, keep the finished needlepoint out of direct sun, which fades both wool and silk over time. Dust a framed piece with a soft brush rather than a damp cloth, and store ornaments in a breathable bag rather than a sealed plastic one.
If you plan to stitch a companion piece, note the mesh and thread you used so the next project finishes consistently. A 10-mesh kit and an 18-mesh canvas will not produce the same scale, and mixing them in one display can look uneven even when both are finished well.
- Checkpoint: label the back of the piece with the canvas, thread, and finish date.
- Mistake to avoid: hanging a finished canvas in a bathroom or kitchen where humidity swings.
Finishing steps at a glance
- Inspect and press: Press the finished canvas face-down on a towel and trim to a 1.5 to 2 inch margin for framing. Checkpoint: thread tails are woven in and no raw edges are exposed on the front.
- Block the canvas square: Dampen evenly, pin to a board over a grid, and dry completely before removing pins. Checkpoint: matching diagonals confirm the canvas is square.
- Decide framing or shaped finish: Framing suits rectangular and round canvases; shaped finishes suit clear silhouettes and smaller pieces. Checkpoint: the shape reads clearly at arm's length.
- Mount for framing: Center the stitched area on acid-free board and pin, staple, or lace from the center outward. Checkpoint: the design is level before the frame is attached.
- Finish an ornament or small shape: Trim a consistent seam allowance, add a backing, and sew a whipstitch or corded edge; stuff lightly if desired. Checkpoint: the piece hangs straight and the stitched surface is not stressed.
- Protect and label: Keep the finished piece out of direct sun and humid rooms, and note the canvas, thread, and date on the back. Checkpoint: the finish still looks flat and square after a week on display.
Canvas and thread choices that affect finishing
- Red Flower Beginner Needlepoint Kit: A DeElda hand-painted beginner kit on 10 mesh with a 5.5 by 6 inch design size, including the essentials to complete a first project. The larger 10-mesh holes can show distortion more readily, so blocking before framing matters even on a first project.
- Cliffs of Moher: A 4.25 inch circular canvas on 18-count fabric. A round, small-format canvas is a natural candidate for framing in a round frame or for a shaped finish, and the 18-count surface blocks back to shape more predictably.
- Byzantine Cross: Hand-painted on 18 mesh canvas, measuring approximately 4 by 5.5 inches. A detailed 18-mesh design rewards a careful mount, since small stitches make any tilt in the mounting board more visible.
- Milan Card - Taro 2865: Planet Earth Milan Fiber, 50% silk and 50% wool, non-strandable, 10 yards, suited for 13 or 18 mesh. A non-strandable silk-wool blend keeps the stitched surface smooth, which helps small ornament finishes lie flat.
Finishing needlepoint is mostly about order: block first, choose the finish second, and mount or sew with materials that match the mesh you stitched on. Do those three things and the piece will hold its shape long after the last stitch.