Every Godzilla collector knows the heartbreak of pulling a figure out of storage only to find that its arm flops uselessly or its tail droops to the ground. Loose joints are one of the most common issues with action figures, especially with highly articulated lines like SH MonsterArts and HIYA Exquisite Basic. The good news is that you don't need to be a professional modeler to fix them. With a few household items and a steady hand, you can restore your kaiju to full poseability.
In this guide, we'll walk you through the best methods to tighten loose joints on your Godzilla figures, from the simple floor polish trick to more advanced disassembly techniques. Whether you're dealing with a wobbly Mechagodzilla or a sagging King Ghidorah, these DIY repairs will save you money and keep your collection looking sharp.
Why Do Action Figure Joints Become Loose?
Action figures are made to be posed, but constant movement, temperature changes, and the natural breakdown of plastic over time can cause joints to loosen. The friction that once held a joint in place gradually wears down, leaving you with a figure that can't hold a dynamic stance. This is especially common in figures that have been displayed for years or handled frequently.
Some lines are more prone to loose joints than others. For example, SH MonsterArts figures are praised for their articulation but can develop loose hips or shoulders after repeated posing. Similarly, HIYA figures, like the Mechanical King Ghidorah Battle Damaged Exquisite Basic Series Fig, have many points of articulation that may loosen over time. Understanding the cause helps you choose the right fix.
- Wear and tear from posing
- Plastic degradation over time
- Temperature fluctuations affecting joint friction
- Heavy accessories or wings putting strain on joints
The Floor Polish Method: Quick and Effective
One of the most popular and effective ways to tighten loose joints is to apply a thin layer of floor polish (like Pledge) to the joint. The polish adds a microscopic layer of acrylic that increases friction without permanently damaging the plastic. This method works well on ball joints and hinge joints.
To apply, simply use a toothpick or a small brush to dab a tiny amount of polish onto the joint, then move the joint back and forth to distribute it evenly. Let it dry completely before testing. You may need to repeat the process a few times for severely loose joints. This is a reversible fix, as you can remove the polish with warm water and rubbing alcohol if you make a mistake.
- Use a toothpick for precision application
- Move the joint after applying to spread the polish
- Wait 24 hours for the polish to fully cure
- Reapply if the joint is still loose
Using Super Glue or Clear Nail Polish
For a more permanent fix, you can use super glue or clear nail polish. However, these methods require caution because they can permanently fuse the joint if applied too liberally. The trick is to apply a small amount to the joint, then immediately move it repeatedly until the glue or polish dries. This creates a rough surface that adds friction.
Super glue is best for ball joints, while nail polish works well on hinge joints. Always test on a hidden area first. If you're nervous about damaging your figure, practice on a cheaper figure or a spare part. Remember, once you use super glue, it's very difficult to reverse, so proceed with care.
- Apply a small drop to the joint
- Move the joint continuously for 2-3 minutes to prevent sticking
- Let it dry completely before posing
- Use a toothpick to apply precisely
Disassembly and Reinforcement
If the joint is extremely loose and surface treatments aren't enough, you may need to disassemble the figure and reinforce the joint from the inside. This is more advanced and requires patience, but it's the most reliable solution. Many figures, including SH MonsterArts, have screws or pegs that can be tightened or modified.
To disassemble, carefully separate the figure at the joint using a heat gun or hairdryer to soften the plastic. Once apart, you can add a small piece of paper, tape, or a layer of epoxy putty inside the joint to increase friction. Reassemble the figure and test the joint. This method gives you the most control and is great for fixing loose hips or shoulders on figures like the Godzilla vs. Biollante: Type 2 Maser Beam Tank Plastic Model.
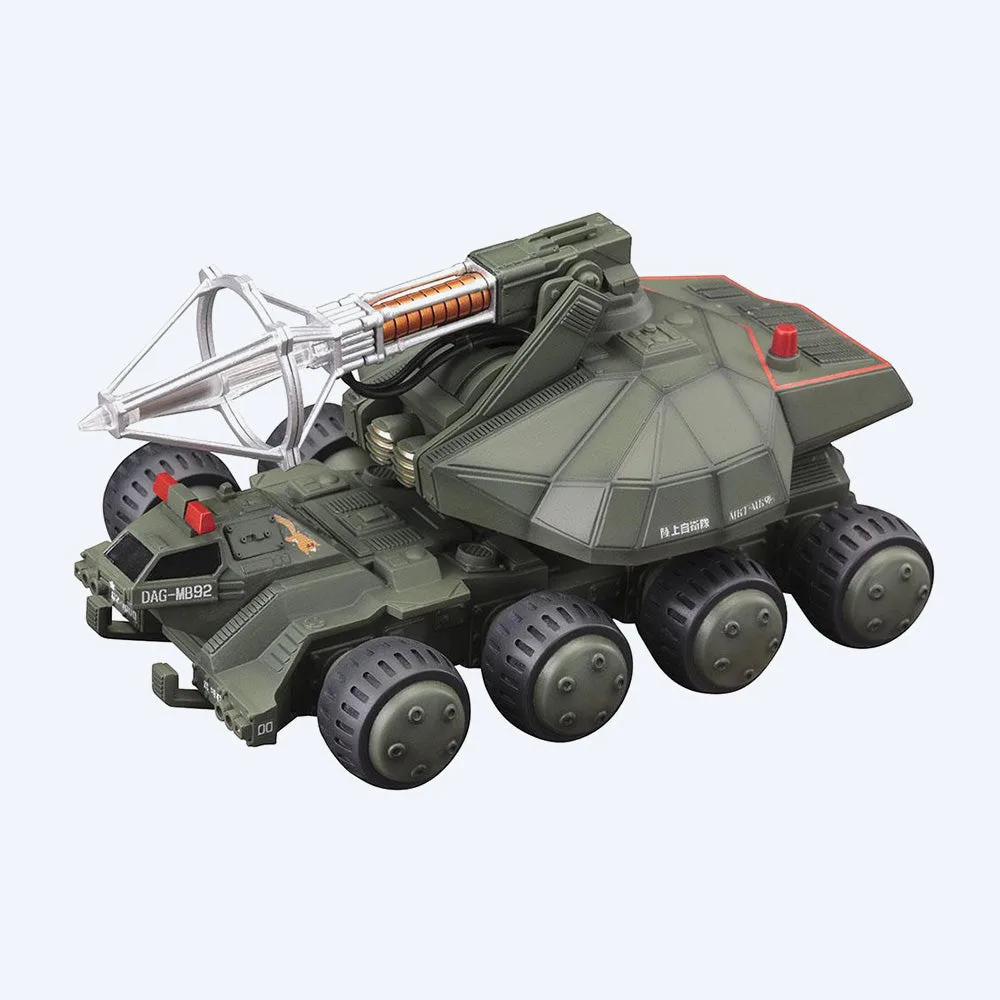
Godzilla vs. Biollante: Type 2 Maser Beam Tank Plastic Model
- Use heat to soften plastic before disassembly
- Add a thin layer of super glue or putty inside the joint
- Reassemble and test the joint before the glue dries
- Keep track of all small parts
Preventive Care for Your Godzilla Figures
Prevention is always better than cure. To avoid loose joints in the future, handle your figures gently and avoid over-posing them. When displaying, make sure the figure is on a stable surface and not in a position that puts excessive strain on the joints. Also, keep figures away from direct sunlight and extreme temperatures, which can accelerate plastic degradation.
Consider using display stands to support heavy figures, especially those with large tails or wings. For example, the Mechagodzilla 2 Tsumamare Pinch Keychain is a small accessory, but larger figures benefit from stands. Regularly dusting your figures and occasionally moving the joints can also keep them from seizing up, which can lead to breakage.
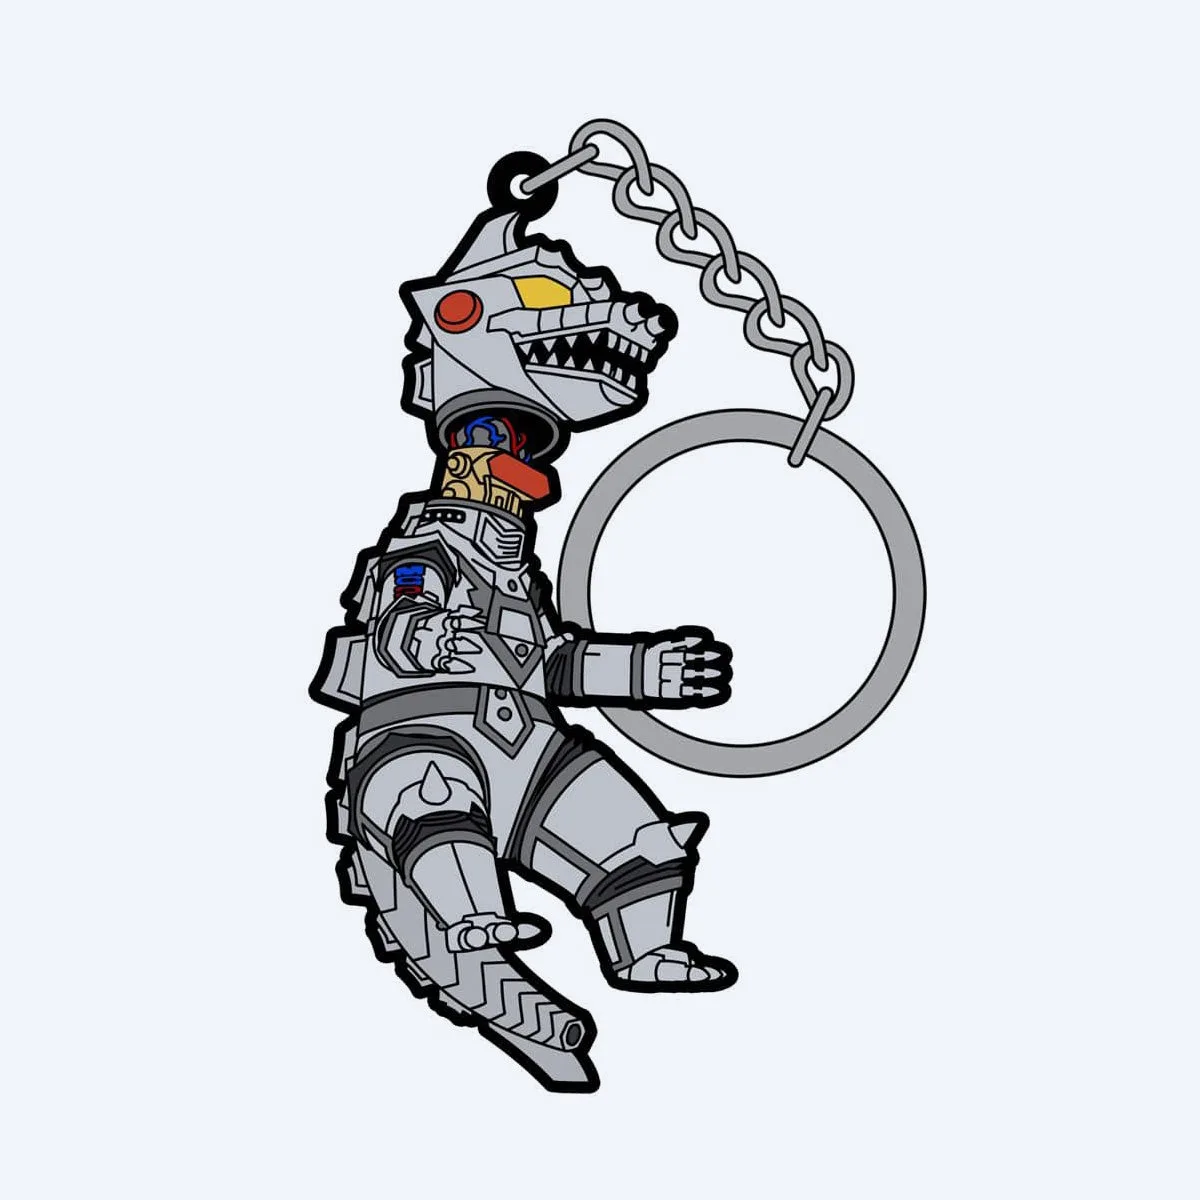
Mechagodzilla 2 Tsumamare Pinch Keychain
- Rotate joints occasionally to prevent seizing
- Use display stands for heavy figures
- Store in a cool, dry place
- Avoid over-extending joints beyond their range
With these simple techniques, you can fix loose joints on your Godzilla action figures and keep them looking great for years. Whether you choose the floor polish method for a quick fix or disassembly for a permanent solution, you'll save money and extend the life of your collection. Remember to always test on a small area first and work in a well-ventilated space. For more collectibles and accessories, explore our store and find your next favorite piece.