Quick answer
Installing 420W rigid solar panels on your roof requires secure mounting, correct wiring, and proper sealing. Follow these steps for a safe and efficient setup.
Why choose rigid panels for your roof?
Rigid solar panels like the 420W model are ideal for permanent roof installations because they offer higher efficiency and durability than flexible panels. Their sturdy frame allows for secure bolting to roof rails, reducing the risk of wind damage.
What you need before starting
Check your roof's load capacity and orientation. You'll need mounting rails, stainless steel bolts, a torque wrench, a drill, sealant, and a compatible microinverter. The Zendure 420W panels pair with SolarFlow series hubs for optimal energy management.
Step-by-step installation guide
- Step 1: Plan and mark panel positions: Measure your roof area and mark the mounting points for the rails. Ensure the panels face south (northern hemisphere) and are tilted at an angle close to your latitude. Common mistake: Placing panels too close to roof edges can cause wind uplift. Leave at least 6 inches from roof edges for safety.
- Step 2: Install mounting rails: Secure the rails to roof rafters using stainless steel lag bolts. Use a torque wrench to tighten bolts to the manufacturer's specification. Apply sealant around each bolt hole to prevent leaks. Common mistake: Overtightening can strip threads or crack roof tiles. Check bolt torque with a wrench; don't guess.
- Step 3: Attach the panels: Lift the 420W panel onto the rails and secure it with mid and end clamps. Tighten clamps evenly to avoid glass stress. Common mistake: Using mismatched clamps can damage the panel frame. Use only compatible clamps designed for rigid panels.
- Step 4: Wire the panels to the microinverter: Connect the panel output cables to the microinverter input ports. Ensure all connections are dry and secure. Route cables through a weatherproof conduit. Common mistake: Leaving cables exposed can cause short circuits in rain. Use cable ties and conduit to keep wiring tidy and protected.
- Step 5: Ground the system: Connect the grounding wire from the panel frame to the roof grounding system using a bonding lug. Verify continuity with a multimeter. Common mistake: Skipping grounding can create an electrocution hazard. Always test ground continuity before finalizing.
- Step 6: Seal and test: Apply UV-resistant sealant around all roof penetrations. Turn on the system and check the microinverter's status lights for normal operation. Common mistake: Forgetting to seal penetrations leads to roof leaks over time. Inspect seals annually to maintain waterproofing.
Product facts
-
420W Rigid Solar Panels: Dual 420W panels with microinverter can generate up to 1200kWh per year. This means a single installation can cover a significant portion of your home's annual electricity needs, reducing grid dependence.
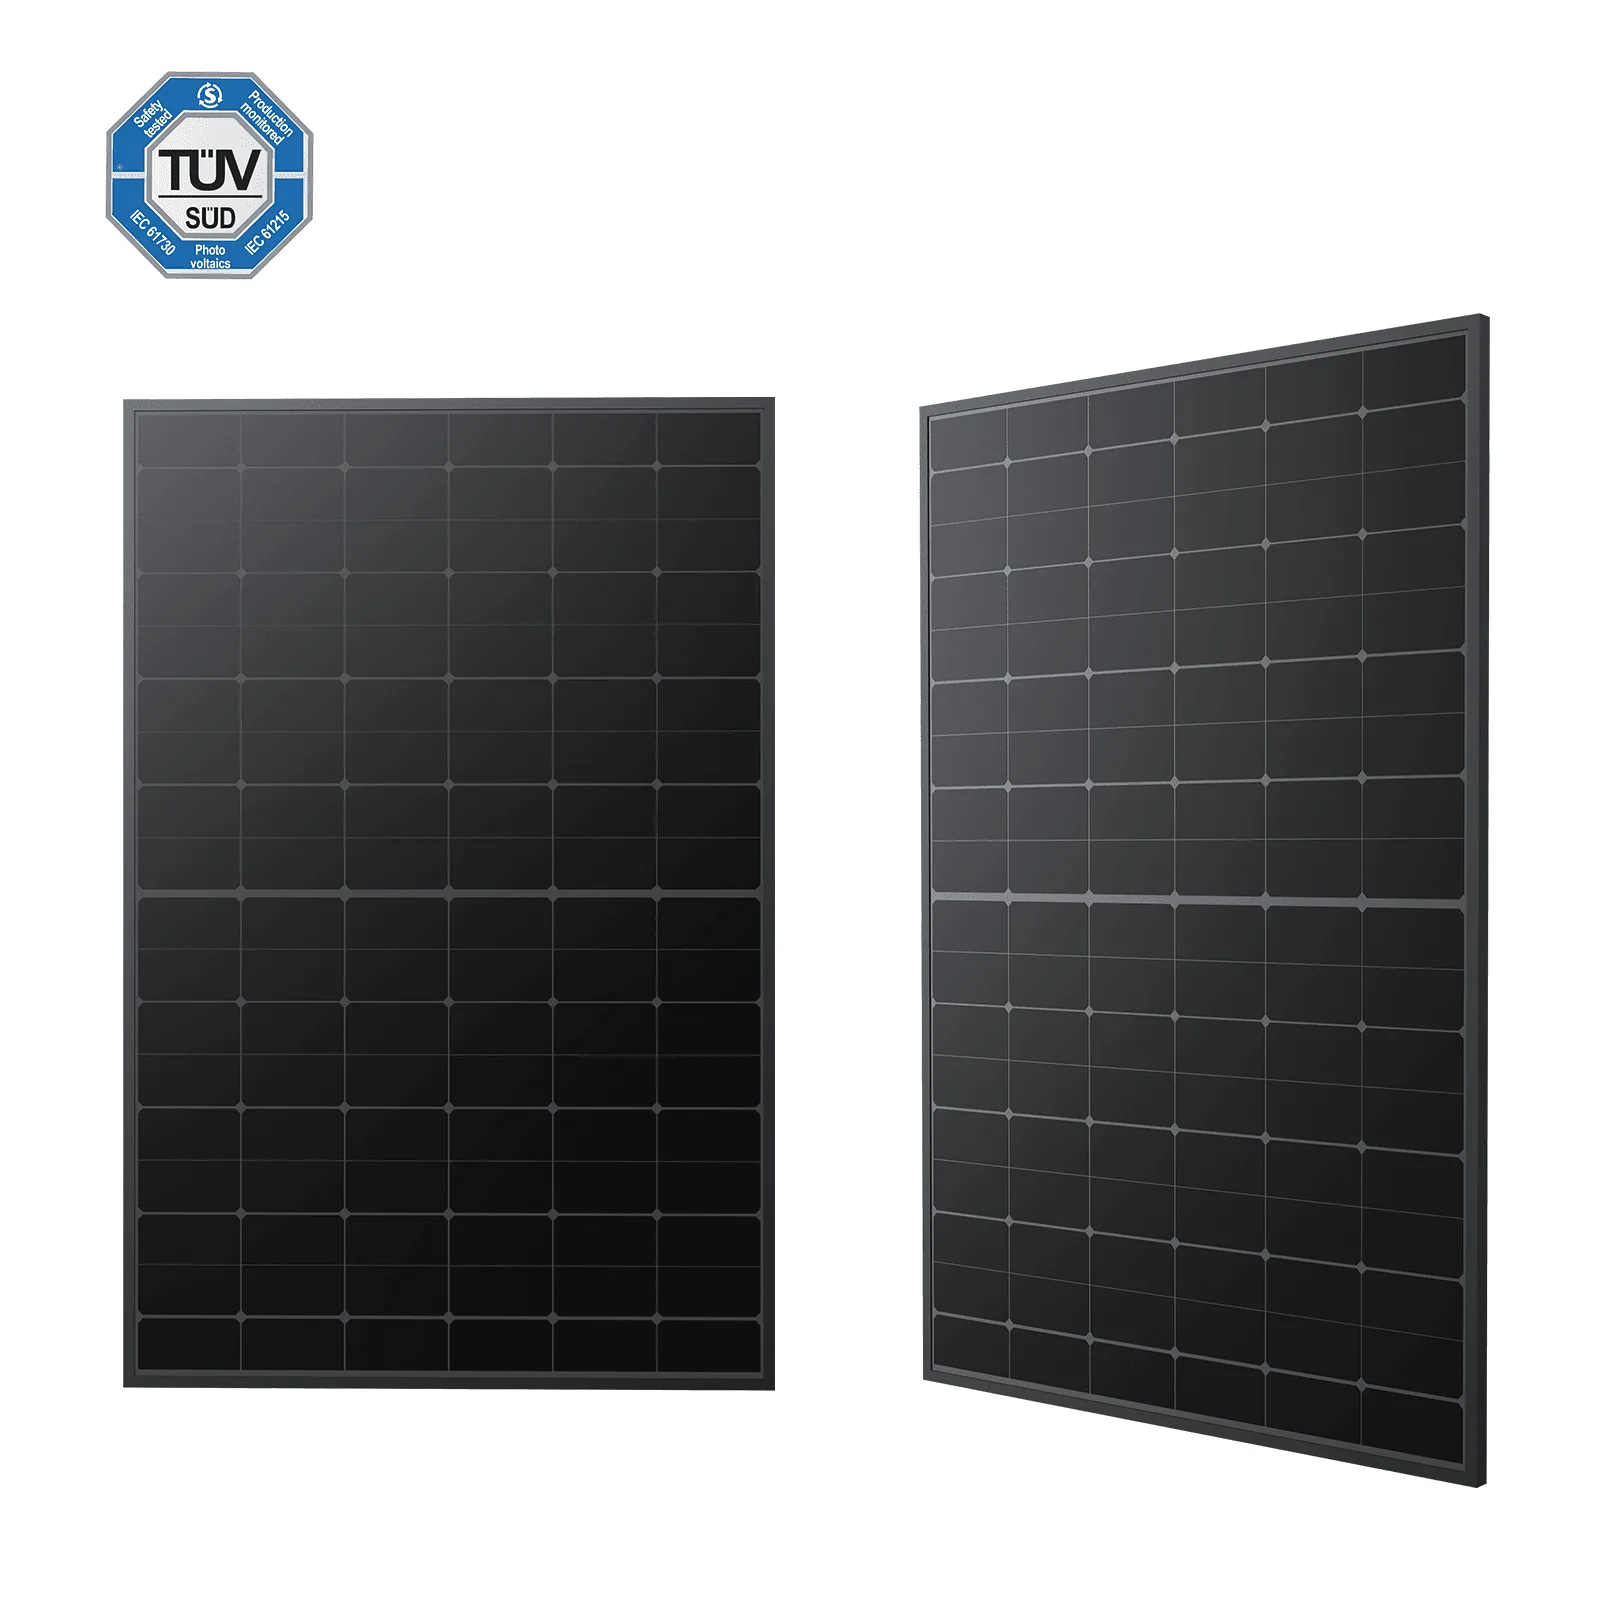
420W Rigid Solar Panels