Quick answer
Most kids' bikes take a kickstand in under 15 minutes with one hex key. Bolt the mount plate to the frame's kickstand plate, snug it firm but not crushing, then set the leg length so the bike leans about 10 to 15 degrees with both wheels touching the ground. If your frame has no mounting plate, don't clamp one on.
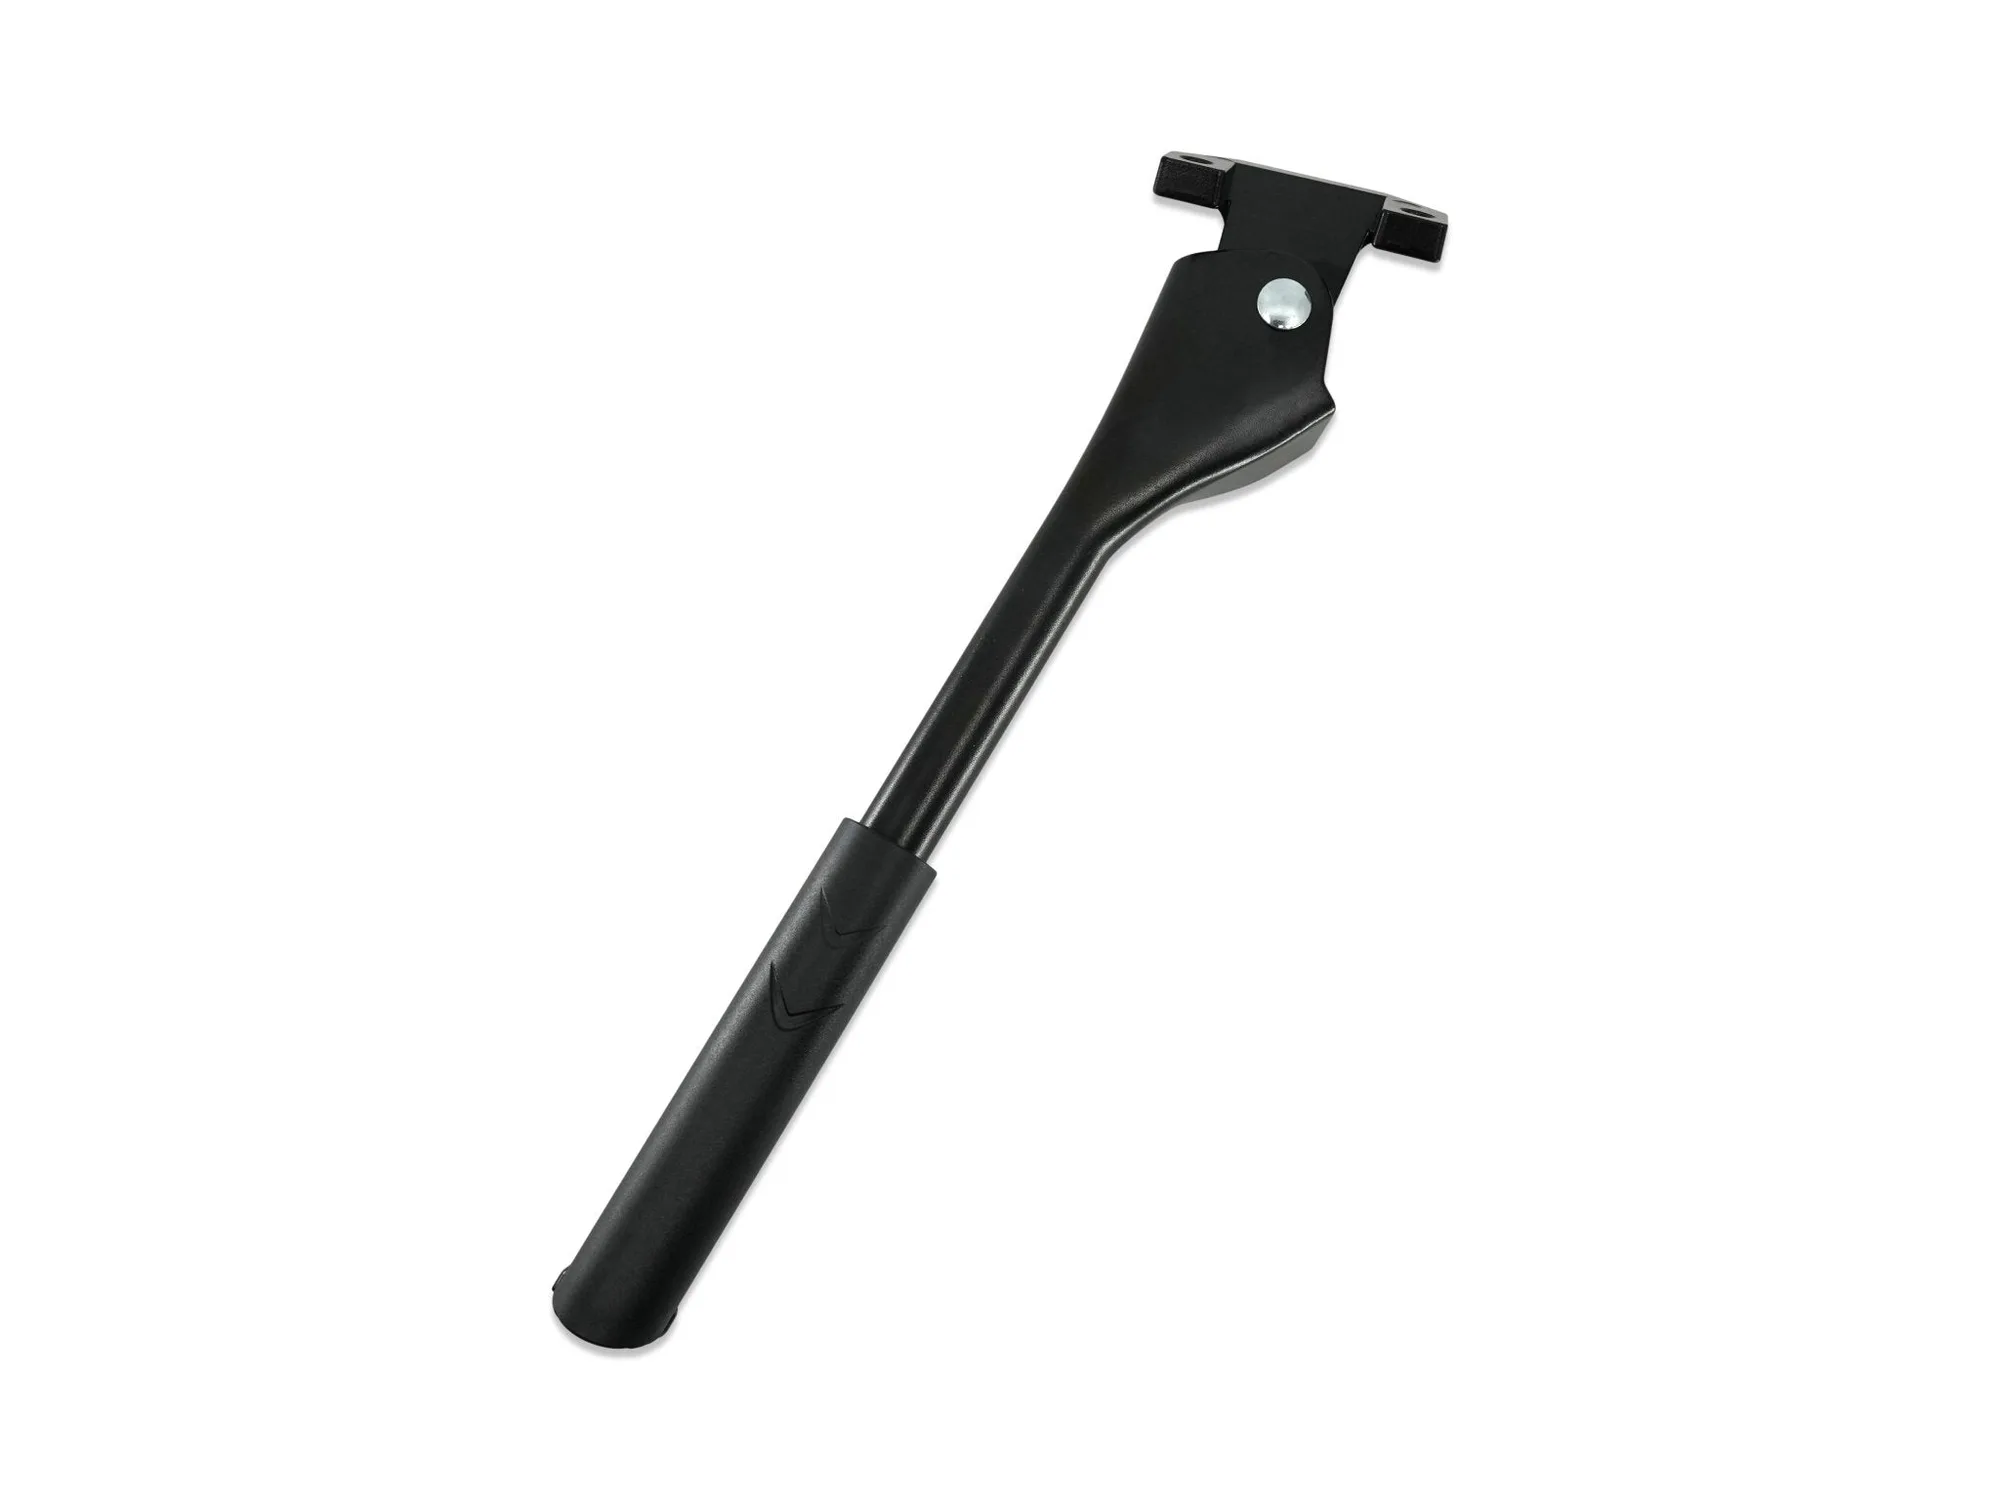
kickstand
A kickstand sounds like a small thing until your child's bike is lying on the sidewalk for the fourth time that afternoon. A properly installed and adjusted stand keeps the bike upright, protects the paint, and teaches kids to park their ride instead of dropping it.
The catch is that kickstands are not universal. Some frames have a dedicated mounting plate, some don't, and mountain bikes generally shouldn't have one at all. This guide walks through the full process: checking compatibility, installing the hardware, adjusting the lean angle, and knowing when to leave the frame alone.
Check whether your frame actually accepts a kickstand
Before you buy anything, flip the bike over or crouch beside it and look at the underside of the frame between the rear wheel and the bottom bracket. A kickstand-ready frame has a flat metal plate with two threaded or through-holes. That plate is the only safe mounting point, because it spreads the load across a reinforced area instead of crushing a thin tube.
If there's no plate, stop there. Clamp-on kickstands that squeeze the chainstay or seatstay can dent lightweight aluminum tubing and, on a kids' bike, are prone to slipping under load. Prevelo's own guidance is clear on this: the Kickstand fits Alpha Series MKIII only, will not fit earlier Alpha versions, and will not fit Zulu Series bikes because those frames have no kickstand mounting plate. Prevelo also does not recommend kickstands on mountain bikes.
- Checkpoint: if you see a flat plate with two holes, you're good to go. If you see bare round tubing, the answer is no.
- If your child's bike has no plate, a wall, a rack, or a floor pedal is a better parking solution than a clamped stand.
Gather the tools and parts
The Prevelo Kickstand ships with all required mounting hardware, so you don't need to hunt down bolts. You will need a 4 mm hex key, which is the only tool Prevelo lists for the job. A torque wrench is optional but useful if you tend to overtighten small fasteners.
Set yourself up somewhere with good light and enough room to tip the bike on its side or lift the rear wheel. Working on a stand or a bench is easier than crouching on a driveway, especially when you get to the lean-angle check.
- Common mistake: using a screwdriver or pliers on hex bolts. Use the correct 4 mm key so you don't round the heads.
Bolt the kickstand to the mounting plate
Line up the kickstand's base with the holes in the frame plate. Feed the bolts through from the side that gives you the cleanest access, then thread them in by hand for the first few turns. Hand-starting prevents cross-threading, which is the most common way people damage a frame plate.
Once both bolts are started, tighten them evenly in small increments, alternating between them so the base seats flat rather than cocked to one side. You want it firm enough that the stand won't rotate when a child kicks it down, but you're tightening into aluminum, so stop when it feels solid rather than forcing it.
- Checkpoint: grab the kickstand and try to twist it. It should not move. If it does, tighten a quarter turn at a time and recheck.
- Common mistake: overtightening until the base bites into the frame. Snug and stable is the goal, not maximum torque.
Adjust the leg length and lean angle
With the stand deployed, set the bike on level ground. The ideal lean is roughly 10 to 15 degrees, with the rear wheel just barely touching the ground or lifted a few millimeters. Too upright and the bike tips over in a breeze; too far over and it puts sideways stress on the mount.
Most kickstands adjust by loosening a bolt on the leg and sliding the foot up or down, or by flipping a foot pad. Make the change, retighten, and test on the same spot of ground. Then test again on grass or a slight slope, because that's where kids actually park.
- Checkpoint: with the stand down, push gently on the saddle. The bike should rock back onto the stand, not fold it.
- Common mistake: adjusting the stand on a sloped driveway. Level ground first, then verify on a slope.
Test it the way your child will use it
Hand the bike to your child and watch them deploy and retract the stand a few times. Kids often push the stand down while straddling the bike, which loads it sideways. If the stand flexes noticeably or the bike feels tippy, revisit the lean angle before calling it done.
Also check that the deployed stand doesn't foul the rear tire, the pedal at its lowest point, or your child's heel when pedaling. A stand that clips the crank arm is a safety issue, not just an annoyance.
- Common mistake: skipping the pedal check. Spin the cranks with the stand down and confirm clearance.
Maintain it, or hand it down
Kickstands loosen over time, especially on bikes that get dropped, ridden off curbs, and left out in the rain. Add a quick wiggle check to your monthly bike maintenance routine: grab the stand, try to rotate it, and tighten if needed. A drop of light oil on the pivot keeps it snapping up and down smoothly.
If you're passing the bike to a younger sibling, the stand can stay put. If you're trading the bike in through the Prevelo Factory Trade-Up Club, leave the kickstand installed, since it's part of the bike you're sending back.
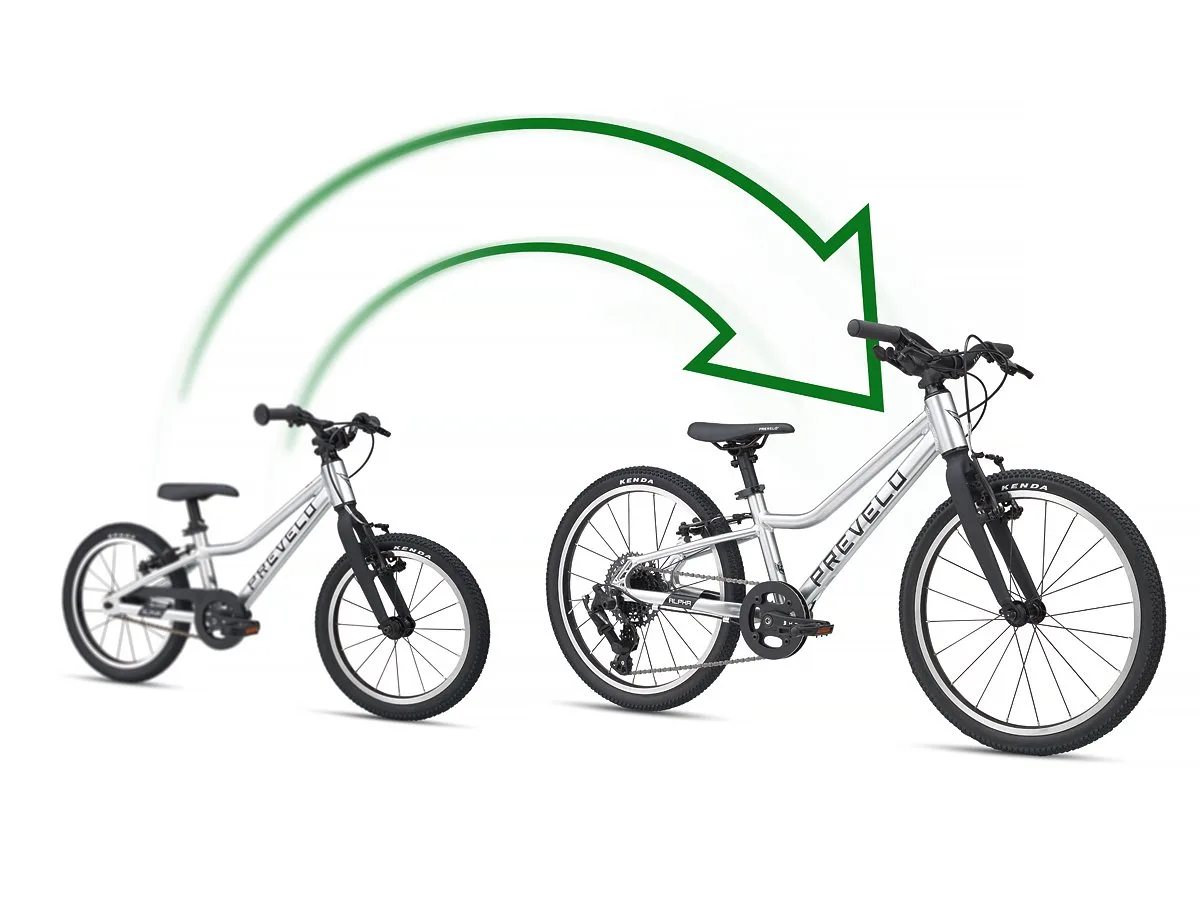
Prevelo Factory Trade-Up Club
- Checkpoint: a stand that needs tightening every ride usually means a missing washer or a stripped plate. Inspect the hardware before adding more torque.
Kickstand install at a glance
- Confirm the mounting plate: Look under the frame between the rear wheel and bottom bracket for a flat plate with two holes. No plate means no kickstand. Prevelo Kickstand fits Alpha Series MKIII only; Zulu Series frames have no mounting plate.
- Start the bolts by hand: Feed the included hardware through the plate and thread both bolts in by hand before touching a tool. Hand-starting is your best protection against cross-threading an aluminum plate.
- Tighten evenly with a 4 mm hex key: Alternate between the two bolts in small increments until the base sits flat and the stand won't twist. Snug and immovable, not cranked down. Stop if the base starts biting into the frame.
- Set the lean on level ground: Deploy the stand and aim for a 10 to 15 degree lean with the rear wheel just touching or barely lifted. Retest on grass or a mild slope, since that's where the bike will actually be parked.
- Check tire, pedal, and heel clearance: Spin the cranks with the stand down and confirm nothing contacts the stand. Any contact with the crank or tire is a safety problem, not a minor rattle.
- Recheck monthly: Wiggle the stand, tighten if it rotates, and add a drop of oil at the pivot. A stand that loosens every ride points to stripped hardware, so inspect before tightening again.
Prevelo parts that matter for this job
- Kickstand: Lightweight aluminum alloy, custom-designed to fit Prevelo Bikes, and includes all required mounting hardware. Fits Alpha Series MKIII only, not earlier Alpha versions or Zulu Series bikes, and Prevelo does not recommend kickstands on mountain bikes. Requires a 4 mm hex key. You can complete the install with one tool and no trip to the hardware store, but only if your frame is an Alpha Series MKIII. Check the plate before ordering.
- Rider's Name Lettering: Custom lettering cut from 2.5 mil vinyl at Prevelo HQ in California, sold as two decals (one per side). If ordered with a Prevelo bike it arrives applied; ordered separately it's easy to apply, and it can be removed with a bit of work when the bike is handed down. If you're already personalizing the bike, add the name decals at the same time so you're not handling the frame twice.
- Prevelo Factory Trade-Up Club: Lifetime membership. When you're ready to move up to your next Prevelo bike, send back the previous bike and Prevelo gives back 40% of its original purchase price, and pays the return shipping. Accessories like a kickstand stay with the bike you send back, so there's no need to remove it before a trade-up.
A kickstand is one of the simplest bike accessory installations you can do, provided the frame is built for it. Confirm the mounting plate, tighten with a 4 mm hex key, and dial in the lean angle on level ground. If your bike has no plate, leave it alone and park against something solid instead.


