Quick Answer
Replacing the front and rear differential box housing on the HM124 requires careful disassembly of the drivetrain and precise alignment of the new housing. Follow these steps to avoid damaging gears or losing small parts.
Before You Start: Tools and Work Area
You will need a small Phillips-head screwdriver, a pair of tweezers or needle-nose pliers, and a clean, well-lit workspace. The HM124 diff housing uses tiny screws that are easy to drop, so working over a tray or magnetic mat helps prevent loss.
The new housing (part number 90110) is an exact OEM replacement, so no modification or trimming is needed. However, the internal diff gears and bearings must be transferred from the old housing unless you are building a new assembly from scratch.
Common Mistakes to Avoid
The most frequent error is over-tightening the housing screws, which can strip the plastic threads or crack the housing. Tighten until snug, then stop.
Another common issue is mixing up the left and right diff outdrives. They are identical in appearance but may have different wear patterns; keep them paired with their original bearings.
Installation Steps
- Remove the wheels and suspension arms: Take off all four wheels and the lower suspension arms on both ends. This gives you clear access to the diff housing without straining the suspension links. Keep the wheel nuts and suspension pins in a labeled container.
- Disconnect the driveshafts: Unclip or unscrew the front and rear driveshafts from the diff outdrives. Slide them aside gently; do not bend the universal joints. Check the driveshaft pins for wear before reassembly.
- Remove the old diff housing screws: Use the Phillips screwdriver to remove the four screws securing the diff housing to the chassis. Lift the housing straight up to avoid spilling the internal gears. If a screw feels stuck, apply a drop of penetrating oil and wait 30 seconds.
- Transfer gears and bearings to the new housing: Carefully lift the differential gear assembly and both side bearings out of the old housing. Place them into the new BEZGAR housing exactly as they were oriented. Take a photo of the gear arrangement before disassembly to use as a reference.
- Install the new housing onto the chassis: Lower the new housing with the transferred gears onto the chassis. Align the four screw holes and insert the screws hand-tight, then tighten them in a cross pattern until snug. Do not overtighten; plastic threads strip easily.
- Reattach the driveshafts and suspension: Clip the driveshafts back onto the diff outdrives, then reinstall the suspension arms and wheels. Spin the wheels by hand to confirm smooth rotation. If the drivetrain binds, loosen the housing screws slightly and recheck alignment.
Parts Used in This Guide
-
Front&Rear Diff. Box Housing(90110) for HM124: This BEZGAR spare part is a front and rear differential box housing designed for the HM124 model, part number 90110. It is an exact OEM replacement, so you can swap it without modifying any other drivetrain components.
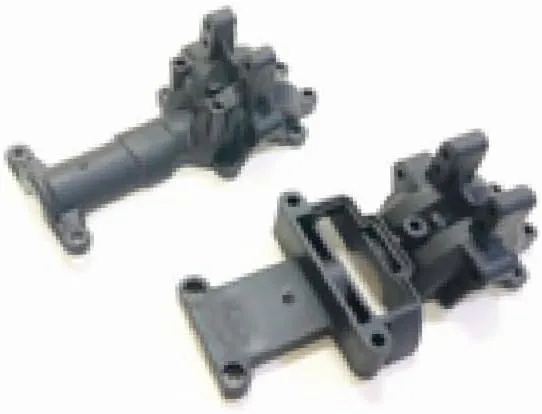
Front&Rear Diff. Box Housing(90110) for HM124


