Quick answer
Installing a new handlebar on your Strider balance bike takes about 15 minutes with a 5 mm Allen key and a Phillips screwdriver. The key steps are removing the old handlebar, aligning the new one, and tightening the stem bolts to the correct torque.
Why you might need to replace the handlebar
The handlebar is one of the most stressed parts on a balance bike. Over time, drops, crashes, and regular use can bend the steel or crack the grips. The Strider Sport handlebar is built from sturdy steel and comes with soft rubber grips and a handlebar pad, making it a reliable replacement that keeps your child in control when leaning into turns and taking on trails.
If the original handlebar is bent or the grips are worn out, replacing the entire bar is often faster and more cost-effective than trying to fix it. The Strider Sport handlebar is a direct fit for the Strider 12 Sport and costs about $12.
Tools you will need
You only need two common tools: a 5 mm hex key (Allen wrench) and a Phillips head screwdriver. A torque wrench is optional but helpful to avoid overtightening the stem bolts.
Step-by-step handlebar installation
- Remove the old handlebar: Loosen the two stem bolts on the front of the headset using a 5 mm hex key. Turn counterclockwise until the bolts are free but do not remove them completely. Slide the handlebar out of the stem clamp. Common mistake: removing the bolts fully can cause small parts to fall. Keep them threaded a few turns to hold the clamp in place.
- Transfer grips and pad (if reusing old ones): If you are reusing the old grips, slide them off the old bar and onto the new one. Use a little soapy water or rubbing alcohol as lubricant. Position the handlebar pad so it covers the stem clamp area. Checkpoint: ensure the pad does not block the stem bolts. You need access to tighten them.
- Align and insert the new handlebar: Slide the new handlebar into the stem clamp. Center it left-to-right so both ends are equal distance from the stem. Adjust the angle so the grips sit level or slightly tilted downward toward the rider. Common mistake: setting the bar too far forward or backward. A neutral position (parallel to the ground) gives the best control.
- Tighten the stem bolts: Tighten the two stem bolts evenly using the 5 mm hex key. Alternate between bolts to keep the clamp centered. Tighten until snug—about 4–5 Nm if using a torque wrench. Checkpoint: over-tightening can crush the steerer tube or strip the bolts. If the bar rotates under pressure, tighten a little more.
- Test the installation: Hold the front wheel between your legs and try to twist the handlebar. It should not move independently of the wheel. Check that the grips are secure and the pad does not slide off. Final check: if the bar slips, retighten the bolts. If it still slips, the stem clamp may be worn and need replacement.
Product facts
-
Strider Sport Handlebar: The Strider Sport Handlebar includes soft rubber grips, a handlebar pad, and is made from sturdy steel. The soft rubber grips reduce hand fatigue, the pad protects the child during falls, and the steel construction resists bending from typical riding impacts.
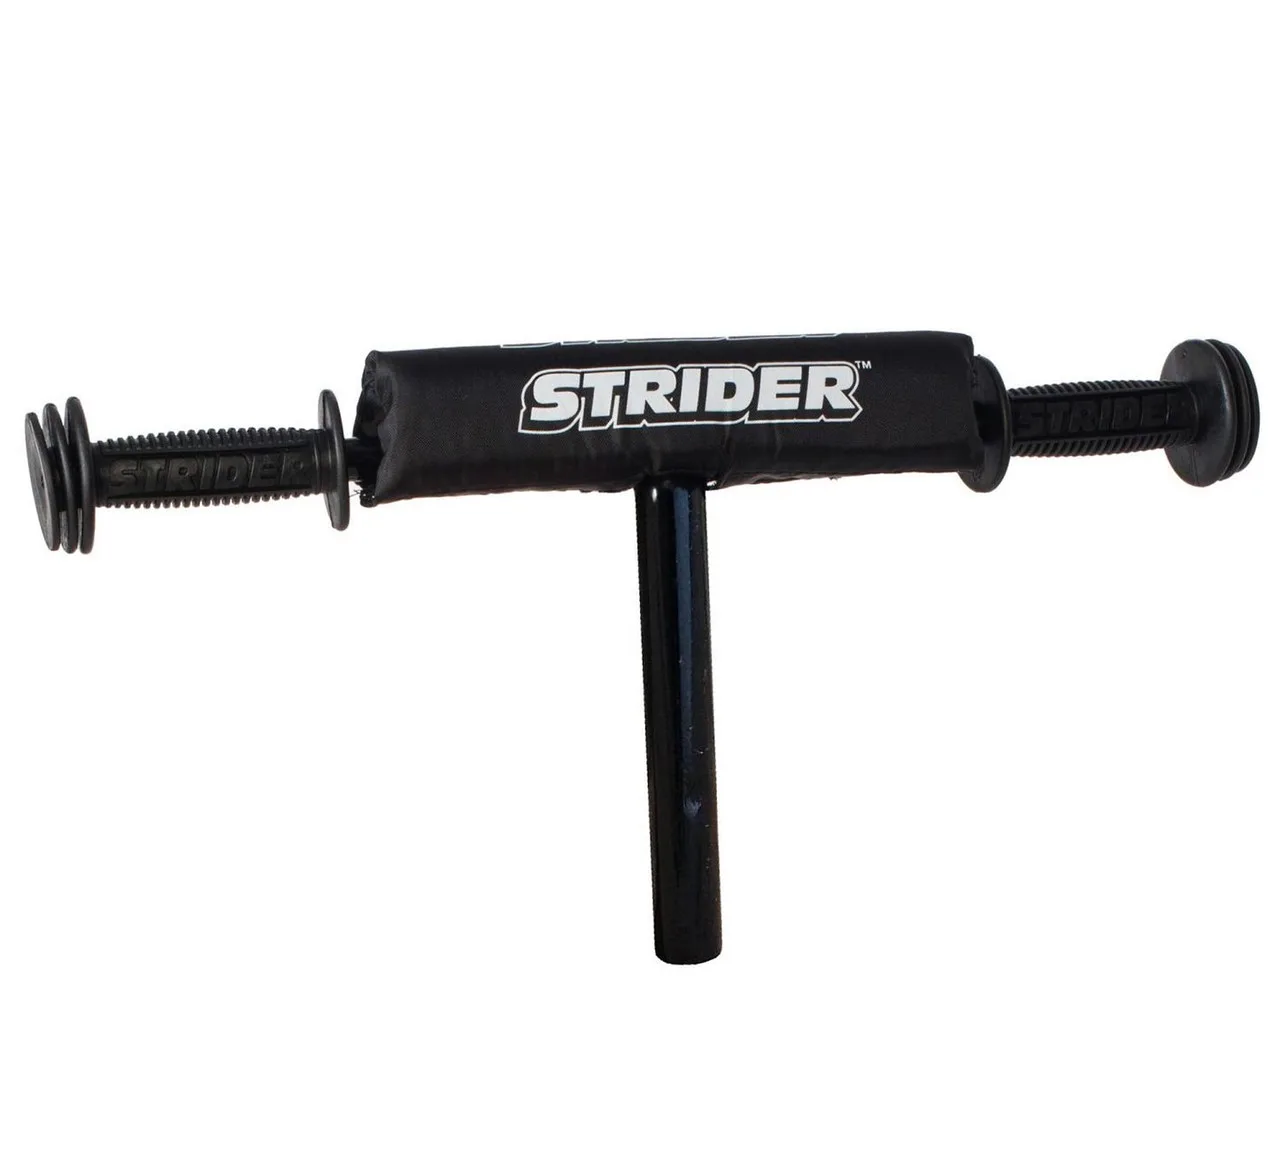
Strider Sport Handlebar