Quick Answer
Attach the Slingster to your rifle using the included hardware or a Steel Sling Hook, then adjust the pull tab for a secure, combat-ready fit.
Why the Slingster's Design Matters for Installation
The Slingster uses a rapid-adjust rubberized pull tab that lets you transition from slung to ready quickly. Getting the initial attachment right ensures the pull tab works smoothly and the sling stays secure under use.
A common mistake is routing the webbing incorrectly through the pull tab, which can cause binding or failure to tighten. Take your time to match the orientation shown in the instructions.
Choosing Between Hardware and a Steel Sling Hook
The Slingster can attach directly to your rifle's sling swivel or use a separate hook for quick detachment. The Steel Sling Hook 1" is a budget-friendly option that adds a spring-loaded retention gate for fast on/off capability.
If you prefer a permanent attachment, use the sling's built-in loop. For modular setups, the hook gives you flexibility to swap between rifles or stow the sling separately.
Step-by-Step Installation Guide
- Step 1: Attach the Rear Sling Point: Loop the fixed end of the Slingster through your rifle's rear sling swivel (or attach the Steel Sling Hook to the swivel first, then clip the sling's loop onto the hook). Pull the webbing back through the buckle to secure it. Ensure the sling is not twisted. Check that the buckle is fully seated and the webbing lies flat—twisted webbing can cause the sling to slip.
- Step 2: Attach the Front Sling Point: Route the adjustable end of the Slingster through the front sling swivel or attach a second hook if using one. Feed the webbing through the pull tab mechanism, then back through the buckle to create a secure loop. Leave enough slack to adjust length later. Do not overtighten at this stage—you need room to fine-tune the fit after attaching both ends.
- Step 3: Adjust the Sling Length: With the sling attached, put the rifle over your shoulder in your preferred carry position. Pull the rubberized tab to tighten the sling until the rifle sits snugly against your body. To loosen, lift the tab and pull the webbing away from the buckle. The pull tab should move freely—if it sticks, check that the webbing is not pinched or twisted inside the mechanism.
- Step 4: Test the Transition: Practice transitioning from slung to ready position several times. The sling should tighten securely when you pull the tab and release smoothly when you lift it. Adjust the front attachment point if the rifle hangs too high or low. If the sling loosens during movement, the webbing may be routed incorrectly through the pull tab—recheck the routing diagram.
Product Facts
-
The Slingster®: The Slingster features a rapid adjust rubberized pull tab for quick transition from slung to combat ready. Proper installation ensures the pull tab moves freely, so you can tighten or loosen the sling without fumbling under stress.
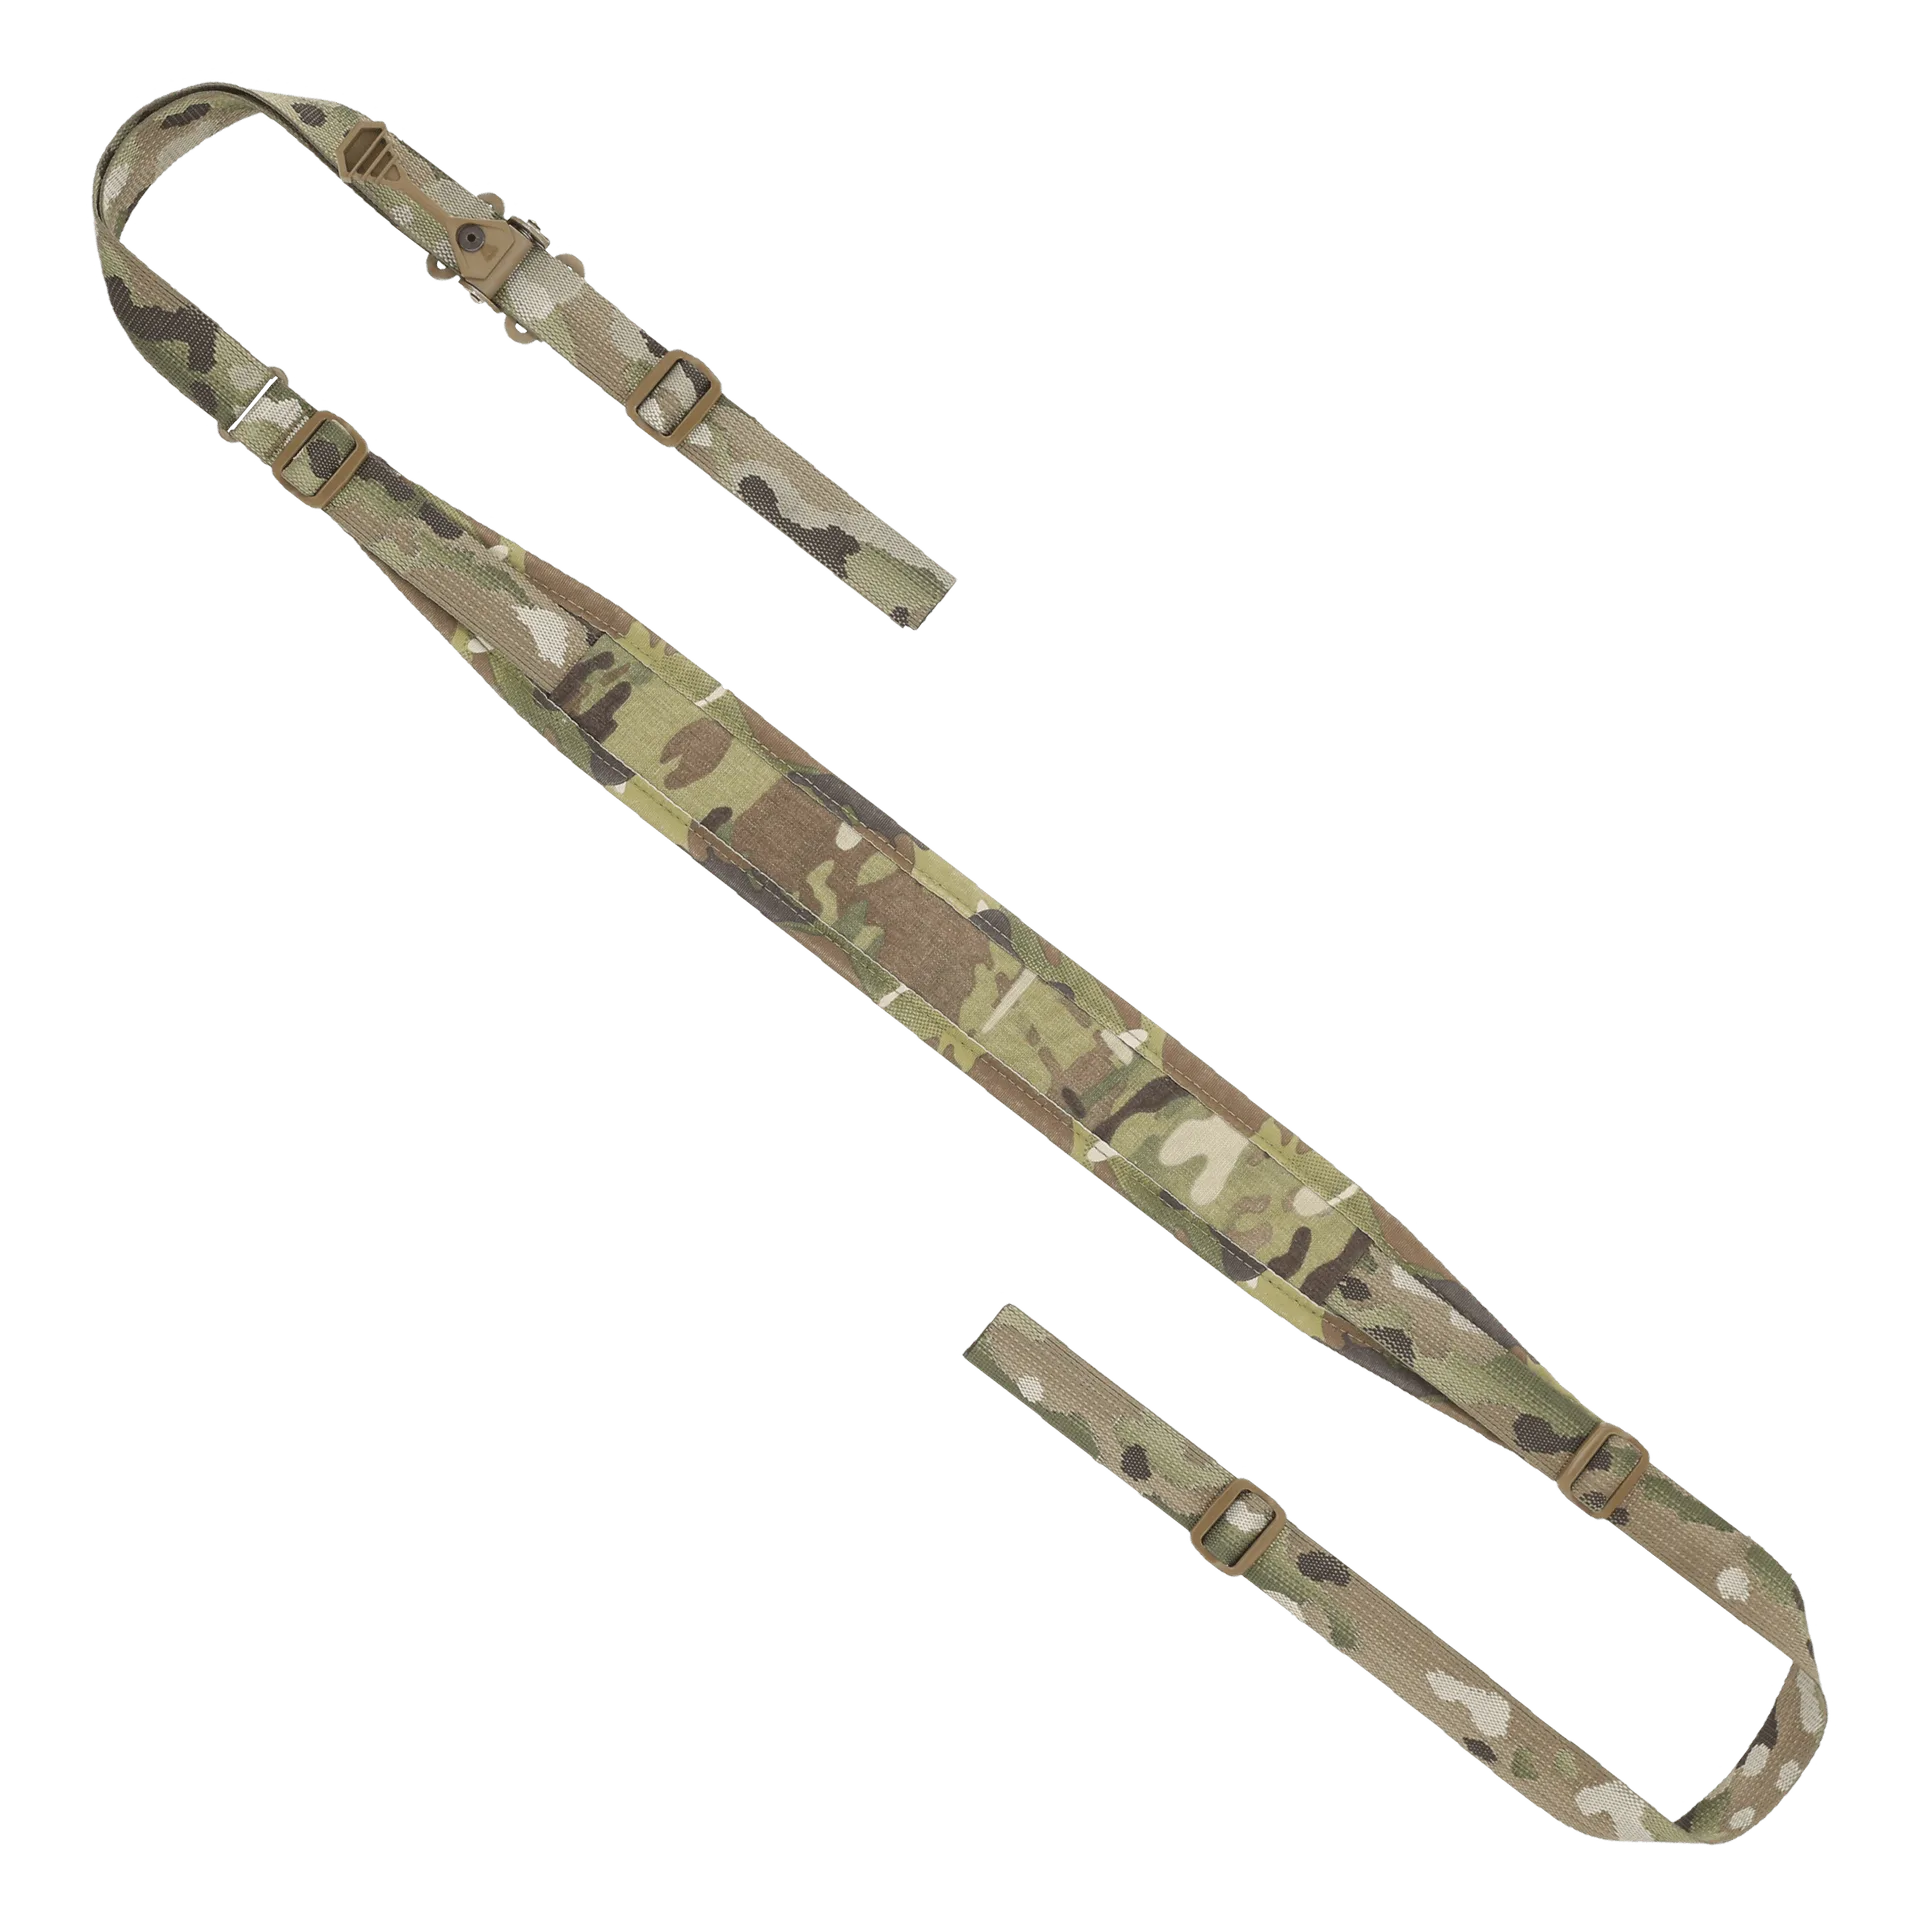
The Slingster®
-
Steel Sling Hook 1": The Steel Sling Hook 1" has a spring-loaded retention gate and is made from steel with a slot for 1" webbing. Using this hook gives you a quick-detach option that attaches securely to your rifle's sling mount, making setup faster and more versatile.
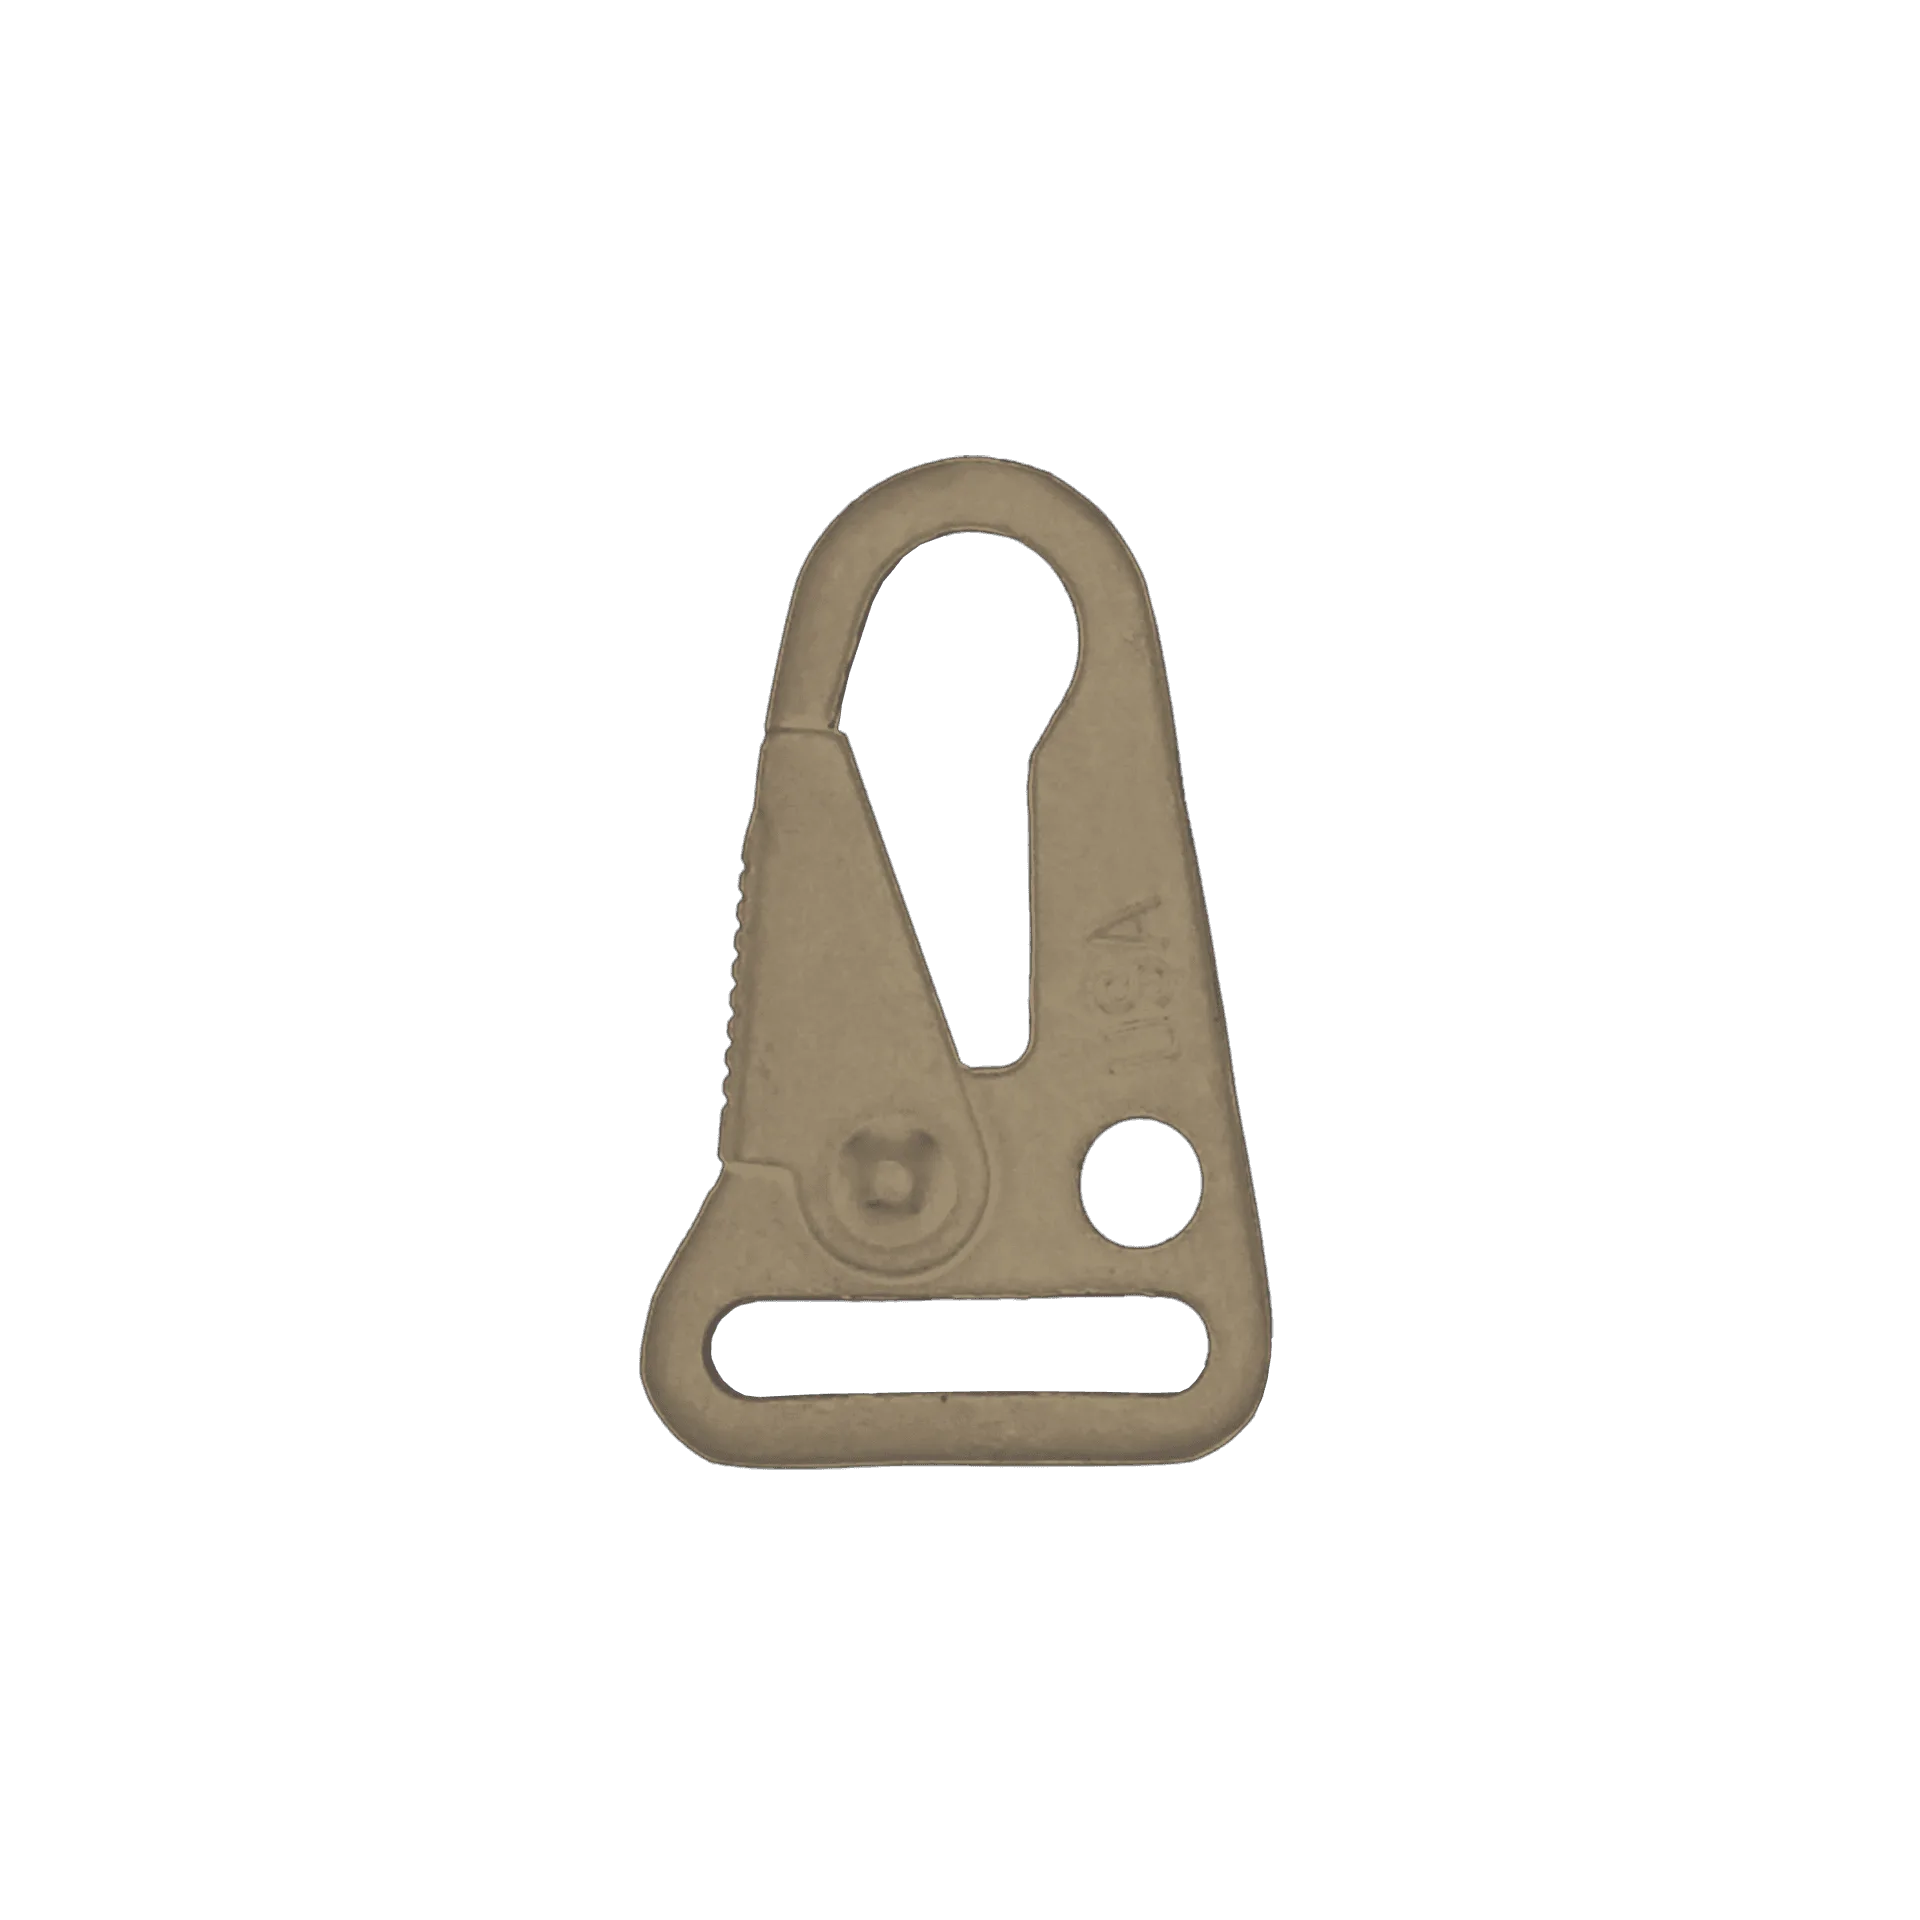
Steel Sling Hook 1"