Quick Answer
Layer lash 3-packs by assigning each style a job: a base for density, a mid-layer for shape, and accents for drama. Apply the lightest style first, then stack heavier or spikier styles only where you want volume. This prevents waste because you use every lash in the pack and never over-apply one style.
volume
Why Layering Beats Buying One Pre-Mixed Set
A single pre-mixed lash set locks you into one density and one shape. When you layer three separate styles, you control where volume goes: more at the outer corner for a lifted look, more in the center for a doll eye, or evenly for a classic full set. You also stretch each pack further because you are not forced to use the same lash across the whole eye.
The tradeoff is time. Layering takes a few extra minutes per eye, and you need a clean surface to sort lashes before you start. If you rush, you can end up with clumps or uneven spacing. The payoff is a set that looks intentional and uses every lash in the pack instead of leaving half a tray unused.
Pick Three Styles With Different Jobs
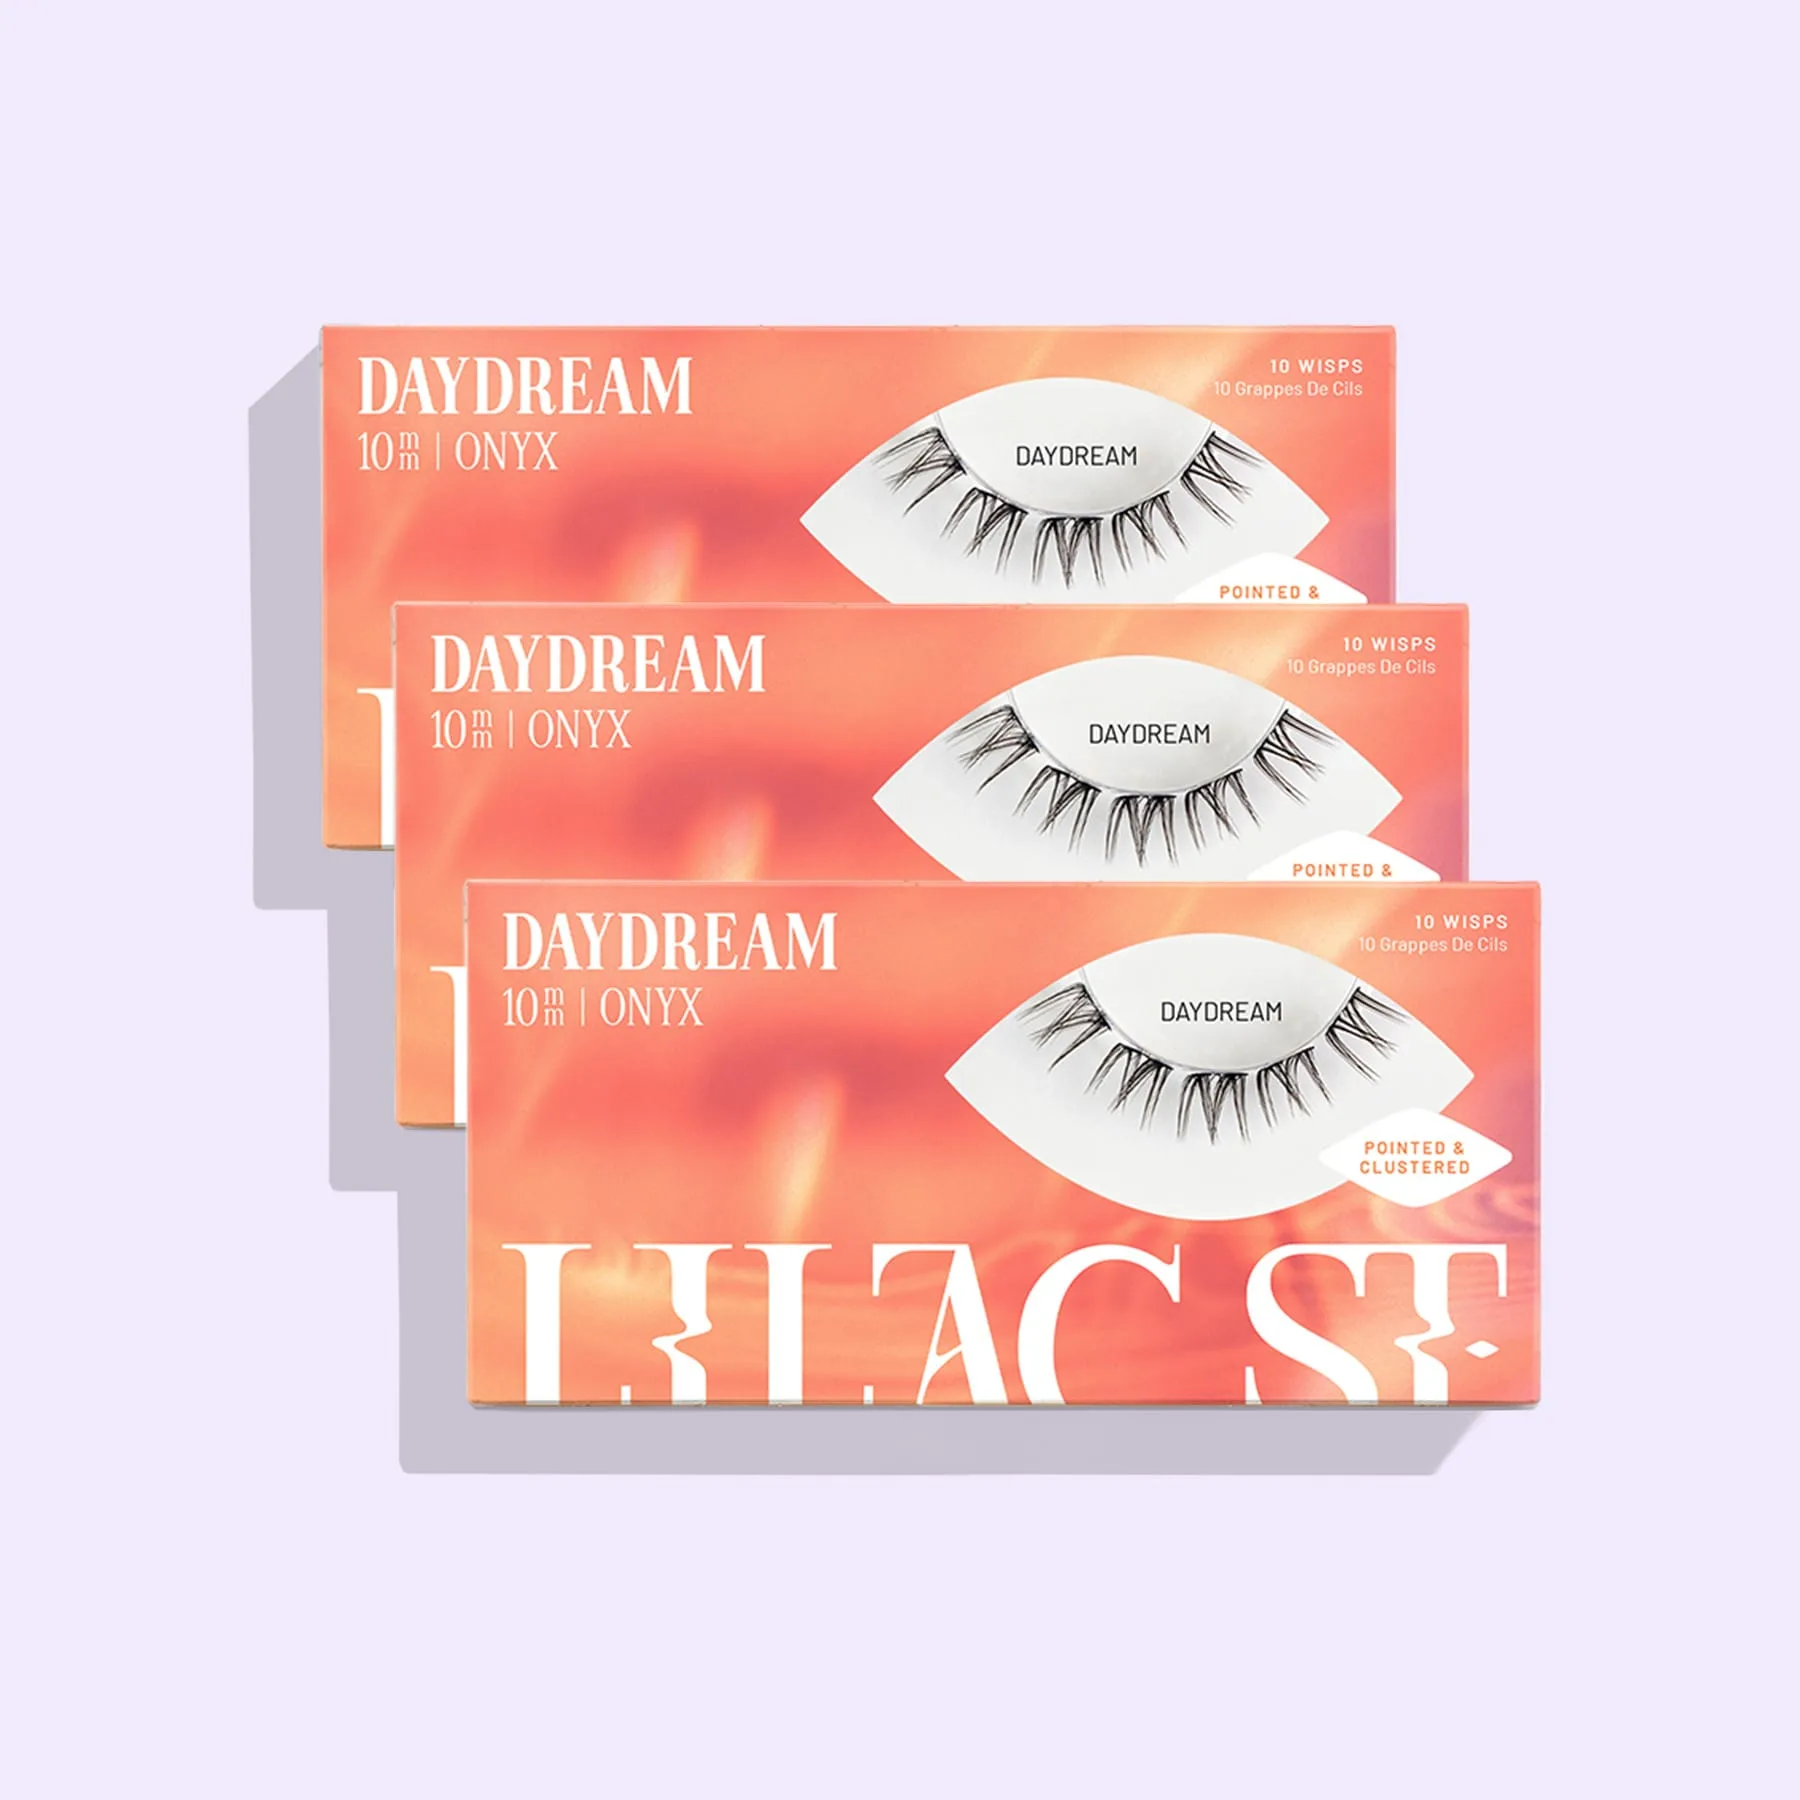
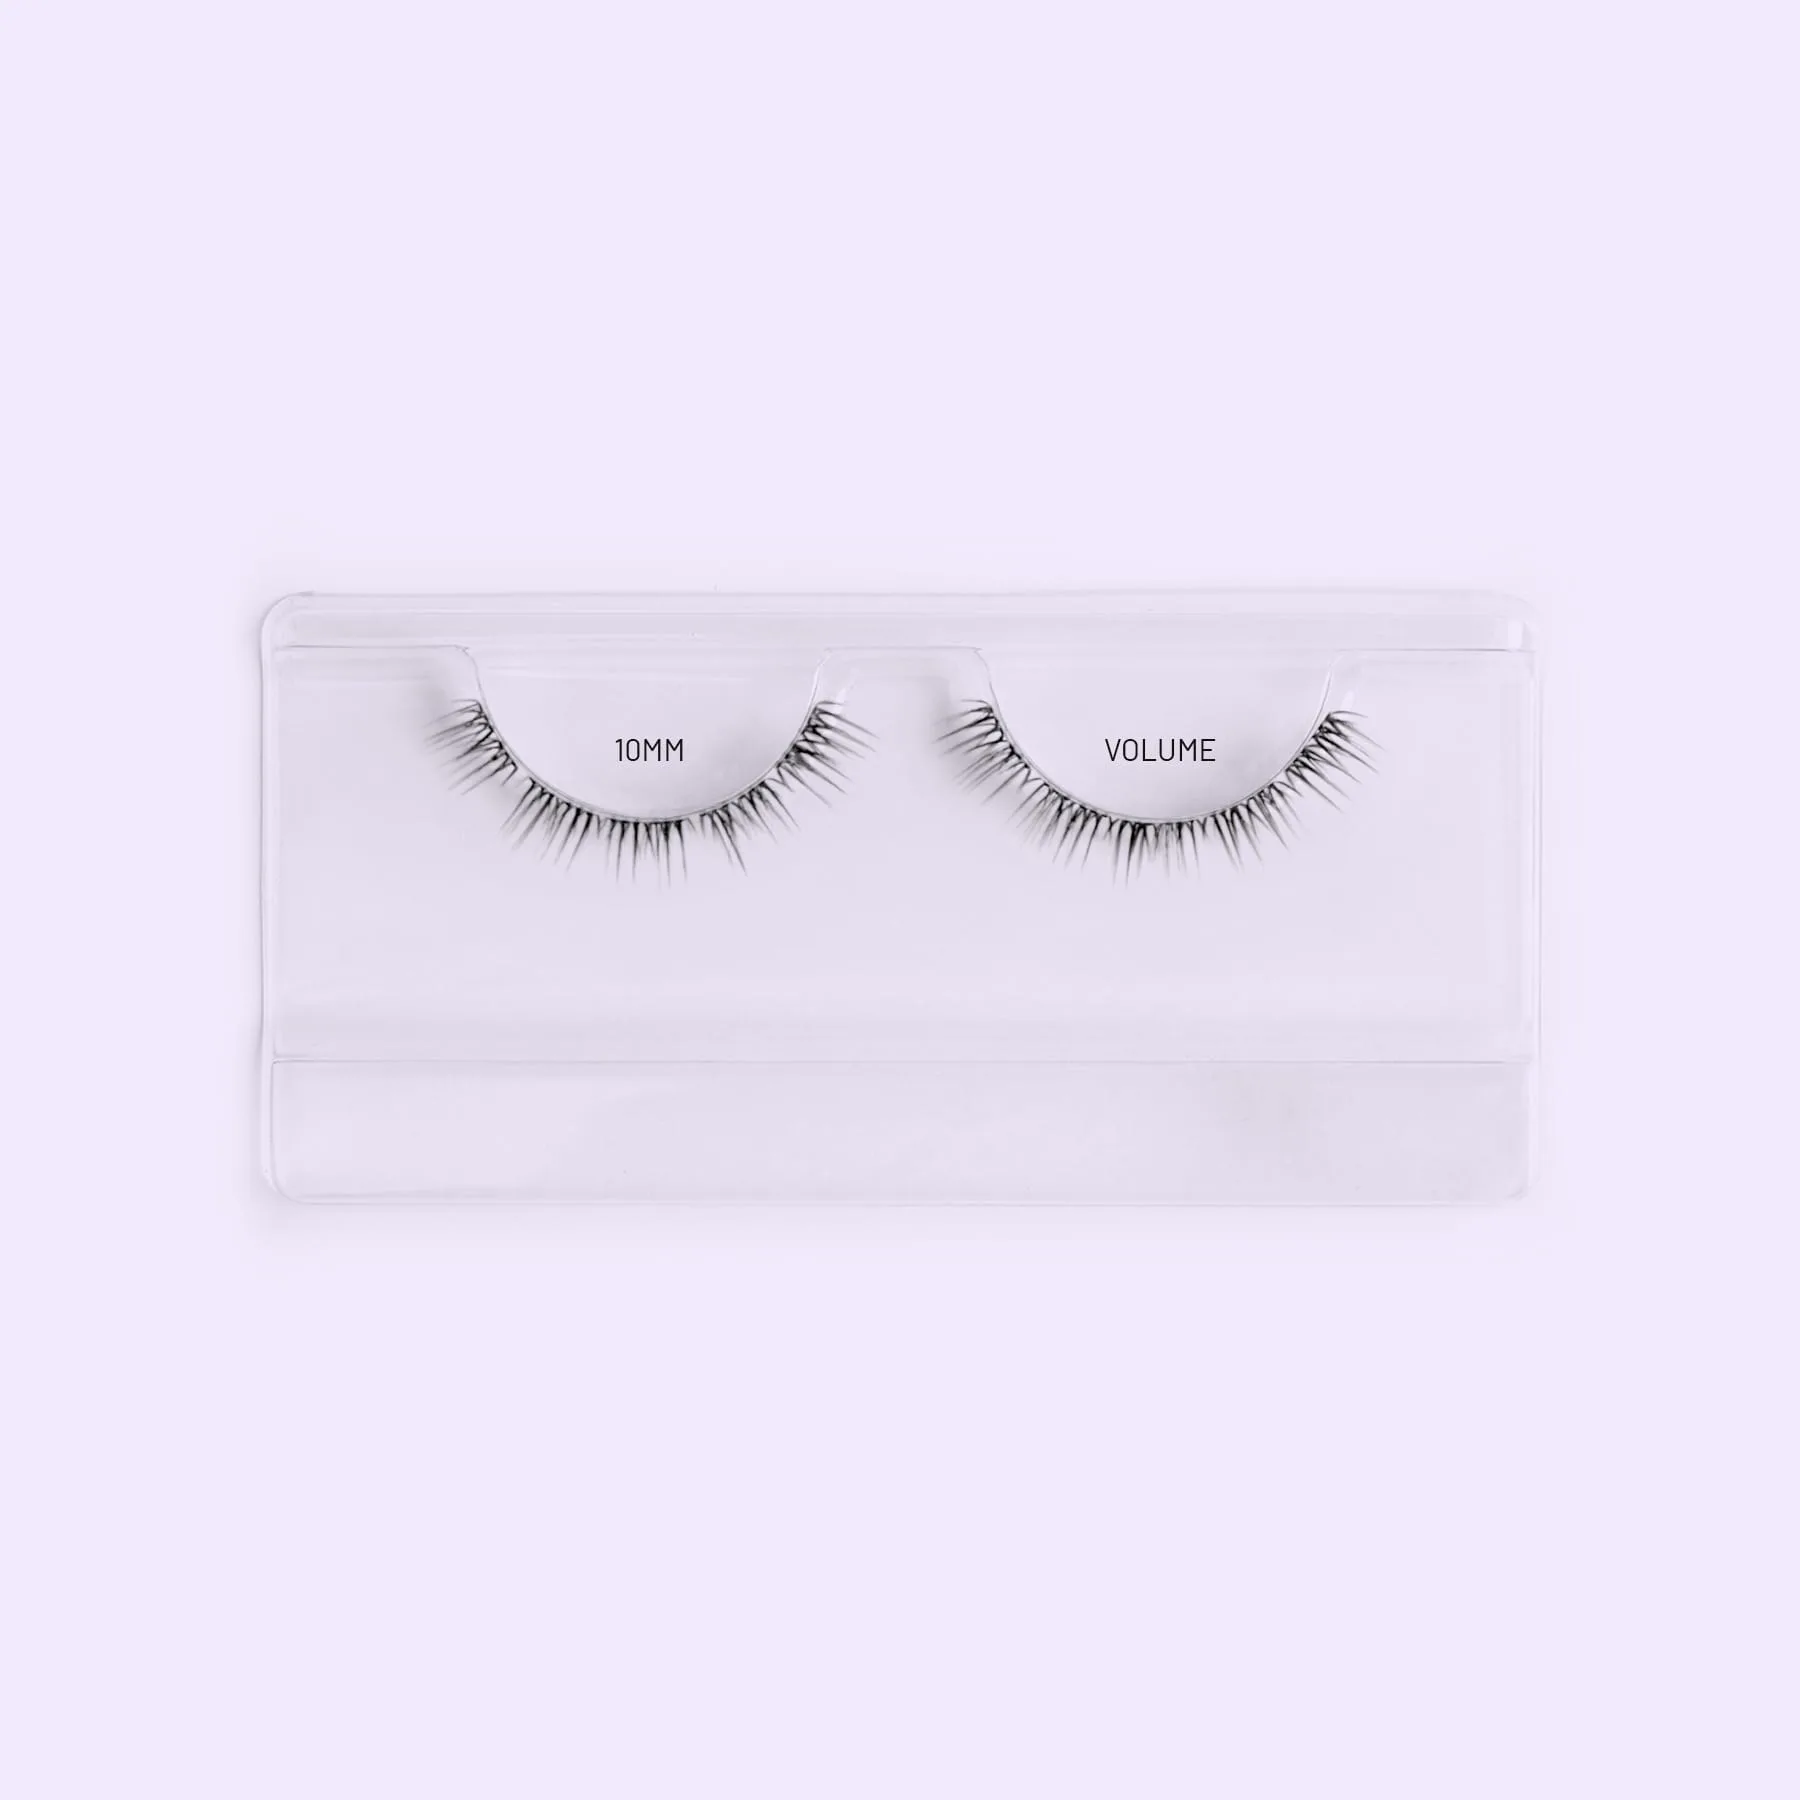
Choose one lightweight everyday lash, one medium-density lash, and one dramatic or spiky lash. For example, Originals are similar to your natural lashes and work well as the base layer. Daydream is light and playful, making it a good mid-layer for soft volume. Met Gala is a single-spike dramatic lash that works as an accent on the outer corner or scattered for texture.
If you already own a 3-pack, sort the styles by weight and length before you start. Heavier or longer lashes go on top or at the outer edge. Lighter, shorter lashes go underneath or toward the inner corner. This order keeps the set comfortable and prevents the inner corner from looking bulky.
Map Your Lash Placement Before You Glue
Lay the three styles out on a clean palette or piece of tape. Decide which lash goes on which part of your eye before any adhesive touches your lashes. A simple map: base style from inner to mid, mid-layer style from mid to outer, accent style on the last three to five lash clusters.
Checkpoint: if you cannot explain why each style is in that spot, you are guessing. Adjust the map until each style has a clear job. This step is what separates a custom lash set from a random mix.
Apply Lightest to Heaviest, Not the Reverse
Start with the lightest style closest to your natural lashes. This creates a stable base and keeps the set from feeling top-heavy. Once the base is set, add the mid-layer style slightly above or between the base lashes. Finish with the accent style on top or at the outer corner.
Common mistake: applying the dramatic lash first. That forces you to build around a heavy anchor, which often leads to gaps and wasted lashes. If you already placed a heavy lash by mistake, remove it with remover and restart that section rather than piling more lashes on top.
Use Less Adhesive and More Spacing
Layering does not mean crowding. Leave a small gap between each lash cluster so the layers can move naturally. Use a thin dot of adhesive on the base of each lash, not a thick bead. Too much adhesive makes layers stick together and look like one heavy clump.
Checkpoint: after each layer, look straight ahead in a mirror. If you see a solid black band instead of individual lashes, you are over-applying. Remove one or two lashes from that section and re-space them.
Store Leftovers by Style So Nothing Goes to Waste
After you finish, return unused lashes to their original trays or label them by style. Keep the base style, mid-layer style, and accent style separate so you can rebuild the same map next time. If you mix leftovers in one container, you will not know which lash goes where, and you will likely toss them.
A small labeled pill box or a piece of tape with the style name works well. This habit turns a 3-pack into a reusable system instead of a one-time experiment.
Step-by-Step: Layer Your 3-Packs Without Waste
- Sort and assign roles: Separate your three styles by weight and length. Decide which is the base, mid-layer, and accent before you open any adhesive. Checkpoint: every style should have a clear placement job.
- Map placement on a palette: Lay lashes out in the order they will go on your eye. Base from inner to mid, mid-layer from mid to outer, accent on the last few clusters. If the map looks uneven, adjust before gluing.
- Apply lightest first: Glue the base style closest to your natural lashes. Then add the mid-layer slightly above or between. Finish with the accent style on top or at the outer corner. Mistake to avoid: starting with the heaviest lash.
- Keep spacing and adhesive thin: Use a small dot of adhesive per lash and leave a tiny gap between clusters. This keeps layers from clumping together. If you see a solid black band, remove one lash and re-space.
- Store leftovers by style: Return unused lashes to labeled trays or a pill box. Keep base, mid, and accent separate so you can rebuild the same set next time. This step is what prevents waste and saves money.
Lashes That Work Well in a Layered Set
- Originals: Originals are similar to your natural lashes and come in multiple lengths. Use Originals as the base layer when you want a seamless transition from your natural lashes to added volume.
- Daydream: Daydream is described as an everyday lash that is light and playful. Daydream works as a mid-layer to add soft density without making the set look heavy for daily wear.
- Met Gala: Met Gala is a single-spike, dramatic lash. Use Met Gala as an accent on the outer corner or scattered for texture when you want a bold, spiky finish.