Quick answer
Measure your band size by wrapping a soft tape snugly around your ribcage directly under your bust, then measure your bust at the fullest point. Subtract the band from the bust measurement: roughly one inch equals an A cup, two inches a B, three a C, and so on. Measure over a thin, unlined bra, keep the tape level all the way around, and re-measure twice before you trust the number.
Most bra sizing problems start with a tape measure that was never quite level or a band that was pulled too tight. You can get a reliable starting size at home in about ten minutes with a soft measuring tape, a mirror, and a bra that isn't padded.
This guide walks through the order that matters: band first, bust second, cup last. It also flags the checkpoints that catch the errors most people make, so you can walk into a purchase with a number you actually trust instead of a guess.
What you need before you start
A flexible fabric tape measure is the only tool you truly need. A rigid metal tape from a toolbox will not follow the curve of your ribcage, and it will give you a band measurement that is too large. If you don't own a soft tape, a piece of non-stretch string plus a ruler works — mark the string, then lay it flat against the ruler.
Wear a thin, unlined bra or a fitted camisole. A padded or push-up bra adds volume that isn't yours and inflates the bust measurement. Stand in front of a mirror so you can see whether the tape is level at the back, and keep your arms down at your sides once the tape is in place.
- Checkpoint: if the tape has any stretch, pull it taut once before measuring so you're not compensating mid-wrap.
- Avoid measuring right after a workout or a heavy meal, when ribcage measurements can shift slightly.
Step 1: Measure your band size
Wrap the tape around your ribcage directly under your bust, where the bra band sits. Keep it snug — firm against the skin, but not compressing. The tape should be level all the way around; if it dips at the back, your band number will read too high. Breathe out normally and read the number at the point where the tape meets itself in front.
If the result is an even number, that is your band size. If it's an odd number, round up to the next even number, since most brands build bands in even increments. Write the number down rather than trying to remember it, because the next step changes how you interpret it.
- Common mistake: measuring over a thick shirt or a padded band, which adds inches you don't have.
- Checkpoint: the tape should stay in place if you lower your arms — if it slides, it's too loose.
Step 2: Measure your bust at the fullest point
Wrap the tape around your back and across the fullest part of your bust, usually level with your nipples. Keep the tape parallel to the floor and relaxed — not pulled tight. This measurement is about volume, not compression, so a gentle contact is enough. Check in the mirror that the tape isn't riding up at the back.
Read the number at the front where the tape meets. If you're between two numbers, note both and round to the nearest half inch for a more precise cup calculation. Measuring twice and averaging the two results is a simple way to reduce one-off errors.
- Common mistake: pulling the tape tight across the bust, which shrinks the measurement and produces a cup that's too small.
- Checkpoint: the tape should touch your bust without pressing into it.
Step 3: Calculate your cup size
Subtract your band measurement from your bust measurement. The difference in inches maps to a cup: about one inch for an A, two for a B, three for a C, four for a D, five for a DD, and so on up the alphabet. For example, a 34 band with a 38 bust gives a four-inch difference, which points to a 34D.
This calculation gives you a starting point, not a verdict. Cup volume is not standardized across brands, and two bras labeled 34D can fit differently depending on the cut, the wire, and how much coverage the style provides. Use the number to narrow your search, then let the fit of the individual bra confirm it.
- Common mistake: using the band number from a bra you already own instead of a fresh measurement.
- Checkpoint: if your difference lands on a half inch, round to the nearest whole inch and adjust after trying the bra on.
Step 4: Test the band before you judge the cup
Put the bra on and fasten it on the loosest hook first. The band should feel snug and stay level around your body — most of the support comes from the band, not the straps. If the band rides up at the back, it's too loose and a smaller band size is usually the fix, not tighter straps. If it digs in sharply or you can't take a full breath, size up.
Once the band sits correctly, check the cups. The center of the bra should rest flat against your sternum, and the wire should sit against your ribcage without pressing into breast tissue. If the cups gap at the top, the cup is likely too large; if tissue spills over the edge, the cup is too small.
- Common mistake: tightening the straps to fix a band that's too loose — this shifts pressure to your shoulders and causes digging.
- Checkpoint: you should be able to slide two fingers under the band at the back without strain.
Step 5: Use sister sizes when a size runs between two
If your calculated size is hard to find or sits between two options, sister sizing keeps the cup volume roughly the same while changing the band. Going down one band size means going up one cup letter; going up one band size means going down one cup letter. A 34D, for instance, is a sister to a 32DD and a 36C.
Sister sizes are a useful fallback, but they aren't identical. A shorter band changes where the support comes from, and a different cup letter changes the wire shape. Treat sister sizing as a way to expand your options, not as a substitute for checking the fit in person.
- Common mistake: assuming sister sizes fit the same — the band tension and wire width both change.
- Checkpoint: if a sister size feels close but not right, go back to your measured size and try a different style instead.
Your at-home measuring checklist
- Gather a soft tape and a thin bra: Use a flexible fabric tape and wear an unlined bra or fitted camisole. Skip padded styles and thick clothing. Checkpoint: if the tape doesn't curve with your body, it's the wrong tool.
- Measure the band under your bust: Wrap snugly and level around your ribcage, breathe out, and read the number. Round odd numbers up to the next even size. Checkpoint: the tape should stay put when you lower your arms.
- Measure the bust at the fullest point: Keep the tape parallel to the floor and relaxed across the fullest part of your bust. Measure twice and average the results. Checkpoint: no compression — the tape should touch, not press.
- Subtract band from bust for cup size: One inch equals roughly an A, two a B, three a C, four a D, five a DD, and so on. Checkpoint: treat this as a starting size, not a final answer.
- Try the bra on the loosest hook: Check that the band sits level and the center gore rests flat. Adjust band size before you adjust straps. Checkpoint: if the band rides up, go down a band size rather than tightening straps.
- Try a sister size if you're between sizes: Down one band means up one cup letter; up one band means down one cup letter. Use it to widen your options, not to replace a proper fit check. Checkpoint: if the sister size feels off, switch styles in your measured size instead.
Styles that show why size alone isn't the whole story
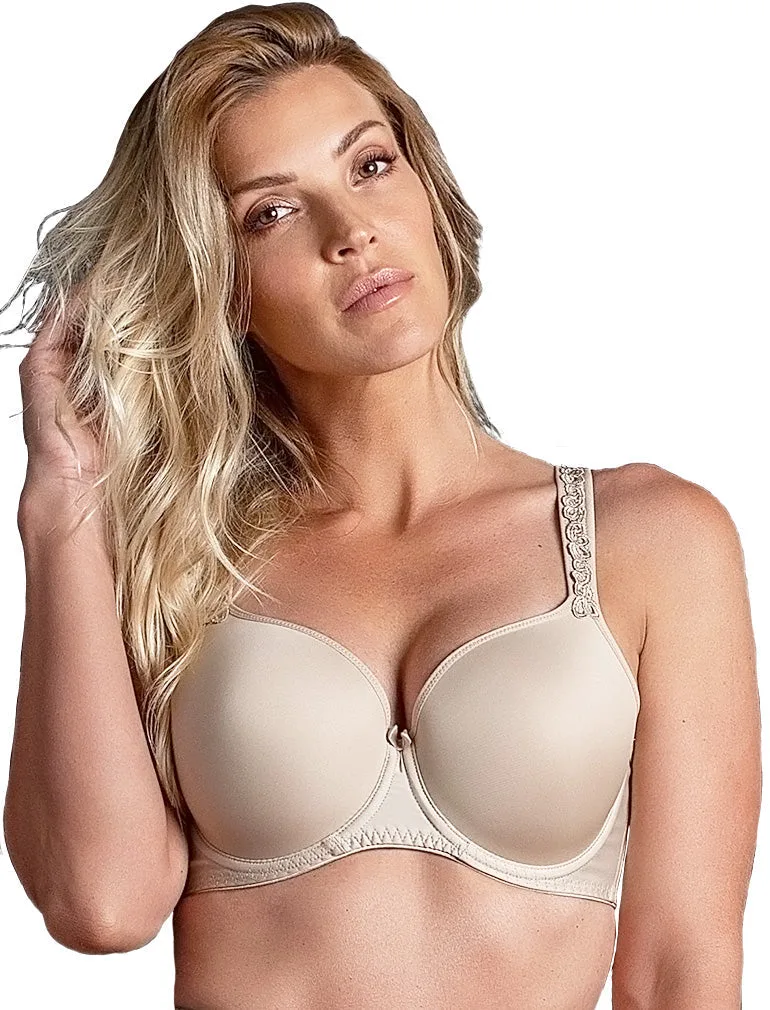
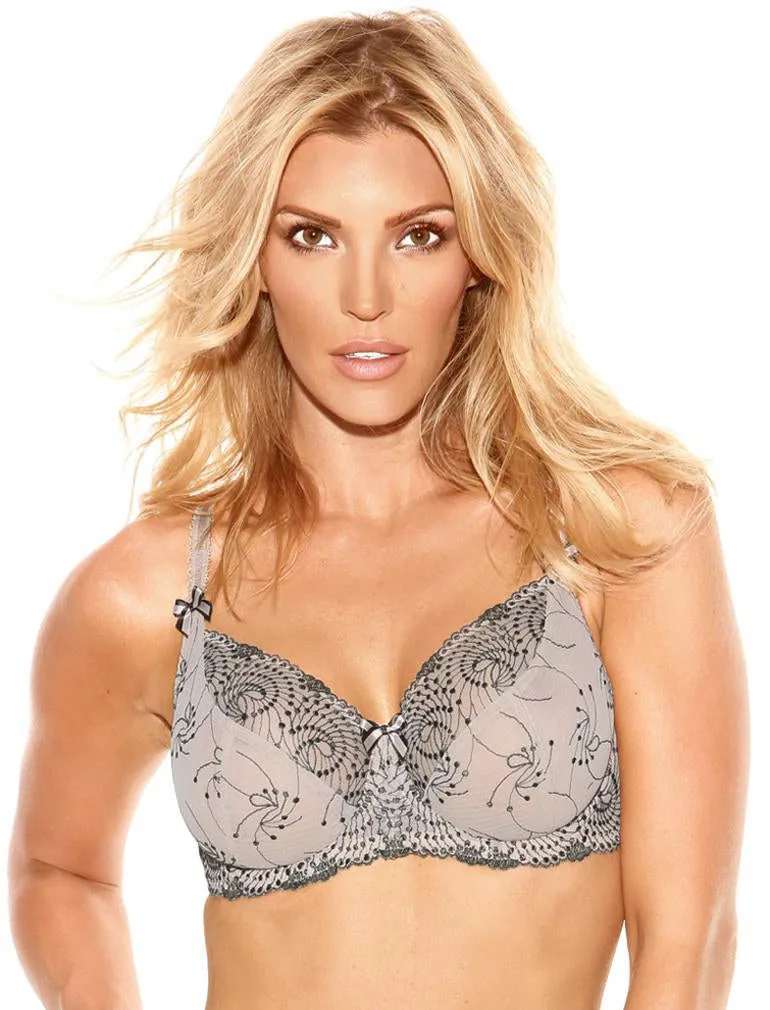
- B1212 Zora Moulded: FAWN: Zora offers moulded full coverage with soft underwire cups and a strap designed with a motif that supports as well as decorates. Moulded cups hold a consistent shape, so if your measured size feels borderline, this is a style where the cup structure does some of the work for you.
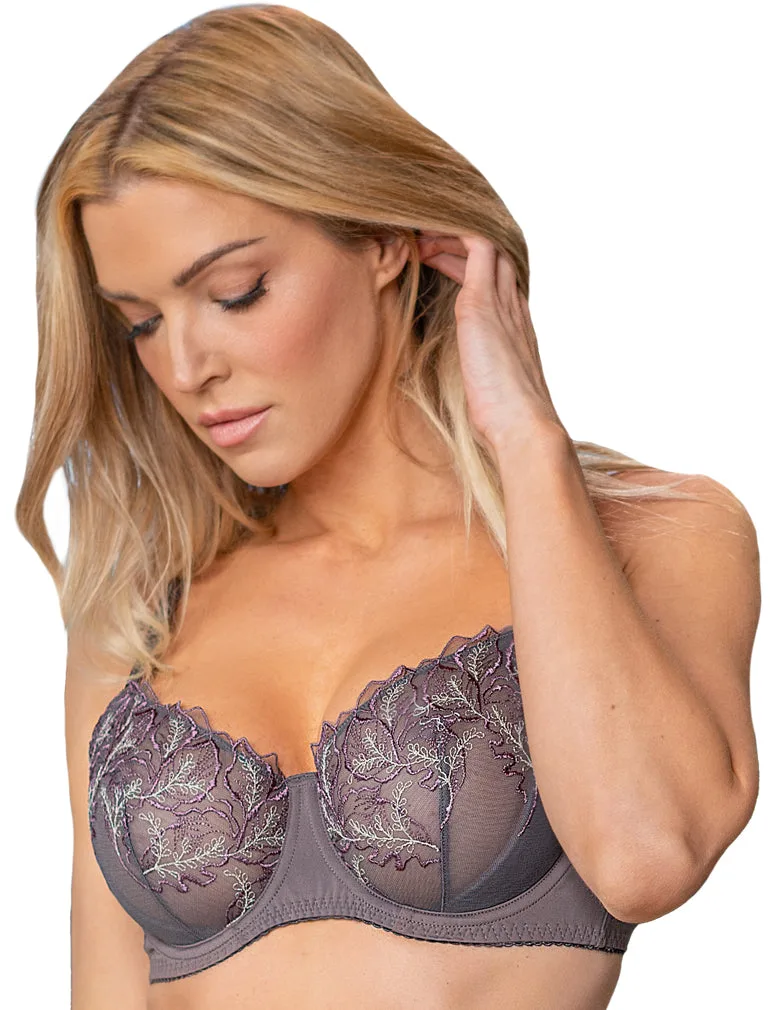
- B2645 Bridget: MAUVE PLUM: Bridget features a delicate lace design on the cups and an inside sling that gently lifts the bust for a fuller look. An inside sling changes how a cup sits on the body, so a bra like this can fit differently from a plain molded cup in the same labeled size.
- B2271 Nicole See-Thru: CAFFE BROWN: Nicole is a full coverage, underwired bra with an inside sling in sizes G and up, plus two matching panty options. The sling starting at G shows that larger cup sizes often get extra internal structure — worth knowing if your measurement puts you in that range.
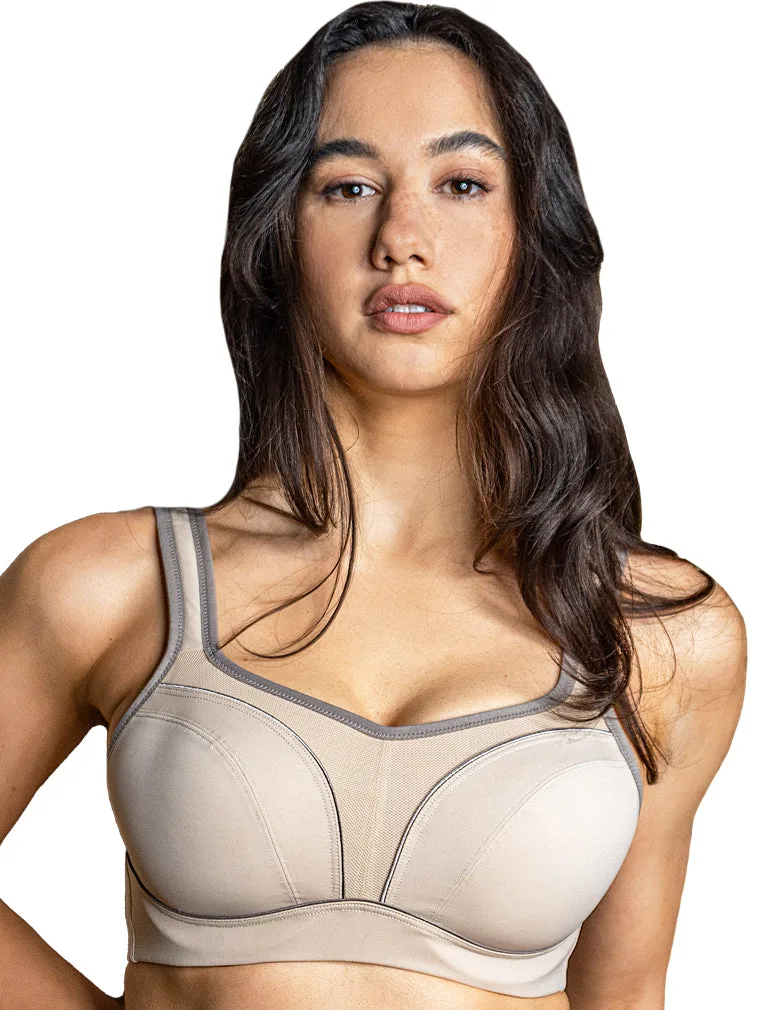
- B9660 Pauline Sport: FAWN DARK TAUPE: Pauline is a sports bra with flexible wire, full coverage cups, and moisture control technology. Sports bras are built for compression and movement control, so don't expect your everyday measured size to translate directly — check the fit on the loosest hook and adjust from there.
Measure the band, measure the bust, subtract, and then let the bra itself confirm the number. Two rounds of measuring and one honest fit check on the loosest hook will get you closer than any single tape reading — and if a style is final sale, that extra minute of checking is worth it.