Quick answer
Measure your band, bust, and hips at home using a soft tape, then match those numbers to the bra set's own size chart. If your bust measurement is between two cup sizes, round up; if your hip measurement is between two panty sizes, size up for comfort. Recheck the fit once the set arrives and exchange before removing tags if the band rides up or the panty digs in.
A bra set is only as good as its fit. If the band rides up or the panty digs in, you will not wear it, no matter how pretty it looks. The good news is that you can measure yourself for a bra set at home in about ten minutes with a soft tape and a mirror.
This guide walks through the exact steps to measure your band, bust, and hips, then how to translate those numbers into a bra and panty size. It also covers the checks that catch a bad fit before you commit to wearing the set.
What you need before you start
You do not need a professional fitting to get a reliable bra set measurement. A soft measuring tape, a mirror, and a well-fitting unpadded bra are enough. If you do not own a soft tape, use a piece of string and measure it against a ruler.
Wear the bra you already find comfortable, not a sports bra or a push-up. The goal is to measure your natural shape so the size chart works in your favor. Stand in front of a mirror so you can keep the tape level.
- Soft measuring tape or string plus a ruler
- A mirror to check the tape is level
- An unpadded bra you already like
Step 1: Measure your band size
Wrap the tape around your ribcage, directly under your bust, keeping it snug and level all the way around. Breathe out normally and note the number in inches. This is your band measurement. If the number is odd, round down to the nearest even number for most brands.
The common mistake here is pulling the tape too loose because it feels tight. The band does the supporting work, so a loose measurement leads to a bra that slides around. Check in the mirror that the tape is not dipping at the back.
- Keep the tape snug but not digging in
- Round odd numbers down to the nearest even band size
Step 2: Measure your bust size
Wrap the tape around the fullest part of your bust, usually across the nipple line, keeping it level and not compressing the tissue. Stand straight with your arms down. Note the number in inches.
The common mistake is measuring over a padded or push-up bra, which adds volume that is not yours. If you are between two numbers, round up to the larger bust measurement. This gives you a cup size that will not cut in.
- Measure over an unpadded bra or no bra
- Round up if you are between two bust measurements
Step 3: Calculate your cup size
Subtract your band measurement from your bust measurement. The difference in inches maps to a cup size: 1 inch is generally an A, 2 inches a B, 3 inches a C, 4 inches a D, 5 inches a DD or E, and so on. This is a starting point, not a final verdict.
Cup sizing varies between brands, so always check the specific bra set's size chart. The common mistake is assuming your cup size is the same everywhere. If the difference falls between two cups, choose the larger cup and adjust the band if needed.
- Difference of 1 inch = A, 2 = B, 3 = C, 4 = D
- When in doubt, size up in the cup
Step 4: Measure your hips for the panty
Stand with your feet together and wrap the tape around the fullest part of your hips and bottom, usually about 8 inches below your natural waist. Keep the tape level and snug, not tight. Note the number in inches.
The common mistake is measuring over clothing or at the wrong height. If your hip measurement is between two sizes, size up. Panties that are too small cause digging and riding, while slightly larger ones stay comfortable.
- Measure the fullest part of your hips and bottom
- Size up if you are between two panty sizes
Step 5: Match your numbers to the size chart
Every bra set has its own size chart, so compare your band, bust, and hip measurements to that chart rather than guessing. If your bra size and panty size fall into different rows, that is normal. Many sets let you choose the bra and panty sizes separately.
The common mistake is buying the same letter size for both pieces. A medium bra does not always mean a medium panty. Write down your measurements and keep them in your phone so you can reorder without remeasuring.
- Check the specific set's chart, not a generic one
- Bra and panty sizes can differ, and that is fine
Step 6: Do a fit check when the set arrives
Try the set on over clean skin and check three things: the band should sit level and snug, the cups should lie flat without gaping or cutting, and the panty should not dig or ride up. Move around, sit down, and raise your arms.
The common mistake is keeping a set because the tags are already off or because you plan to lose weight. If the band rides up, go down a band size. If the cups gap, go down a cup. If the panty digs, size up. Exchange before wearing it for a full day.
- Band level, cups flat, panty smooth
- Exchange before removing tags if anything digs or gaps
Your at-home measuring steps
- Measure your band: Wrap a soft tape snugly under your bust, keep it level, and round odd numbers down to the nearest even size. Checkpoint: the tape should not dip at the back.
- Measure your bust: Measure around the fullest part of your bust over an unpadded bra, keeping the tape level and not compressing. Checkpoint: round up if you are between two numbers.
- Calculate your cup: Subtract your band from your bust. A 1-inch difference is generally an A, 2 inches a B, 3 inches a C, and 4 inches a D. Checkpoint: verify against the specific set's chart, not a generic one.
- Measure your hips: Stand with feet together and measure the fullest part of your hips and bottom, keeping the tape level and snug. Checkpoint: size up if you are between two panty sizes.
- Match to the set's size chart: Compare your band, bust, and hip numbers to the chart for that exact bra set, and choose bra and panty sizes separately if needed. Checkpoint: write your measurements down for next time.
- Do a fit check on arrival: Try the set on and check that the band sits level, cups lie flat, and the panty does not dig or ride up. Checkpoint: exchange before removing tags if anything feels off.
How real sets apply these measurements
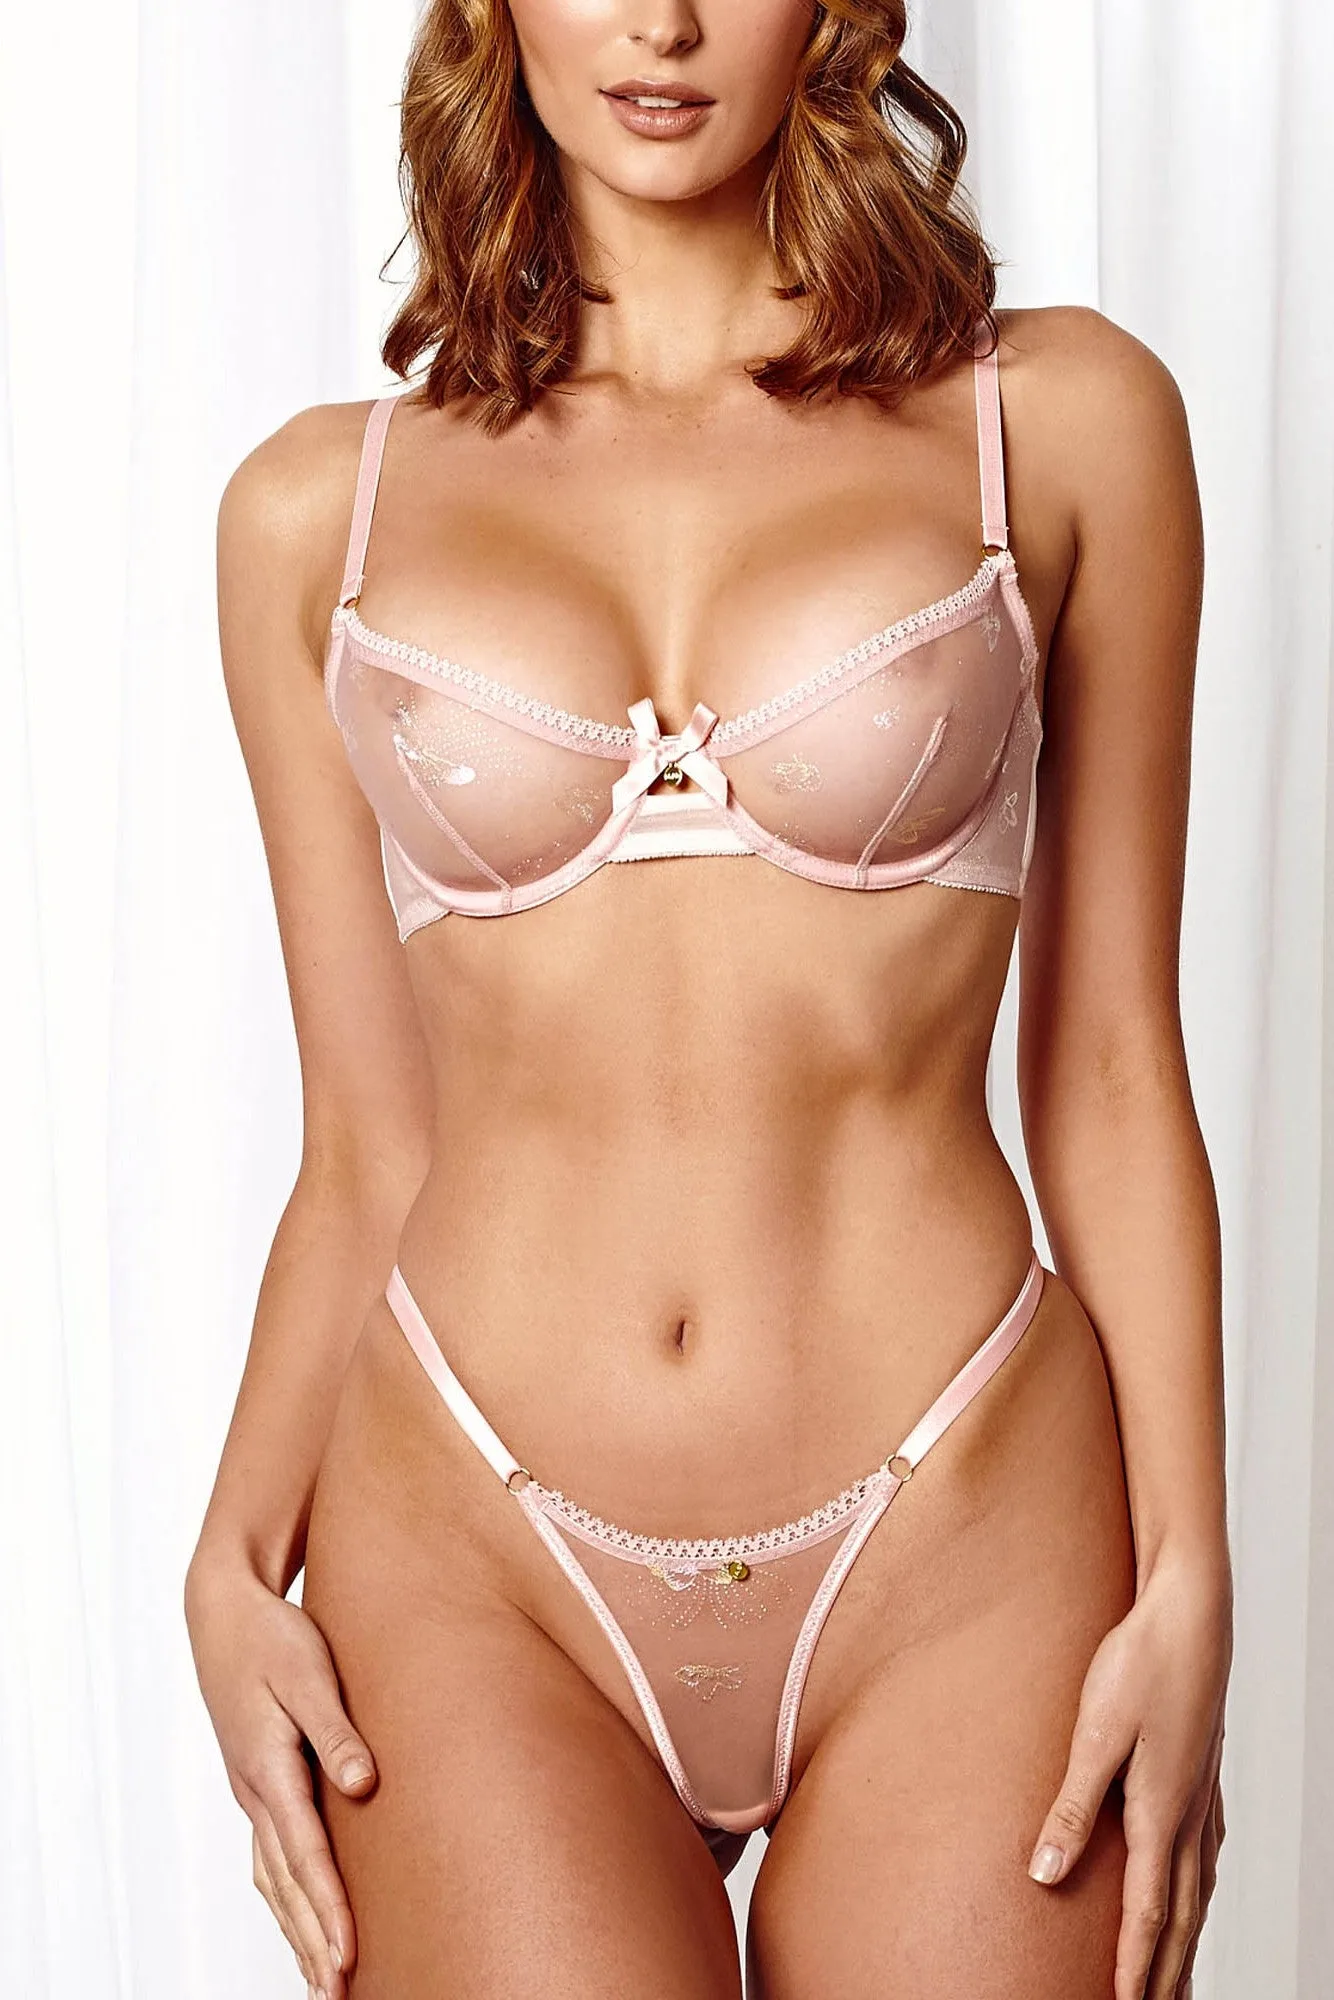
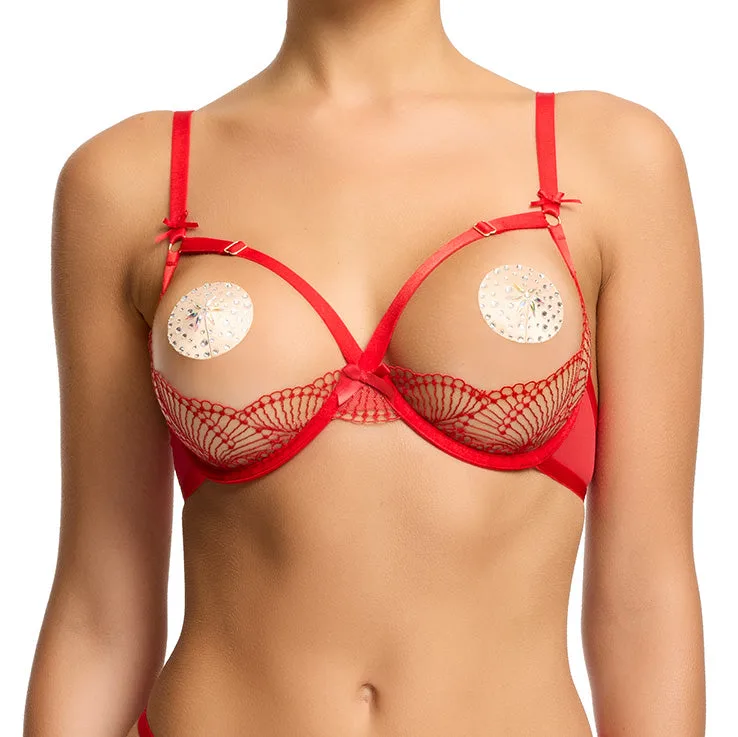
- Aubrey Set Butterflies: Fully adjustable bra top and thong with adjustable back straps, adjustable thong side straps, and stretch lace. Adjustable straps let you fine-tune the fit after measuring, which is helpful if you land between two sizes.
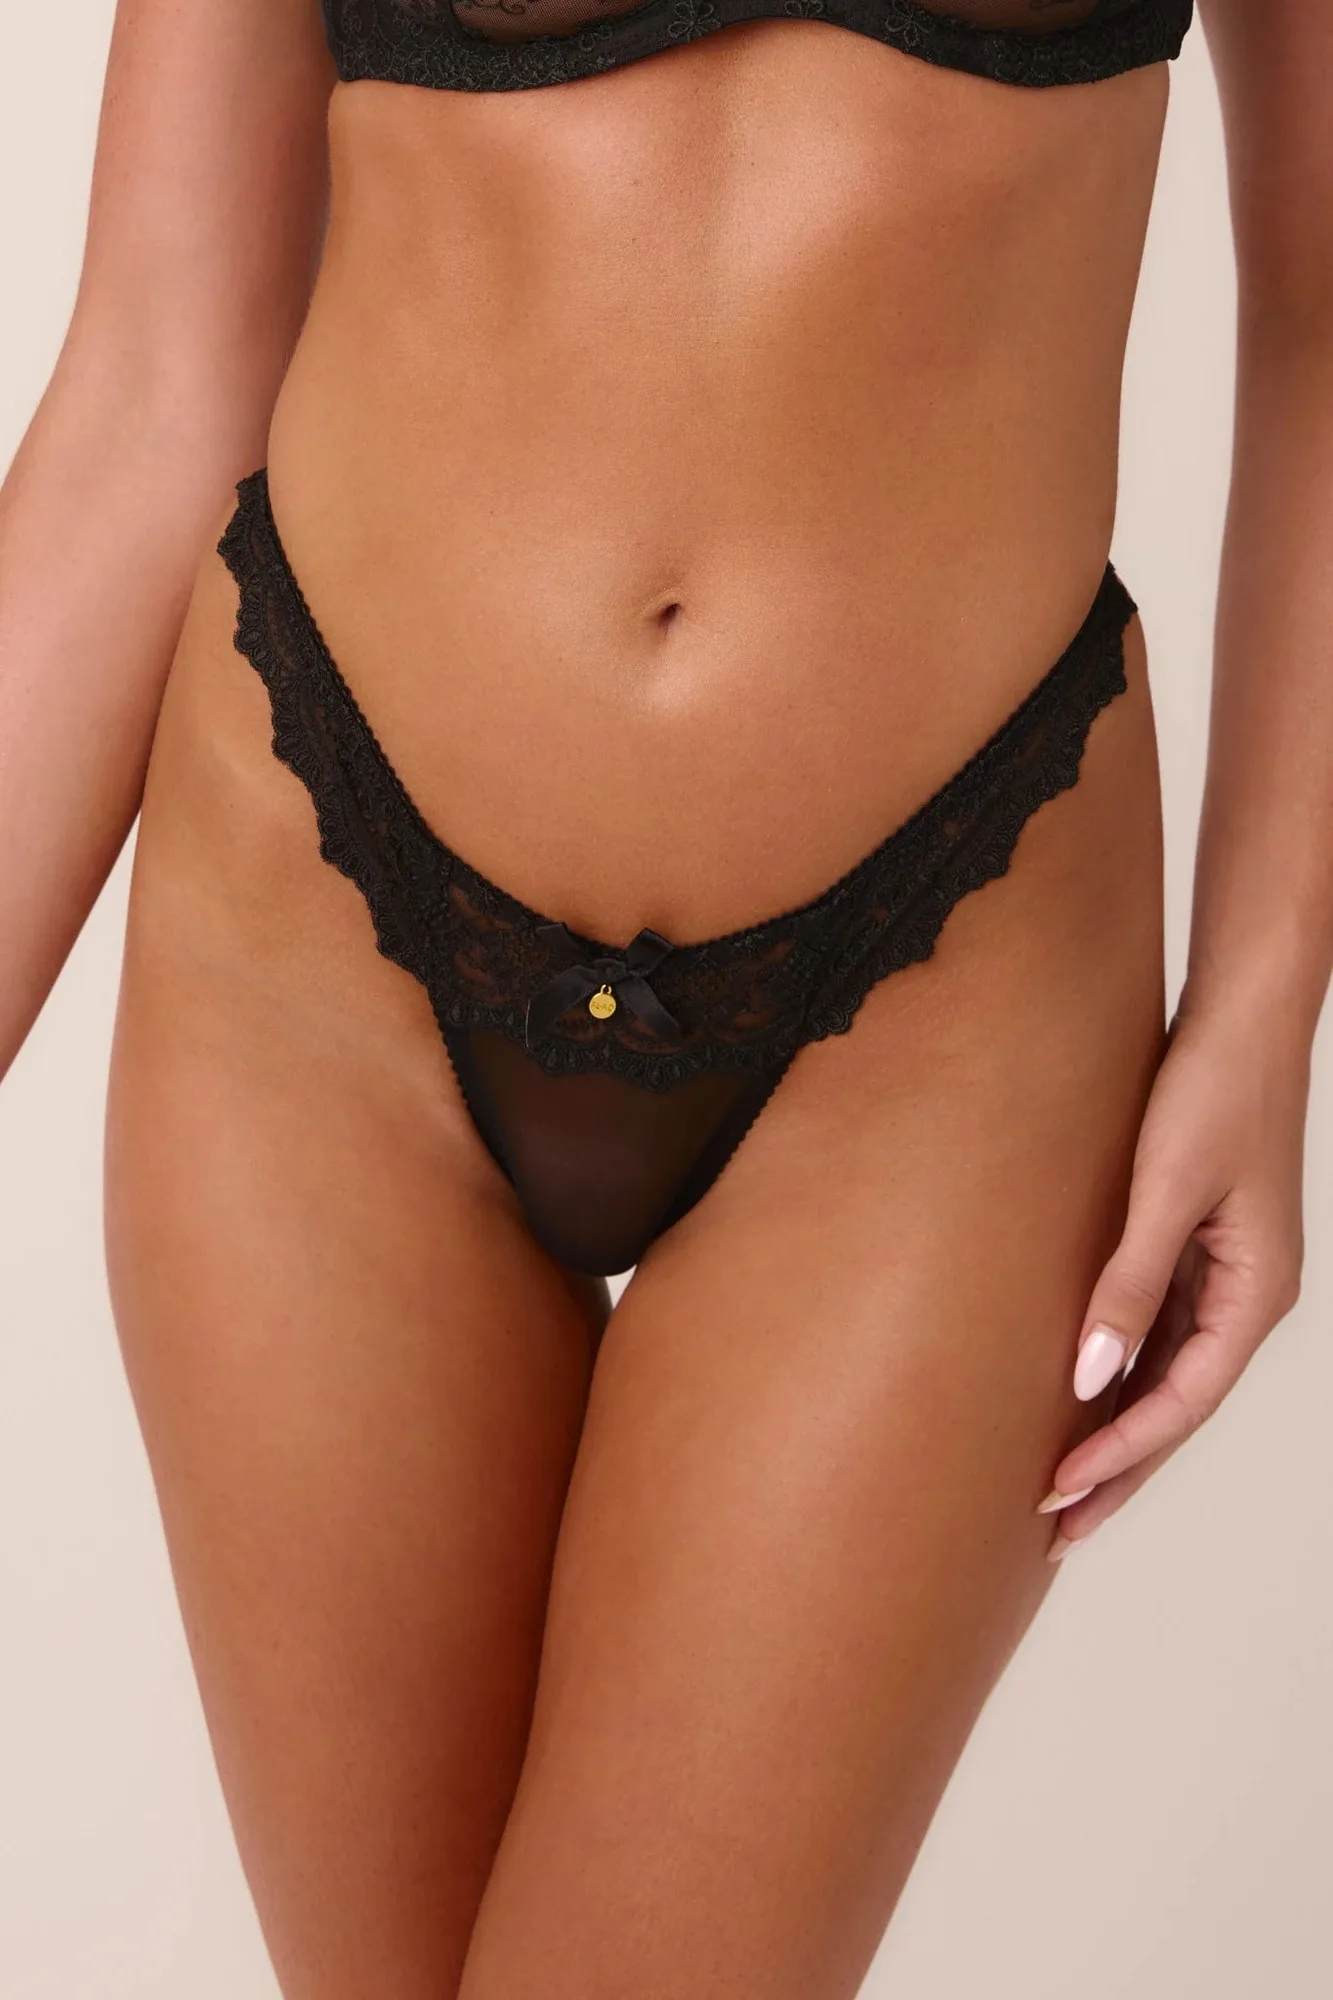
- Riley Panty Black: Mesh thong with a high thigh cut, stretch mesh back, and cotton gusset; the brand advises sizing up if you are in between sizes. This is a concrete example of when to follow the size-up rule for panties rather than guessing.
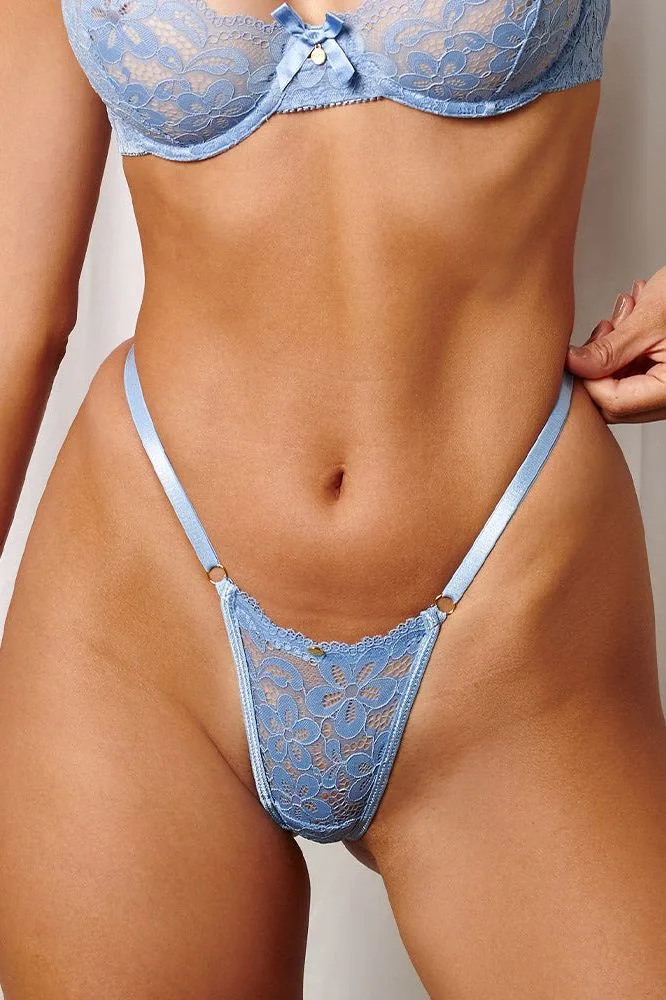
- Aubrey Panty Blue: Thong cut with adjustable straps, stretch lace, and a cotton gusset. Adjustable side straps mean you can loosen or tighten the panty after measuring, which reduces the risk of a wrong-size return.
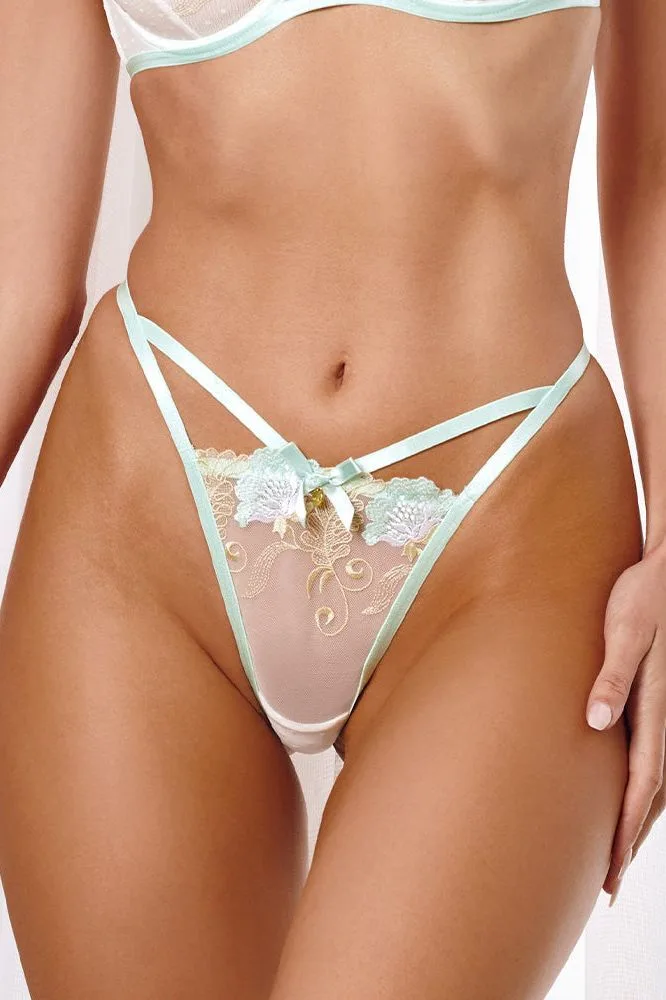
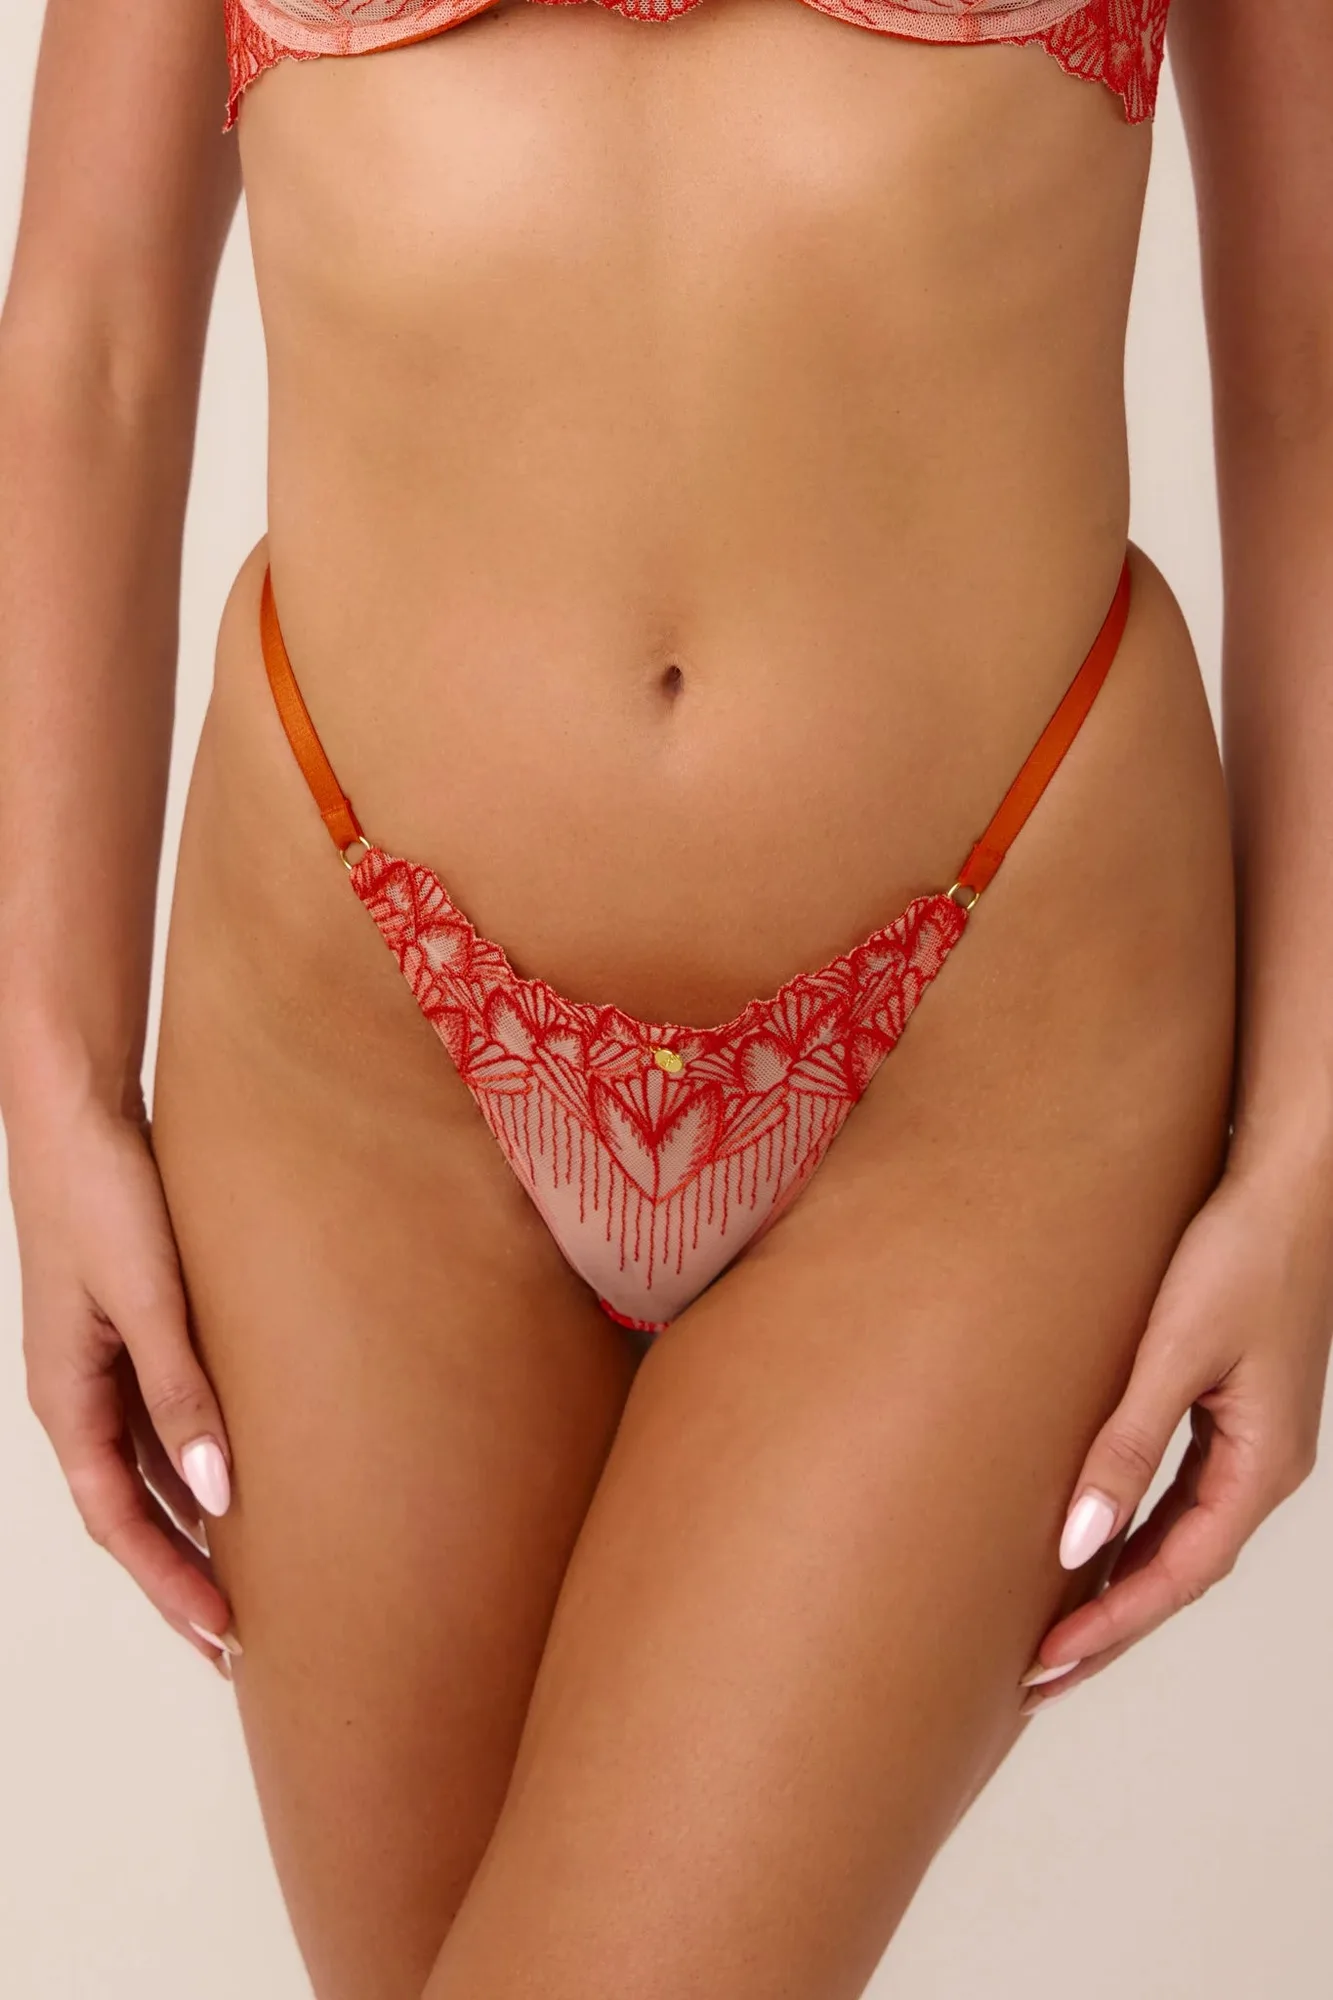
- Freya Panty Teal: Embroidered thong with adjustable straps that sit high on the hips, soft mesh, and embroidery details. High-hip styles sit differently than low-rise panties, so use your hip measurement and the set's chart together.
Measuring yourself for a bra set at home takes ten minutes and saves you from the guesswork of ordering the wrong size. Use a soft tape, check the specific set's chart, and do a fit check when the package arrives. With your numbers saved, reordering a set that actually fits becomes simple.