Quick Answer
Organize your bag by grouping items into three or four pouches by purpose, not by size: one for tech and chargers, one for toiletries, one for small loose items, and one for documents if you travel. Place the pouch you reach for most near the top or outer pocket, and empty and reset the bag weekly. The goal is a repeatable system, not a one-time cleanout.
A tidy bag is not about owning more organizers. It is about deciding where each item lives so you stop digging every time you need a charger, a lip balm, or a passport. Pouch organization works because it gives small, loose items a fixed home instead of letting them float around the bottom of your bag.
This guide walks through a simple order of operations, from emptying the bag to choosing the right pouch for each job. It also covers the mistakes that make organizers stop working after a week, and how to adapt the same system for a purse, a backpack, or a carry-on.
Why Pouch Organization Beats Just Rearranging
Most bag clutter comes from items that have no assigned spot. Keys, cables, receipts, and lip balm migrate to the bottom because nothing tells them where to go. A pouch solves that by creating a boundary: everything inside belongs together, and everything outside does not.
This is why purse organizer ideas usually fail when they start with buying products. The pouch is only as useful as the category you assign to it. Decide the category first, then pick a pouch that fits it.
- Group by purpose, not by size: tech, toiletries, small loose items, documents.
- Keep one pouch for items you use daily and one for items you need only occasionally.
Step 1: Empty the Bag Completely
Turn the bag upside down and remove everything, including the things you assume you need to keep. Wipe the lining and check pockets for old receipts, wrappers, and pens that have leaked. This is the only step where you see the real volume of what you carry.
Sort what you removed into three piles: keep in the bag, keep but store elsewhere, and discard. Be honest about the second pile. A backup charger you have never used belongs in a drawer, not in your daily carry.
- Mistake to avoid: skipping the empty-out step and organizing on top of existing clutter.
- Checkpoint: if you have not used an item in the last month, it does not need a pouch.
Step 2: Define Three or Four Categories
For most people, four categories cover everything: tech and charging, toiletries and personal care, small loose items like keys and cash, and documents or travel papers. Fewer than three categories means items still mix; more than five means you will stop maintaining the system.
Write the categories down before you buy anything. This prevents the common mistake of buying a set of pouches and then forcing your items into whatever sizes happen to be included.
- If you commute, add a fifth category only if it is genuinely separate, such as gym items.
- If you travel often, keep documents in their own pouch so you never search for them at a gate.
Step 3: Match Pouch Type to Category
Not every pouch should be the same material or shape. Tech pouches benefit from a bit of structure and a zip closure so cables do not escape. Toiletry pouches need a water-resistant lining in case a lid loosens. Small loose items work best in a compact zip pouch that clips or sits upright.
This is where travel organizer pouches differ from everyday ones. Travel pouches often prioritize flat profiles and visibility, while everyday pouches prioritize quick access. Choose based on how you will reach for the pouch, not on how it looks on a shelf.
- Mistake to avoid: using one large pouch for everything, which recreates the clutter you just removed.
- Look for a secure closure on any pouch that holds keys, cards, or cables.
Step 4: Assign a Home Inside the Bag
Every pouch needs a fixed position. The pouch you open most often goes in the easiest-to-reach spot, usually an outer pocket or the top of the main compartment. Pouches you need less often go toward the bottom or back.
In a backpack, use the padded back panel area for flat items and the front pocket for quick-grab pouches. In a purse, stand pouches upright so you can see their tops rather than stacking them flat.
- Checkpoint: you should be able to retrieve your most-used pouch without looking.
- If two pouches compete for the same spot, one of them is in the wrong category.
Step 5: Reset Weekly and Adjust
A pouch system drifts. Receipts accumulate, cables get borrowed, and a pouch slowly becomes a catch-all. Set a five-minute weekly reset: empty each pouch, return stray items to their category, and remove anything that no longer belongs.
Use the reset to notice patterns. If your toiletry pouch is always overflowing, you are carrying more than a day's worth. If your tech pouch is empty, you may not need it on everyday trips.
- Mistake to avoid: waiting until the bag is unusable before resetting it.
- Adjust categories as your routine changes rather than adding a new pouch every time.
Adapting the System for Travel
Travel raises the stakes because you have less space and more items that must stay findable. Keep the same category logic but consolidate: one pouch for tech, one for toiletries, one for documents, and one for small essentials you want on the plane.
Packing cubes handle clothing, while pouches handle the small items that would otherwise scatter through a suitcase. Keeping these two systems separate makes both easier to maintain.
- Keep documents in a pouch with a secure closure and dedicated pockets.
- Put the pouch you need at security in an outer compartment, not buried in the main bag.
Your Bag Organization Checklist
- Empty and sort: Remove everything, wipe the lining, and sort into keep, store, and discard. If you have not used it in a month, it does not get a pouch.
- Choose three or four categories: Tech, toiletries, small loose items, and documents cover most bags. Write them down before buying any organizer.
- Match pouch to purpose: Structured zip pouches for tech, water-resistant linings for toiletries, compact pouches for loose items. One giant pouch defeats the system.
- Assign a fixed home: Most-used pouch goes where you can reach it without looking; less-used pouches go deeper. If you have to dig, the position is wrong.
- Reset weekly: Spend five minutes emptying each pouch and returning stray items to their category. Adjust categories as your routine changes.
- Adapt for travel: Consolidate to four pouches and keep documents in a secure, dedicated pouch. Keep packing cubes for clothing and pouches for small items.
CALPAK Organizers That Fit This System
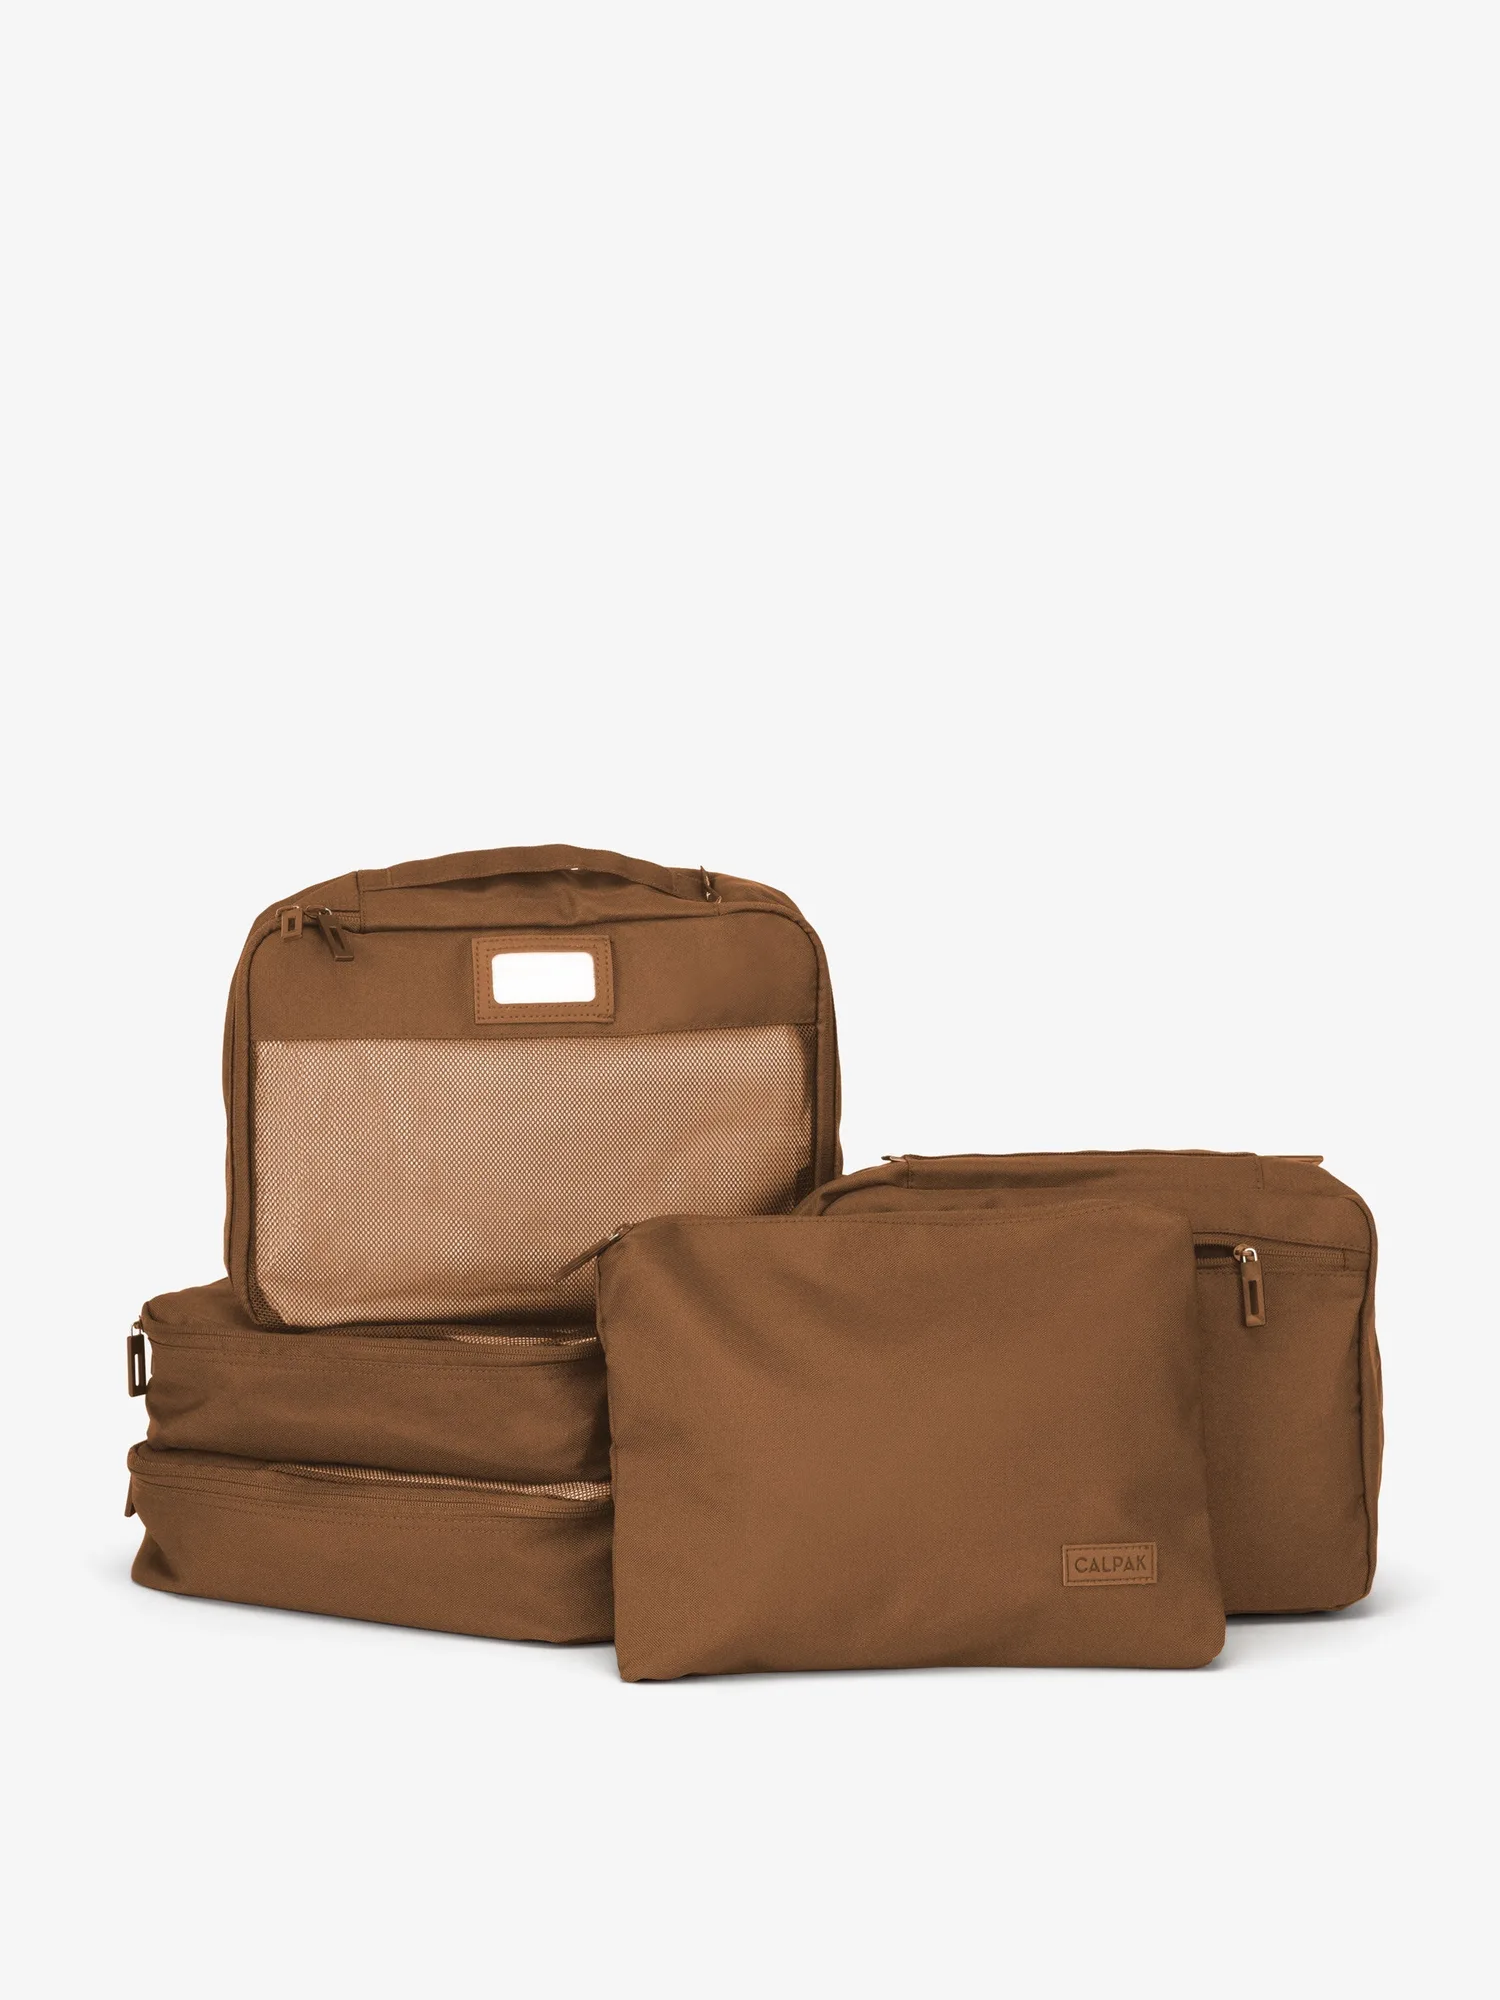
- Packing Cubes Set (5 Pieces): Multiple sizes, breathable mesh panels, and a water-resistant pouch keep a suitcase organized and visible. Use the cubes for clothing and the water-resistant pouch for items that need separation from the rest of your packing.
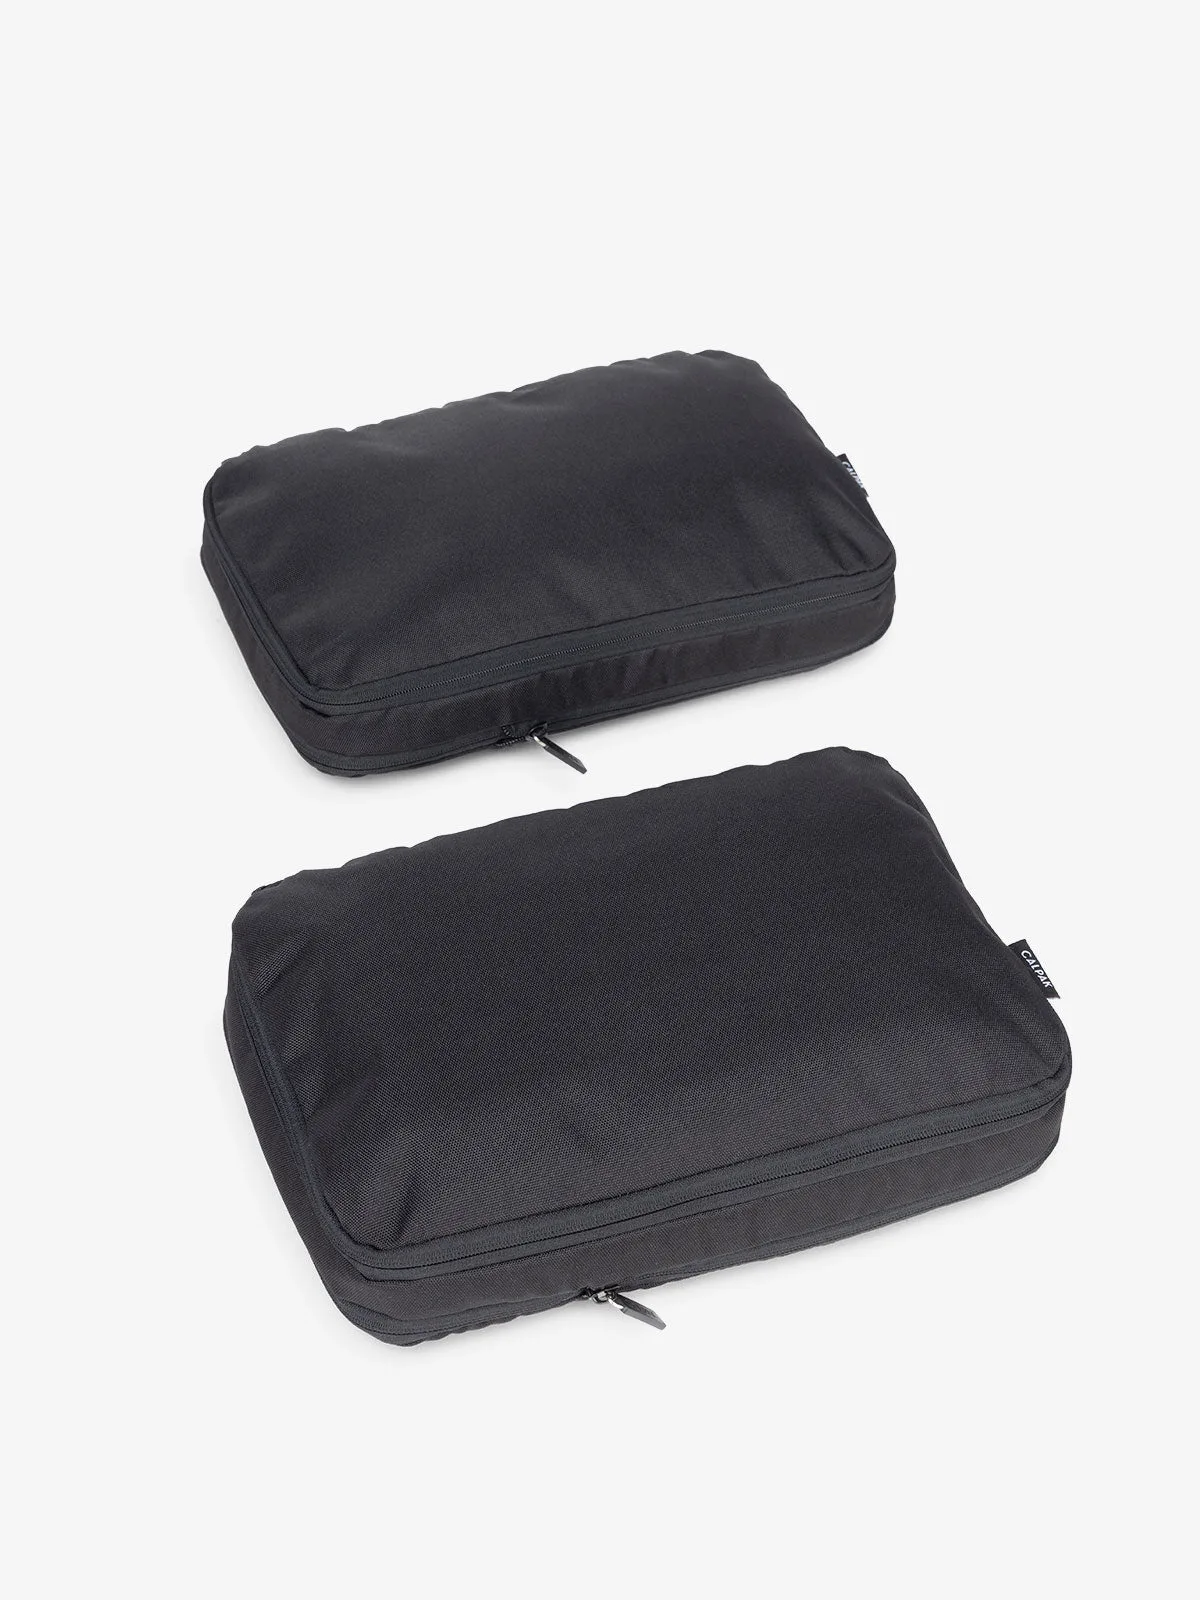
- Medium Compression Packing Cubes: A two-piece compression set with durable construction that keeps clothing contained and creates room for more. Compression helps when you are packing for a longer trip and need to fit more without adding a second bag.
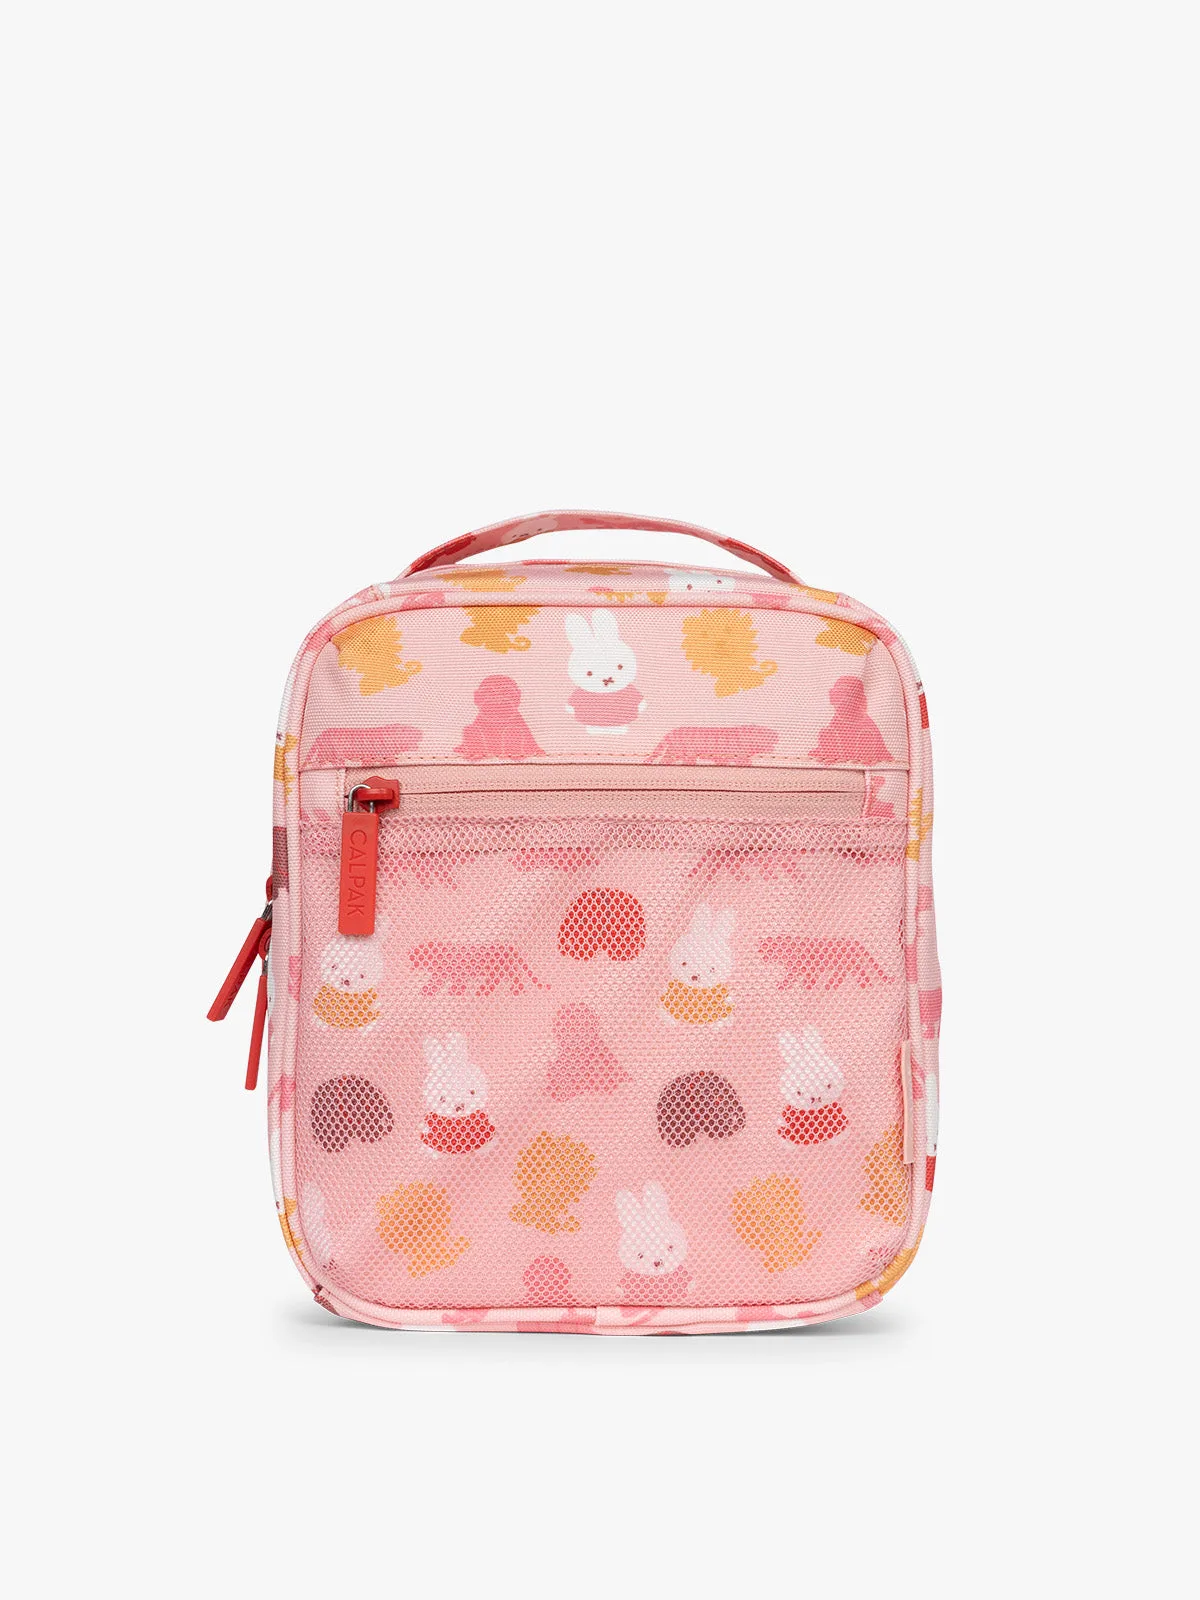
- Miffy Everything Cube: Multiple compartments for organized storage, part of the CALPAK x Miffy collection. A good option if you want one organizer with several compartments instead of several separate pouches.
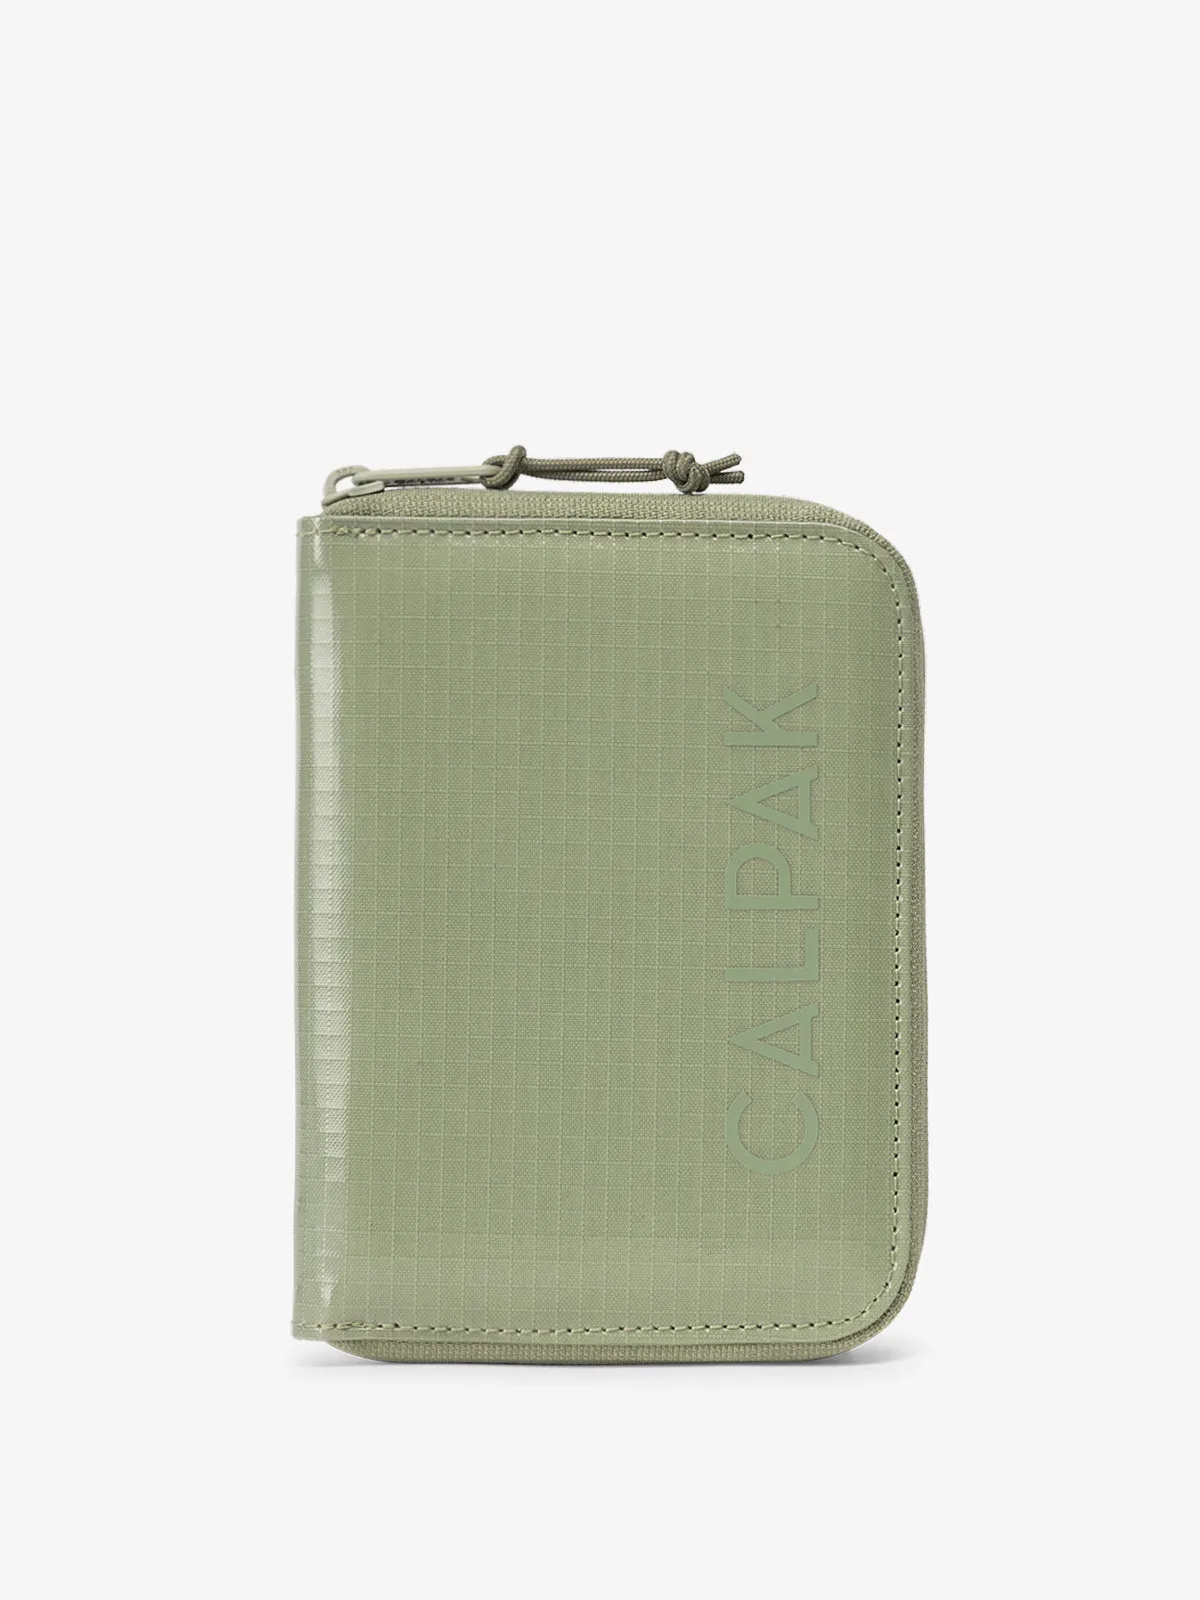
- Terra Zip Passport Wallet: RFID-blocking protection, a secure zip closure, and dedicated storage pockets keep documents safe and organized. This covers the documents category in the system, so passports and cards do not float loose in your bag.
A bag stays organized when every item has a home and a five-minute weekly reset keeps it there. Start by emptying the bag, define three or four categories, and choose pouches that match how you reach for them. The system matters more than the number of organizers you own.