Quick answer
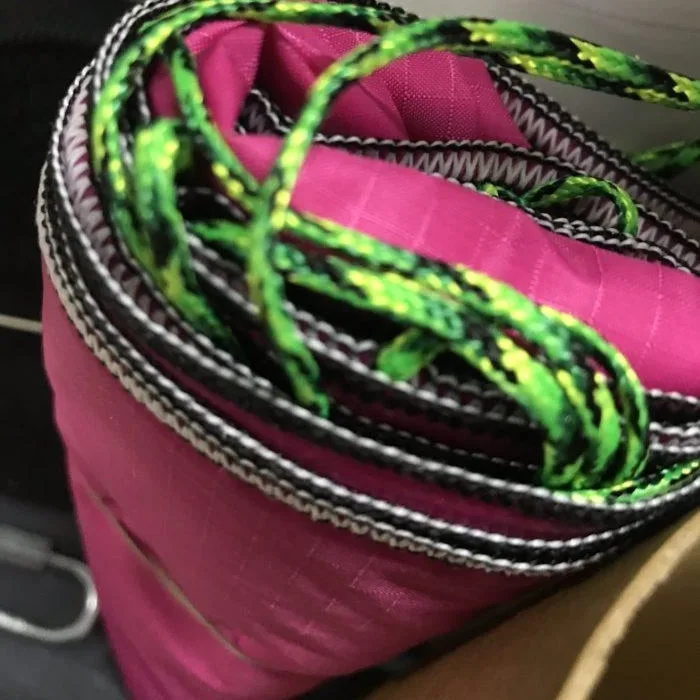
Start by laying your LOC/Precision parachute flat and removing all twists. Fold it in half lengthwise twice, then roll it from the bottom toward the apex, tucking the shroud lines inside the last roll. This method minimizes tangles and ensures a clean, slow descent.
Why Packing Matters for High-Power Recovery
A poorly packed parachute can cause line tangles, partial inflation, or even a shredded canopy on deployment. The LOC/Precision parachute uses a low-porosity rip-stop nylon that is urethane coated and calendared, which means it lets almost no air through. That material is heavier than uncoated fabric, but it gives a slower descent rate for the same size chute. Proper packing preserves that advantage by letting the canopy open fully and evenly.
The 14-inch parachute (actual 15-inch diameter) includes a 50mm spill hole and six shroud lines. That spill hole helps stabilize descent, but only if the chute is folded so it can vent immediately. Skipping the spill-hole alignment step is a common mistake that leads to oscillation.
What You Need Before You Start
You only need a clean, dry work surface and a few minutes of patience. Avoid packing a damp parachute—moisture makes the coated nylon stick together and can cause mildew. If your chute has been stored compressed for a long time, fluff it out and let it relax for an hour before folding.
Step-by-Step Packing Process
- Flatten and Inspect the Canopy: Lay the parachute flat on a clean surface. Run your fingers along each seam and panel to remove any twists or folds. Check the spill hole—it should be round and unobstructed. A common mistake is starting with a twisted canopy, which guarantees tangled lines later. Make sure the canopy is completely flat and the spill hole is open before you proceed.
- Fold in Half Lengthwise Twice: Fold the parachute in half so the two long edges meet. Then fold it in half again, bringing the spill hole to the top and the skirt (bottom edge) to the bottom. You should now have a long, narrow strip with the shroud lines hanging free at the skirt end. Keep the folds straight and even. Crooked folds create uneven inflation.
- Roll from the Skirt Toward the Apex: Starting at the skirt end, roll the folded canopy tightly toward the apex (the spill hole end). As you roll, tuck the shroud lines into the roll every few turns so they are captured inside the bundle. This prevents them from snagging on ejection gases. Roll firmly but don't crush the fabric. A loose roll can shift in the tube and cause deployment issues.
- Secure the Bundle with a Single Wrap: Once the entire canopy is rolled and the lines are tucked inside, wrap one band or a small piece of tape around the middle of the bundle. Do not use multiple wraps—the chute needs to break free easily during ejection. One light band is enough. Over-wrapping is the top cause of deployment failure.
- Place in the Airframe with the Apex First: Insert the rolled parachute into the rocket body tube with the apex (spill hole end) going in first. The skirt and lines should be toward the nose cone or ejection charge. This orientation lets the chute deploy smoothly without catching on the tube edge. Double-check the orientation before closing the rocket. Reversing it can cause the chute to jam.
Product Spotlight: LOC/Precision Parachutes
- LOC/PRECISION Parachutes: LOC/Precision Parachutes use a low porosity rip-stop nylon at 1.9 ounces. It is a urethane coated, calendared rip-stop that allows almost NO air through. It is a bit heavier but will have a slower descent rate than a lighter, un-coated material in a same sized parachute. Because the fabric is nearly airtight, the parachute relies entirely on the spill hole and proper folding to control descent. Packing it correctly is essential to get the slow, stable recovery this chute is designed for.