Quick answer
Plan the boss room around the fight you want, not the terrain you own. Decide the boss's movement, the party's approach, and one objective before you place a single wall. Then pick pieces that create elevation, cover, and a clear focal point, and test the layout with miniatures before you commit to it.
A boss room layout is a promise: the table sees the space and understands that something important happens here. Terrain does most of that work before anyone rolls initiative. The trick is to plan the room around the encounter's decisions, not to assemble a pretty set and hope the fight fits inside it.
This guide walks through six steps for building a boss encounter setup with Dwarvenite terrain, from choosing the room's shape to placing the last piece of scatter. Each step includes a checkpoint so you can catch problems before the session starts. The goal is a climactic battle terrain that reads clearly, plays fairly, and gives the boss and the party meaningful choices.
Start with the fight, not the floor plan
Before you open a terrain box, write down three things: how the boss moves, where the party enters, and what the boss wants. A boss that teleports or flies needs vertical space and open lanes. A boss that grapples or pins needs walls and corners. A boss that summons needs room for adds to appear without crowding the party's escape route.
This is the step most groups skip. They build a big, impressive room and then discover the boss has nowhere to retreat, or the party can bottleneck the fight in a doorway and trivialize it. The room should serve the encounter's tension, not the other way around.
- Checkpoint: if you can't describe the boss's ideal turn in one sentence, the room isn't ready to build.
Choose a footprint that fits your table
Measure your play area before you plan the footprint. A boss room that spills off the table edge forces you to improvise, and improvised walls rarely survive contact with a miniature tray. Most boss fights want a room large enough for movement but small enough that every player can reach their mini without standing up.
If your table is tight, build the room in a rectangular footprint and use scatter to suggest depth rather than adding more floor. A room that fits comfortably will be used more often than a sprawling one you only assemble once.
- Checkpoint: leave at least one open side for the party's entry so you can place the entrance after the room is built.
Build elevation into the boss room layout
Elevation is the single most reliable way to make a boss fight memorable. A raised platform gives the boss a reason to hold position, gives ranged characters a reason to move, and gives melee characters a problem to solve. Even a low dais changes how the fight flows.
For a fortified boss room, a corner tower works as a raised strongpoint with stairs, battlements, and interior space. The Square Corner Tower (Unpainted) is a squat but fortified corner segment with heavy machicolated battlements, armored shutters protecting an arbalest, back stairs to the ramparts, and an interior room with barred windows that can serve as a jail or barracks. Two LED lanterns hang from the upper walls, which gives you a built-in light source at the room's high point.
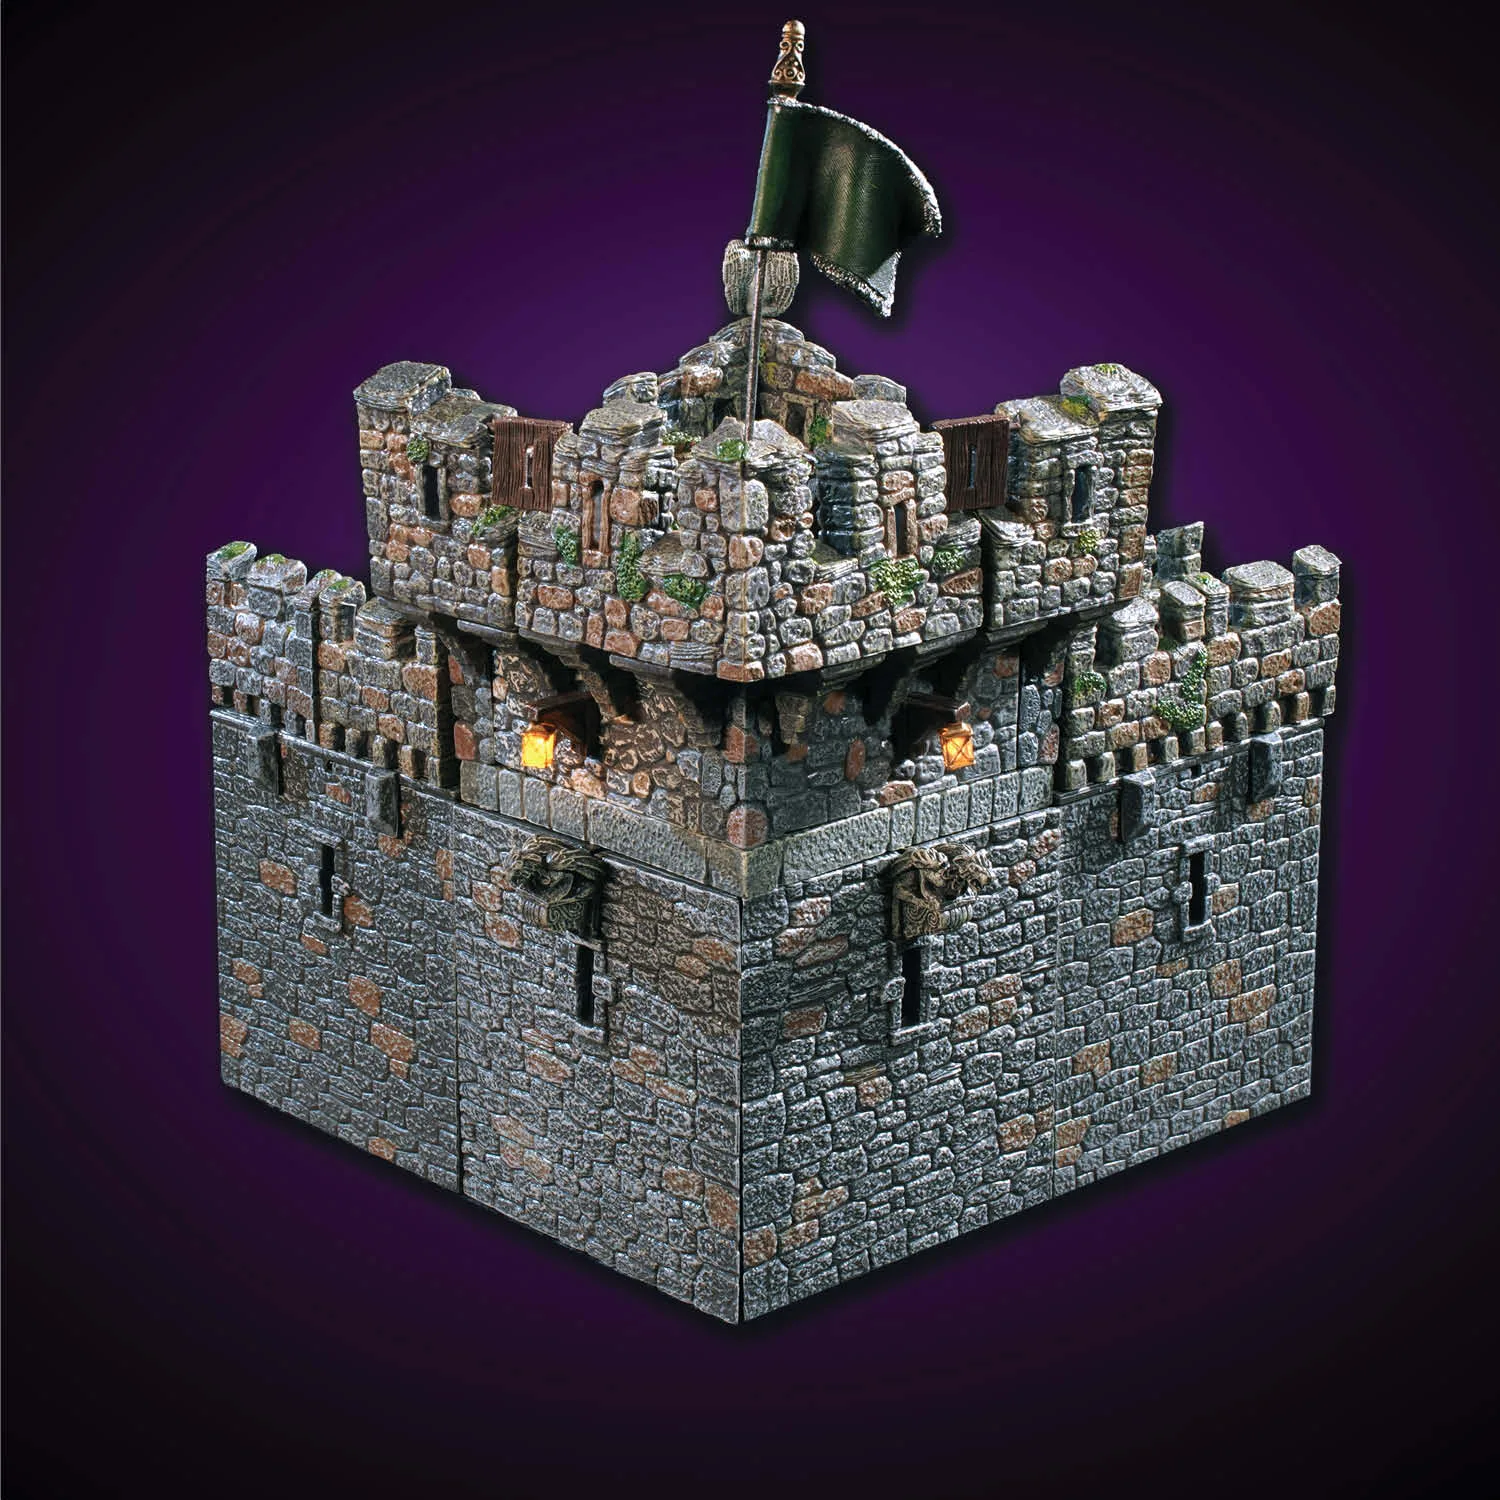
Square Corner Tower (Unpainted)
- Checkpoint: if every miniature can reach every other miniature in one move, add one piece of elevation.
Control sightlines with walls, corners, and scatter
Sightlines decide who gets to act on turn one. Long, open lanes favor ranged attackers and spellcasters; tight corners favor melee and stealth. You want a mix, with at least one long lane and one obscured approach, so no single tactic dominates the room.
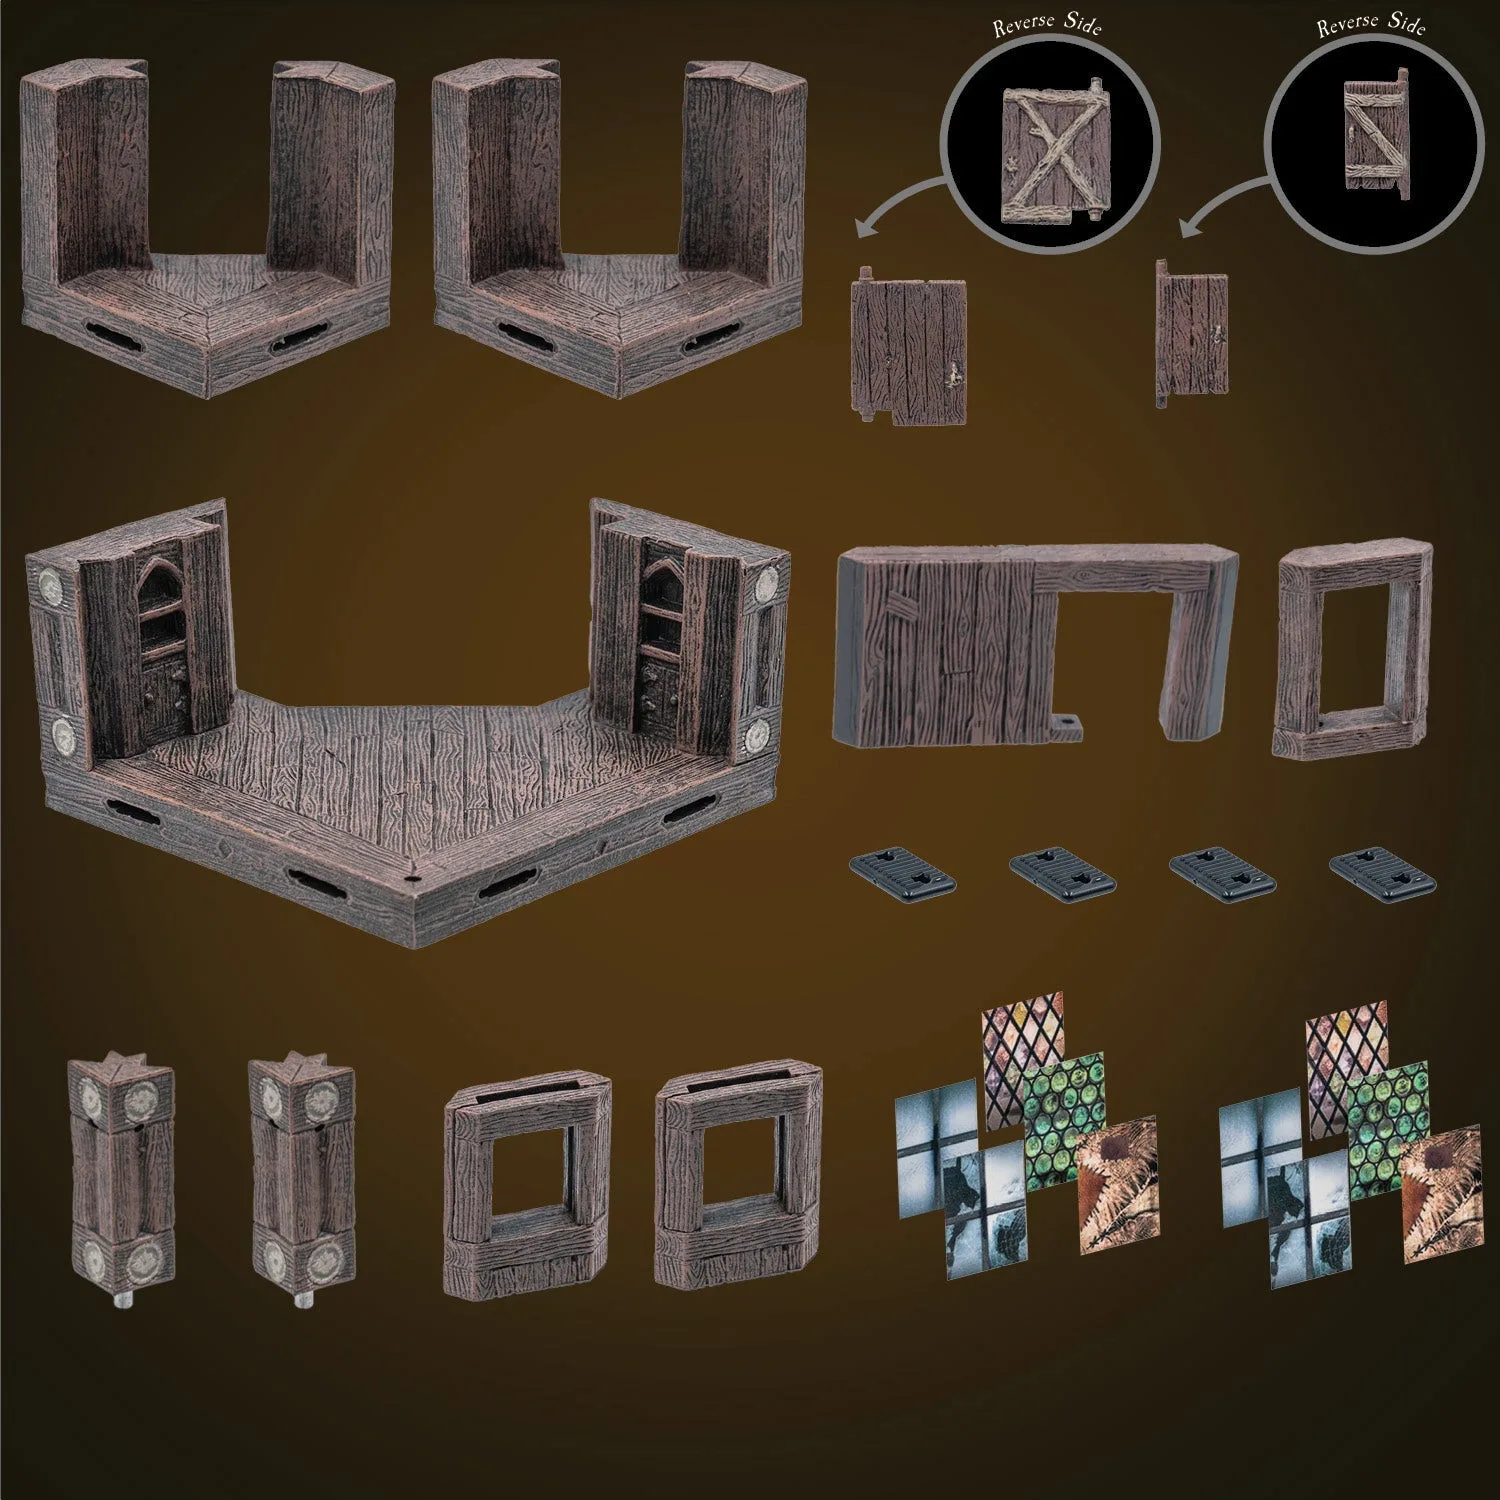
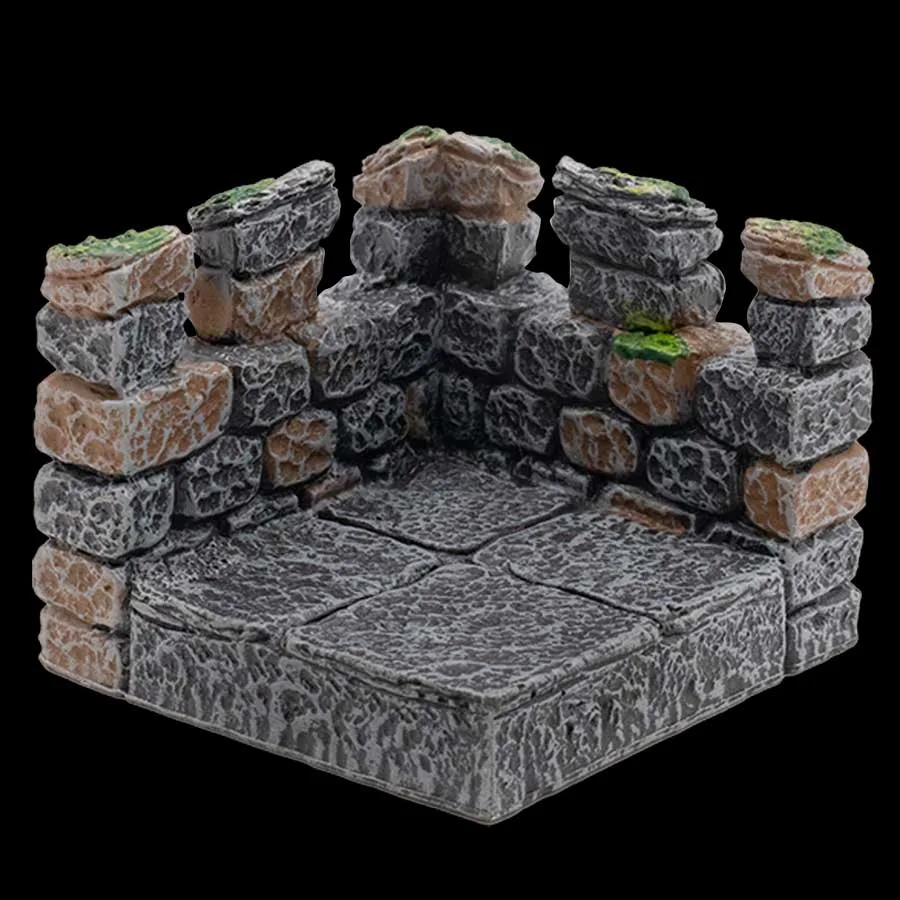
Diagonal walls are an efficient way to break up a boxy footprint without adding a lot of floor space. Rustic Wood - Diagonal Walls (Painted) includes two sizes of diagonal walls that break the box of your builds in subtle ways, and the set pairs with the Diagonal Roof pack; the large diagonal also works with the Dangle Room pack. For smaller adjustments, a single Crenellated Corner (Unpainted) adds a corner element with crenellations and is compatible with the Castles and City Builder (KS3) lines.
- Checkpoint: place a mini at the party's entry point and trace what it can see. If it sees the boss and nothing else, add cover.
Make the boss the visual focal point
Players should be able to find the boss on the table at a glance. A raised platform, a distinct floor pattern, or a lit objective marker all pull the eye. This matters most in rooms with a lot of scatter, where the boss can get lost among the rubble.
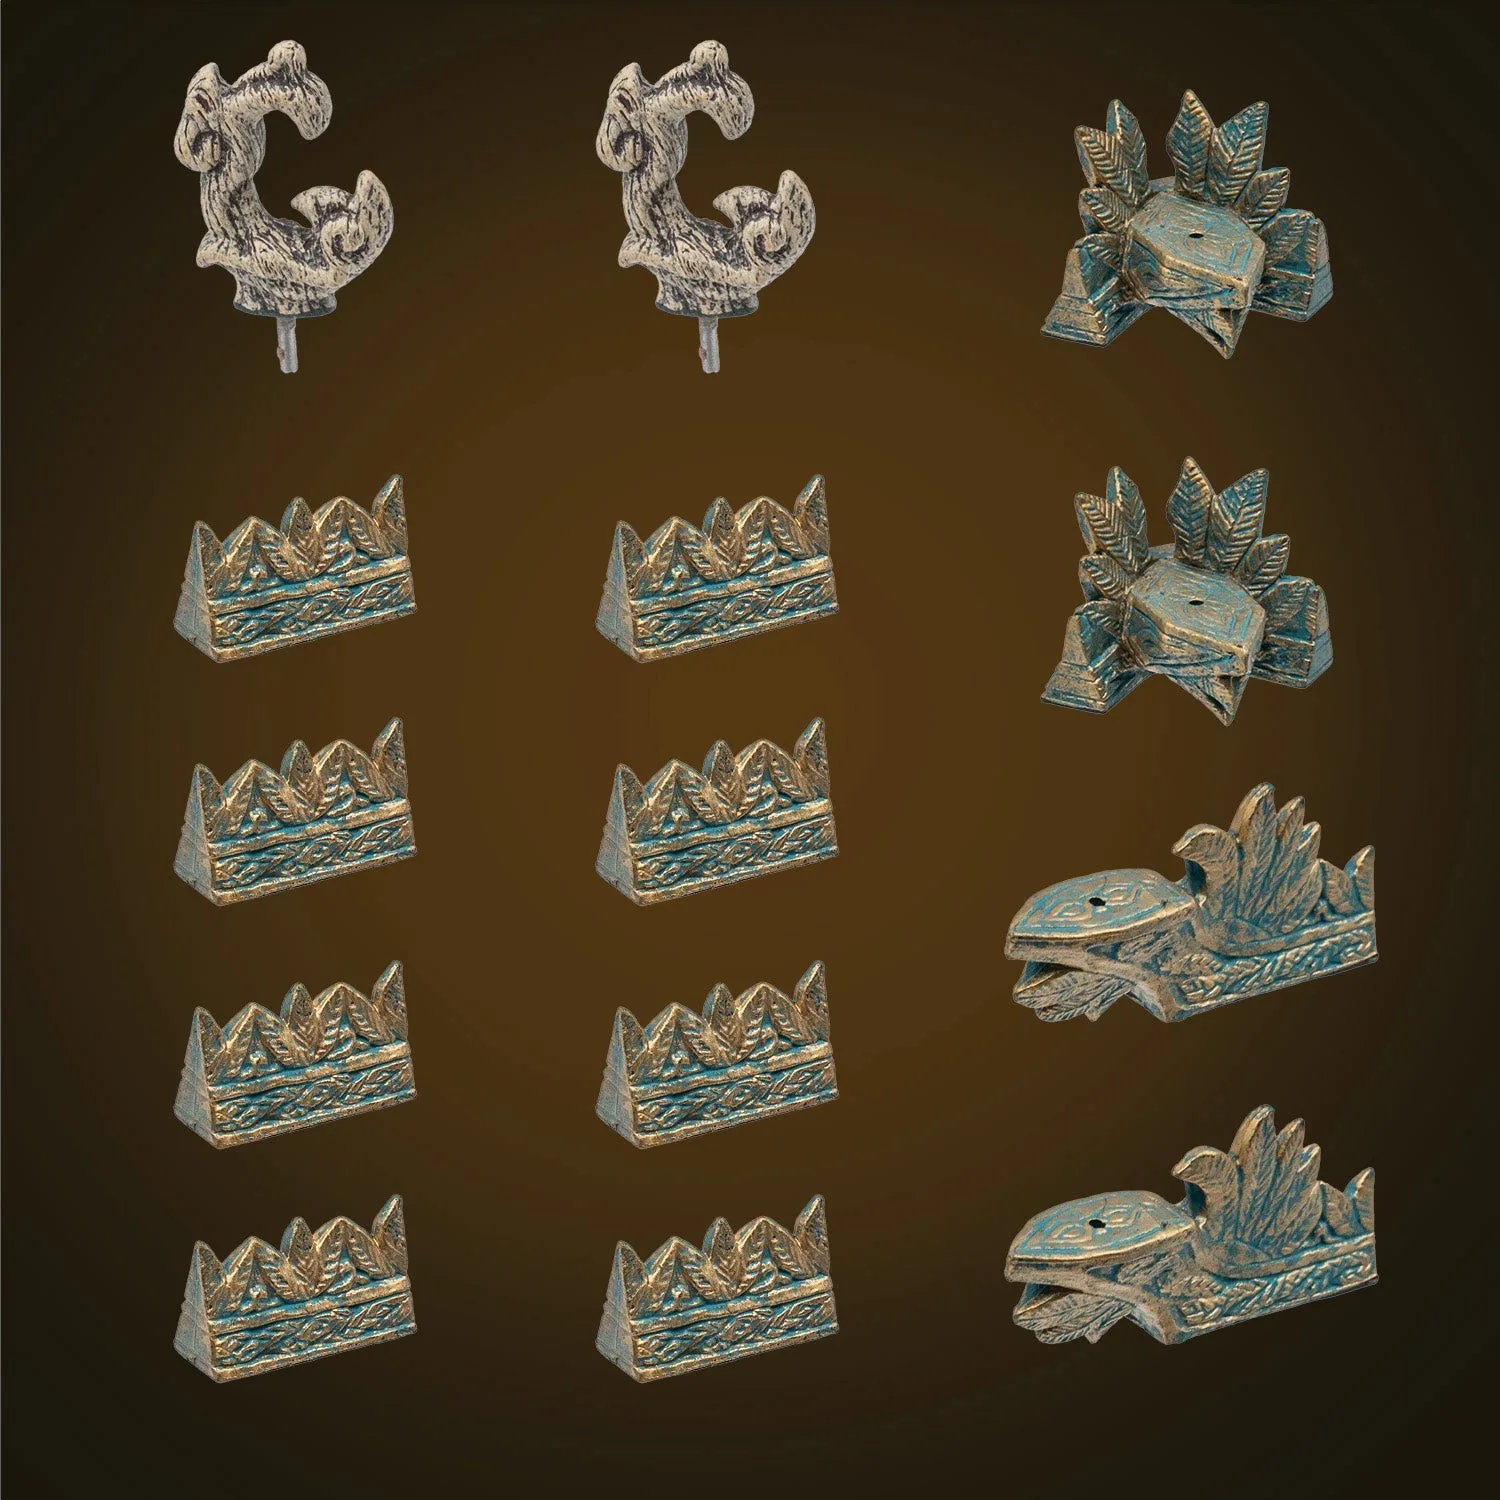
Roof ridges are a small, useful tool for making a rooftop or elevated area read as a separate space. Roof Ridges (Unpainted) are pole accessory based pieces that create more unique rooftops and function with any straight or valley roof. Note that the bottoms of the Roof Ridges have half-depth holes for securing them to the tops of the Modular Roof pieces, while the holes on the tops of the Modular Roof pieces are full-depth so they can accommodate any pole accessory pieces.
- Checkpoint: stand back from the table. If you can't point to the boss in two seconds, add contrast.
Add light and an objective marker
Lighting changes how a room feels and how players read it. A single warm light source near the boss creates a natural focal point and makes the room feel occupied. Two small lights at opposite ends create a different mood, more like a patrol route than a throne room.
For a simple light, the Fieldstone Lantern Post - LED Socket x2 (Unpainted) is an individual piece designed as a lantern post for tabletop miniature terrain and buildings, and it includes two LED sockets. If you want an objective marker that doubles as illumination, Mountain Wargame Scatter (Unpainted) includes large pieces to break up movement and line of sight, plus a Flaming Skull that works as a striking, illuminated objective marker. The same set connects Rocky Bridge and Crag pieces for elevated combat and includes Driftstones that can be built higher or flipped over for scatter.
- Checkpoint: if the objective marker is hard to see from the party's entry, move it or light it.
Playtest the boss room before the session
Set up the room, place the minis, and run two or three rounds of the fight by yourself. You are looking for dead zones where nothing can happen, chokepoints that trivialize the boss, and pieces that block line of sight in ways that frustrate rather than challenge. This takes ten minutes and saves an hour of mid-session adjustment.
Pay attention to how the room handles the boss's signature ability. If the boss is supposed to move freely, make sure the lanes are wide enough. If the party is supposed to have cover, make sure the cover is reachable in one move. Adjust one or two pieces rather than rebuilding the whole room.
- Checkpoint: if a player can win the fight without moving, the room needs one more decision point.
Boss room planning steps at a glance
- Define the fight first: Write the boss's movement, the party's entry, and the boss's goal before choosing terrain. If you can't summarize the boss's ideal turn, stop and revise.
- Measure the table: Choose a footprint that fits your play area with room for miniatures and dice. A room that fits gets used more than one that doesn't.
- Add one piece of elevation: Give the boss a raised position so the fight has a spatial problem to solve. If everyone can reach everyone in one move, add height.
- Break the sightlines: Use diagonal walls, corners, and scatter to create one long lane and one obscured approach. No single tactic should dominate the room.
- Light the focal point: Place a lantern post or illuminated marker where the boss stands so the eye lands there. If you can't find the boss in two seconds, add contrast.
- Playtest two rounds: Run the fight solo, look for dead zones and chokepoints, and adjust one or two pieces. Ten minutes of testing saves an hour of mid-session fixes.
Terrain pieces that earn their place in a boss room
- Square Corner Tower (Unpainted): A squat but fortified corner segment with heavy machicolated battlements, armored shutters protecting an arbalest, back stairs to the ramparts, and an interior room with barred windows that can serve as a jail or barracks. Two LED lanterns hang from the upper walls. It gives a boss room a defensible high point with built-in light and interior space, so the boss has a reason to hold position and the party has a structure to assault.
- Mountain Wargame Scatter (Unpainted): Provides large pieces to break up movement and line of sight, connects Rocky Bridge and Crag pieces for elevated combat, includes Driftstones that can be built higher or flipped over for scatter, and includes a Flaming Skull as an illuminated objective marker. It solves elevation, sightline control, and objective marking in one set, which is exactly what a boss encounter setup needs without adding a lot of floor.
- Fieldstone Lantern Post - LED Socket x2 (Unpainted): An individual piece designed as a lantern post for tabletop miniature terrain and buildings, supplied unpainted, and it includes two LED sockets. Two sockets let you light both the boss's position and the party's approach, which makes the room readable at a glance.
- Rustic Wood - Diagonal Walls (Painted): Includes two different sizes of diagonal walls that break the box of your builds in subtle ways, pairs with the Diagonal Roof pack, and the large diagonal works with the Dangle Room pack. The set includes biscuits. Diagonal walls change sightlines and movement lanes without adding much floor, which is the cheapest way to make a boss room feel less like a rectangle.
A boss room does its job when the terrain makes the fight's decisions obvious: where to stand, what to climb, and what to protect. Start with the encounter, add elevation and sightline control, light the focal point, and test the layout before your players see it. Do that, and the room becomes part of the fight instead of a backdrop for it.