Quick answer
Set the H9 Flow RGB up as a slight positive-pressure case: feed the front and bottom with filtered intake, push exhaust through the top and rear, and keep intake volume a touch higher than exhaust. In this dual-chamber mid-tower, that combination feeds the GPU cool air from below while giving rising heat a clear path out the top, and it lets you add or remove a fan later without rebuilding the whole layout.
Map the H9 Flow RGB's three airflow zones before you buy fans
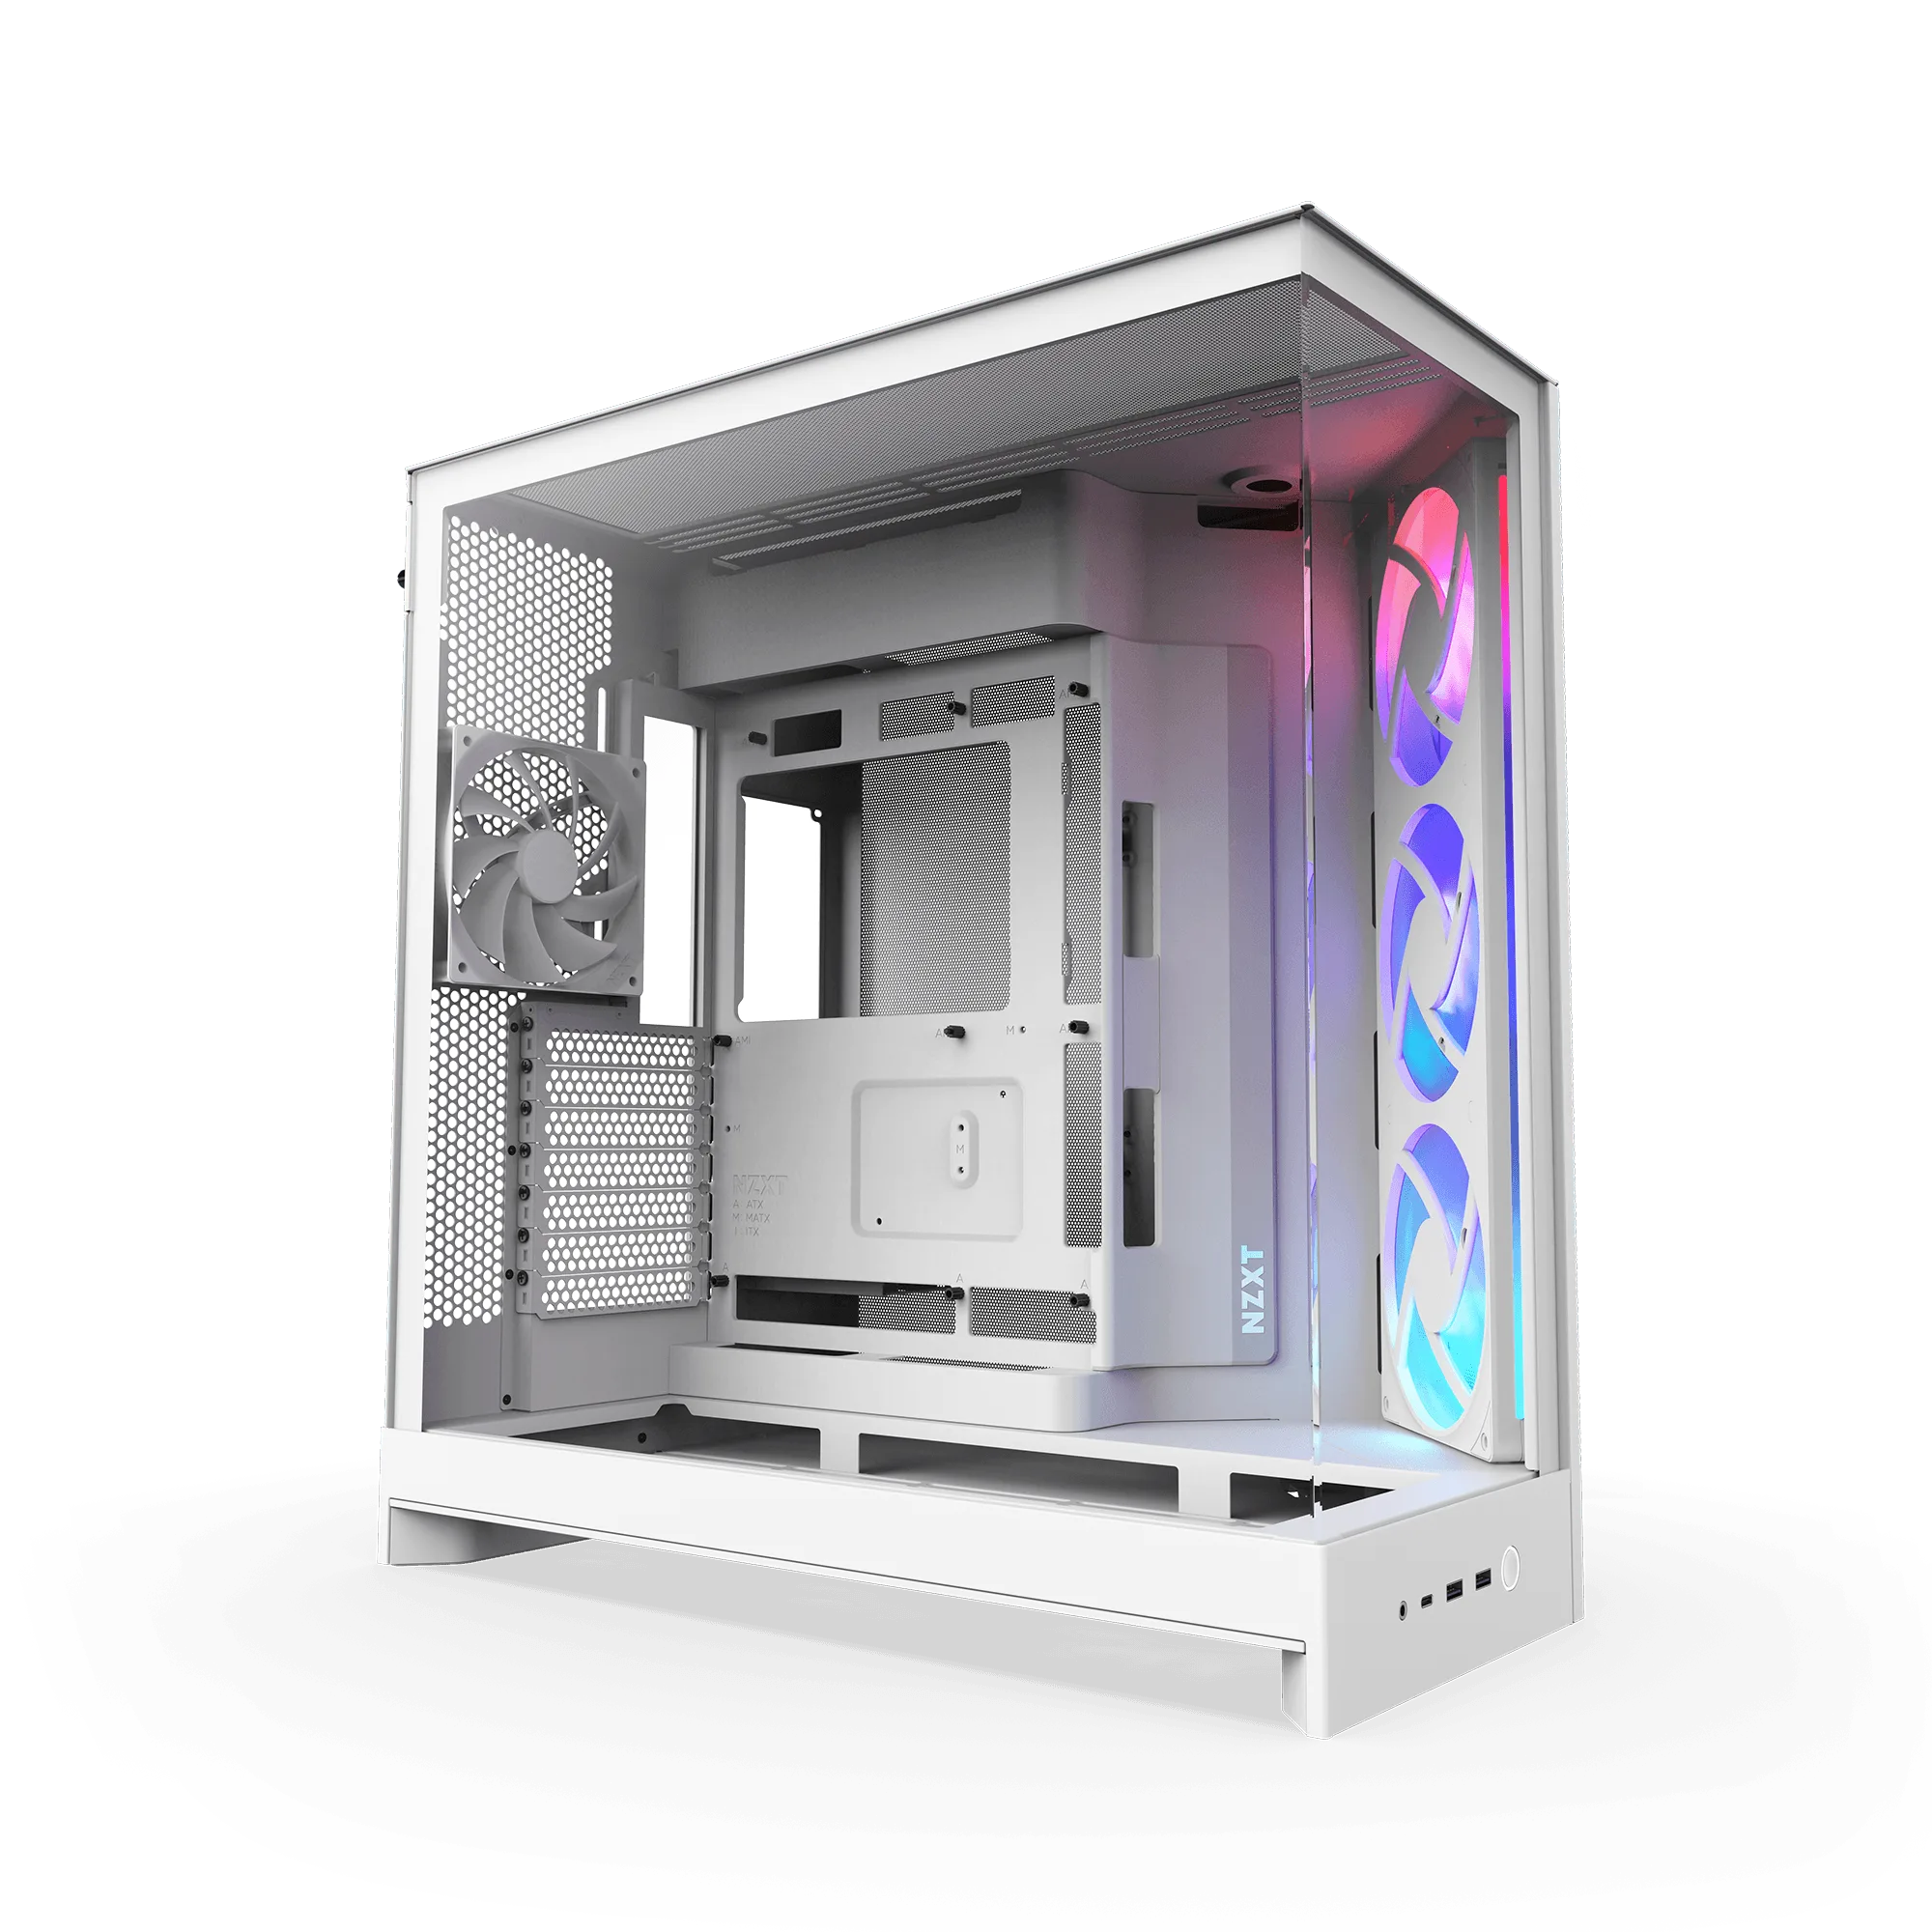
The H9 Flow RGB is a dual-chamber mid-tower: the main component area is separated from the power supply and drive chamber, which changes how you should think about airflow. The front, bottom, and side areas can feed the main chamber, while the top and rear are natural exhaust exits. Treat those as three zones rather than one open box, and decide which zone each fan belongs to before you mount anything.
Perforated panels, angled fans, and broad fan and radiator support are the case's stated thermal tools. That means the layout matters more than raw fan count. A single well-placed intake can outperform three fans fighting each other, so sketch intake and exhaust arrows on paper or in a notes app first. This also prevents the common mistake of buying a fan pack before you know how many mounts you actually want to populate.
Match fan size and radiator support to your CPU and GPU
Before choosing a pressure balance, decide what is cooling what. If your CPU runs a liquid cooler, its radiator takes priority for the top or front mounts, and the rest of the layout should support that choice rather than compete with it. If you air-cool the CPU, the top exhaust can stay simple and the front and bottom can focus on feeding the graphics card.
The case's ample fan and radiator support gives you room, but more mounted hardware is not automatically better. Extra fans add noise and cabling, and in a dual-chamber layout they can pull air away from components that need it. Pick the smallest fan set that covers intake, GPU feed, and exhaust, then leave the remaining mounts open until you have temperature data.
Set intake and exhaust counts for slight positive pressure
Positive pressure means intake airflow exceeds exhaust. In practice, run one more intake fan than exhaust, or run equal counts with intake fans at a slightly higher curve. The benefit is that air enters mainly through filtered intakes, which reduces dust buildup inside the main chamber, and the H9 Flow RGB's separated PSU and drive chamber keeps that dust away from the components you see through the glass.
Negative pressure, where exhaust exceeds intake, can pull air through every seam and unfiltered gap. It is not automatically wrong, and some builders prefer it for rapid heat removal, but in a case with perforated panels you will clean it more often. If you choose negative pressure, plan a regular dust-check interval and be honest about whether you will keep up with it.
Check the result with a simple temperature and noise test
After mounting fans, run a fixed load you can repeat, such as a game benchmark or a rendering task, and record CPU and GPU temperatures plus fan noise at the same point in the run. Change one variable at a time: flip a fan, adjust a curve, or remove one unit. If a change does not lower temperatures or noise, revert it rather than leaving it in because it looks fuller.
Pay attention to GPU temperature specifically, because bottom and front intake usually affect it most. If GPU temperatures barely move while CPU temperatures improve, your intake is feeding the CPU area rather than the graphics card, and you can shift a fan or adjust the bottom intake instead of adding more exhaust.
Airflow planning steps for the H9 Flow RGB
- 1. Decide your cooling priorities: Write down whether the CPU cooler, the GPU, or noise is your top constraint. This determines whether the radiator claims the top or front mounts and how much intake you reserve for the graphics card. Checkpoint: if you cannot name the priority, stop and decide before buying fans.
- 2. Assign every mount as intake or exhaust: Mark front and bottom as intake and top and rear as exhaust, then count the total. Aim for one more intake than exhaust to land in slight positive pressure. Common mistake: leaving a mount undecided and later adding a fan that cancels an existing intake.
- 3. Mount and connect fans in zone order: Install intake fans first, then exhaust, and connect them so intake and exhaust can be controlled on separate curves if your motherboard supports it. Keep cables in the dual-chamber side to preserve the main chamber's airflow. Checkpoint: confirm every fan spins in the intended direction before closing the panels.
- 4. Run a baseline temperature and noise test: Run a repeatable load and record CPU and GPU temperatures and perceived noise. This is your reference point for every later change. Common mistake: judging airflow by feel instead of by a repeatable measurement.
- 5. Tune one variable at a time: Adjust a single fan curve, flip one fan, or remove one unit, then retest. Keep changes that improve temperatures or noise and revert those that do not. Next step: if GPU temperatures stay high, shift intake toward the bottom rather than adding exhaust.
- 6. Recheck dust and filters on a schedule: Positive pressure sends most air through filtered intakes, but perforated panels still collect dust. Set a cleaning interval based on how quickly your filters load up. Checkpoint: if dust builds fast, your layout may be running closer to negative pressure than you intended.
H9 Flow RGB details that shape your plan
- H9 Flow RGB: Dual-chamber design separates the main components from the PSU and drives for improved thermal performance and cable management. You can route intake and exhaust through the main chamber without PSU heat and cables disrupting the path, which makes a planned fan layout easier to keep clean.
- H9 Flow RGB: Perforated panels, angled fans, and ample fan and radiator support deliver thermal performance in a spacious mid-tower ATX case. The case gives you multiple viable intake and exhaust positions, so the decision is about balance and placement rather than finding the only place a fan fits.