Quick answer
Lay the harness on the floor, slide your dog's head through the neck opening, fasten the chest straps, then adjust each strap so you can fit two fingers underneath. Practice when you're not rushed, use treats, and check the fit before every walk. A calm, consistent routine prevents most struggles.
Why your dog fights the harness (and how to change that)
Most dogs who resist a harness aren't being stubborn—they're reacting to pressure, surprise, or a bad past experience. If the harness is tight, awkward to put on, or gets tangled in fur, your dog learns to associate it with discomfort. The fix is to make the process predictable and low-pressure. Start by letting your dog sniff the harness while it's on the floor, then reward calm behavior with a treat. Put it on for just a few seconds at first, then take it off and reward again. Repeat this a few times a day until your dog stops backing away. Once the harness goes on easily, you can start adjusting it for a proper fit.
Choosing the right harness for easy on-and-off
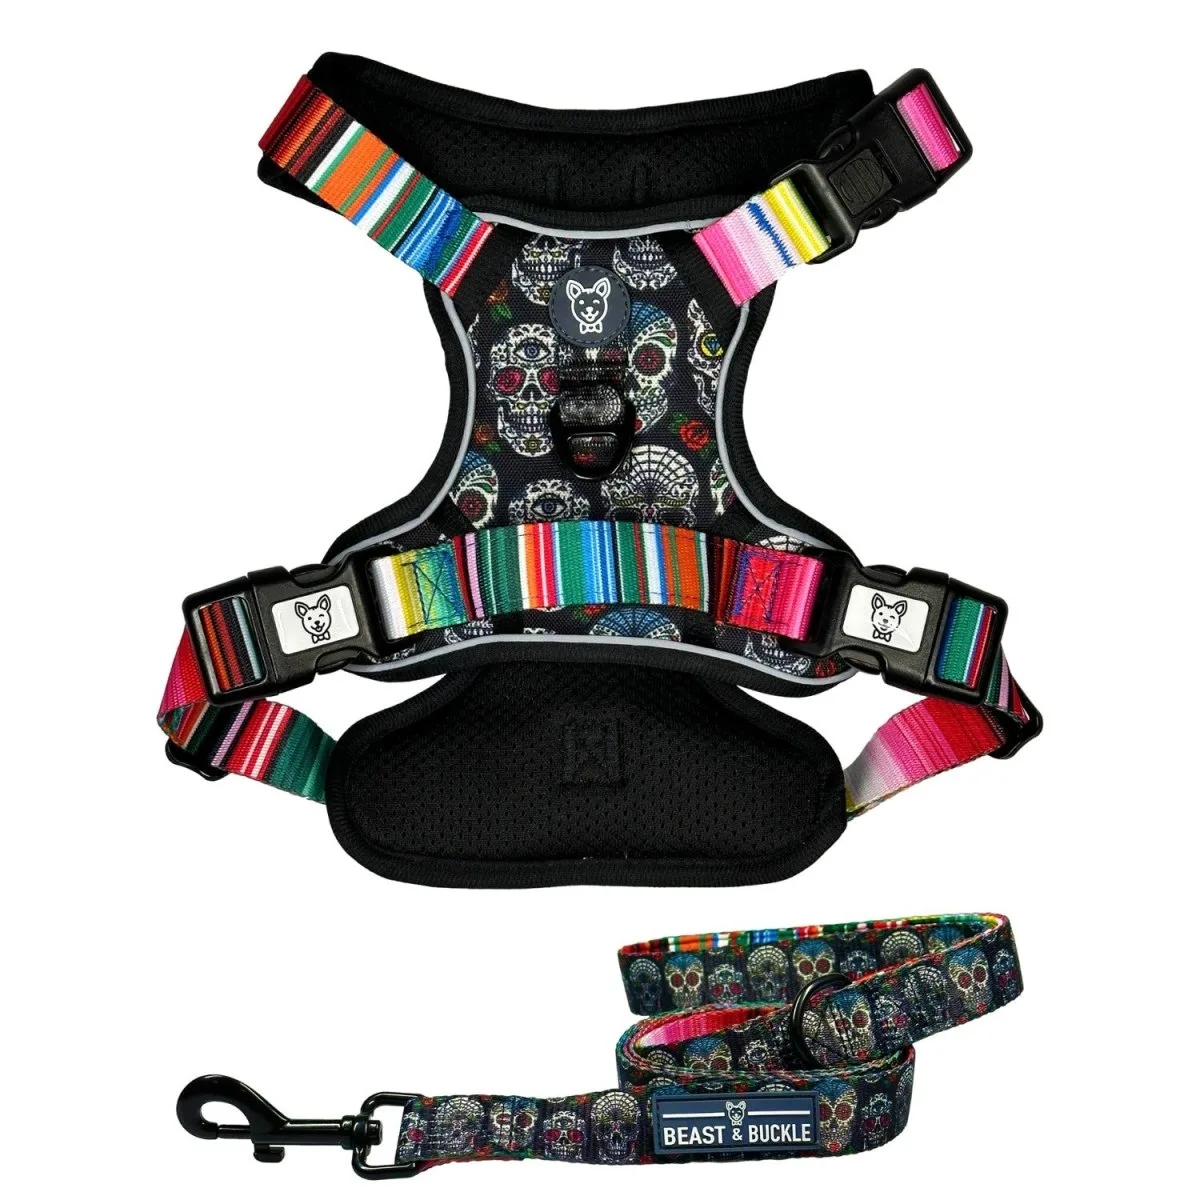
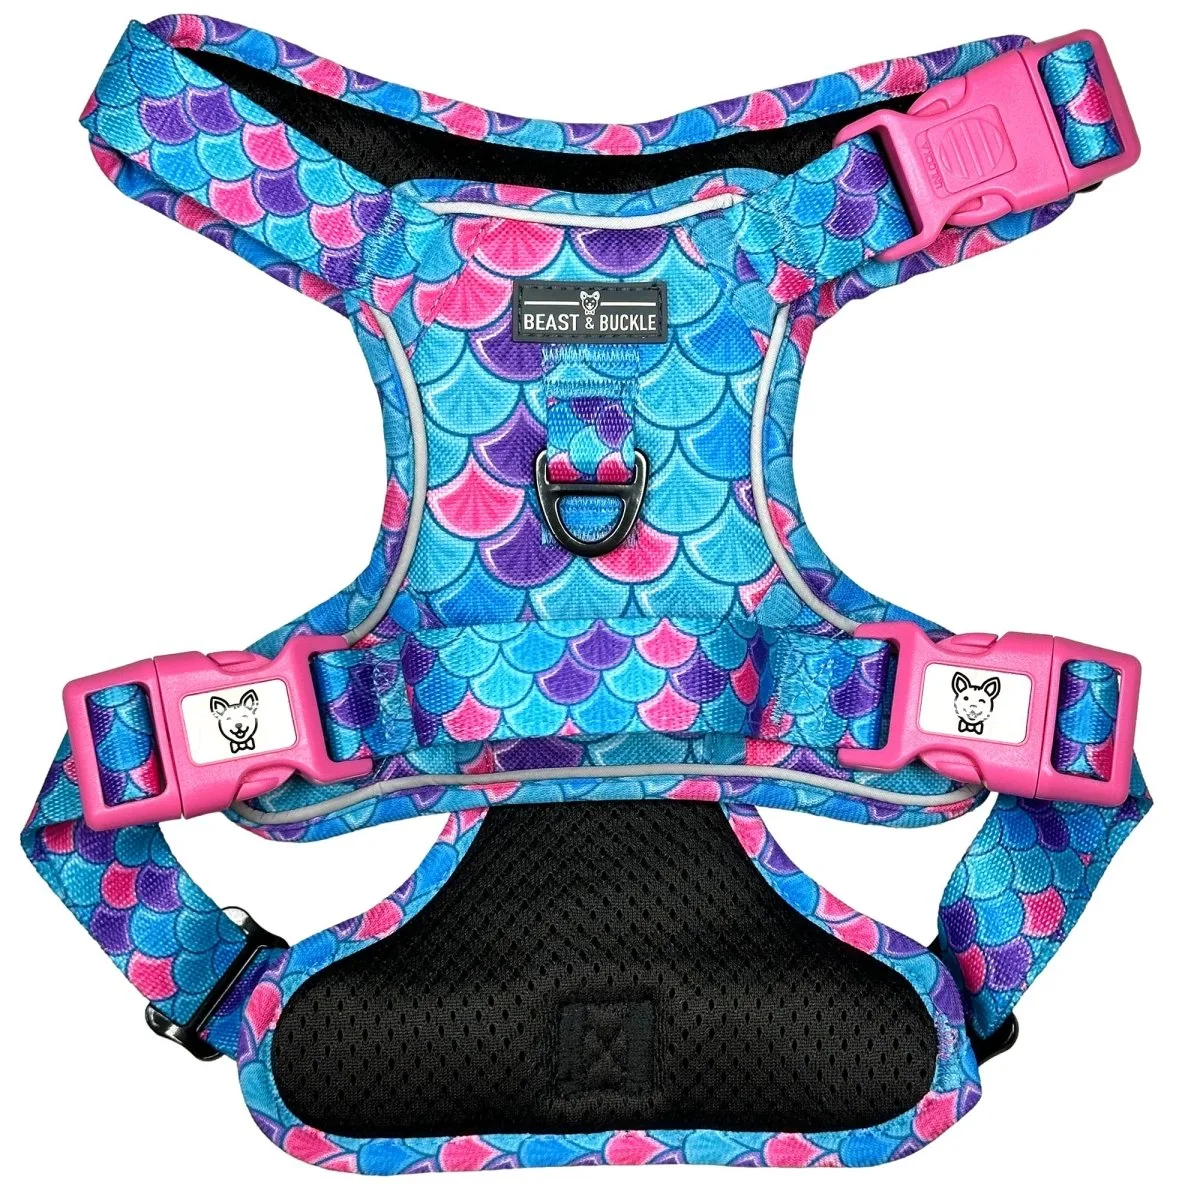
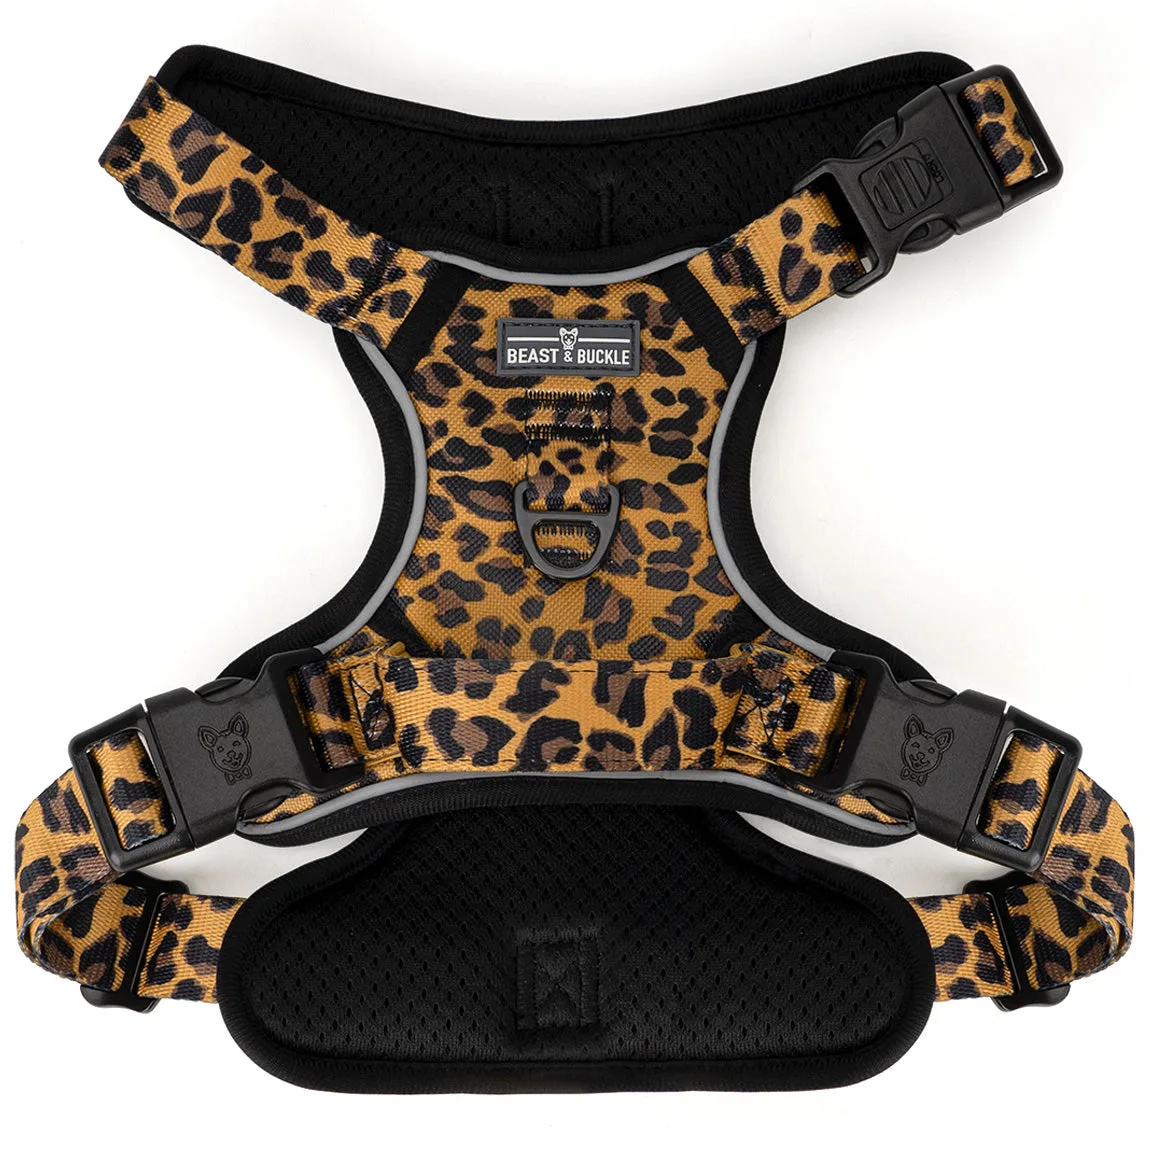
Not all no-pull harnesses are equally easy to put on. Look for one with a simple step-in or over-the-head design, minimal buckles, and clear adjustment points. The Beast & Buckle Leopard No Pull Dog Harness, for example, has D-rings on both sides and a safety handle on the back, but it still requires you to guide your dog's head through the neck opening. If your dog hates having anything pulled over their head, a step-in style might be easier. The Mermaid No Pull Dog Harness uses the same core design as the Leopard, so if your dog tolerates one, they'll likely tolerate the other. For a matching set that simplifies your routine, the Sugar Skulls No Pull Harness & Leash Bundle includes both pieces designed to work together.
Step-by-step: putting on the harness calmly
Follow these steps in order, and pause between each one if your dog gets anxious. Rushing is the most common reason a harness becomes a wrestling match.
Fitting tips for comfort and security
A properly fitted no-pull harness should be snug but not restrictive. You should be able to slide two fingers under each strap, but not a whole hand. Check the chest strap first—if it's too loose, your dog can slip out; if it's too tight, it rubs. Next, adjust the shoulder straps so the D-rings sit on the sides of your dog's body, not on their spine. The safety handle on the back should be centered and easy to grab. After adjusting, take your dog for a short indoor walk to see if the harness shifts or causes chafing. If it does, readjust one strap at a time and test again. For dogs with deep chests or narrow waists, you may need to adjust the front and back straps independently to get a secure fit.
Step-by-step: putting on a no-pull harness
- Lay the harness flat and identify the neck opening: Place the harness on the floor with the D-rings facing up and the safety handle toward you. Locate the largest opening—that's where your dog's head goes. Common mistake: picking up the harness and trying to wrestle it over your dog's head while they're standing. Instead, keep it on the floor and let your dog approach it. Checkpoint: your dog should be able to sniff the harness without backing away.
- Slide the harness over your dog's head: With your dog standing calmly, gently guide the neck opening over their head. Use one hand to support the harness and the other to keep it from catching on ears or fur. Common mistake: forcing it over a dog who is pulling away. If they resist, stop, reward, and try again in a few minutes. Checkpoint: the neck opening should sit comfortably at the base of the neck, not tight against the throat.
- Fasten the chest straps: Bring the chest straps around your dog's body and buckle them on the side or underside, depending on the harness design. Make sure the buckles are securely clicked. Common mistake: leaving the straps twisted—this causes rubbing and makes adjustment harder. Checkpoint: run your finger under each strap to ensure it lies flat against the fur.
- Adjust each strap for a two-finger fit: Tighten or loosen the adjustment points one at a time. You should be able to slide two fingers under each strap, but not a whole hand. Start with the chest strap, then the shoulder straps, then the belly strap if applicable. Common mistake: adjusting all straps at once and losing track of which one is too tight. Checkpoint: the D-rings should sit on the sides of your dog's body, not on the spine.
- Do a final fit check and test walk: Have your dog walk a few steps indoors. Watch for shifting, twisting, or chafing. If the harness moves, readjust one strap at a time. Common mistake: assuming the fit is perfect without testing movement. A harness that looks fine standing still can rub once your dog walks. Checkpoint: after the test walk, recheck the two-finger rule on all straps.
Product facts
- Leopard No Pull Dog Harness: The Beast & Buckle No Pull Harness provides the strength, structure and security needed to handle strong pulling, with D-rings on both sides and a safety handle on the back. The dual D-rings let you attach a leash to the front or back, which can help with training, while the safety handle gives you immediate control in emergencies.
- Mermaid No Pull Dog Harness: The Mermaid No Pull Dog Harness features the same no-pull design as the Leopard, with D-rings on both sides and a safety handle on the back. If your dog does well with one style, you can confidently choose the other for a different look without changing the fit or function.
- Sugar Skulls No Pull Harness & Leash Bundle - CLEARANCE: The Sugar Skulls No Pull Harness & Leash Bundle includes a matching harness and leash, with the harness built using tough, sturdy materials to safely handle wild walkers. A matching set means one less decision and a coordinated look, while the sturdy build gives you confidence on walks with a strong puller.