Quick answer
Start with the envelope back: find your size using your full bust or chest measurement, then note the fabric width and yardage for that size. Open the instruction sheet and read the glossary of pattern symbols and terms before you cut anything. Trace your size onto the pattern pieces, transfer every marking, and follow the steps in order. If you get these four habits right, the rest of the pattern will make sense.
A sewing pattern is a set of instructions, a map and a sizing chart all folded into one envelope. The first time you open one, it can feel like reading a foreign language. The good news is that the language is small and repeatable: a few dozen terms, a handful of symbols and one sizing table. Once you know where to look, every pattern becomes easier.
This guide walks through the order that experienced sewists actually use: pick your size by measurement, read the envelope for fabric and notions, learn the symbols on the tissue, transfer the markings, then follow the construction steps. Along the way you will see where beginners usually slip, and how to avoid those slips with tools you probably already own.
Start with the envelope, not the tissue
The envelope back is the control panel. It lists the pattern number, the views included, the suggested fabrics, the notions you need, and a sizing table with body measurements. Find your bust or chest measurement first, then your waist and hip. Most patterns are drafted for a B cup, so if your full bust and high bust differ by more than about two inches, you may need a full bust adjustment. That is normal, not a mistake.
Write down the size you land on, the fabric width, and the yardage for your view. If you plan to lengthen or shorten the pattern, add extra yardage before you buy. Check the notions list too: interfacing, elastic, buttons, zippers and thread are easy to forget. Buying everything in one trip saves a second visit and keeps your project moving.
- Measure over light clothing, keep the tape level, and write the numbers down.
- If you are between sizes, choose the larger size and take it in rather than letting it out.
Decode the pattern terms on the instruction sheet
The instruction sheet usually opens with a glossary or a key. Read it once, even if you think you know the words. Terms like 'right sides together', 'clip the curve', 'grade the seam', 'staystitch', 'ease' and 'understitch' mean specific actions, and the pattern expects you to do them in a specific order. 'Right sides together' means the printed or textured sides of the fabric face each other, so the seam allowance ends up hidden inside.
Fabric terms matter too. 'With nap' or 'one-way design' means every pattern piece must be laid in the same direction, which usually increases yardage. 'Selvedge' is the finished edge, and 'crosswise grain' runs perpendicular to it. 'Bias' runs at a 45-degree angle and stretches. When a pattern says 'cut on the bias', it means the grain line arrow should sit at 45 degrees to the selvedge, not parallel to it.
- Keep a highlighter handy and mark the terms you had to look up.
- If a term is not in the glossary, check the pattern company's website before cutting.
Learn the symbols printed on the tissue
Pattern symbols are the shorthand that tells you where to cut, fold, mark and match. The grain line arrow shows how to align the piece with the fabric grain. A long line with a notch at each end is a fold line, placed on the folded edge of the fabric. Double notches, single notches and circles are matching points: they tell you which seam meets which. A dart is a triangular or diamond shape that adds shape to flat fabric. A buttonhole or button placement mark is usually a small circle or a cross.
Small triangles along a seam are notches, and they must be transferred to the fabric. If you skip them, curved seams and set-in sleeves become guesswork. A line with a zigzag or a dotted edge often means 'stitch here' or 'gather between these points'. The instruction sheet's symbol key is the final authority, because different companies use slightly different marks.
- Photograph the symbol key with your phone so you can zoom in while sewing.
- Never assume a symbol means the same thing across brands.
Choose your size and check the finished measurements
Understanding pattern sizing means ignoring the number on your jeans. Pattern sizes are based on body measurements, and they often run smaller than ready-to-wear. Use the size chart on the envelope, not the size you buy in a store. If your bust and hip land in different sizes, pick the size that fits your bust or chest for tops, and your hip for skirts and pants, then blend between sizes at the side seam.
The finished garment measurements are the second half of the puzzle. They tell you how much ease the designer built in. A fitted blouse might have two inches of ease at the bust; a loose jacket might have six. Compare the finished measurement to your body measurement to see how the garment will actually fit. If the pattern does not list finished measurements, that is a real limitation: you may need to measure the pattern pieces and subtract seam allowances.
- Circle your size on the envelope so you do not have to re-measure later.
- For skirts and pants, your hip measurement is usually the deciding number.
Transfer the markings before you sew
Pattern markings are only useful if they end up on the fabric. Use tailor's chalk, a water-soluble pen, or thread tracing to mark darts, notches, buttonholes, pocket placement and fold lines. Mark on the wrong side of the fabric whenever possible, and test your marking tool on a scrap first. Some fabrics hold chalk well; others show every mark, so choose accordingly.
Transfer notches with a small snip into the seam allowance, no deeper than the seam line. Mark the center front and center back with a thread or chalk line, because you will align to them constantly. If a marking falls on a seam line, mark it just inside the seam allowance so it does not show on the finished garment. Do this before you remove the pattern pieces, while everything is still aligned.
- Mark all pieces for one view before you start sewing, not one at a time.
- If you are short on time, at least mark darts, notches and center lines.
Follow the construction steps in order
Pattern instructions are written in a sequence that builds the garment. Read the whole sheet once before you pin anything. Steps often refer back to earlier steps, and some steps are easier if you know what comes next. Press as you go: pressing seams flat, then open, then to one side, is what makes the difference between homemade and handmade. If a step says 'staystitch', do it; it keeps curved edges from stretching.
When a step is unclear, lay the pieces out and match the notches. The notches usually tell you which piece goes where. If you are still stuck, search the pattern number online or ask in a sewing community. Do not skip a step because it seems unimportant; the next step often depends on it. If you must substitute a technique, test it on scraps first.
- Set up your machine with a fresh needle and the right thread before you start sewing.
- Chain-piecing small steps saves thread and keeps your seam allowance consistent.
Pattern-reading steps in order
- 1. Measure and pick your size: Take bust, waist and hip measurements over light clothing, then find those numbers on the envelope size chart. Circle your size and note the finished garment measurements for that view. Checkpoint: your size is based on body measurements, not ready-to-wear size.
- 2. Read the envelope back: Note the suggested fabrics, fabric width, yardage for your size and view, and the full notions list. Add extra yardage if you plan to lengthen the pattern or match a print. Checkpoint: you have everything on the notions list before you cut.
- 3. Read the instruction glossary: Work through the terms and symbol key on the instruction sheet. Highlight any term you do not know and look it up before you touch the fabric. Checkpoint: you can explain 'right sides together', 'notch' and 'grain line' in your own words.
- 4. Identify the pattern symbols: Find the grain line arrow, fold line, notches, darts, buttonholes and center front or back marks on each tissue piece. Match them to the symbol key. Checkpoint: every symbol on the tissue has a known meaning before you cut.
- 5. Lay out and cut: Follow the layout diagram for your size and fabric width. Align the grain line with the fabric grain, pin or weight the pieces, and cut with sharp scissors or a rotary cutter. Checkpoint: all pieces are cut on the correct grain and in the correct direction.
- 6. Transfer all markings: Mark darts, notches, buttonholes, pocket placement and fold lines on the wrong side of the fabric using chalk, a water-soluble pen or thread tracing. Snip notches into the seam allowance only. Checkpoint: no marking is missing before you remove the pattern pieces.
- 7. Sew in instruction order: Read the full instruction sheet once, then work through the steps in sequence, pressing as you go. Test unfamiliar techniques on scraps first. Checkpoint: if a step is unclear, match the notches and re-read before you sew.
Tools that make pattern reading easier
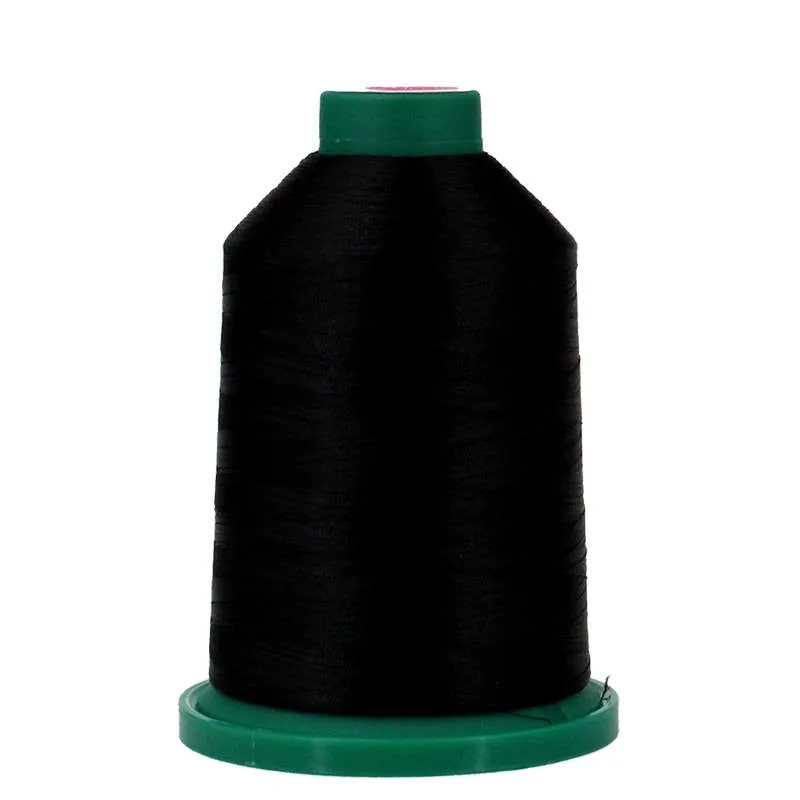
- Isacord Thread 40wt 5000M – Black: 40wt, 5000 meters per cone, 100% polyester, designed for machine embroidery and decorative stitching. A long cone means fewer bobbin changes during a full garment or quilt, and the 40wt weight handles both construction seams and decorative stitching.
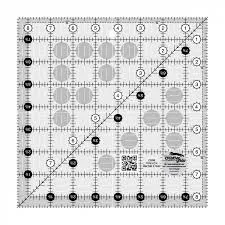
- Creative Grids Quilt Ruler 8-1/2in x 8-1/2in Square – CGR8: 8-1/2in x 8-1/2in square with a non-slip surface and clearly marked grid and diagonal lines. Use it to check that your pattern pieces are square, to true up cut edges, and to measure seam allowances accurately before you sew.
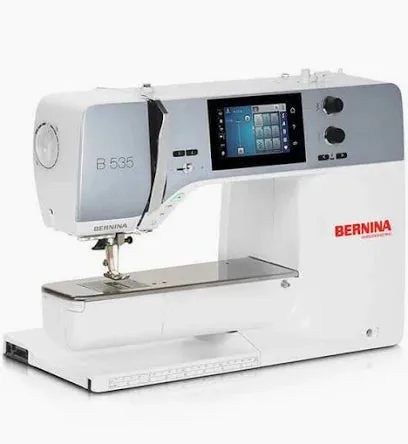
- BERNINA 535: Extensive stitch library with utility, decorative and quilting stitches, and stitch width up to 9mm. A wide stitch selection helps when a pattern calls for a stretch stitch, a blind hem, or a decorative finish you want to test on scraps first.
Reading a sewing pattern is a skill you build one step at a time. Measure honestly, read the envelope before the tissue, learn the symbols, mark everything, and follow the steps in order. Do that, and the pattern stops being a puzzle and becomes a set of instructions you can trust.