Quick Answer
To remove contact lenses with long nails, always use the pad of your finger, never the nail. Pull the lower eyelid down, look up, and slide the lens to the white of your eye before pinching it gently. For extra safety, use a contact lens removal tool or applicator.
Long nails can make contact lens removal nerve-wracking. A slip can scratch your eye or tear your lens. But with the right technique and a few tools, you can keep your manicure and your eyes safe.
The key is to avoid using your nails entirely. Instead, rely on the soft pads of your fingers, or invest in a removal tool designed for this purpose. Below, we break down the safest methods and common mistakes to avoid.
Why Long Nails Are a Risk
Your nails are harder and sharper than the delicate surface of your eye. Even a tiny accidental scratch can lead to corneal abrasions, which are painful and increase the risk of infection. Additionally, the area under your nails harbors bacteria and debris, so introducing them to your eye is never a good idea.
Long nails also make it harder to pinch a lens properly. You may end up pressing too hard or at the wrong angle, causing the lens to fold or tear. This is why learning a no-nail technique is essential for anyone who loves both their nails and their contacts.
- Always wash and dry your hands thoroughly before touching your lenses or eyes.
- Keep your nails short enough to avoid accidental scratches, or use a removal tool.
Essential Tools for Safe Removal
If you have long nails, consider using a contact lens removal tool. These small silicone or plastic devices have a soft tip that grips the lens without you needing to touch your eye. They are especially helpful for daily disposable lenses, which can be thinner and more delicate.
Another option is a contact lens applicator, which helps insert lenses, but some designs also assist with removal. Look for tools with a soft, curved tip that fits the shape of your eye. Always clean your tools after each use according to the manufacturer's instructions.
When shopping for tools, note that some brands sell sets that include both an applicator and a remover. For example, our store offers a '1 tweezer + 1 applicator tool + 1 case' bundle that can simplify your routine. However, you don't need to buy anything if you prefer to use your fingers with the correct technique.
- Choose a removal tool with a soft, non-porous tip that is easy to sanitize.
- Practice using the tool with clean hands before you actually need it.
Step-by-Step Finger Technique
Start by washing your hands with a mild, non-oily soap and drying them with a lint-free towel. Make sure there is no lotion or residue on your fingers. Stand over a clean, well-lit sink with the drain closed, in case you drop a lens.
Use your non-dominant hand to hold your upper eyelid open. With your dominant hand, place the pad of your index finger on the lower eyelid and gently pull it down. Look upward, then slide the lens down to the white part of your eye. Once the lens is off your cornea, gently pinch it with the pads of your thumb and index finger—avoid using your nails. The lens should fold and release easily.
If the lens feels stuck, do not force it. Moisten your eye with a few drops of contact lens solution or rewetting drops, blink a few times, and try again. Never use your nails to pry the lens off.
- Always slide the lens off the cornea before pinching to reduce the risk of scratching.
- If you feel any resistance, stop and add more solution.
Using a Removal Tool
A removal tool can be a game-changer for long-nail wearers. To use it, hold the tool between your thumb and index finger, ensuring the soft tip is clean. Gently touch the tip to the lower edge of the lens, then press lightly and pull the lens away from your eye. The lens should stick to the tool, allowing you to remove it without touching your eye at all.
This method is especially useful for soft lenses that tend to cling. It also reduces the risk of tearing, which is common when using nails. Always inspect the tool for any rough edges before each use, and replace it if it becomes damaged.
- Keep your removal tool in its case when not in use to protect it from dust and bacteria.
- Clean the tool with contact lens solution or a recommended disinfectant after each removal.
Step-by-Step Removal Checklist
- Prepare your hands and workspace: Wash your hands thoroughly with soap and water, dry them completely, and ensure your nails are clean. Work over a sink with the drain closed and a mirror nearby. Checkpoint: Your hands should be free of lotion, oil, or debris.
- Moisten your eye if needed: If your lens feels dry, apply a few drops of contact lens solution or rewetting drops to your eye. Blink a few times to hydrate the lens. Checkpoint: The lens should move easily on your eye before you attempt removal.
- Slide the lens to the white of your eye: With your non-dominant hand, hold your upper eyelid open. Use the pad of your index finger to pull your lower eyelid down. Look up, then gently slide the lens down to the sclera. Checkpoint: Never attempt to pinch the lens directly off your cornea.
- Pinch or use a removal tool: Using the pads of your thumb and index finger, gently pinch the lens. Alternatively, use a removal tool with a soft tip to lift the lens off. Avoid using your nails at all times. Checkpoint: If the lens does not release easily, stop and add more solution.
- Clean and store your lenses properly: After removal, clean and disinfect your lenses if they are reusable. For daily disposables, discard them. Always follow the care instructions for your specific lens type. Checkpoint: Never reuse cleaning solution, and always use fresh solution for storage.
Lens Options That Make Removal Easier
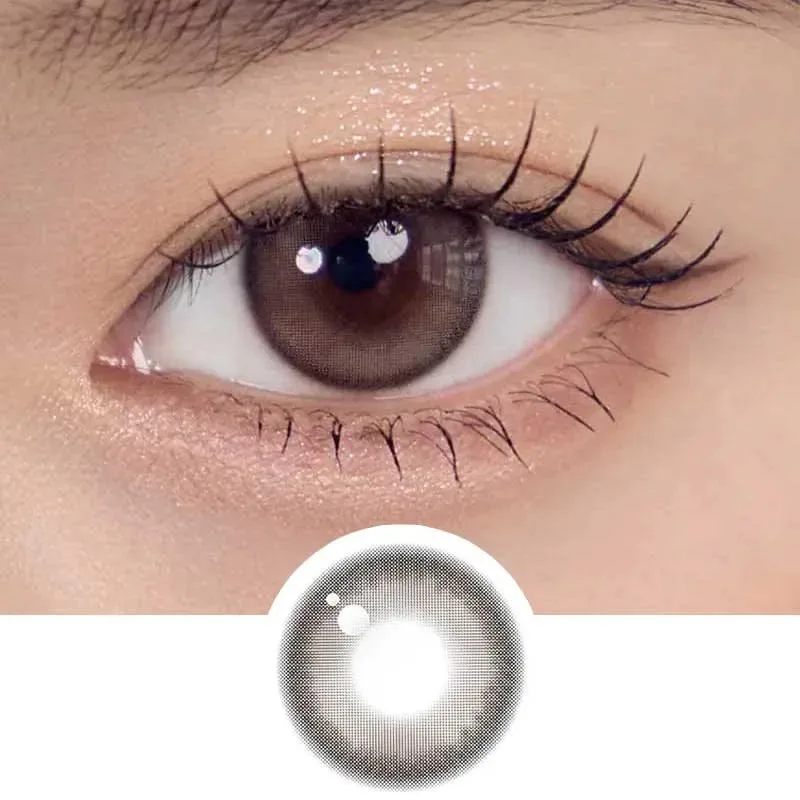
- Topards 1-Day Opal (10pk): Topards Opal Daily Lenses are designed for daily wear and feature a 2-tone pattern blending grey, green, and brown. Daily disposable lenses are thinner and can be more comfortable, but they may require extra care during removal. Using a removal tool or the proper finger technique is essential to avoid tearing.
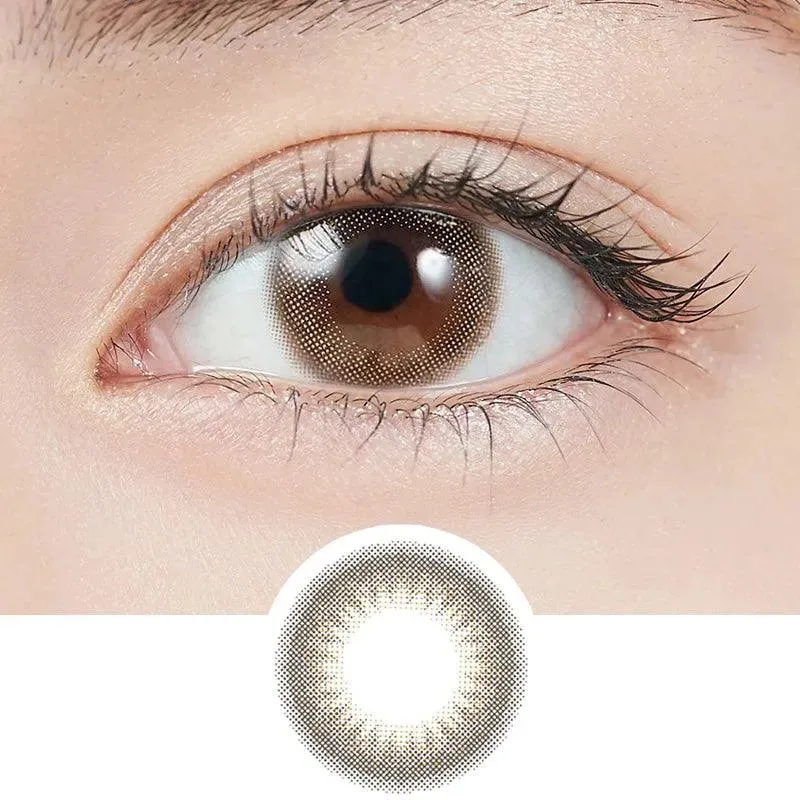
- Gemhour Melinoe 1-Day Grey Beige (10pk): Gemhour Melinoe series features a subtle limbal ring that enhances eye size while maintaining a realistic appearance. The limbal ring design can make the lens edges more visible, which might help you see the lens edge for easier removal. Always handle with clean, dry hands or a tool.
Removing contact lenses with long nails doesn't have to be risky. By using the pad of your finger or a dedicated removal tool, you can protect your eyes and your lenses. Practice the technique in front of a mirror, and always prioritize hygiene. If you ever experience pain or redness, remove your lenses and consult an eye care professional.