If you own an Aarke Carbonator, you know how satisfying it is to make sparkling water at home. But over time, the seal that keeps the carbonation bottle airtight can wear out, leading to leaks and less fizzy water. Replacing the seal is a simple DIY task that can save you money and extend the life of your machine. In this guide, we'll walk you through the steps to replace the seal on your Aarke Carbonator, whether you have the Carbonator 3 or the Carbonator Pro.
Regular maintenance is key to keeping your carbonator in top shape. A worn seal is one of the most common issues, but it's also one of the easiest to fix. With a few tools and a replacement seal, you can have your sparkling water maker working like new in minutes.
Why Replace the Seal on Your Aarke Carbonator?
The seal in your Aarke Carbonator is a small but crucial component. It sits between the carbonating bottle and the machine's head, ensuring a tight fit so that CO2 can be injected efficiently and no gas escapes. Over time, the seal can become worn, cracked, or deformed due to regular use and exposure to pressure. When this happens, you might notice a few telltale signs.
Common symptoms of a failing seal include: hissing sounds during carbonation, water leaking from the bottle, or sparkling water that goes flat quickly. If you experience any of these issues, it's time to inspect and likely replace the seal. Ignoring a worn seal can lead to poor carbonation and even damage to the machine's internal components if liquid seeps in.
- Hissing sound during carbonation
- Water leaking from the bottle
- Sparkling water loses fizz quickly
What You'll Need for the Replacement
Before you start, gather the necessary tools and parts. You'll need a replacement seal that is compatible with your Aarke model. The seal is typically included in maintenance kits or can be purchased separately. You may also need a flathead screwdriver or a similar tool to gently pry out the old seal.
Make sure to have a clean, dry cloth on hand to wipe down the area. It's also a good idea to work over a sink or a towel to catch any small parts. If you're unsure about the exact seal for your model, consult the Aarke website or your user manual.
- Replacement seal (compatible with your model)
- Flathead screwdriver or similar tool
- Clean, dry cloth
Step-by-Step Guide to Replacing the Seal
Start by ensuring your Aarke Carbonator is unplugged and completely depressurized. Remove the carbonating bottle and any remaining water. Turn the machine upside down or position it so you can easily access the seal area. The seal is usually located at the top of the machine, where the bottle screws in.
Using your flathead screwdriver, gently pry out the old seal. Be careful not to scratch the surrounding surface. Once the old seal is removed, clean the area with a dry cloth to remove any debris or residue. Take your new seal and align it properly, then press it firmly into place. Make sure it sits evenly and securely.
After the new seal is in place, reassemble your carbonator. Attach the bottle and test the machine by carbonating a small amount of water. Check for any leaks or unusual sounds. If everything seems normal, you're done!
- Unplug and depressurize the machine
- Remove the old seal gently
- Clean the seal area thoroughly
- Install the new seal securely
- Test the carbonator with water
Tips to Extend the Life of Your New Seal
To get the most out of your new seal, proper care is essential. Always ensure the bottle is screwed on tightly but not over-tightened, as excessive force can deform the seal. Avoid using harsh chemicals to clean the seal area; a mild soap and water solution is sufficient.
Regularly inspect the seal for any signs of wear. If you use your carbonator daily, consider replacing the seal every 6-12 months as part of your routine maintenance. Keeping a spare seal on hand can be convenient, so you're never caught off guard.
- Avoid over-tightening the bottle
- Clean with mild soap and water
- Inspect the seal regularly
- Replace the seal every 6-12 months
When to Consider Upgrading Your Carbonator
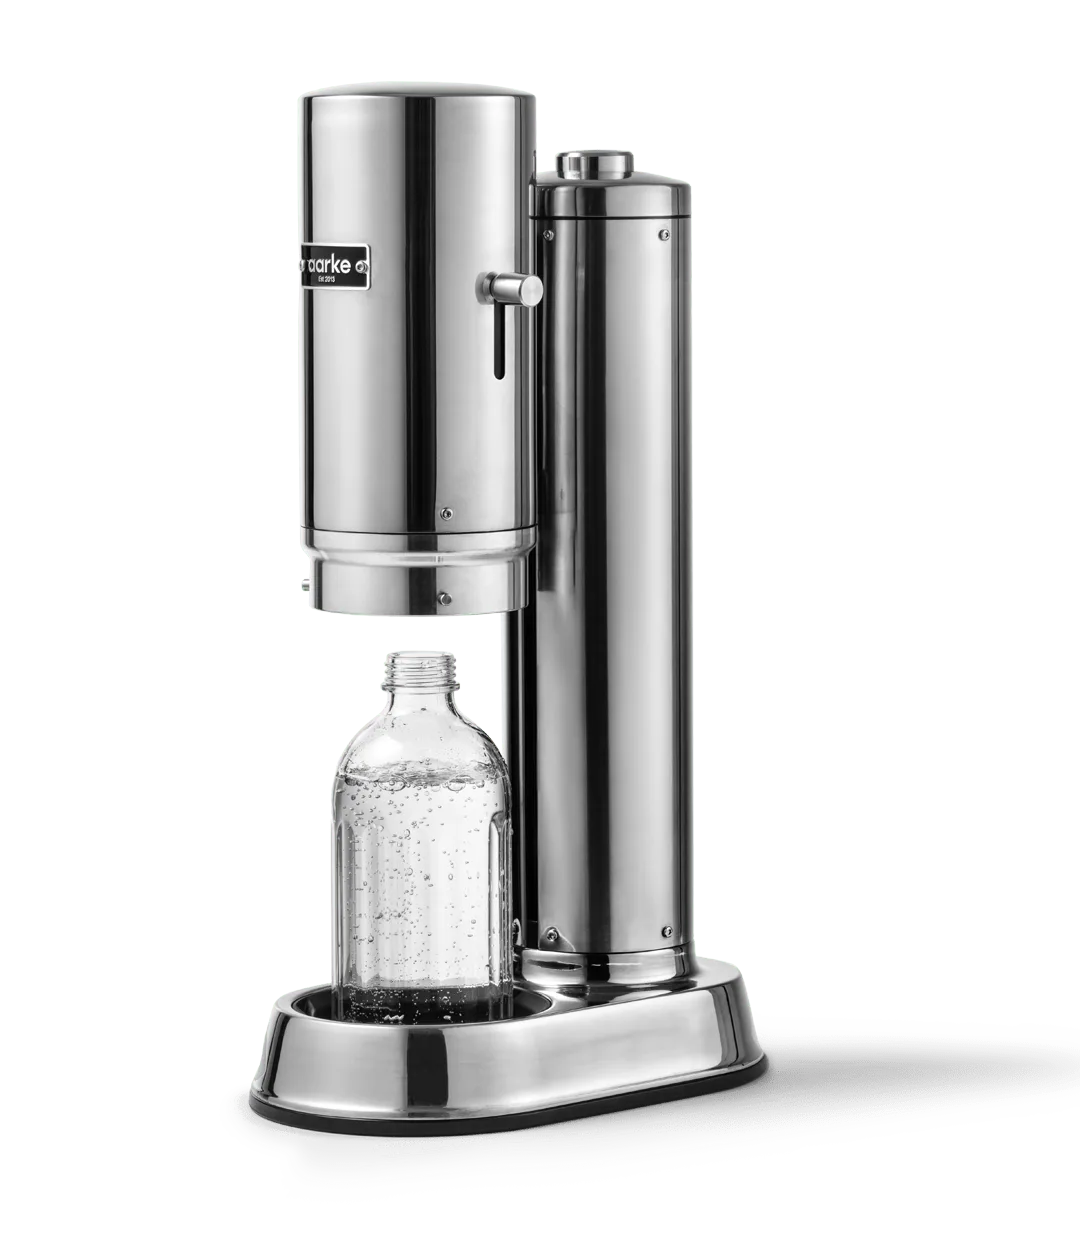
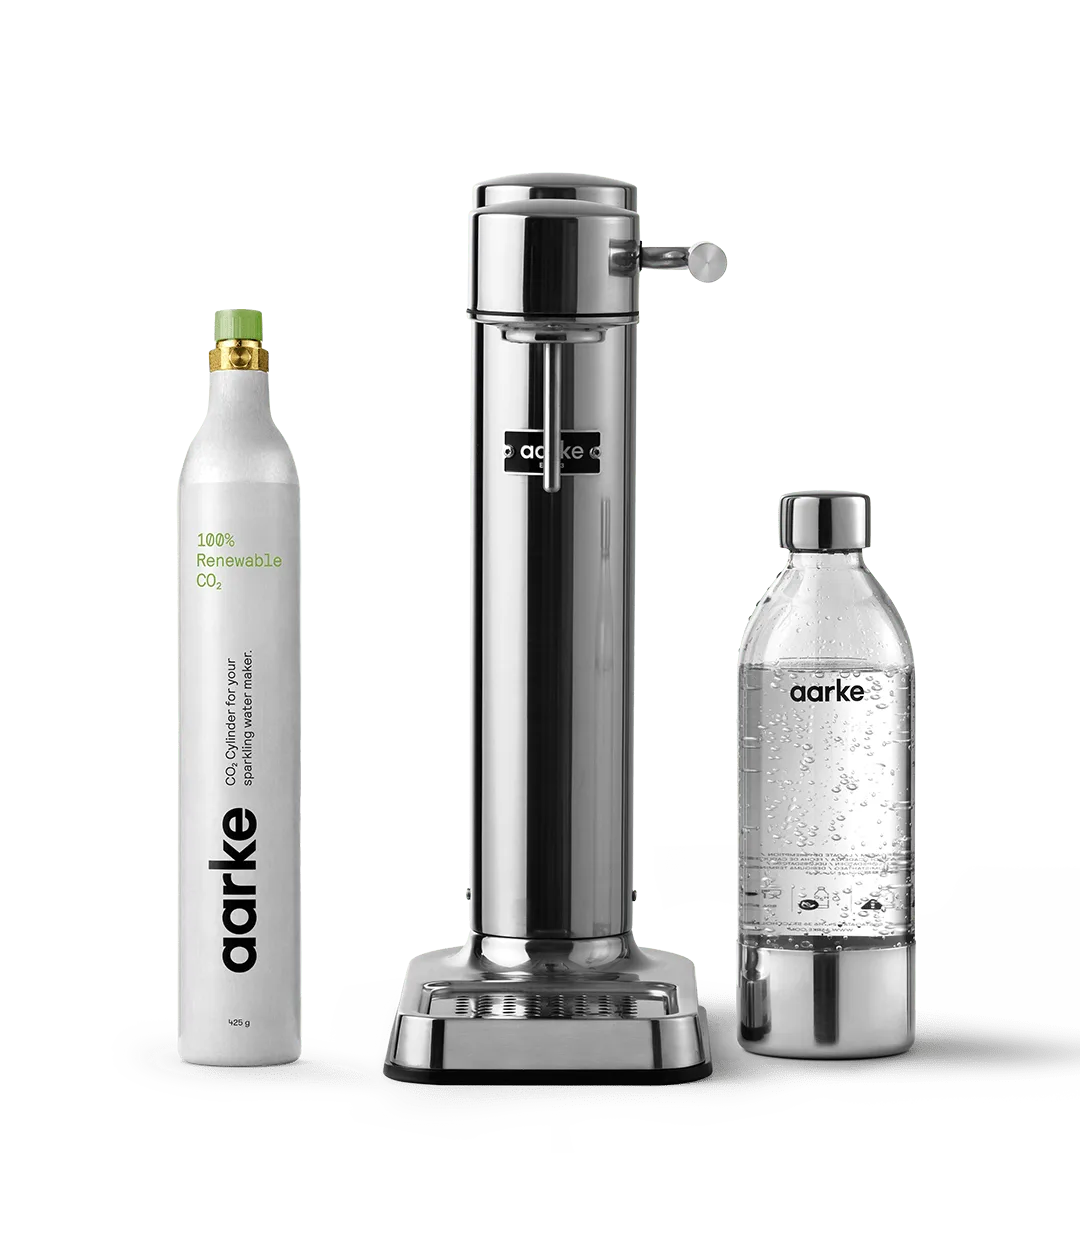
While replacing the seal is a cost-effective fix, there may come a time when you want to upgrade to a newer model. Aarke offers a range of carbonators, each with unique features. For instance, the https://aarkeopl.com/products/carbonator-3-steel-starter-kit-332252Carbonator 3 Steel Starter Kit is a popular choice for its sleek design and durability. If you're looking for a more professional experience, the Carbonator Pro Sand offers enhanced performance and a premium feel.
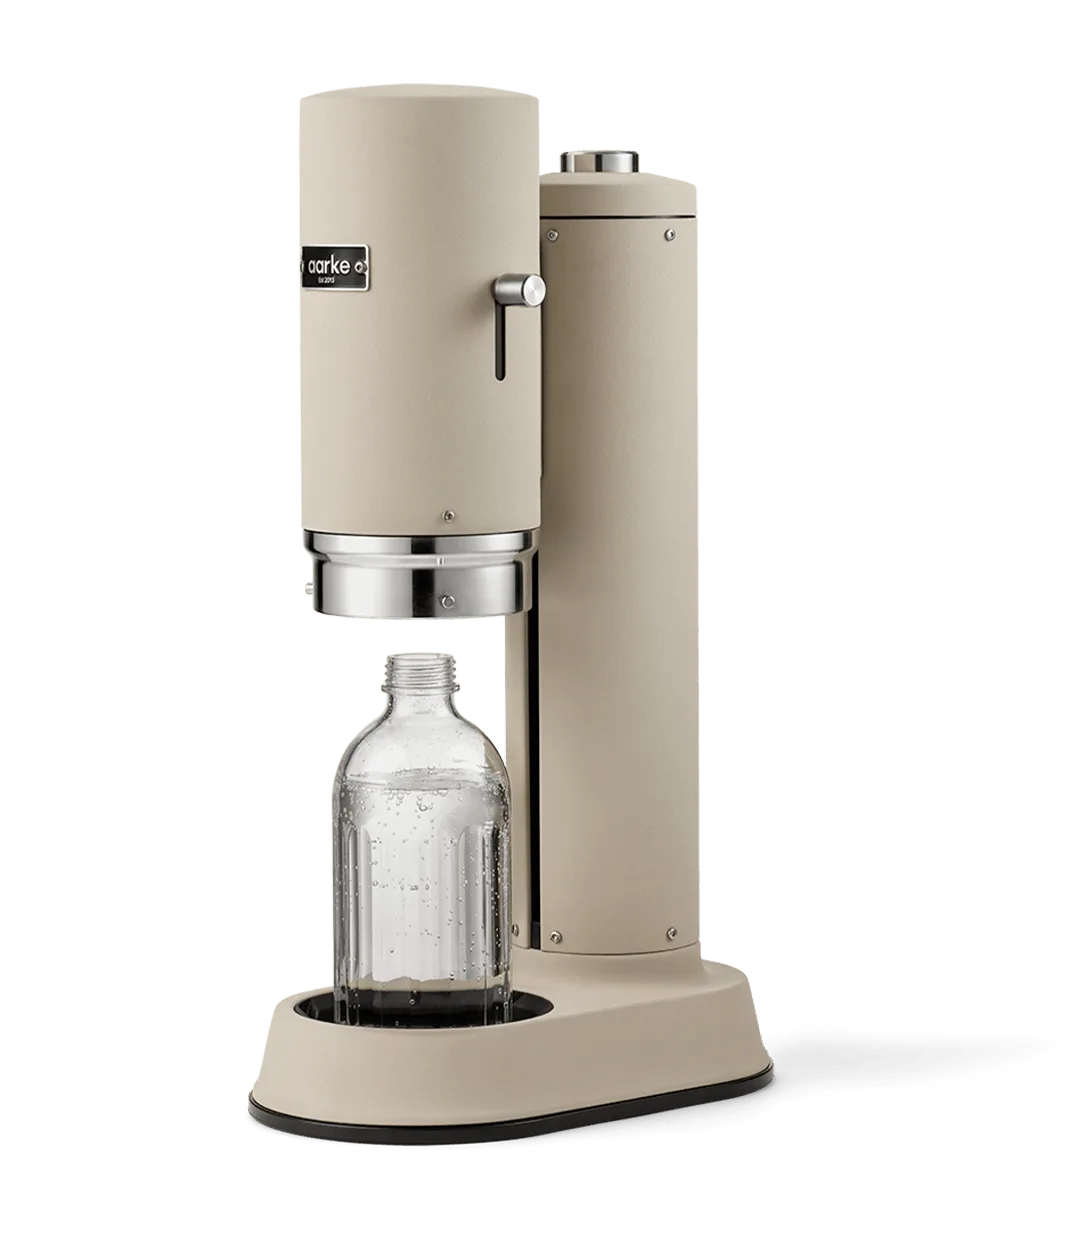
Carbonator Pro Sand
If your carbonator is old and experiencing frequent issues, upgrading might be a better long-term investment. A new model can provide better carbonation, easier maintenance, and a fresh look for your kitchen. Consider your usage habits and budget when deciding whether to repair or replace.
- Carbonator 3 Steel Starter Kit – durable and stylish
- Carbonator Pro Sand – professional-grade performance
- https://aarkeopl.com/products/carbonator-pro-re-crafted-332248Carbonator Pro Re-Crafted – eco-friendly option
Replacing the seal on your Aarke Carbonator is a simple yet essential maintenance task that ensures your sparkling water maker continues to perform at its best. By following this guide, you can fix leaks and enjoy perfectly fizzy water again. If you find that your carbonator needs more than just a new seal, consider exploring Aarke's range of carbonators to find the perfect fit for your kitchen.