Quick Answer
Season your carbon steel skillet by applying a thin layer of oil and heating it until the oil polymerizes. Maintain it by cleaning gently, drying immediately, and oiling after each use.
Why Seasoning Matters for Carbon Steel
Carbon steel skillets arrive pre-seasoned from the factory, but that initial layer is thin. Regular seasoning builds up a durable, non-stick surface that improves over time and protects the pan from rust.
Unlike cast iron, carbon steel is lighter and heats faster, making it ideal for tasks like searing fish or frying eggs. The seasoning process is similar, but the thinner metal requires careful temperature control to avoid burning off the oil.
Common Seasoning Mistakes to Avoid
Using too much oil is the most frequent error. Excess oil creates a sticky, uneven finish. Always wipe the pan until it looks almost dry before heating.
Another mistake is heating the pan too quickly or at too high a temperature. Medium heat is sufficient—high heat can cause the oil to smoke excessively and form a brittle layer that flakes off.
Step-by-Step Seasoning and Maintenance Guide
- Step 1: Wash and Dry the Pan: Wash the skillet with warm water and a mild dish soap to remove any factory residue. Dry it thoroughly with a towel, then place it on the stove over low heat for 2-3 minutes to evaporate all moisture. Common mistake: skipping the initial wash can leave a film that prevents seasoning from bonding.
- Step 2: Apply a Thin Layer of Oil: Pour a small amount of high-smoke-point oil (like flaxseed, grapeseed, or canola) into the pan. Use a paper towel to spread it in a thin, even coat over the entire surface, including the sides and handle. Then wipe the pan again with a clean towel to remove excess oil—the surface should look almost dry. Checkpoint: If the oil pools or beads, you’ve used too much. Wipe again until no visible oil remains.
- Step 3: Heat the Pan to Polymerize the Oil: Place the skillet upside down on the middle rack of a cold oven (place a baking sheet or foil on the lower rack to catch drips). Set the oven to 450°F (230°C) and bake for one hour. After the hour, turn off the oven and let the pan cool inside. Common mistake: opening the oven too early can cause uneven seasoning and smoke in your kitchen.
- Step 4: Repeat for a Stronger Seasoning Layer: For best results, repeat steps 2 and 3 two to three more times. Each layer adds durability and non-stick properties. The pan will darken and develop a smooth, glossy finish. Checkpoint: After three cycles, the seasoning should feel smooth and slightly shiny. If it feels sticky, you used too much oil—start over with a lighter coat.
- Step 5: Daily Maintenance After Cooking: After each use, let the pan cool slightly, then rinse with hot water and scrub gently with a non-abrasive brush or sponge. Avoid soap unless the pan is very greasy—if you use soap, dry and re-oil immediately. Dry the pan on the stove over low heat for 1-2 minutes, then rub a few drops of oil over the cooking surface with a paper towel. Common mistake: letting the pan air-dry can cause rust spots. Always dry it immediately and apply a light oil coat.
Product Used in This Guide
-
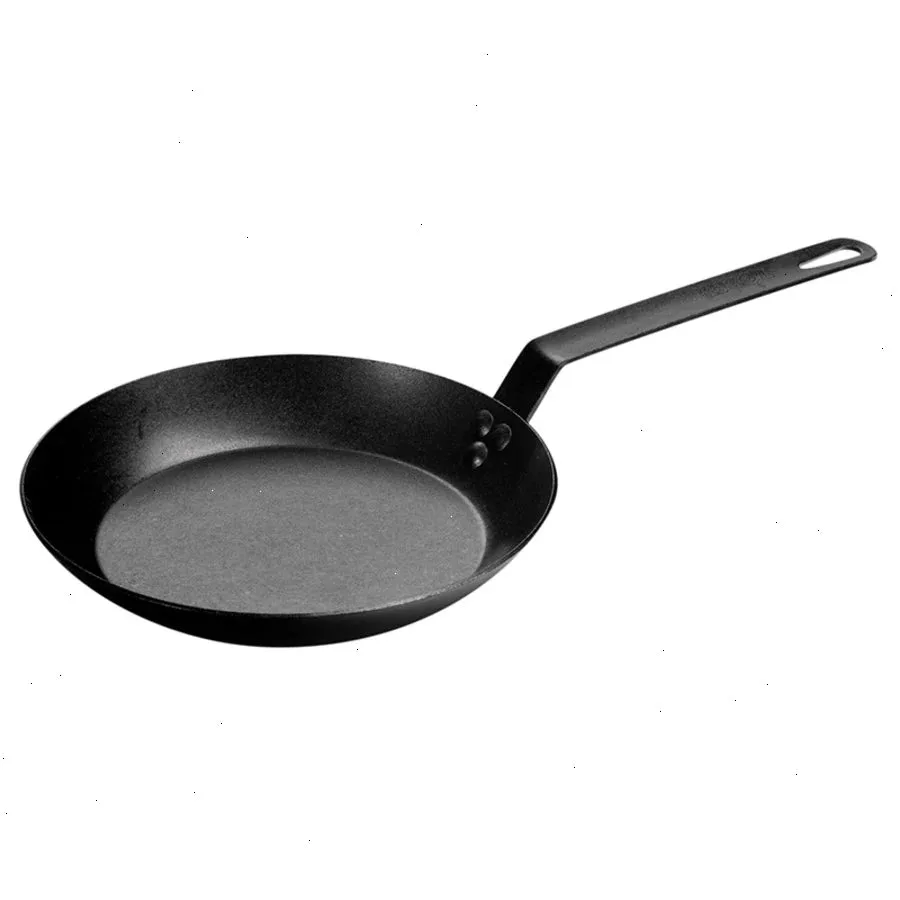
Carbon Steel Skillet: The Carbon Steel Skillet comes pre-seasoned and ready to use, with a thin, lightweight design for quick, even heat. You can start cooking right away, but building additional seasoning layers will improve the non-stick performance over time.
Carbon Steel Skillet