Quick answer
Connect each RGB Core fan's single cable to an NZXT controller, plug that controller into a USB header and SATA power, then assign lighting channels in NZXT CAM. If you are using the H5 Flow RGB's included fans, they are already mounted, so you only need to route cables and configure CAM. Plan your cable paths before closing the side panel.
H5 Flow RGB
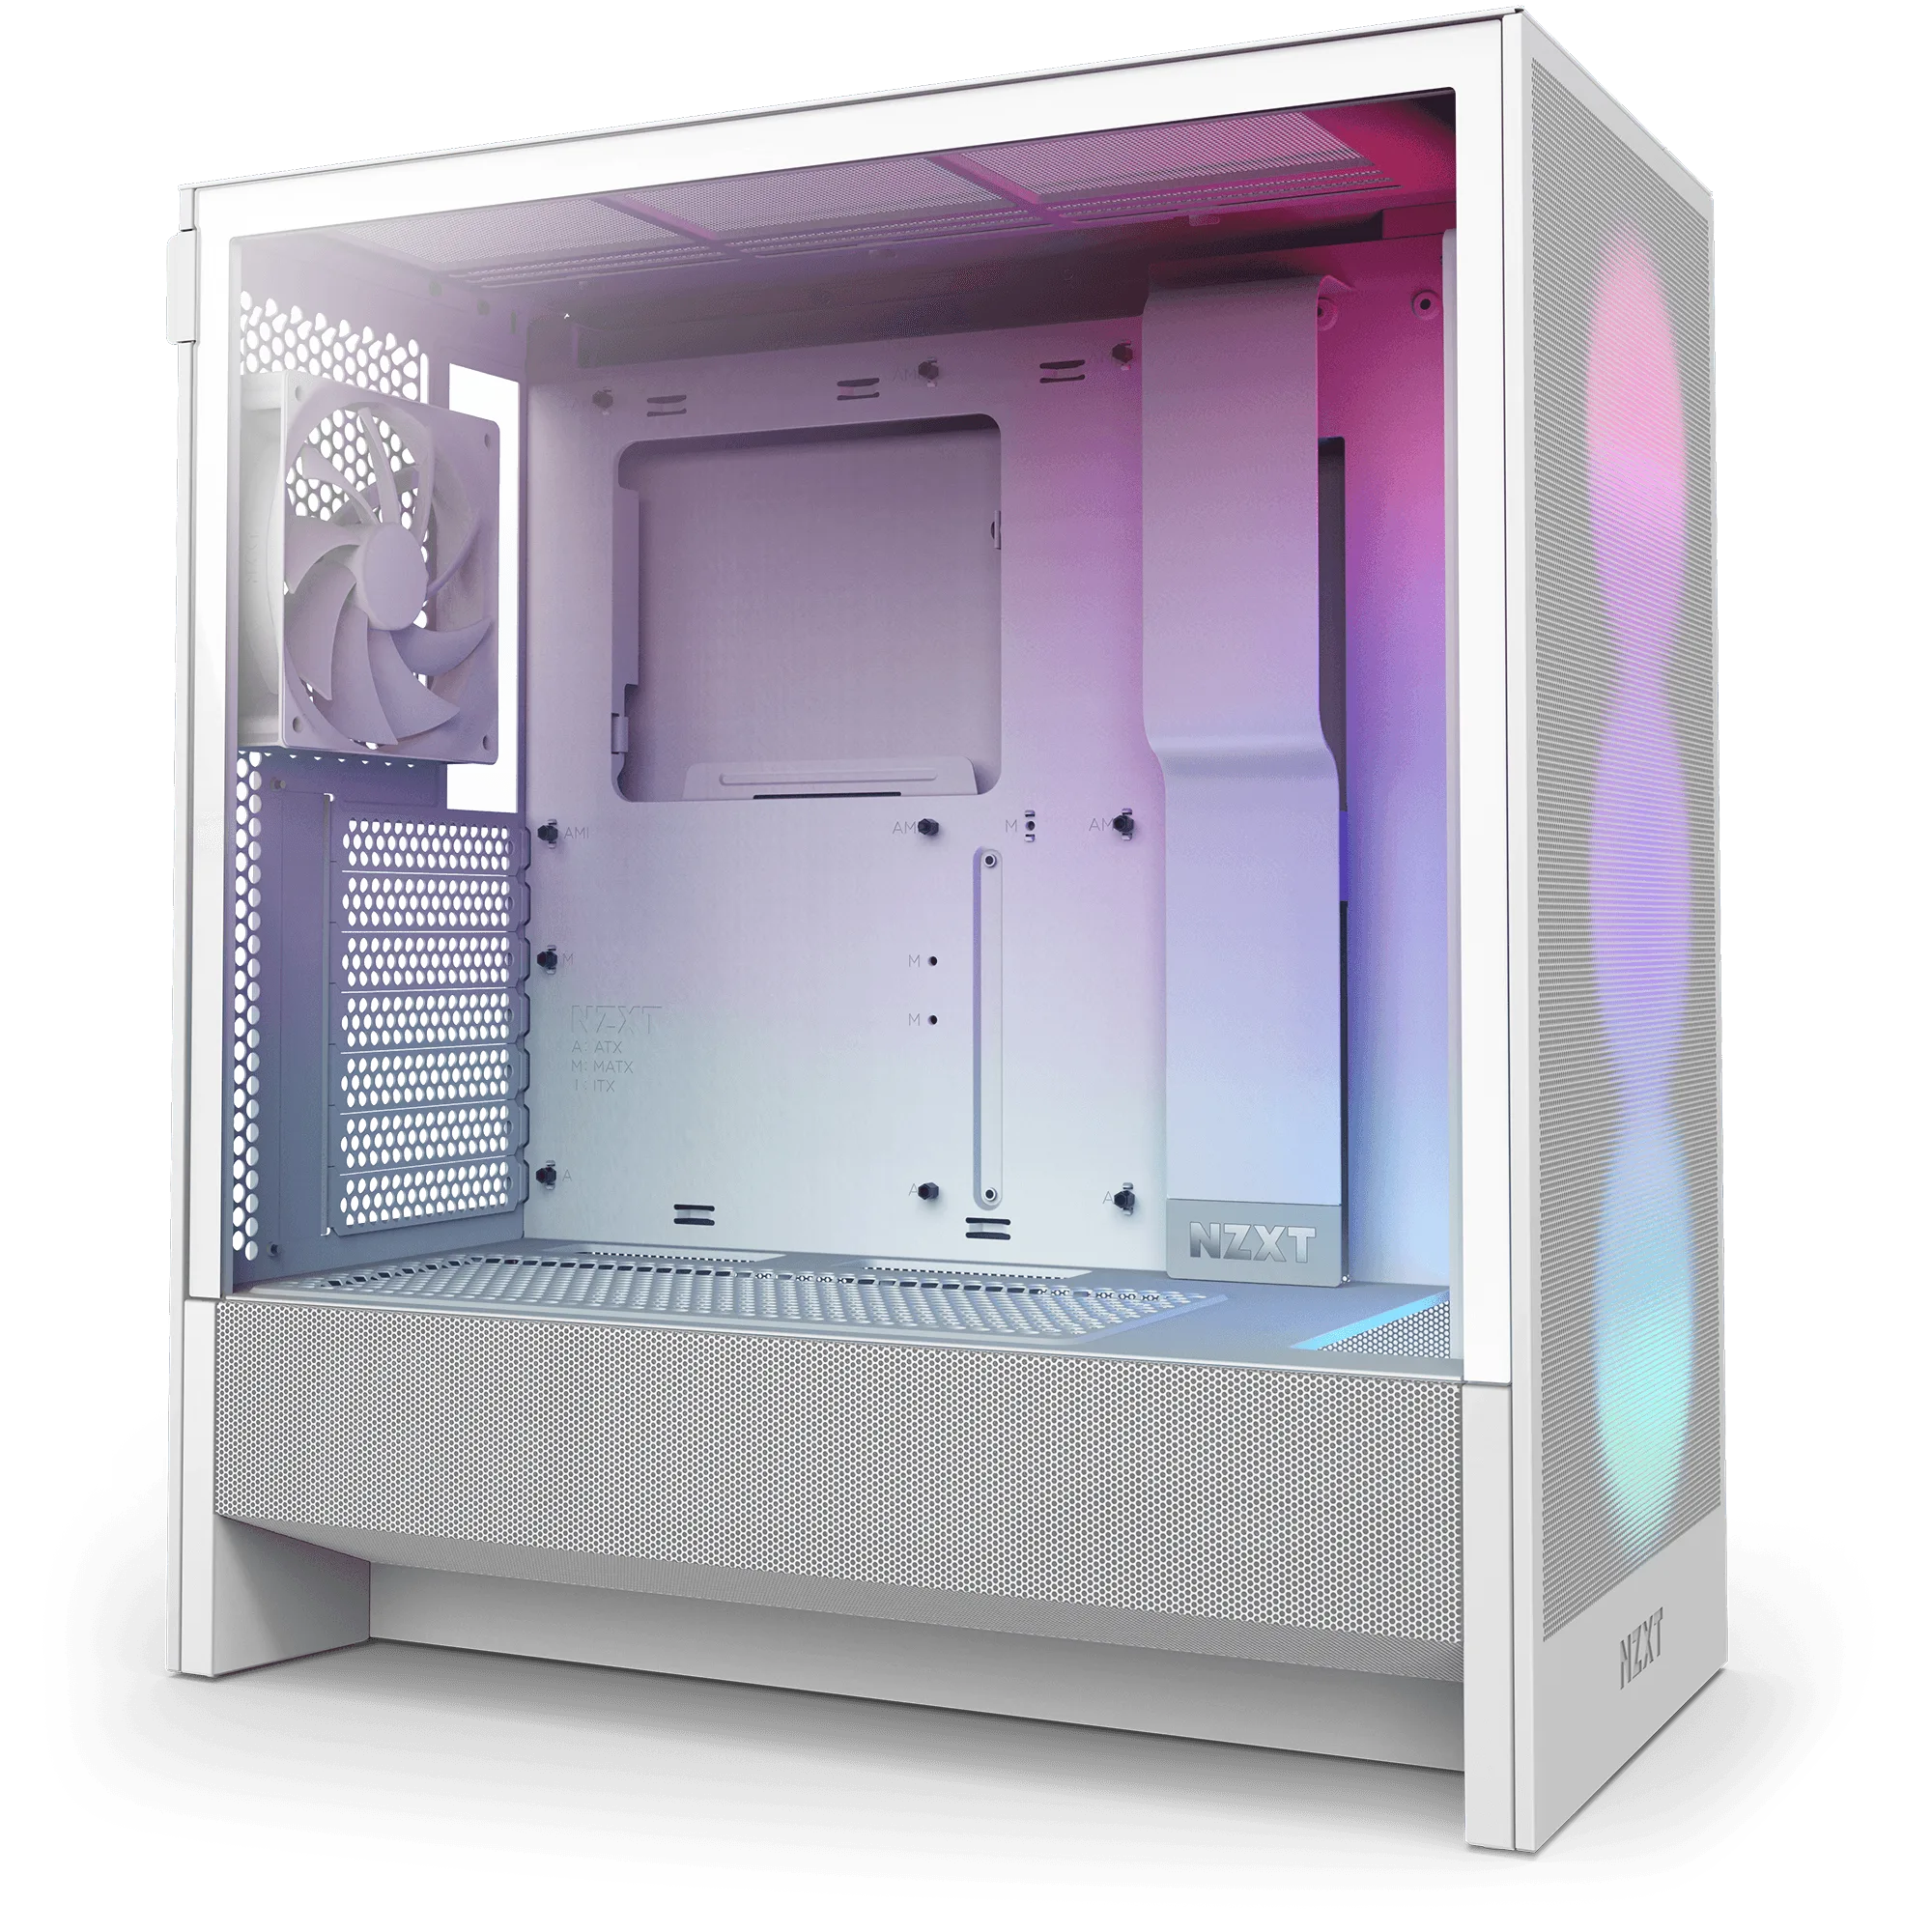
The H5 Flow RGB ships with a perforated PSU shroud and mesh panels, but its lighting only works once the fans are connected to a controller and recognized by software. This guide walks through the physical wiring and the CAM configuration so your first boot ends with controllable RGB instead of a tangle of unused cables.
The process is straightforward if you treat it as two separate jobs: build the hardware connections correctly, then assign the lighting in software. Most setup problems come from skipping the first job. Work through the steps in order and test before you close the case.
Before you start: identify your fans and controller
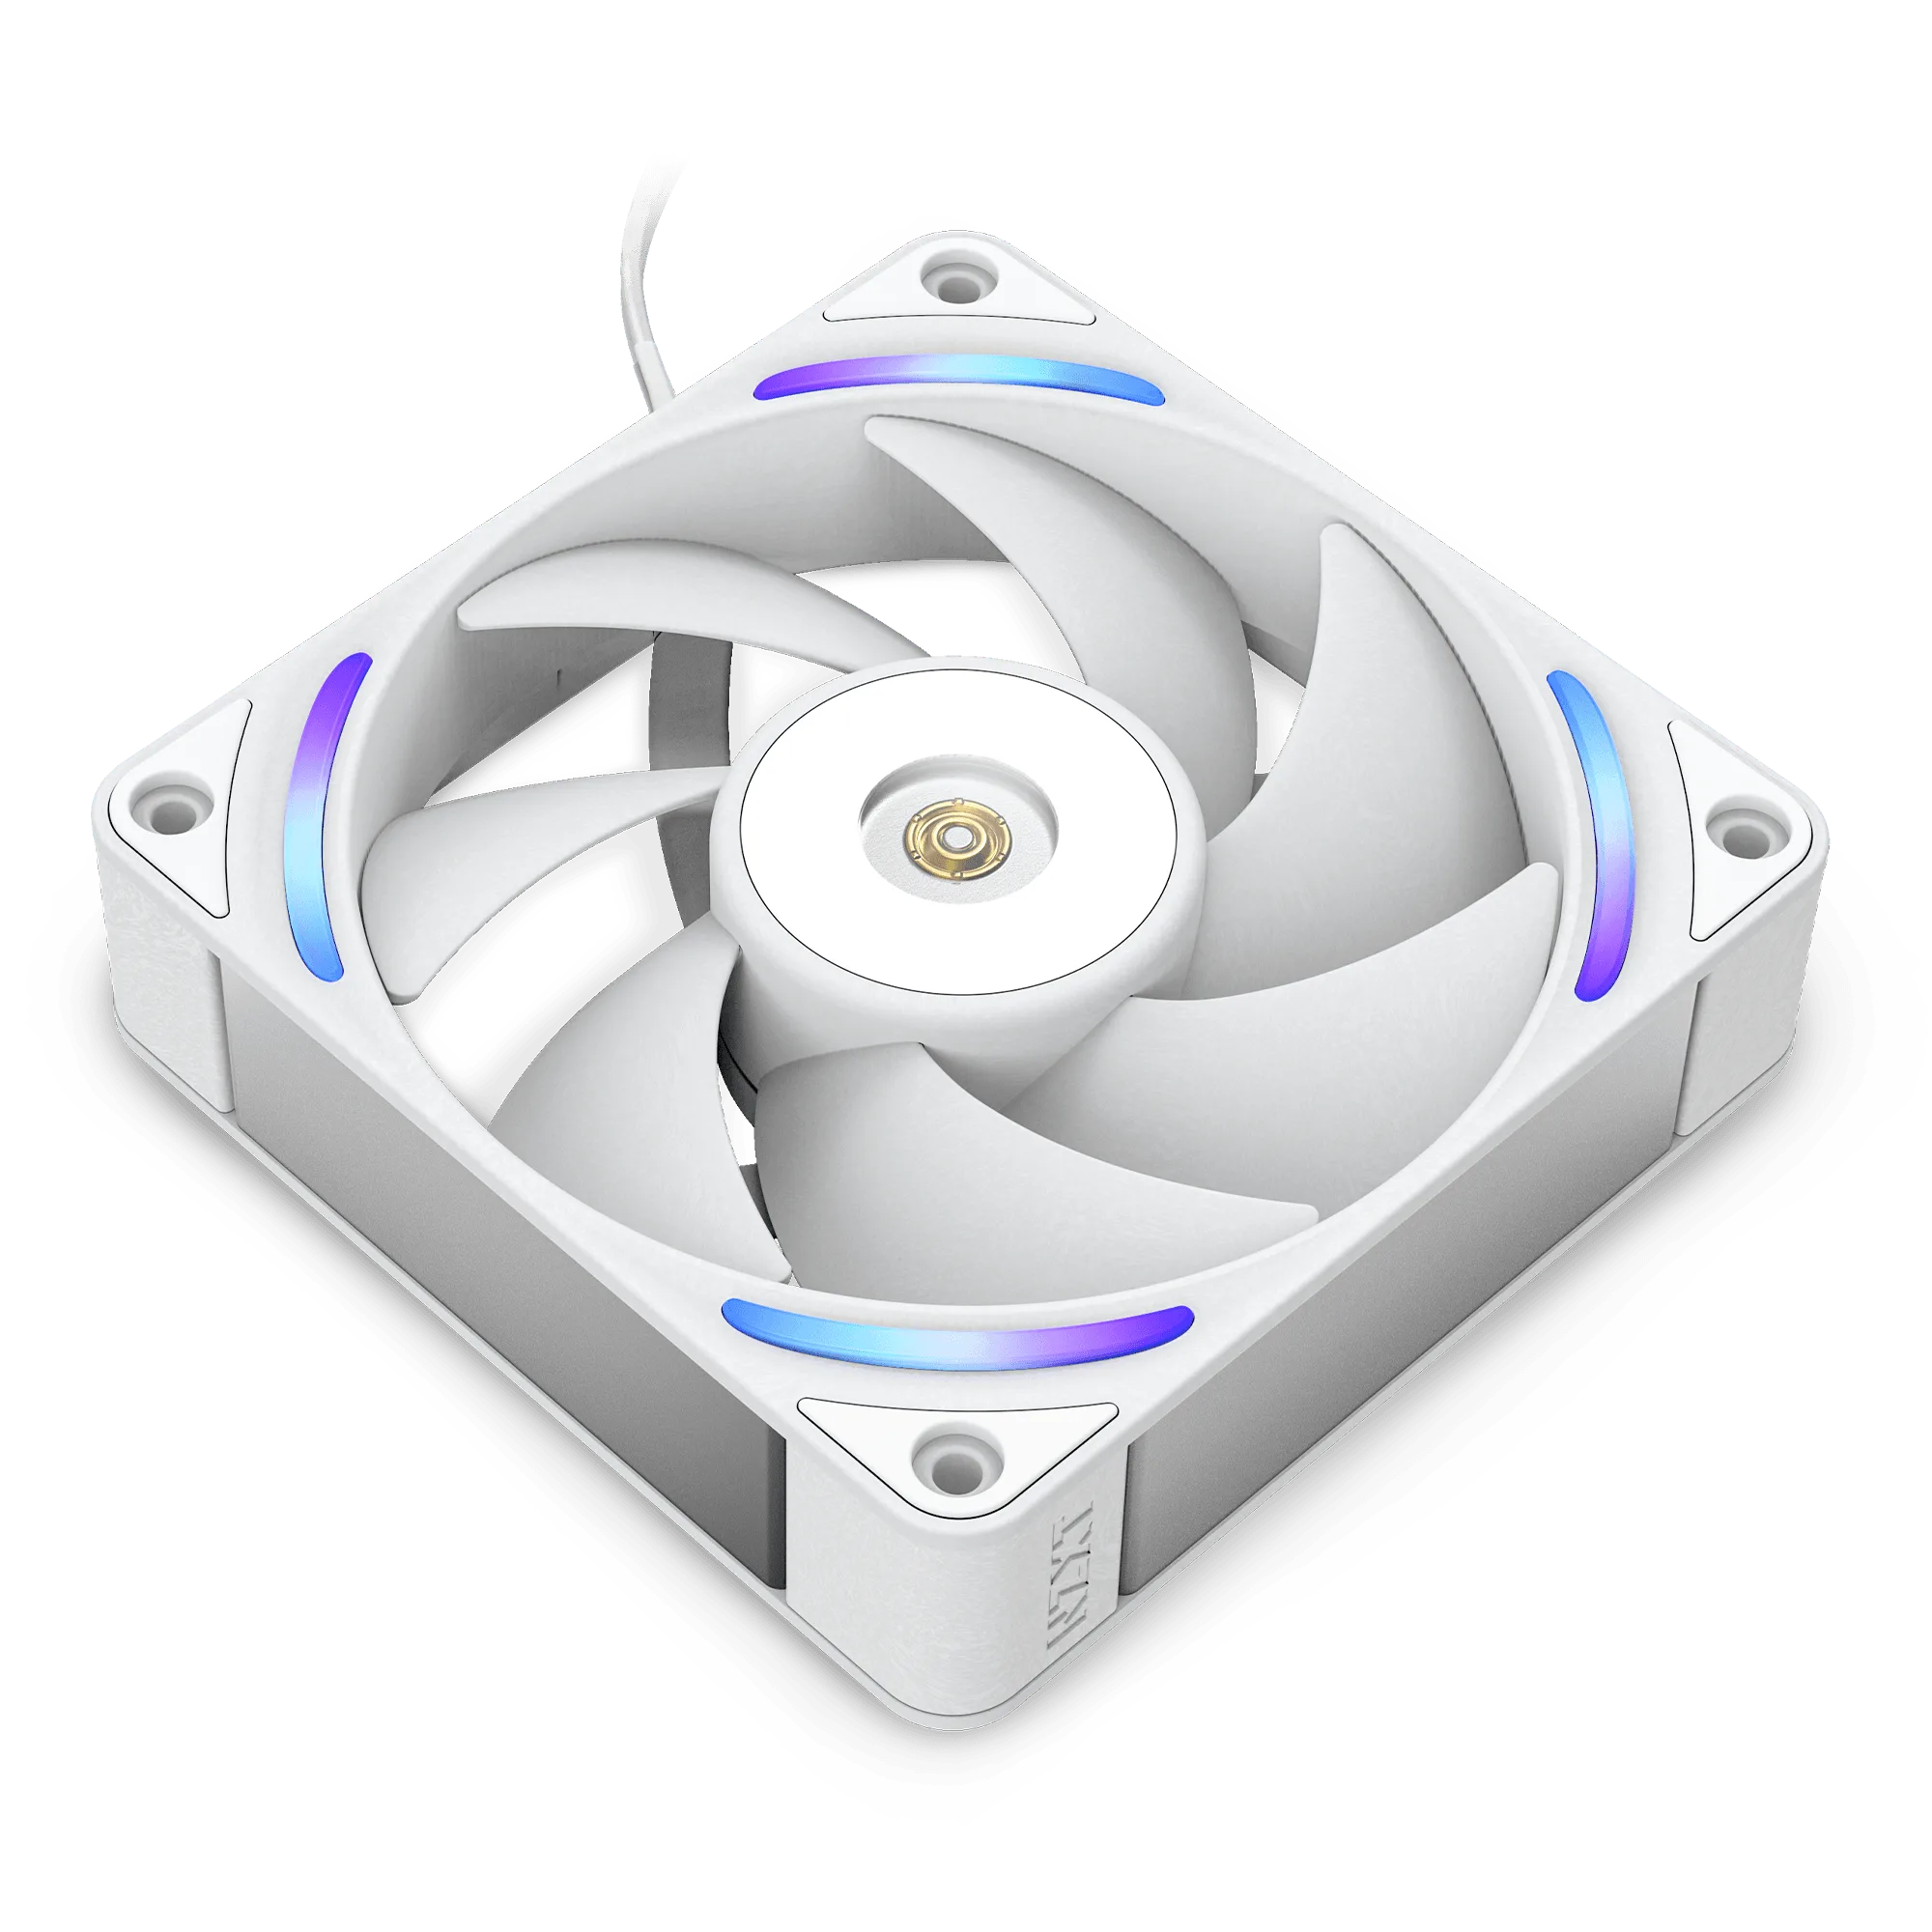
The H5 Flow RGB is a compact mid-tower with a perforated PSU shroud and ultra-fine mesh on the top and front, so airflow is already handled. Your job is the lighting side. NZXT F Series RGB Core fans use a single cable for both fan speed and lighting, which means one connection per fan instead of separate RGB and PWM cables.
You need an NZXT controller to drive lighting and speed. If your build does not already include one, plan for it before mounting anything. Check which fans came pre-installed and which you added, because each one needs its own controller port.
- Common mistake: assuming motherboard ARGB headers will control NZXT RGB Core fans. They are designed for an NZXT controller, so use one.
Step 1: Route fan cables to a central point
Before mounting or finalizing fan positions, run each fan cable toward one spot near the controller location. In the H5 Flow RGB, the PSU shroud area is a natural gathering point because it hides cable slack and keeps the main chamber clean. Leave a little slack at each fan so you can remove a fan later without cutting zip ties.
Keep lighting cables away from the GPU power connectors and the front radiator area if you plan liquid cooling. The H5 Flow RGB supports up to a 360 mm radiator in front and a 240 mm radiator up top, so cable routing should not block those mounting points.
- Checkpoint: with the side panel off, every fan cable should reach the controller without pulling tight.
Step 2: Connect fans to the NZXT controller
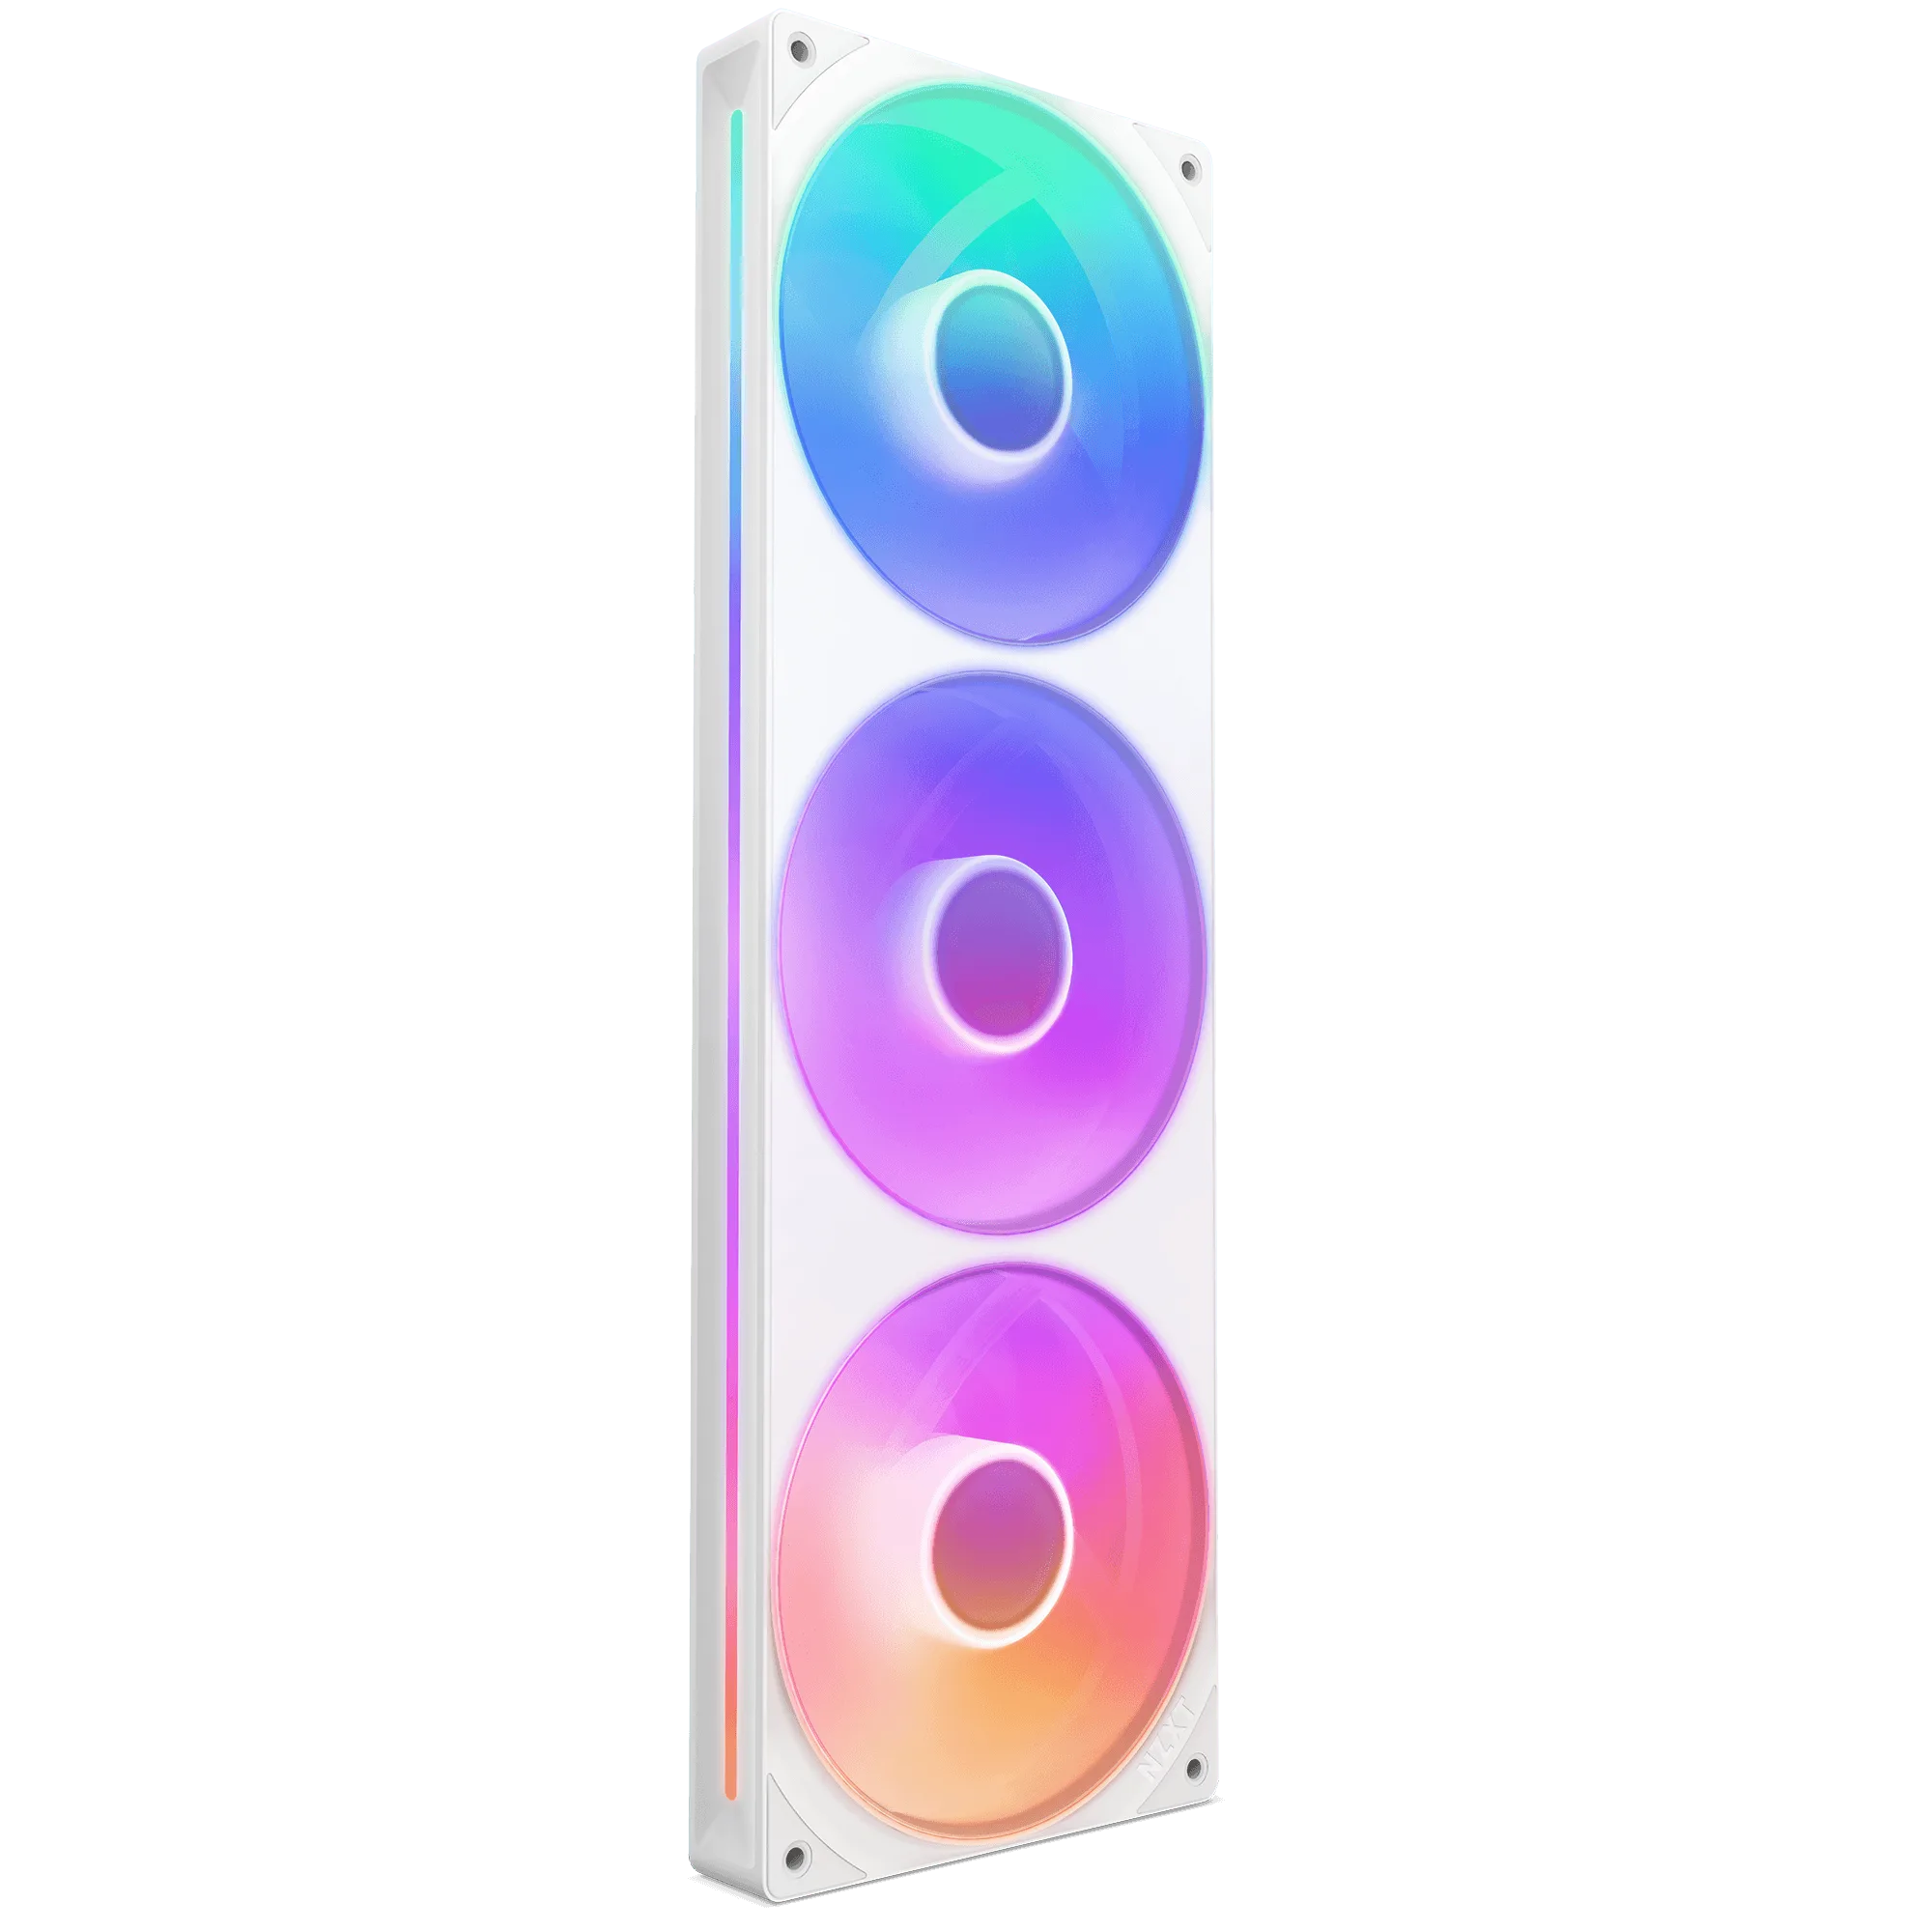
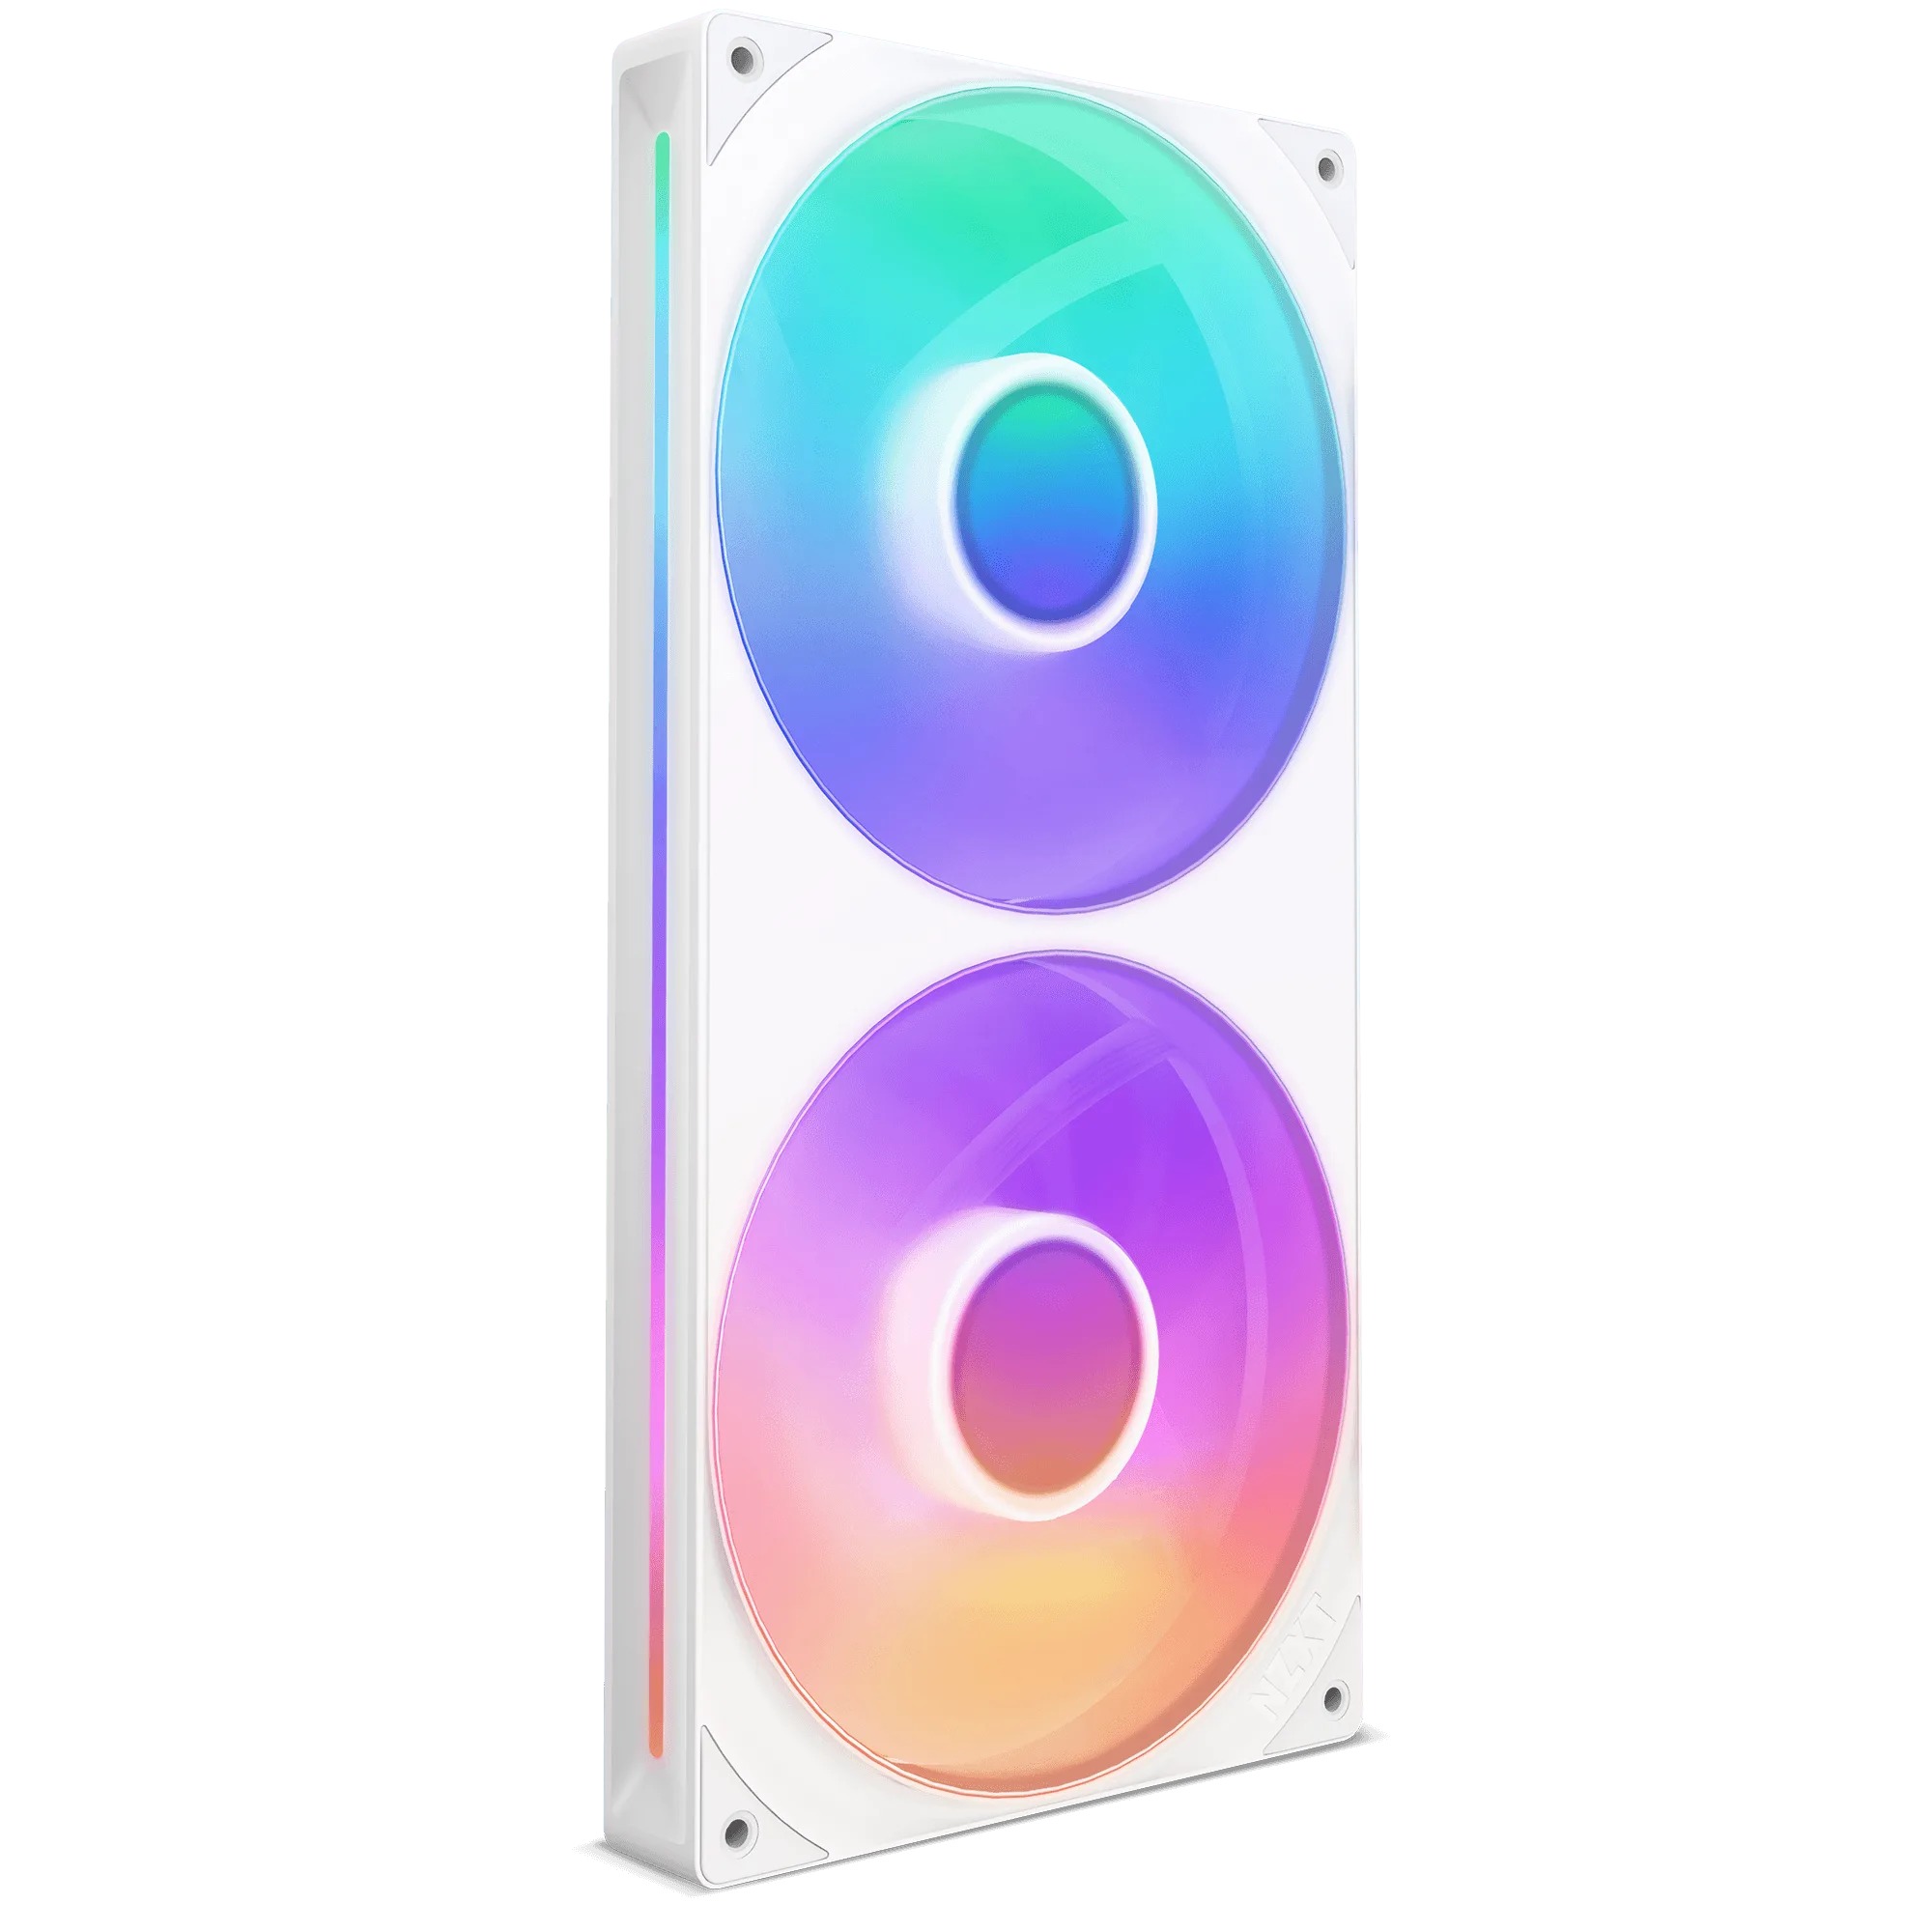
Plug each fan's single connector into the controller. The F Series RGB Core design integrates multiple fans into a single frame on some models, so a two-fan unit may use only one cable. That is expected, not a missing connection. Match each plug to a numbered port so you can identify it later in CAM.
Do not force a connector into the wrong port shape. If a plug does not seat easily, you are likely using the wrong header. Once all fans are connected, give each cable a gentle tug to confirm it is fully seated.
- Common mistake: leaving one fan unplugged because it looks like it shares a cable with its neighbor. Single-frame fans genuinely use one cable.
Step 3: Power and connect the controller
Connect the controller to SATA power from the power supply, then connect its USB cable to an available internal USB header on the motherboard. CAM communicates with the controller over USB, so lighting and fan curves will not appear without it. If your motherboard has limited USB headers, plan which device uses which header before you buy a splitter.
Route the USB cable behind the motherboard tray where possible. In a compact case, a cable crossing the main chamber can interfere with GPU airflow and make future upgrades harder.
- Checkpoint: power on with the side panel off and confirm the controller shows a light or is detected before you button everything up.
Step 4: Configure lighting in NZXT CAM
Install NZXT CAM, open it, and go to the lighting section. Your controller and its connected channels should appear automatically. If nothing shows, recheck the USB header and SATA power before troubleshooting software. Assign each channel to the correct fan position so effects travel in the direction you expect.
Start with a simple static color or a single-color breathing effect to verify every fan responds. Once you know each channel works, move to more complex effects. This order saves time because you are testing hardware, not chasing a lighting preset.
- Common mistake: building a complex multi-layer effect before confirming each channel responds individually.
Step 5: Set fan curves alongside lighting
Lighting and cooling share the same controller, so set fan curves while you are in CAM. A gentle curve keeps the H5 Flow RGB quiet at idle and ramps up under load. Because the case relies on mesh panels and a perforated shroud for intake, you can usually run lower speeds than a solid-front case would allow.
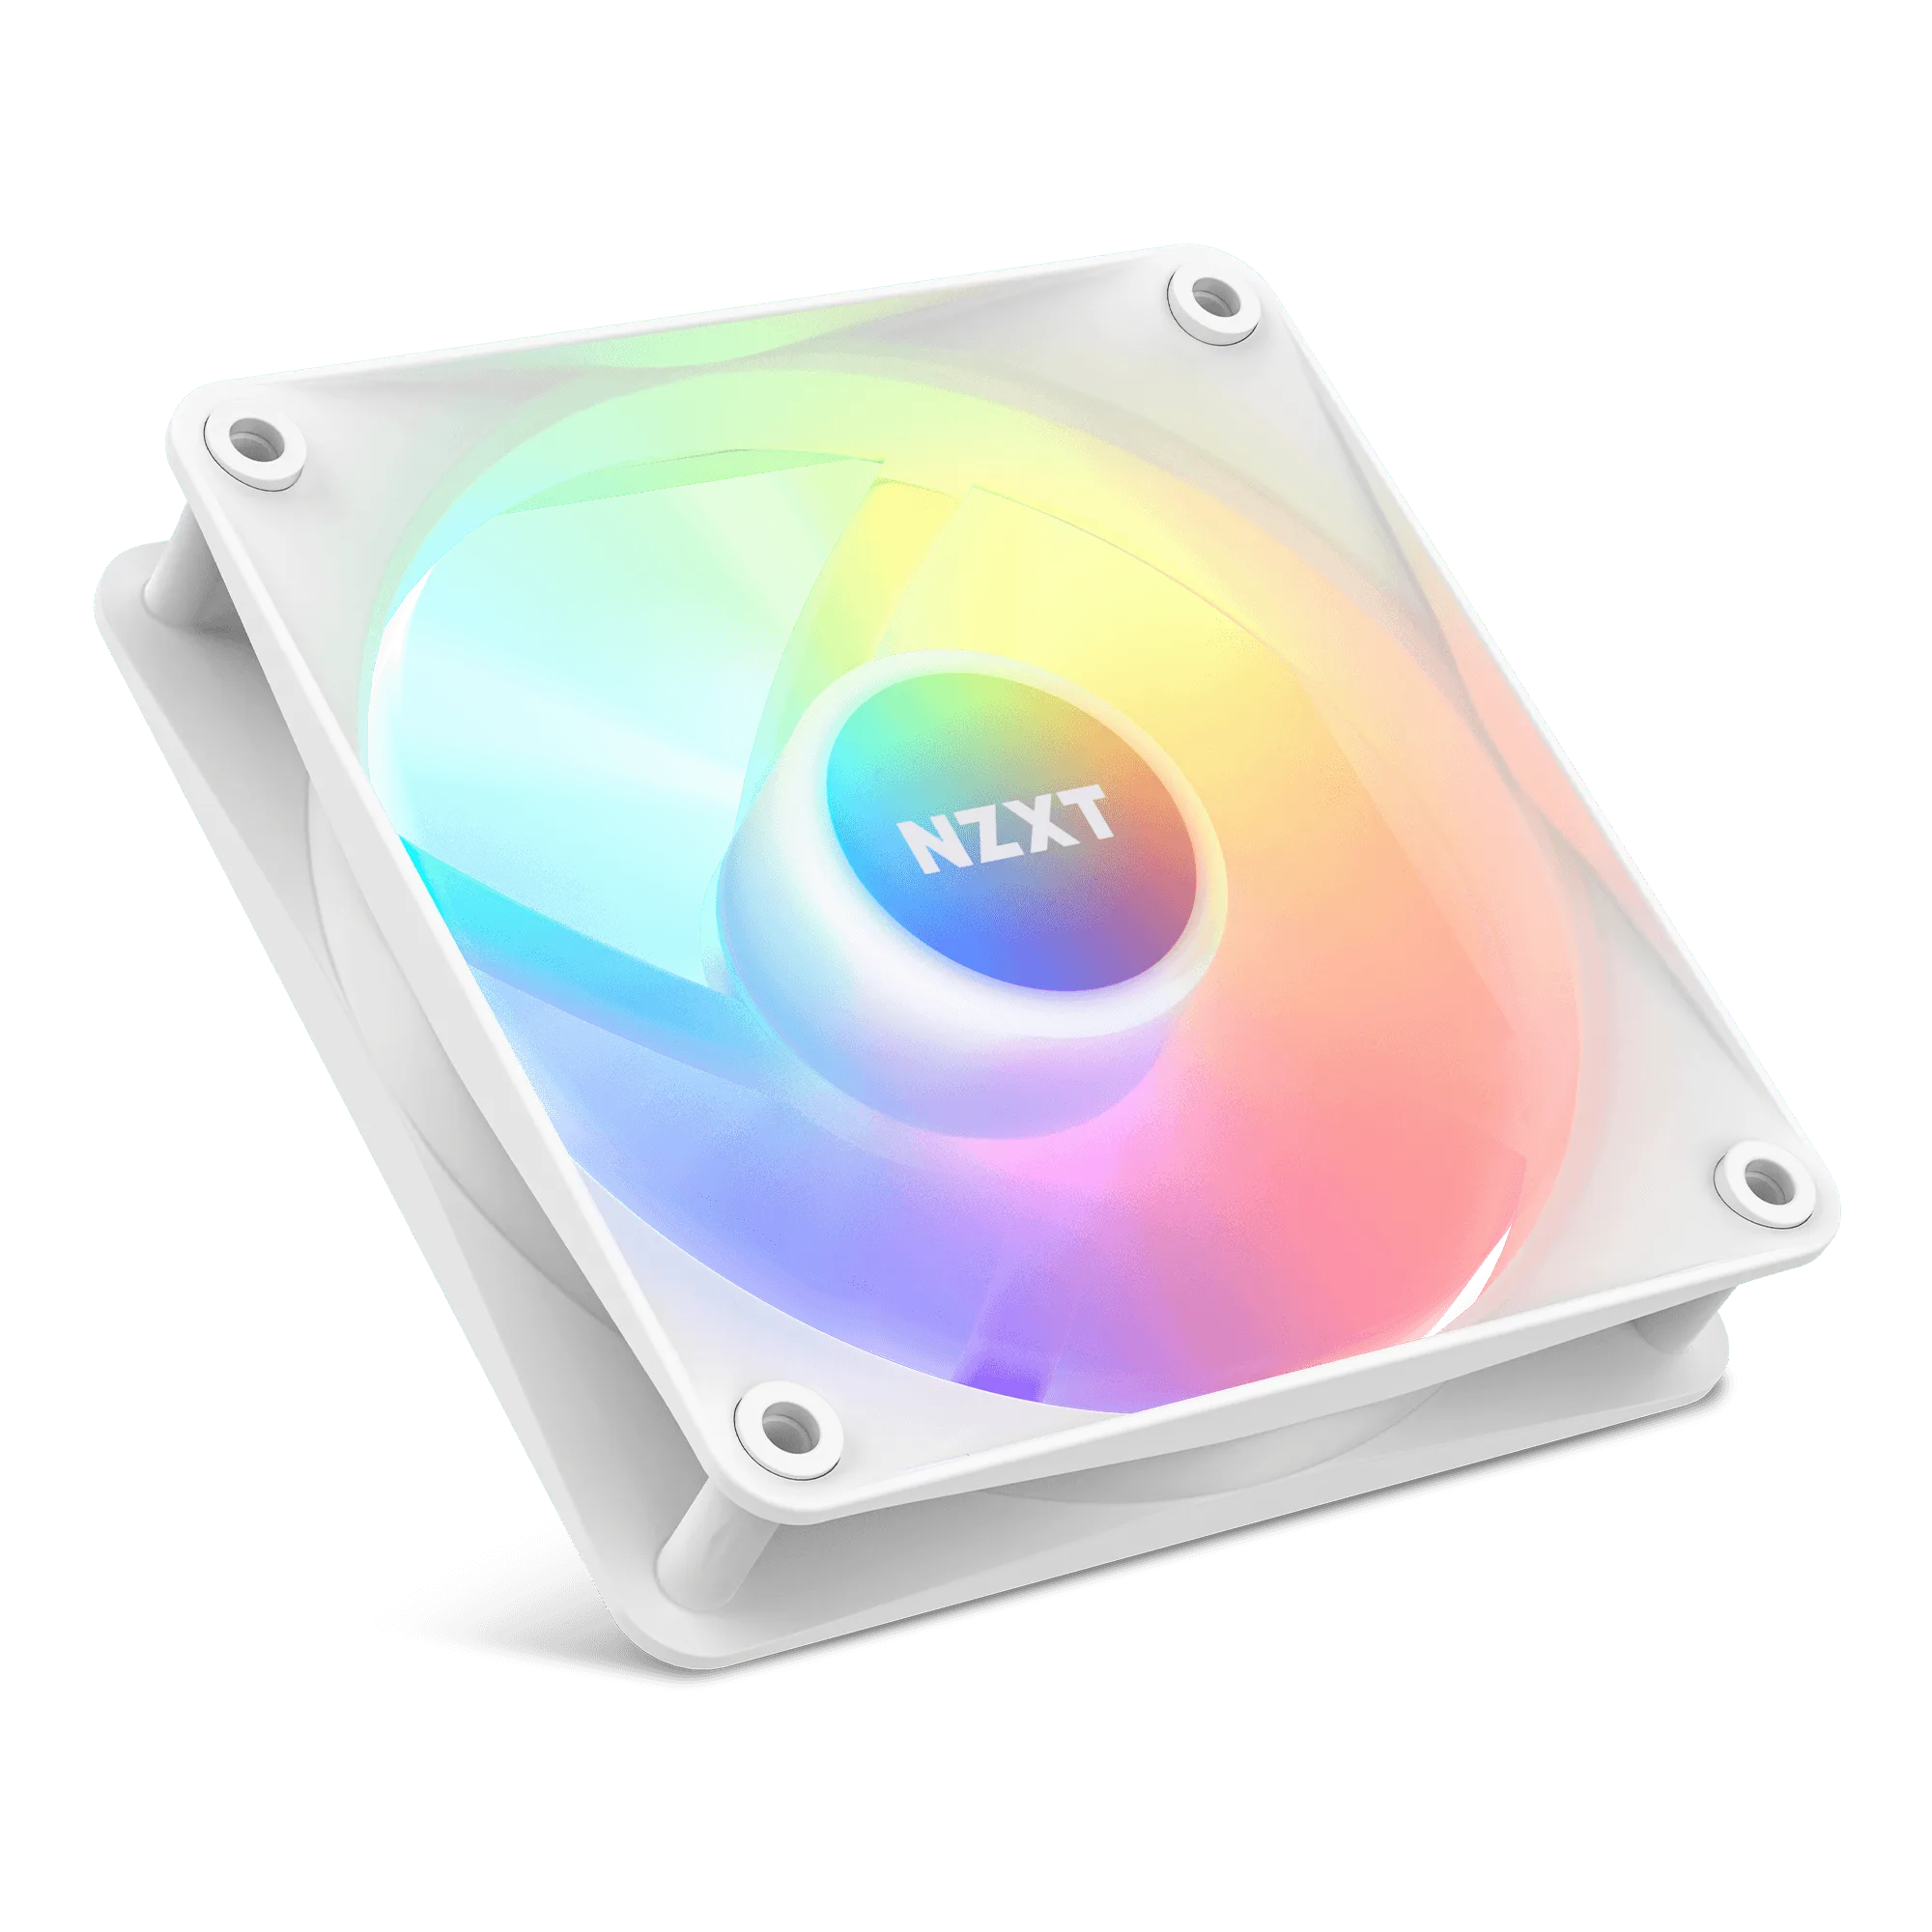
If you added F140 RGB Core or F280 RGB Core fans, they will appear on their own channels. Label them in CAM so a future adjustment does not require tracing cables again.
- Checkpoint: run a short load test and confirm fan speed changes match the curve you set.
Step 6: Close up and verify
Tidy cables with zip ties or velcro, reinstall the side panel, and boot into CAM one more time. Confirm lighting effects persist after a restart, since some settings only apply once the profile is saved. If an effect resets, check that CAM is set to launch at startup.
Take a photo of your controller port assignments before closing the case. It is the fastest reference if you add fans later or need to swap a fan under warranty.
- Common mistake: closing the case before saving the CAM profile, then assuming the lighting failed when it simply was not saved.
H5 Flow RGB lighting setup checklist
- Gather fans and controller: Confirm which fans are installed and that you have an NZXT controller with enough ports. No controller means no CAM lighting control.
- Route cables before mounting: Run each fan cable to one central point near the PSU shroud and leave slack at each fan. Check that every cable reaches without pulling tight.
- Connect fans to numbered ports: Seat each single connector fully and note which port each fan uses. Single-frame fans use one cable, so do not assume a missing plug.
- Power and USB the controller: Connect SATA power and an internal USB header, then boot with the side panel off. If CAM does not detect the controller, reseat the USB header first.
- Test one channel at a time in CAM: Apply a static color to each channel before building multi-layer effects. This separates hardware faults from software settings.
- Set fan curves and save the profile: Adjust cooling curves in the same CAM session, then save and enable launch at startup. Reboot once to confirm the lighting and curves persist.
NZXT products that fit this setup
- H5 Flow RGB: The PSU shroud is perforated on the side and bottom, enabling optimal air intake from two 120 mm fans (not included), and the case supports up to a 360 mm radiator in front and a 240 mm radiator up top. The perforated shroud gives you a clean place to route fan and controller cables while keeping intake airflow unobstructed, and the radiator support tells you where not to block cables.
- F140 RGB Core: Eight individually addressable LEDs mounted on the fan hub are diffused through semi-translucent blades, and the refined hub and blade design offers enhanced static pressure. Individually addressable LEDs mean each fan can show different colors in CAM, so label your channels correctly if you want per-fan effects.
- F280 RGB Core: Single-frame unit with integrated fans streamlines installation, setup, and lighting control, and connects with a single cable to an NZXT controller (sold separately). One cable per frame means fewer controller ports used, which matters in a compact case with limited routing space.
Setting up H5 Flow RGB lighting is mostly about clean cable routing and confirming each channel in CAM before you close the case. Do the hardware connections first, test one channel at a time, then save your profile. If you add F140 RGB Core or F280 RGB Core fans later, the same process applies.