Quick answer
Sharpen a fixed blade by matching the existing bevel angle, using light controlled strokes, and avoiding heat buildup. For most Toor Knives, a 15–20 degree per side angle works well. If you are unsure of the steel or angle, start with a fine ceramic or diamond hone and check progress often.
Match the angle to the blade, not a generic number
The single most important rule is to follow the factory bevel. Fixed blades from Toor Knives come with a specific edge geometry. Changing that angle aggressively removes metal and shortens blade life. Use a marker test: color the edge with a permanent marker, take one light stroke on your sharpener, and look at where the marker is removed. If the ink is gone only at the very edge, you are too steep. If it is gone across the whole bevel, you are too shallow. Adjust until you remove ink evenly across the bevel. A knife sharpening angle guide can help you hold a consistent angle, but the marker test is the ground truth for your specific knife.
Choose the right abrasive for the job
For a dull edge, start with a coarse diamond stone or a carbide sharpener, then refine with ceramic. For routine touch-ups, a fine ceramic hone or a pull-through sharpener with a ceramic stage is enough. If you are sharpening 1095 steel, which is common in many fixed blades, it responds well to diamond and ceramic but can rust if left wet. Dry the blade thoroughly after sharpening. Avoid using a belt sander or grinder unless you are experienced; the heat generated can ruin the temper of the steel, making the edge soft and useless. If you must use a powered sharpener, use very light pressure and dip the blade in water frequently.
Use light pressure and let the abrasive cut
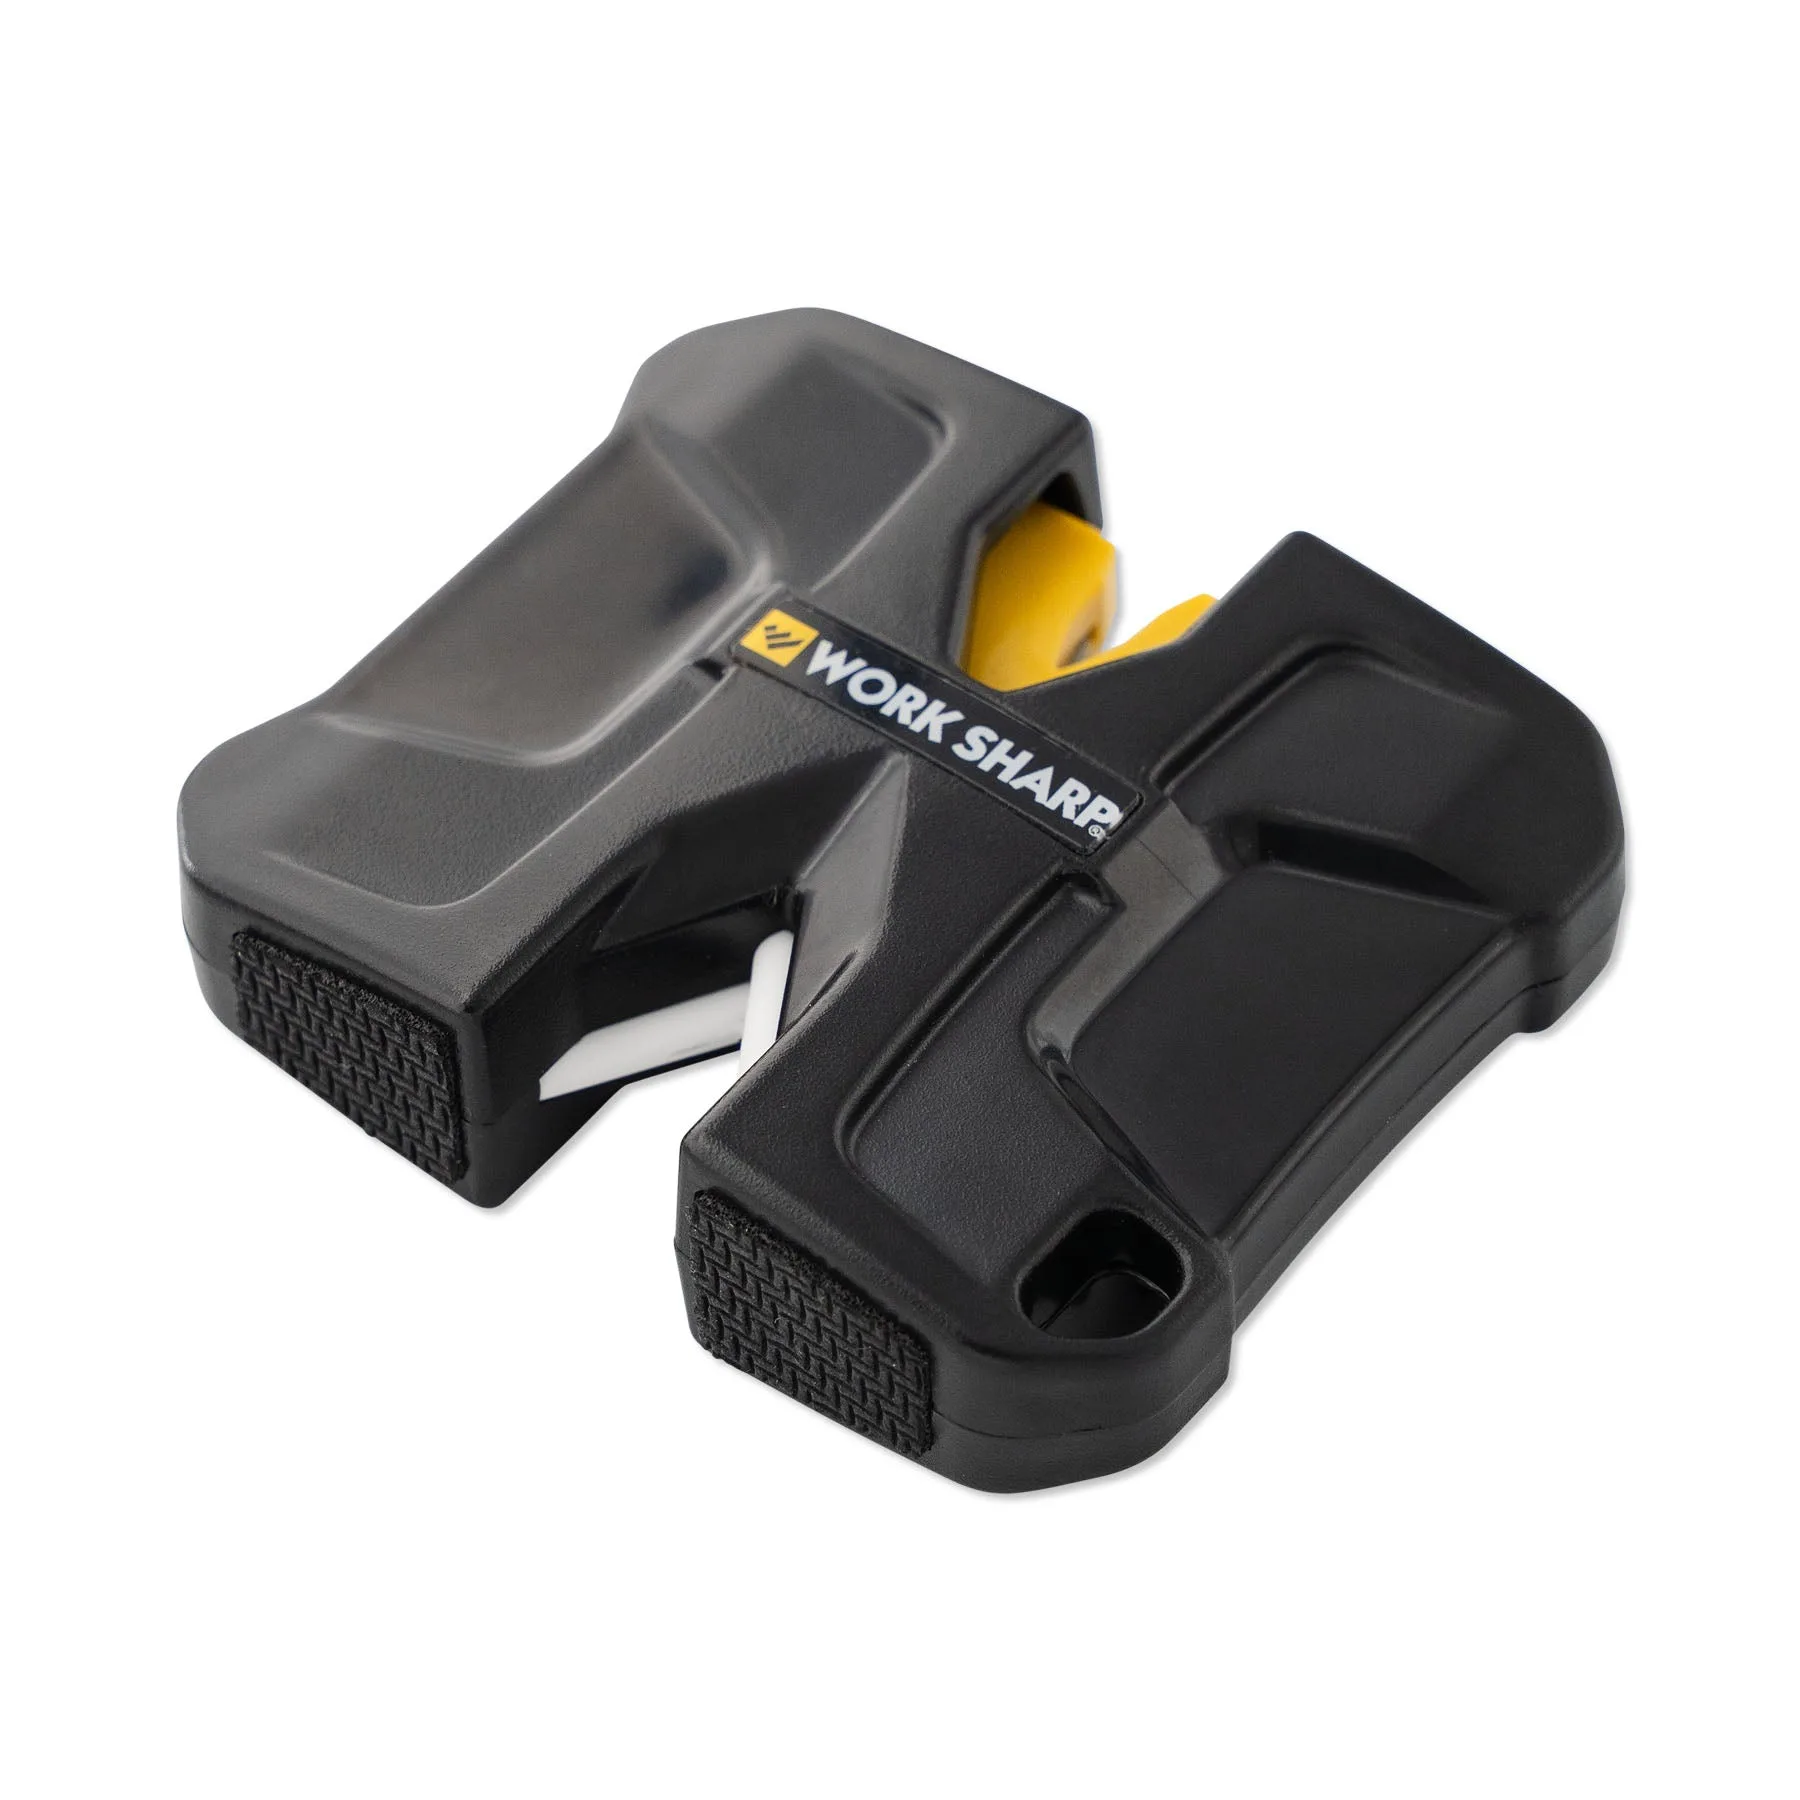
Heavy pressure does not sharpen faster; it creates a burr, rounds the edge, and can chip the apex. Let the abrasive do the work. Use consistent, sweeping strokes that cover the full length of the edge. Count your strokes and alternate sides to keep the bevel even. On a pull-through sharpener like the Work Sharp Pivot, simply place the knife in the slot and pull. Within a few strokes you can get your knife back to cutting with ease. The small diamond plate can touch up edge tools or damaged edges. For field sharpening, a few light passes on a ceramic rod or the Pivot’s ceramic hone will restore a working edge without removing much metal.
Remove the burr and test safely
After sharpening, a burr (a thin lip of metal) may remain along the edge. Remove it by making a few very light alternating strokes on a fine ceramic or stropping on leather. Test sharpness by slicing paper or shaving arm hair—not by running your thumb along the edge. A properly sharpened edge will bite into the paper smoothly. If it snags or slides, you either still have a burr or the angle is inconsistent. Repeat the marker test if needed.
For field sharpening technique, carry a small diamond or ceramic rod. Touch up the edge as soon as it starts to feel dull, rather than waiting until it is completely blunt. This saves time and preserves the blade. A few strokes at the same angle you used at home will keep you working.
Step-by-step sharpening process
- Secure the knife and clear your workspace: Clamp the blade or hold it firmly with the edge facing away from you. Work over a stable surface. Never sharpen toward your body. Checkpoint: The knife should not move when you apply light pressure.
- Find the existing bevel angle with a marker: Color the edge with a permanent marker. Take one light stroke on your sharpener. Inspect where the ink is removed. Adjust your angle until the ink is removed evenly across the bevel. Checkpoint: If only the very edge loses ink, you are too steep. If the whole bevel loses ink, you are too shallow.
- Start with the coarsest abrasive you need: For a dull edge, begin with a coarse diamond or carbide stage. Use light pressure and full-length strokes. Count strokes and alternate sides. For routine maintenance, skip to a fine ceramic. Mistake to avoid: Pressing hard. Let the abrasive cut; heavy pressure creates a burr and can chip the edge.
- Refine on a finer abrasive: Move to a fine ceramic or a few light strokes on a ceramic hone. This polishes the edge and reduces the burr. Keep the same angle. Checkpoint: The edge should feel sticky or grabby when you lightly draw a fingertip across it (not along it).
- Remove the burr: Make a few very light alternating strokes on a fine ceramic or strop on leather. This removes the thin metal lip that can make the knife feel sharp but perform poorly. Mistake to avoid: Over-stropping on leather can round the apex. Use light pressure and only a few passes.
- Test and clean: Slice paper or shave a small patch of hair to test. Wipe the blade dry and apply a thin coat of oil if the steel is not stainless. Store the knife in its sheath. Checkpoint: If the knife snags or slides on paper, repeat the marker test and refine your angle.
Tools that help
- Work Sharp Pivot™ Knife Sharpener: The Work Sharp Pivot Knife Sharpener uses a Convex-Carbide sharpening stage and fine ceramic hone. Simply place your knife in the slot and pull. Within a few strokes you can get your knife back to cutting with ease. Small diamond plate can touch up edge tools or damaged edges. This is a fast, affordable option for field touch-ups or kitchen use. The ceramic hone helps remove the burr without removing much steel, and the diamond plate can handle small chips.