Quick Answer
To solve a 3D wooden chess puzzle, start by sorting the pieces, then build the base and frame, assemble the board surface, add the chess pieces, and finish with a stability check.
Why Assembly Order Matters
The order in which you assemble a 3D wooden chess puzzle affects both the ease of construction and the final stability. Starting with the base and frame ensures that the board surface has a solid foundation, preventing misalignment later.
Rushing to place the chess pieces before the board is stable can lead to pieces not fitting snugly. Taking time to dry-fit each section before applying adhesive (if needed) helps avoid mistakes.
Common Challenges and How to Avoid Them
One common issue is confusing similar-looking pieces, especially the chess pieces themselves. Sorting by shape and size at the beginning saves time and reduces frustration.
Another challenge is forcing pieces together. Wooden puzzles are precision-cut, but if a piece doesn't fit, it's likely in the wrong spot. Gently test alternative orientations before applying pressure.
Step-by-Step Assembly Guide
- Sort and Organize: Lay out all pieces on a flat surface. Group them by shape and size, referring to the instruction manual. This helps you identify which pieces belong to the base, frame, board, and chess pieces. Checkpoint: Ensure you have all pieces before starting.
- Build the Base and Frame: Assemble the bottom layer and side frames first. Fit the frame pieces together without glue initially to test the fit. Once aligned, apply wood glue if your kit includes it, and press firmly. Checkpoint: Verify the frame is square and level before moving on.
- Assemble the Board Surface: Place the board tiles or grid pieces onto the frame. Work from one corner outward, pressing each piece into place. Use a rubber mallet or your palm to gently tap pieces that are slightly tight. Checkpoint: Ensure the board surface is flat and without gaps.
- Add the Chess Pieces: Assemble each chess piece according to the manual. Start with the pawns, then move to the larger pieces. Use a small amount of glue for the pieces if desired, but avoid over-gluing to prevent mess. Checkpoint: Let glue dry completely before handling the pieces.
- Final Check and Finishing: Once assembled, inspect the entire puzzle for any loose parts. Sand any rough edges with fine-grit sandpaper if needed. Apply a wood finish or polish to enhance the natural beauty and protect the surface. Checkpoint: Test the stability by gently shaking the board; pieces should not wobble.
Product Spotlight
-
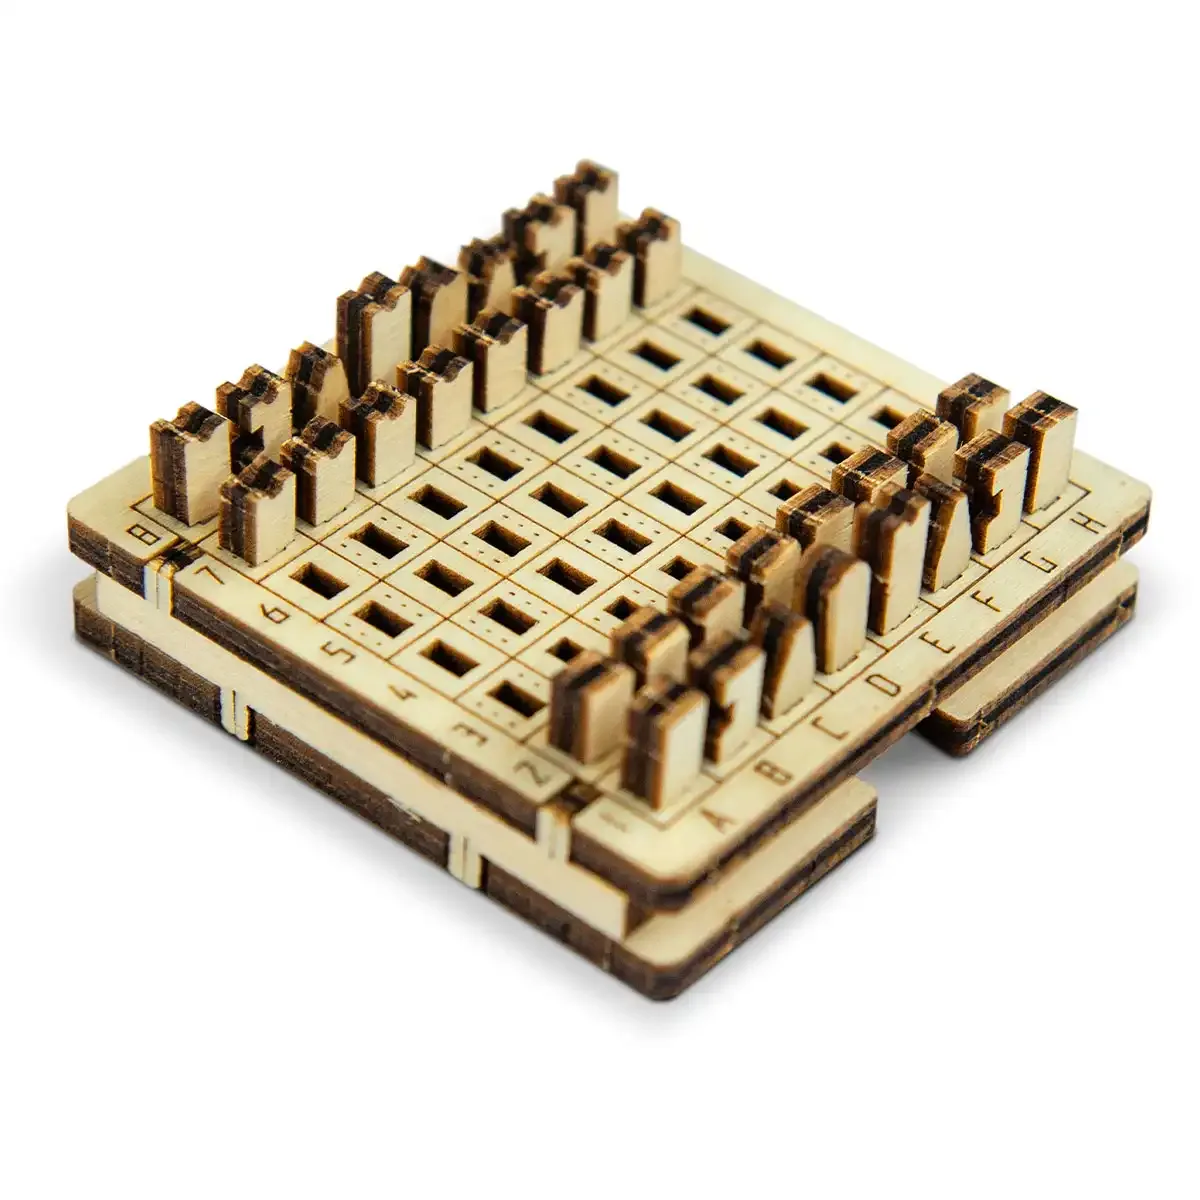
3D Wooden Game Puzzle – Chess: This 3D wooden chess puzzle is a classic game reimagined with European craftsmanship and elegance. The precision-cut pieces are designed to fit together smoothly, making the assembly process enjoyable and the finished piece a display-worthy centerpiece.
3D Wooden Game Puzzle – Chess