Quick Answer
To solve the Rubik's 3×3 Keychain, follow the beginner's layer-by-layer method: solve the white cross, white corners, middle layer edges, yellow cross, yellow corners, and final edge permutation. Practice each step slowly and use the keychain's portability to squeeze in short practice sessions.
Why the Keychain Version Changes Your Approach
The Rubik's 3×3 Keychain is a fully functional mini cube, but its small size and keychain attachment can make it feel different from a full-size cube. The stickers are smaller and the mechanism is tighter, so precise finger movements matter more. Don't expect to speed-solve on this tiny cube—it's built for portability and casual solving, not record-breaking times.
Because it's so compact, you can practice anywhere: on a commute, during a break, or while waiting in line. That convenience is a big advantage for learning, as consistent short practice sessions build muscle memory faster than long, infrequent ones.
Step-by-Step Solving Method
- Solve the White Cross: Start by forming a white cross on the top face, ensuring each white edge piece also matches the center color of the adjacent side. Move the edge pieces into place using F, U, R, U', R', F' sequences as needed. Check that each white edge aligns with the side center before moving on; a common mistake is creating a cross that doesn't match side colors.
- Complete the White Corners: Position the white corner pieces in the top layer. Use the algorithm R U R' U' (repeated as needed) to insert each corner correctly without disturbing the solved cross. Hold the cube so the white face is on top and the corner you're solving is in the front-right position; this keeps the algorithm consistent.
- Solve the Middle Layer Edges: Turn the cube so the white face is on the bottom. Find an edge piece in the top layer that doesn't have yellow, and align it with the matching center. Use U R U' R' U' F' U F (or its mirror) to move it into the middle layer. If a middle-layer edge is already in place but flipped, insert a different edge first to pop it out, then reinsert it correctly.
- Create the Yellow Cross: With the yellow face on top, apply F R U R' U' F' repeatedly until you see a yellow cross. You may need to do this 1-3 times depending on the starting pattern. Don't worry if the yellow edges aren't aligned with side centers yet; that's fixed in the next step.
- Position the Yellow Corners: Use the algorithm U R U' L' U R' U' L to swap the yellow corners into the correct positions (not necessarily oriented). Repeat until all corners are in the right spot, then use R U R' U' to orient them. When orienting corners, keep the yellow face on top and rotate the top layer to bring each unsolved corner to the front-right; the cube may look scrambled temporarily, but it will resolve.
- Permute the Final Edges: With all corners oriented, use the edge-permutation algorithm F2 U L R' F2 L' R U F2 (or similar) to cycle the yellow edges into place. Repeat as needed until the cube is solved. If the cube is solved except for a single edge flip, that indicates a previous step was done incorrectly; go back and check the middle layer edges.
The Cube That Fits in Your Pocket
-
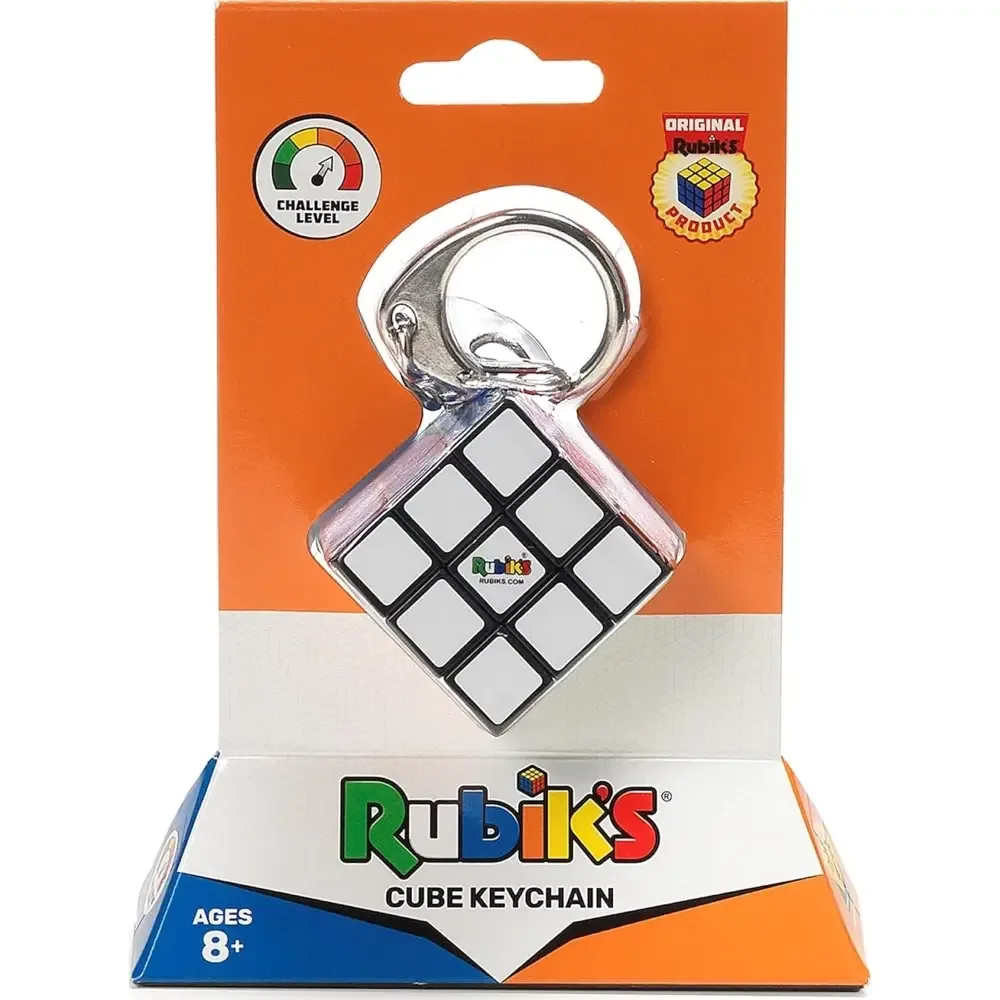
Rubiks 3×3 Keychain: The Rubik's 3×3 Keychain is an iconic keychain-sized travel toy that combines math, art, and science to stimulate your brain and challenge problem-solving. Its travel-friendly size means you can practice the solving method anywhere, turning idle moments into productive learning time.
Rubiks 3×3 Keychain