Quick answer
Stitch a bougie French bulldog needlepoint canvas from the face outward: start with the eyes, nose, and mouth, then fill the ears, head, and body, and save the background for last. Work in small, same-direction basketweave or tent stitches, check your mesh count before threading your needle, and keep your tension even so the dog's features stay crisp. This order protects the most important details and makes the canvas easier to finish.
A French bulldog canvas is mostly face, which means every stitch you place around the eyes and nose shows. Stitching a dog canvas is less about speed and more about order: if you fill the body first, you risk distorting the head and losing the expression that made you buy the canvas. The steps below walk through a bougie French bulldog needlepoint canvas from prep to finish, with checkpoints so you can catch problems before they set.
The process works for any hand-painted dog portrait needlepoint, whether you are stitching an 18 mesh canvas with fine detail or a 13 mesh canvas with larger areas. You will need your canvas, thread, a needle that fits the mesh, scissors, and a frame or stretcher bars. If you are new to animal canvases, read the mesh count first, then choose your stitch order.
Check the mesh and gather your supplies
Before you thread a needle, confirm the mesh count printed on or with your canvas. A 13 mesh canvas has larger holes and works well with thicker threads and faster coverage, while an 18 mesh canvas has smaller holes and holds finer facial detail. Use a needle sized to the mesh so it passes through without forcing the threads apart. If the mesh is not marked, count the threads per inch along one edge and write it down. This one check prevents the most common beginner mistake: buying thread that is too thick or too thin for the canvas.
Set up your frame or stretcher bars so the canvas is taut but not drum-tight. Roll or clip excess canvas out of the way so your thread does not catch on it. Sort your thread colors by area: face, ears, body, and background. For a dog portrait, pull the eye, nose, and mouth colors first because those stitches come first. Keep a small snip of each color on a thread card so you can match dye lots later if you run short.
- Checkpoint: the needle should glide through the hole with light pressure, not a shove.
- If the canvas is hand-painted, expect slight variations in the painted lines; stitch to the paint, not over it.
Plan your stitch order before the first stitch
The reliable order for a dog portrait is: eyes, nose, mouth, then ears, head, body, and background last. Starting with the face locks in the expression while the canvas is still flat and easy to reach. Background last also means you can adjust the outer edge without unpicking facial stitches. If your canvas has a border or a charm attachment area, leave that for the very end so it does not get covered or crushed.
Mark your plan on a sticky note rather than the canvas. Write the order and the thread color for each area. This is especially useful on an 18 mesh canvas where a single misplaced stitch in the eye area is hard to remove without disturbing neighbors. If you are stitching an animal needlepoint canvas for the first time, keep the first session short and stop after the eyes so you can check the expression with fresh eyes.
- Common mistake: starting with the largest area because it feels productive. It makes the face harder to reach and can distort the head.
- Checkpoint: step back and look at the canvas from arm's length after the eyes are done.
Stitch the eyes, nose, and mouth first
Begin with the eyes. Use a single strand if your thread is thick, and work small tent or basketweave stitches that follow the painted shape. Keep the stitches tight together so the eye reads as a solid dark shape, but do not pull so hard that the canvas puckers. For the nose, fill from the top down in rows, following the painted curve. The mouth is usually a thin line; stitch it with a single row of tent stitches and resist the urge to double it, which makes the line look heavy.
This is the stage where tension matters most. If your eye stitches look uneven, stop and re-stitch that small area before moving on. A dog portrait needlepoint lives or dies on the face, and fixing three stitches now is faster than unpicking a filled head later. When the face is done, run your finger over the back to check for knots or loose tails that could show through.
- Checkpoint: the eyes should look level and the nose symmetrical before you fill the head.
- If you are left-handed, work the same order but mirror your starting corner so your thread path stays comfortable.
Fill the ears, head, and body in sections
Once the face is set, fill the ears and head in one direction, then the body. Working in sections keeps your thread from crossing long distances and reduces tangles. Use basketweave for larger areas because it keeps the canvas from warping, and switch to tent stitches for narrow shapes like ear edges or paws. Match the direction of your stitches across sections so the finished surface reflects light evenly; a sudden change in direction reads as a seam.
If your canvas has multiple colors in the body, stitch one color at a time and carry the thread only short distances. Long carries show through light-colored areas and can be seen from the front on 18 mesh. For a 13 mesh canvas with bigger color blocks, you can carry a bit further, but still keep it under an inch. Check the back of your work every few minutes; a clean back is the easiest way to keep the front smooth.
- Common mistake: switching stitch direction mid-area, which creates a visible line.
- Checkpoint: lay the canvas flat and look across it at a low angle to spot ridges or gaps.
Stitch the background and finish the edges
Save the background for last so you can stitch right up to the dog's outline without crowding it. Choose a background stitch that contrasts with the dog's texture: if the fur is basketweave, a tent or a simple decorative stitch can make the dog pop. Keep the background tension slightly looser than the face so the canvas stays flat. When the background is done, trim thread tails on the back and block the canvas if it has warped.
Finishing depends on your plan. If the canvas will become a pillow or framed piece, block it square and let it dry completely before assembly. If it is a bag charm or ornament, trim and mount it according to your finishing method. Do not cut the canvas until you have checked the edges twice; hand-painted canvases can have a narrow margin, and a wrong cut cannot be undone. Once finished, store it flat and away from damp.
- Checkpoint: the canvas should lie flat on the table with no rocking before you finish it.
- If you used a frame, remove the canvas gently and press it flat under a light weight overnight.
Step-by-step stitch order for a French bulldog canvas
- Step 1: Check mesh and thread: Confirm 13 or 18 mesh, pick a needle that passes easily, and sort thread by face, ears, body, and background. Checkpoint: if the needle forces the mesh open, size down before you start.
- Step 2: Mount the canvas: Put the canvas on stretcher bars or a frame so it is taut but not drum-tight, and roll excess canvas out of the way. Common mistake: over-tightening, which warps the canvas and distorts the face.
- Step 3: Stitch eyes, nose, and mouth: Work the smallest facial details first in tent or basketweave, keeping stitches tight and even. Checkpoint: view from arm's length; the expression should already read clearly.
- Step 4: Fill ears and head: Work outward from the face in one consistent stitch direction, using basketweave for larger areas. Common mistake: changing direction mid-area, which creates a visible seam.
- Step 5: Fill the body: Continue in sections, carrying thread only short distances and checking the back for loose tails. Checkpoint: the front should look smooth with no ridges when viewed at a low angle.
- Step 6: Stitch the background: Fill around the dog last with a slightly looser tension, choosing a stitch that contrasts with the fur. Common mistake: crowding the dog's outline; leave a clean edge.
- Step 7: Finish and block: Trim tails, block the canvas flat if needed, and only then cut or mount it for its final use. Checkpoint: the canvas lies flat with no rocking before you cut.
Canvases that fit this project
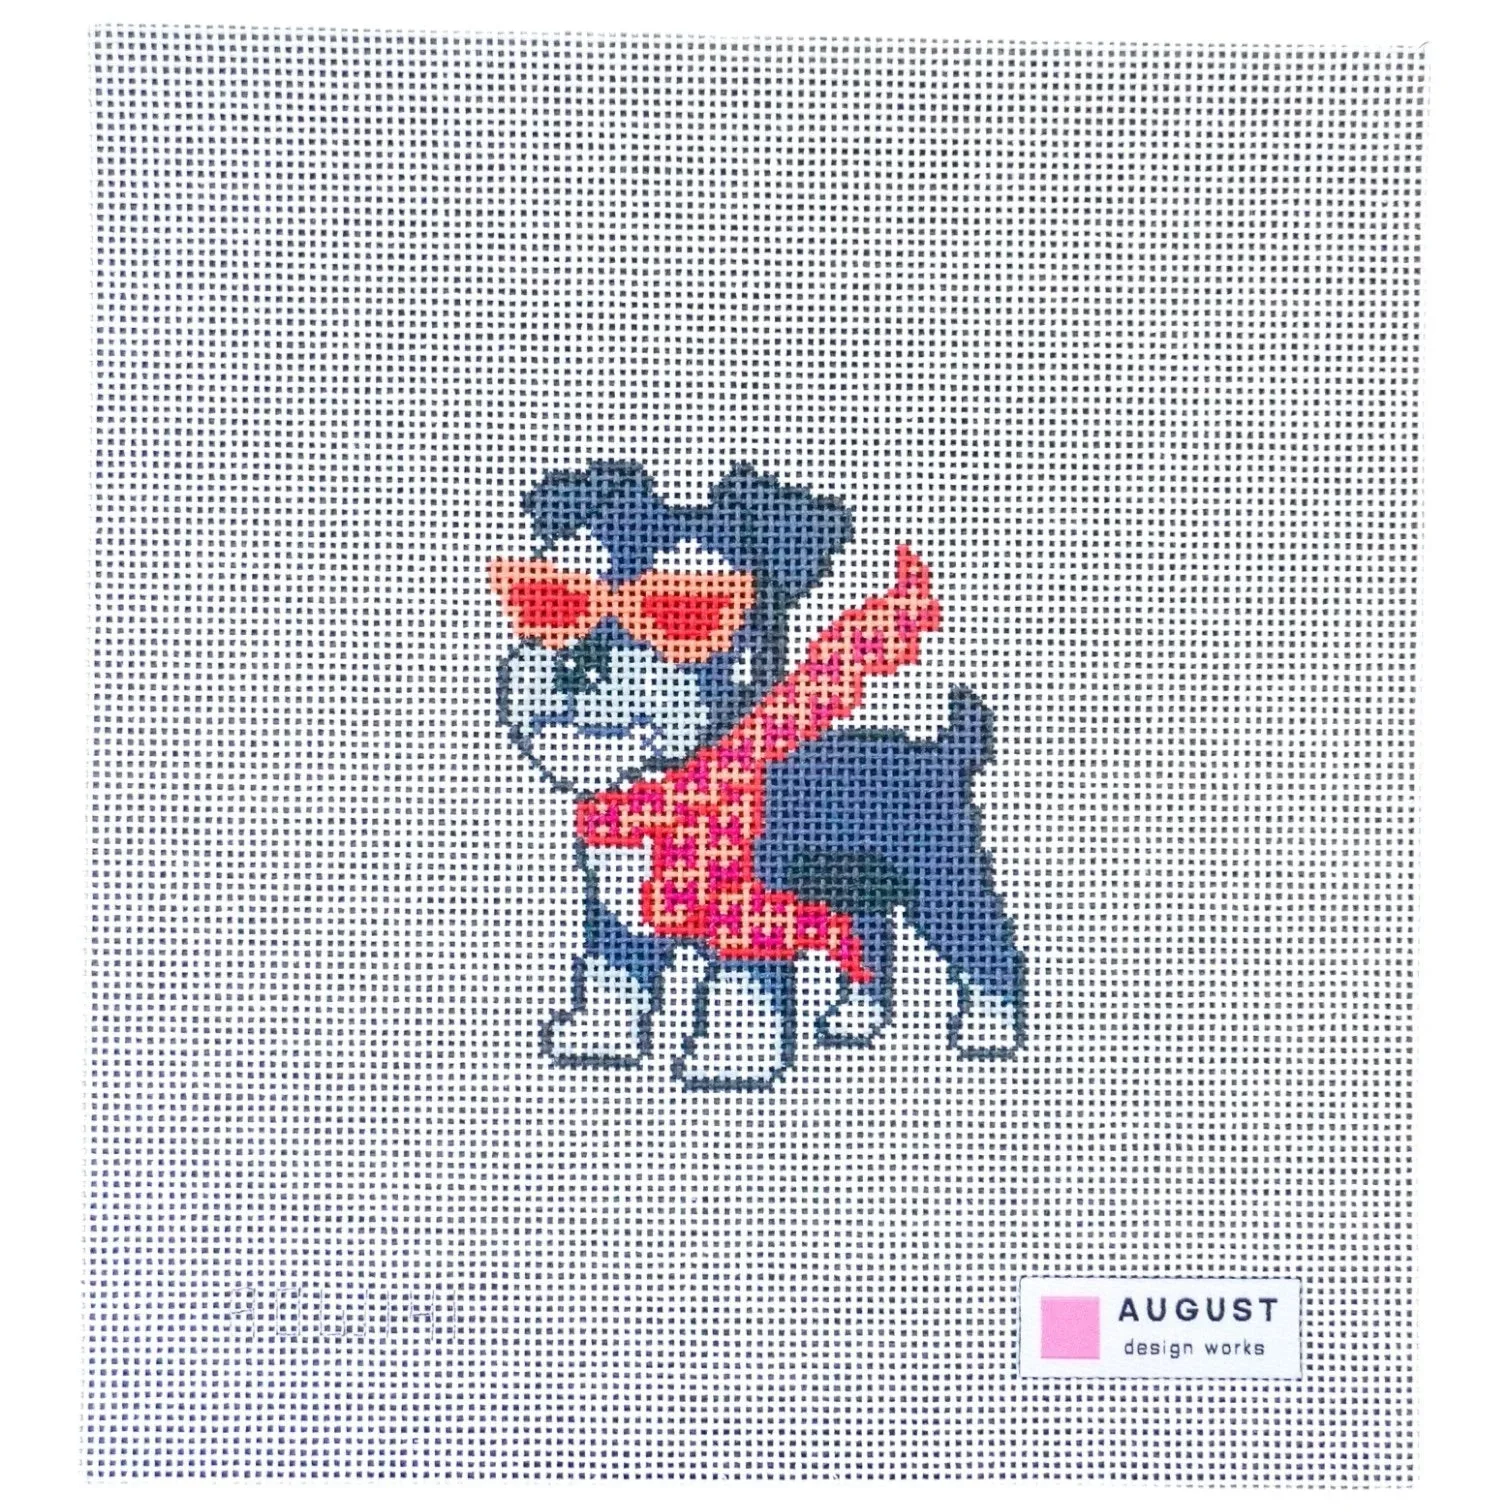
- Bougie Schnauzer - Needlepoint Canvas (Wholesale): 7 × 6.75 canvas size, 3 x 2.75 design size, 18 mesh, hand-painted and may vary, canvases do not come with thread. A small 18 mesh dog canvas like this is a good warm-up for a French bulldog portrait because the fine mesh trains you to place facial stitches precisely, and you will need to buy thread separately.
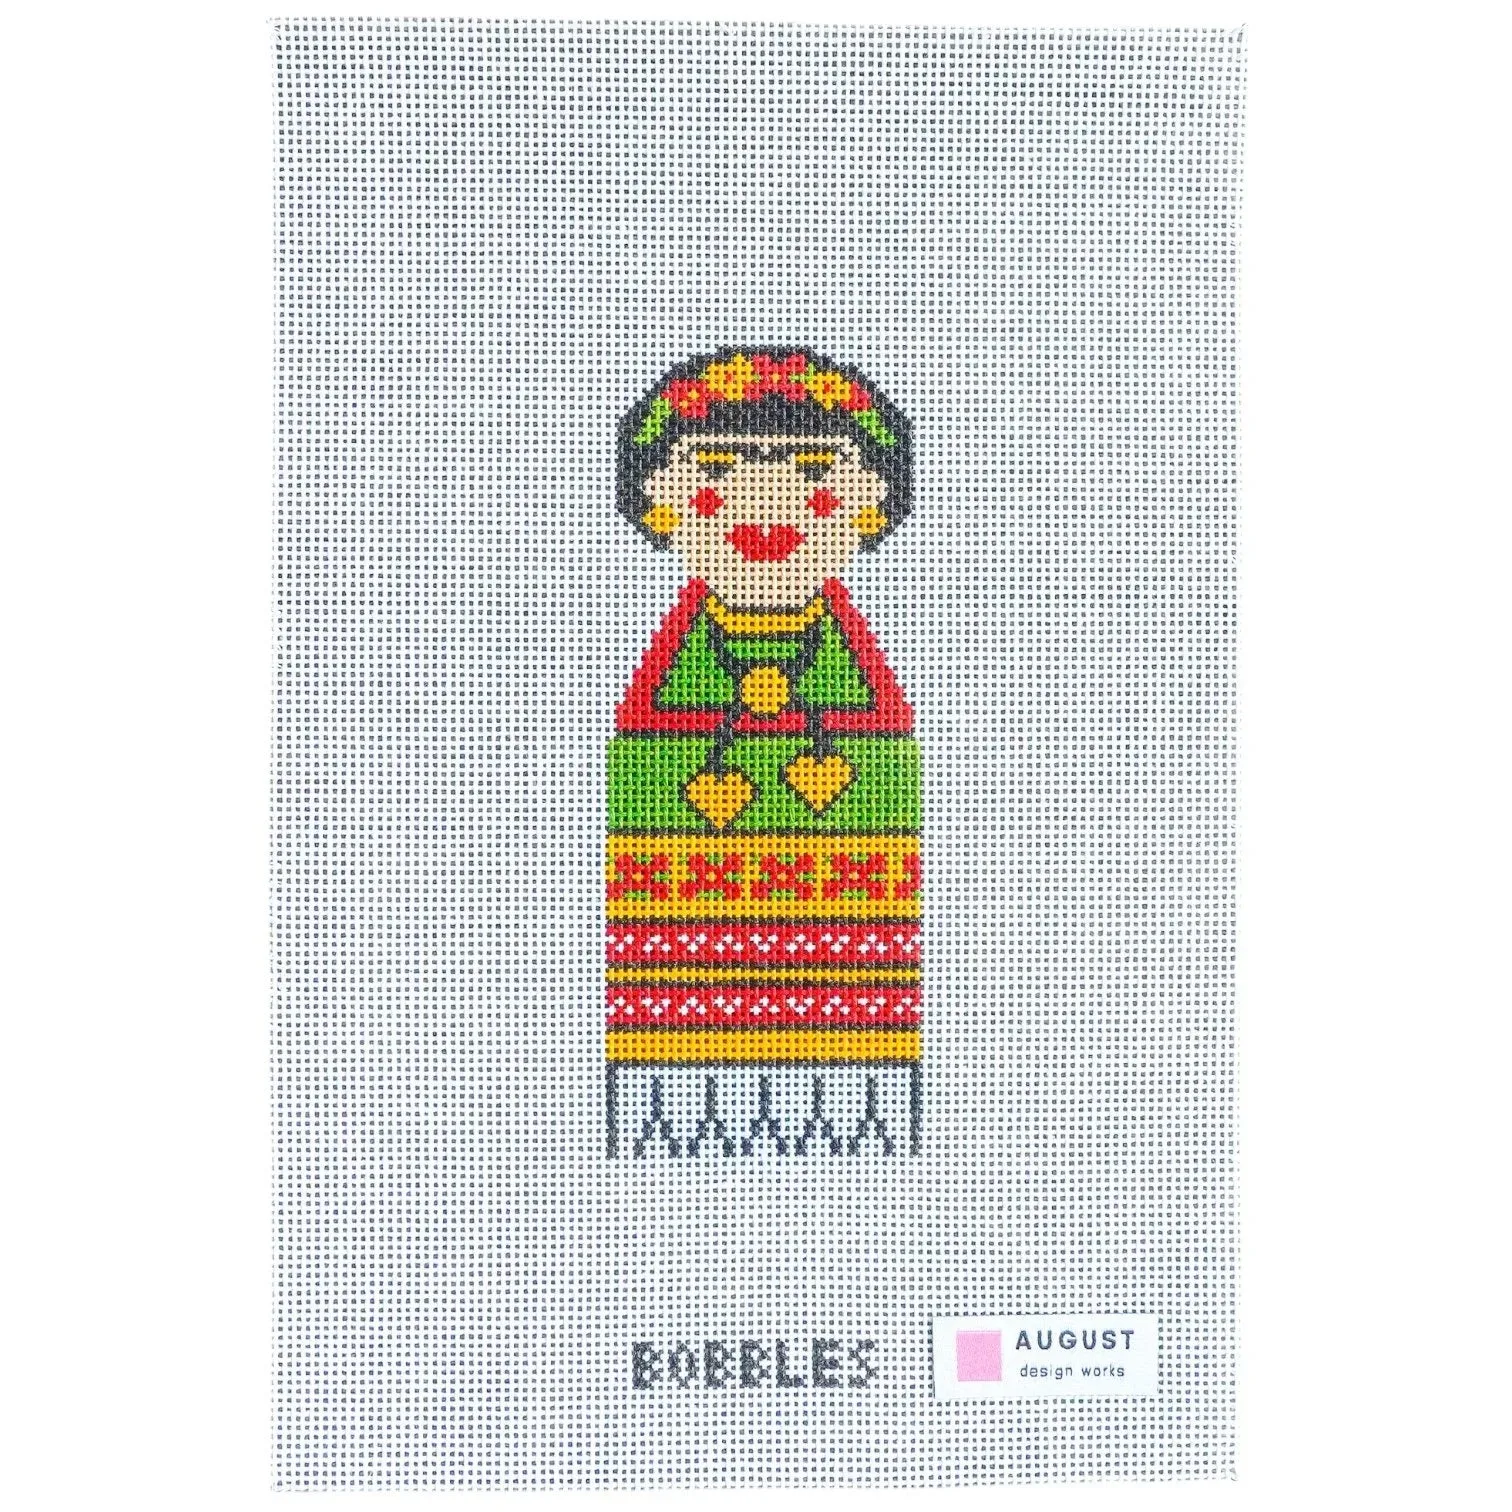
- Frida Bobble - Needlepoint Canvas: Hand-painted needlepoint canvas from the Bobbles Series, designed to be stitched, displayed, and collected. If you like the idea of a portrait canvas with a collectible feel, this shows how a hand-painted face is meant to be stitched and kept, which is the same mindset a dog portrait rewards.
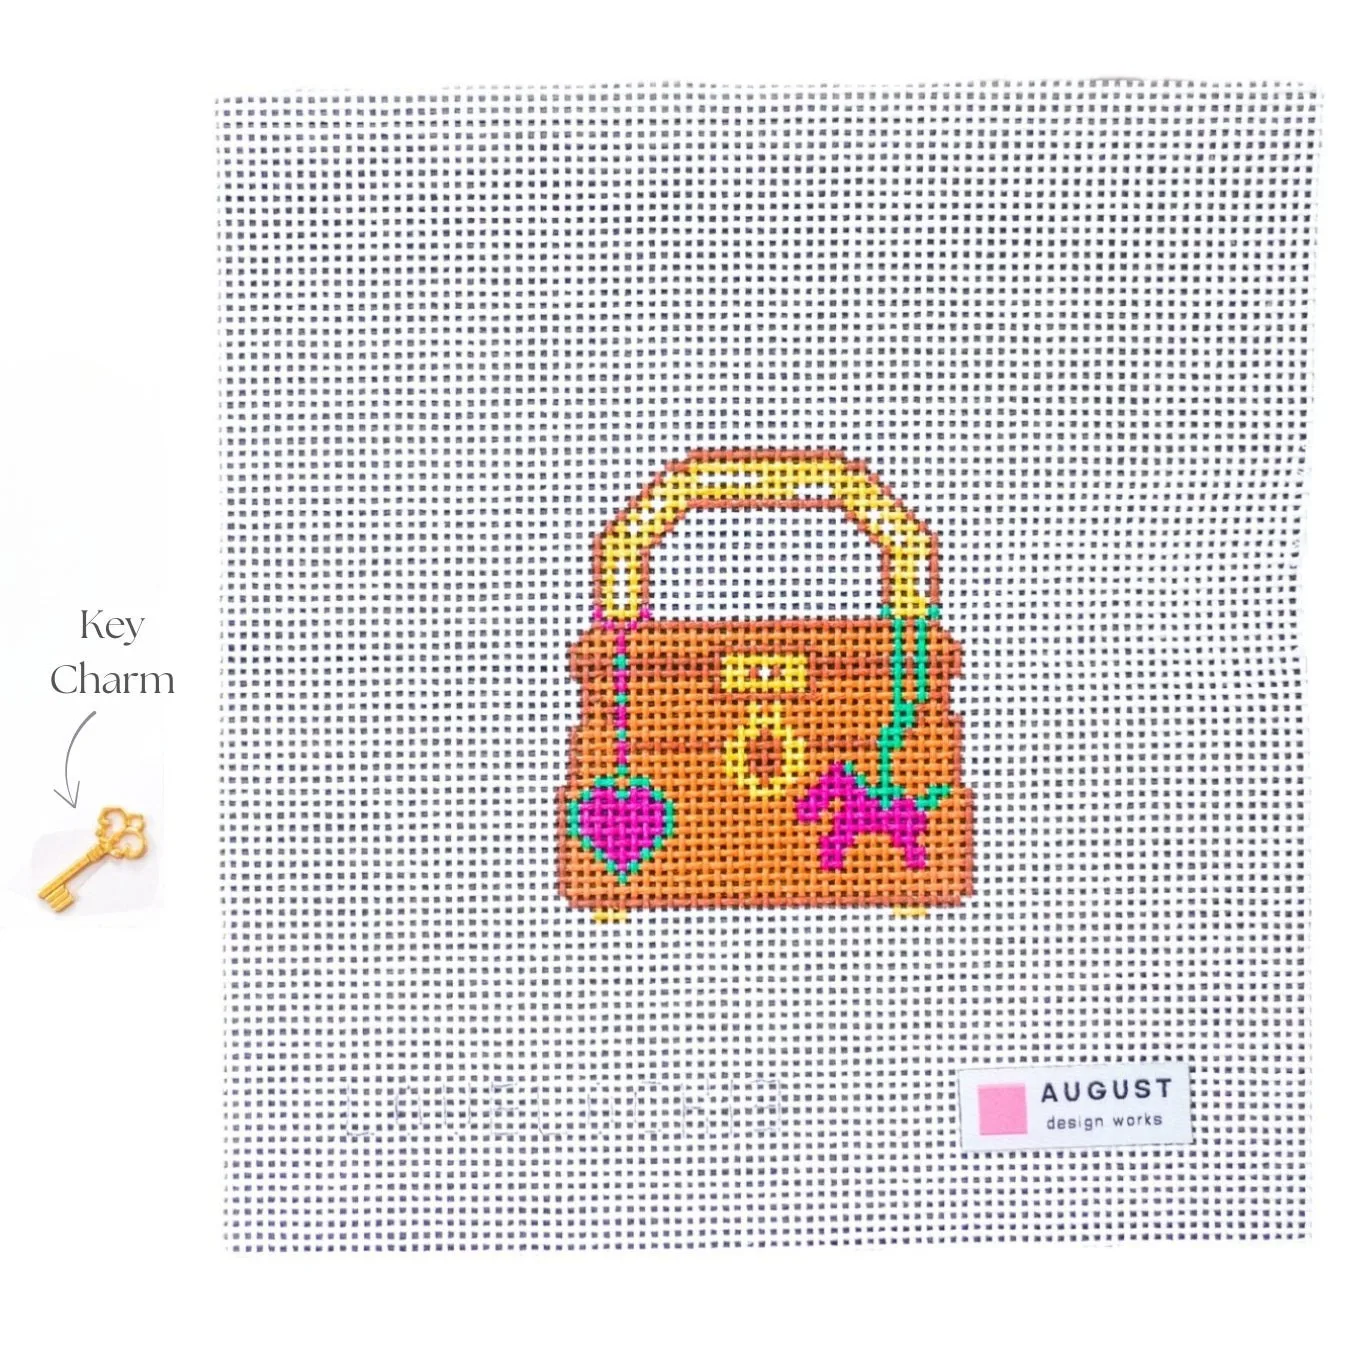
- Bag Charm Love Lock - Needlepoint Canvas + Key Charm: Inspired by the tradition of fastening a lock to a bridge, each design is a keepsake to mark milestones or gift to someone special. A small charm canvas is a practical first project if you want to practice the face-first stitch order before committing to a full dog portrait.
Stitching a bougie French bulldog needlepoint canvas comes down to order and tension: face first, background last, and even stitches throughout. Start with the eyes, check the expression, then fill outward in one direction. If you are new to dog portrait needlepoint, practice the same sequence on a small charm canvas first, and keep your thread choices simple until the face is done.