Quick answer
Stitch a needlepoint ornament from a small canvas by binding the raw edges, choosing a thread that covers the mesh, working the design area first, and then finishing the stitched piece into a padded ornament. On a small canvas, keep the stitch count manageable and stop when the painted design is covered, not when the canvas is full.
A small canvas is the easiest place to learn how to stitch a needlepoint ornament because the whole project fits in your hand and finishes in a few evenings. The design area is usually only a few inches across, so every stitch choice shows, and mistakes are quick to undo.
This guide walks through the order that keeps a small canvas ornament needlepoint project tidy: prepare the canvas, match thread to mesh, stitch the design, and finish the ornament so it hangs straight. It also points out the small mistakes that make an ornament look lumpy or leave bare canvas showing.
Start with the right small canvas
For an ornament, look for a design area roughly 3 to 5 inches across. Smaller than that and the painted detail gets crowded; larger and the finished piece becomes a hanging decoration rather than an ornament. Mesh count matters too: 18 mesh gives finer detail for small painted designs, while 13 mesh is faster to cover and easier on the eyes.
Check the full canvas size, not just the design size. You need enough unstitched border to tape, block, and later trim or fold without cutting into stitches. If the canvas arrives rolled or creased, press it flat under a book before you begin so the mesh lines stay straight while you work.
- Measure the painted design area, not the whole canvas, before you commit to a finishing method.
- A canvas with a clear painted outline is easier to follow than one with soft color transitions.
Prepare the canvas edges and threads
Raw needlepoint canvas frays, and a frayed edge on a small piece can eat into your stitching border. Bind all four edges with artist tape or a zigzag stitch before the first needle goes in. This also keeps the canvas from snagging on your thread as you work.
Pull your threads next. For an ornament, you want smooth coverage without bulk, so separate plies only if the thread is strandable. Non-strandable fibers go on the needle as they come off the card. Cut lengths you can manage comfortably, and keep the working thread short enough that it does not fray from repeated passes through the canvas.
- Tape the edges before stitching, not after, so the canvas does not shift while you work.
- Lay your threads out in the order you will stitch them so you are not hunting mid-row.
Stitch the design area first
Work the painted design before the background. The design is the part that must line up with the canvas, and stitching it first lets you adjust the background to fit around it. Use a stitch that covers the mesh cleanly, such as basketweave or continental, and keep your tension even so the ornament does not pucker.
On a small canvas, every stitch counts toward the final shape. If a stitch looks loose, undo it now rather than trying to compensate later. When the design is covered, step back and check from a few feet away; that is the distance an ornament is usually seen from.
- Stitch the smallest details first, then fill larger areas around them.
- If the canvas shows through, add a second pass rather than pulling the existing stitch tighter.
Fill the background without flattening the design
Background stitching should support the design, not compete with it. Choose a thread color that contrasts enough to define the shape but does not pull attention away from the painted image. On 18 mesh, a slightly finer thread keeps the background from looking heavier than the design.
Work the background in the same direction as the design stitches where possible. Consistent stitch direction makes the finished ornament look intentional rather than patchy. Stop when the painted canvas is covered and the edges of the design are clean; do not keep stitching just to use up thread.
- Check the back of the canvas occasionally; knots and tangles show through on a small piece.
- Leave the outer border unstitched if you plan to fold or trim it during finishing.
Finish the ornament so it hangs straight
Once the stitching is done, block the canvas so the design is square and the mesh lines are straight. Then trim the excess canvas, leaving enough border to turn or fold. Pad the front slightly with batting so the ornament has shape without looking stuffed, and add a backing fabric to hide the reverse side.
Attach the hanging loop at the top center, not off to one side, and test the balance before you sew the backing closed. A small canvas ornament needlepoint piece is light, so a simple ribbon loop or a short cord is enough. If the ornament tilts, adjust the loop rather than adding weight.
- Block before trimming; trimming first can leave you with a piece that will not square up.
- Hang the ornament on a hook before finishing to check that it sits level.
Ornament stitching steps, in order
- Bind the canvas edges: Tape or zigzag all four sides of the canvas before you thread a needle. Checkpoint: no loose fibers should come off when you rub the edge.
- Match thread to mesh: Use a thread that covers the mesh without leaving gaps; for 18 mesh, a non-strandable silk-wool blend like Milan is a practical choice. Checkpoint: stitch a test row on a scrap corner and look for canvas showing through.
- Stitch the painted design first: Work the smallest details, then fill the larger shapes, keeping tension even across the design. Checkpoint: view the canvas from a few feet away; the design should read clearly.
- Fill the background last: Choose a contrasting but calm color and stitch in a consistent direction around the design. Checkpoint: stop when the painted canvas is covered, not when the thread runs out.
- Block the stitched canvas: Dampen and pin the canvas square so the mesh lines are straight and the design is not distorted. Checkpoint: the piece should sit flat without curling at the corners.
- Finish and hang: Trim with a border, pad lightly, add a backing, and attach a centered loop at the top. Checkpoint: hang it before sewing closed to confirm it sits level.
Small canvases and threads that work well for ornaments
- A'u (Sailfish): Stitch a beautiful Sailfish on premium 18-mesh needlepoint canvas. This 3.1" × 3.1" design is hand-painted with fine detail and bold color. At just over three inches square on 18 mesh, this is a true ornament-sized design that shows fine painted detail without becoming a large project.
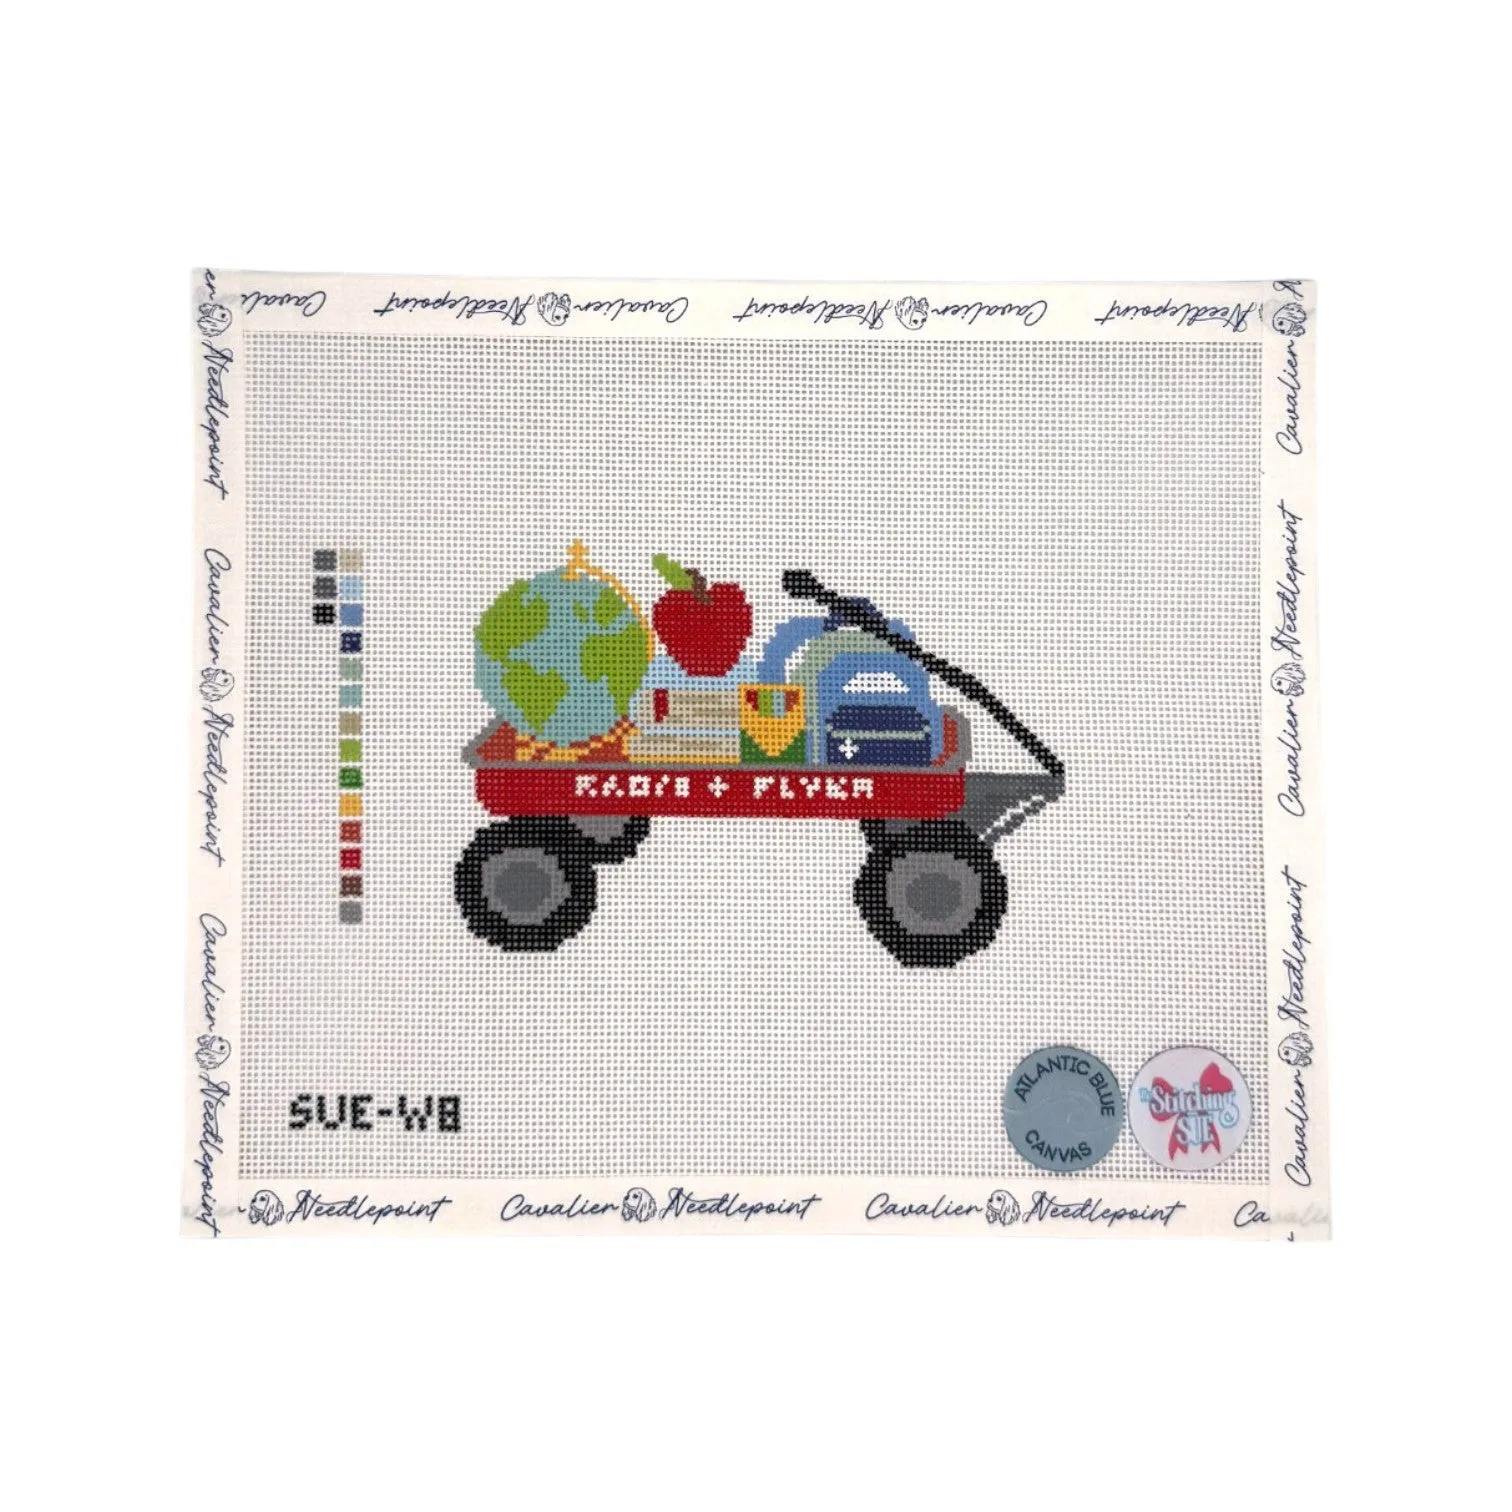
- Back to School Wagon: Back to School Wagon needlepoint canvas features a charming painted design measuring 5 x 3.5 inches on an 18-mesh canvas. The full canvas size is 9 x 7.5 inches. The 5 x 3.5 inch design is a good size for a slightly larger ornament or a small hanging, and the extra canvas border gives you room to tape and finish.
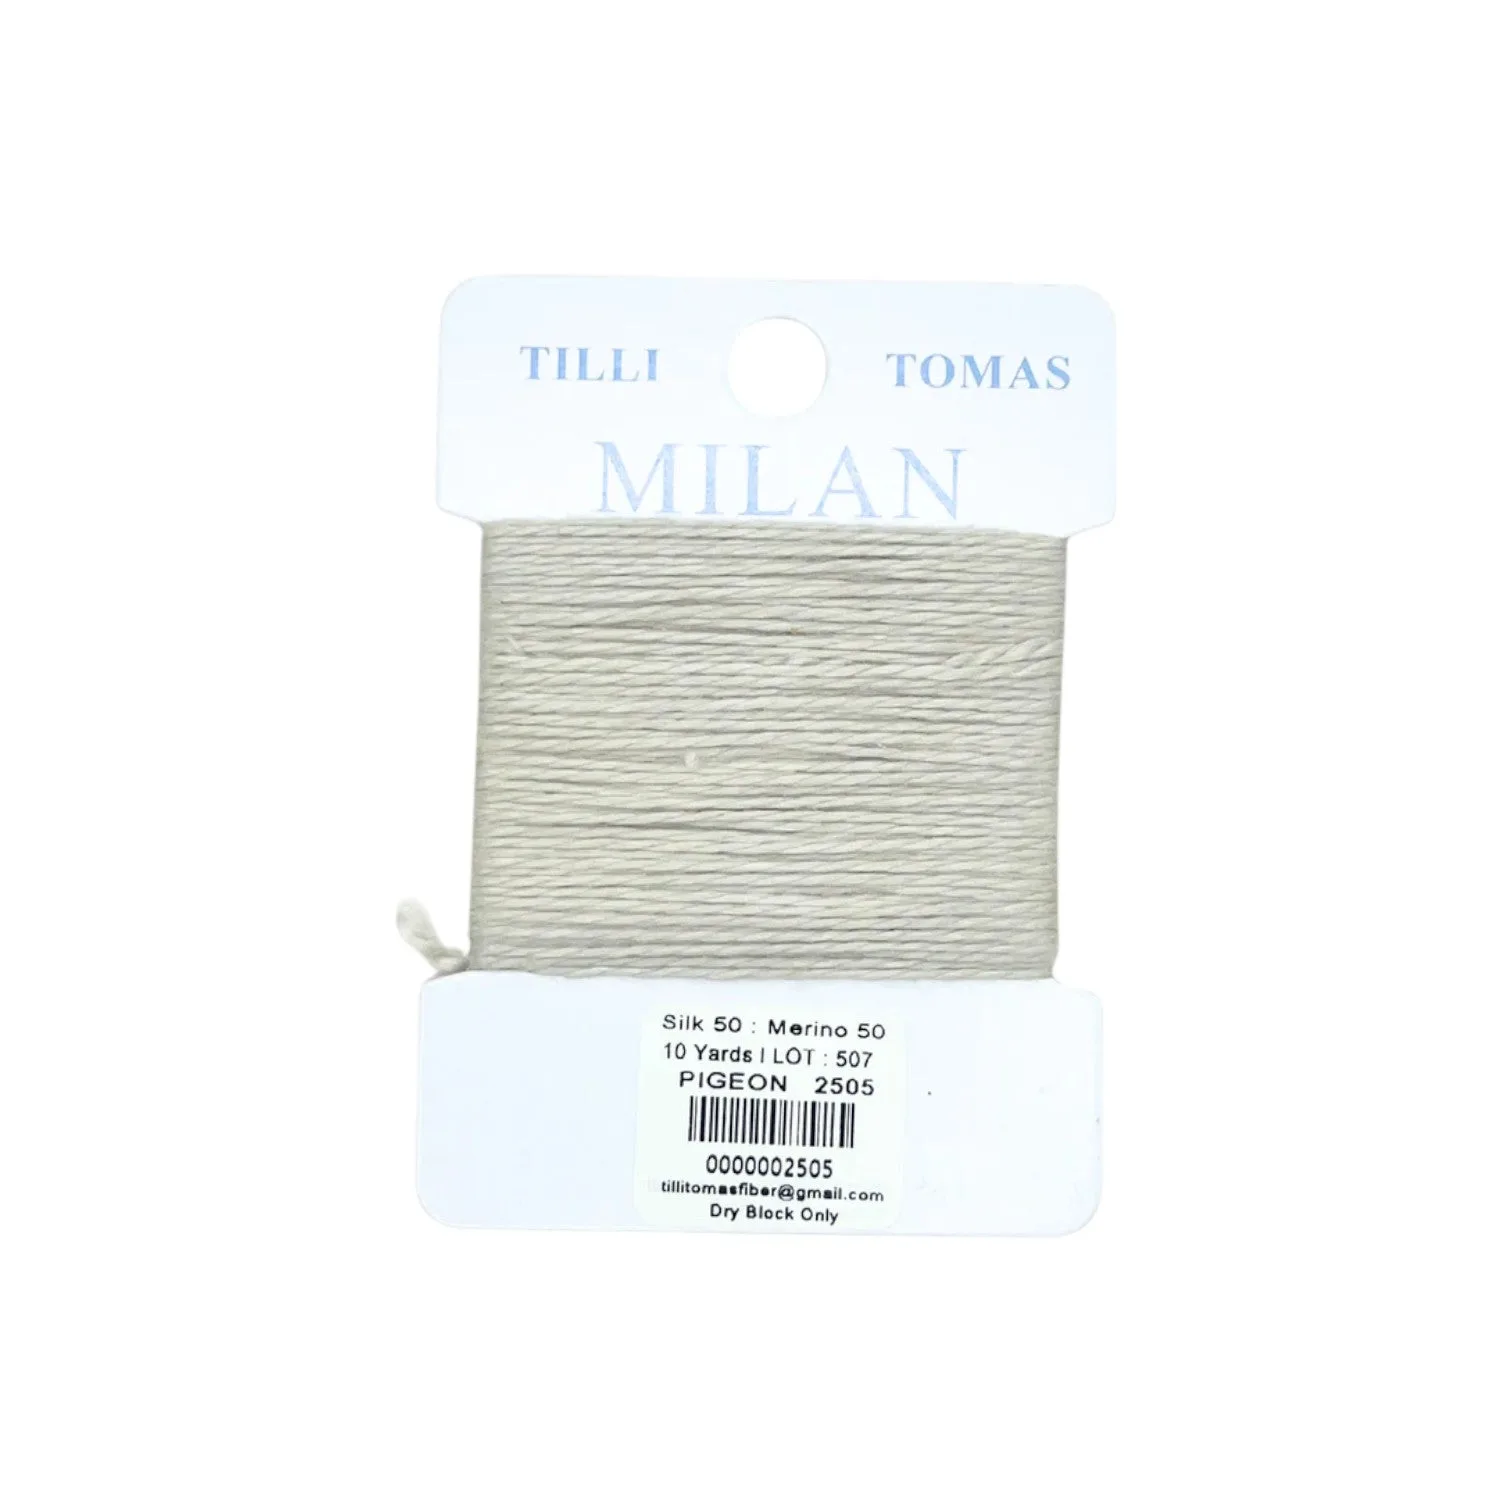
- Milan Card - Pigeon 2505: Planet Earth Milan Fiber 50% silk / 50% wool. Non-strandable. 10 yards. Suited for 13 or 18 mesh. A non-strandable silk-wool blend that covers 18 mesh well, which is useful when you want an ornament to look smooth without adding bulk.
A small canvas is the most forgiving place to learn ornament stitching, because you can see the whole project and fix mistakes quickly. Prepare the edges, stitch the design before the background, and finish with a centered loop so the ornament hangs the way you want.