Quick answer
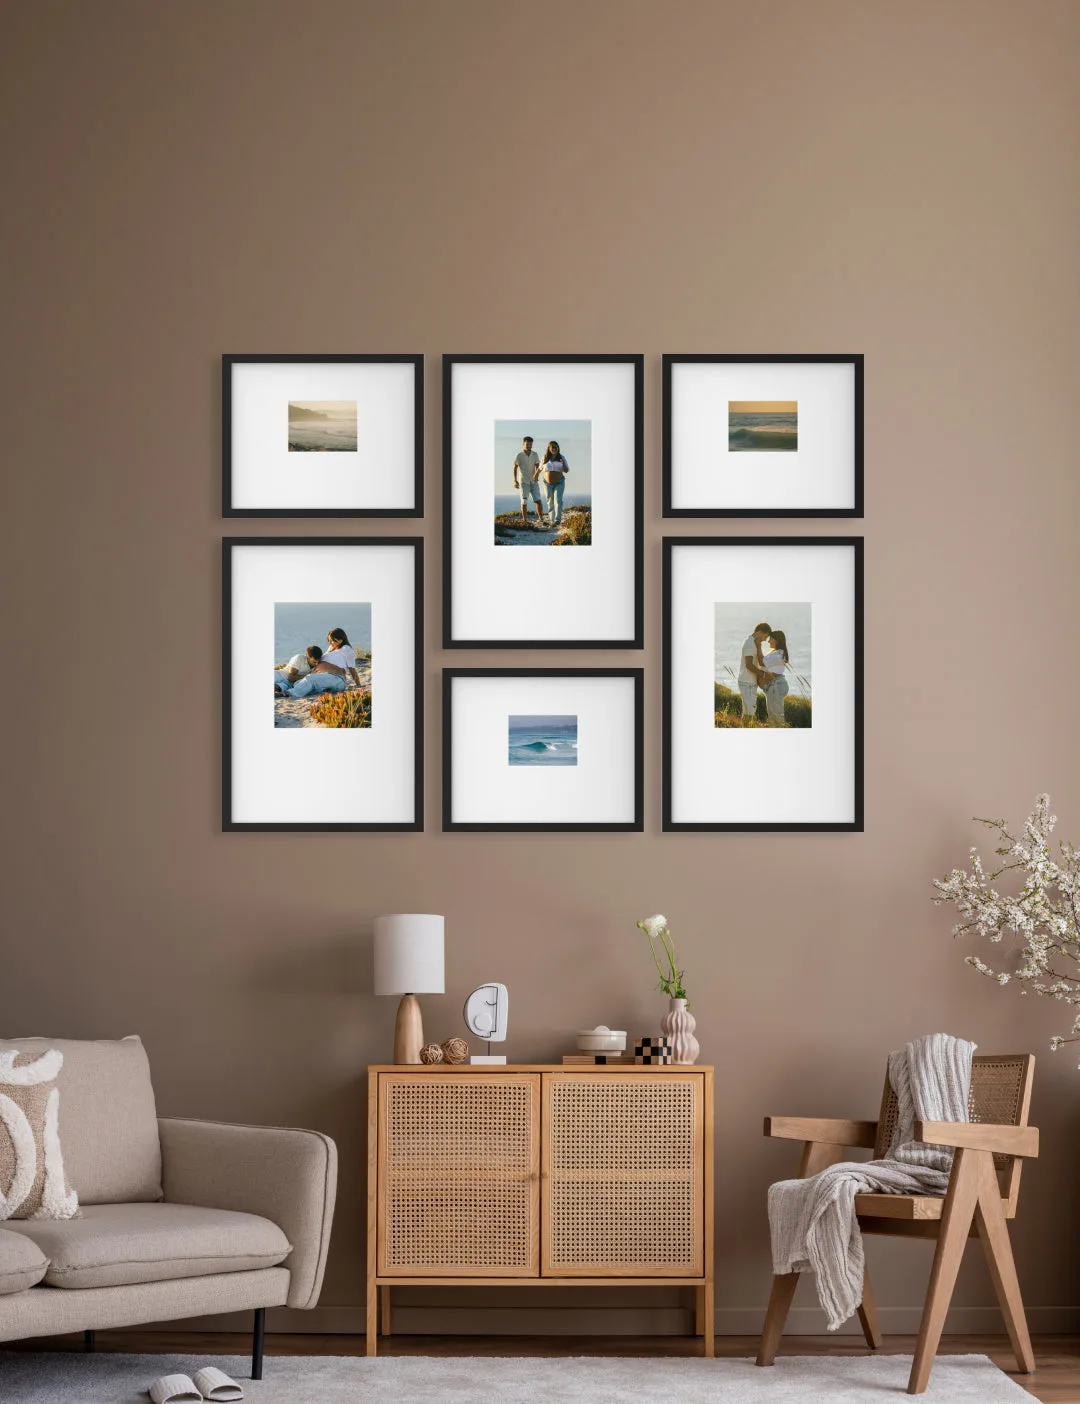
Treat the grid as one rectangle, not a pile of separate frames. Decide the total width and height first, divide it by the number of columns and rows, then keep every gap equal. A https://frameologyer.com/products/black-framed-photo-gallery-wall-canvas-grid-ab020074a6b10166617bbbfb-1875954canvas grid layout works best when the gaps are smaller than the frame width and the whole block is centered on a real anchor, like a sofa or headboard.
Start with the wall, not the frames
Before you choose a canvas grid arrangement, pick the anchor. A grid should relate to a piece of furniture, not float in the middle of a blank wall. Measure the width of your sofa, console, or bed and keep the grid within about two-thirds to three-quarters of that width. Then decide the top and bottom of the block: eye level for the center row works in most rooms, but if the grid sits above a sofa, leave 6 to 10 inches between the furniture and the bottom row.
Choose a grid size you can actually hang
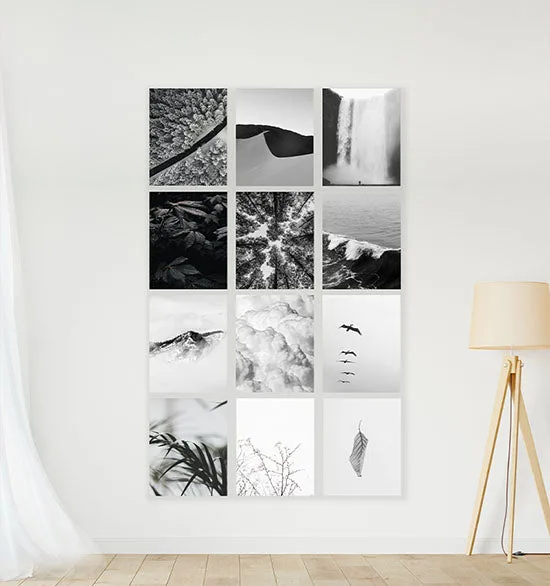
A 2x2 grid is the easiest to keep level and is a good fit for a narrow wall. A 3x3 or 3x4 grid gives you the floor-to-ceiling look, but it needs more height and more patience. Count your panels before you buy: a 12-panel set like Canvas Grid IV is a commitment, while a three-panel triptych is faster to place. If your wall is short, a wide 4x2 grid often looks better than a tall 2x4.
Canvas Grid IV
Set the gaps before you drill
Equal spacing is what makes a gallery wall grid read as one piece. A good starting point is 2 to 3 inches between frames, but the gap should always be smaller than the frame width so the group stays visually tight. Mark the top-left corner of the whole block with painter's tape, then measure across and down to mark each panel position. Check the marks with a level before you commit.
Hang from the center out
Start with the center panel or the center row, because that is the one your eye will judge. Once it is level, work outward in both directions so any small error is pushed to the edges. If your set does not include a hanging template, make your own: trace each frame onto paper, tape the paper to the wall, and adjust until the spacing looks right. This is much faster than filling and re-drilling holes.
Style around the grid without crowding it
A canvas grid is already busy, so keep the rest of the wall calm. Leave the area directly around the grid empty, and let furniture, a lamp, or a plant sit below it rather than beside it. If you want to mix in other art, keep it outside the grid block and use a larger gap so the grid still reads as its own unit. Lighting matters too: a picture light or a floor lamp aimed at the wall will make the grid look intentional rather than flat.
Your canvas grid hanging steps
- Measure the anchor and set the block size: Measure the width of the sofa, console, or bed the grid will sit above, then decide the total width and height of the grid block so it stays within about two-thirds to three-quarters of that width. Checkpoint: if the block looks small on the wall, go wider before you go taller.
- Count panels and choose the grid shape: Match the number of panels to the wall. A 2x2 or 3-panel set suits a narrow wall; a 3x3 or 3x4 set creates the floor-to-ceiling look but needs more height. Common mistake: buying a large grid for a short wall and ending up with a cramped top row.
- Mark equal gaps and the block outline: Use painter's tape to mark the top-left corner of the whole block, then measure across and down to mark each panel. Keep the gap between frames smaller than the frame width, usually 2 to 3 inches. Checkpoint: every gap should match when you measure diagonally across the block.
- Hang the center panel first: Level and hang the center panel or center row, then work outward in both directions. If your set has no hanging template, trace each frame onto paper and tape it to the wall first. Common mistake: starting at the top-left corner, which pushes any error to the most visible edge.
- Style the wall around the grid: Leave the area directly around the grid empty, keep other art outside the block, and add a picture light or floor lamp to make the grid read as one piece. Next step: step back to the doorway and check that the grid looks level from the room's main viewpoint, not just up close.
Grid options worth knowing
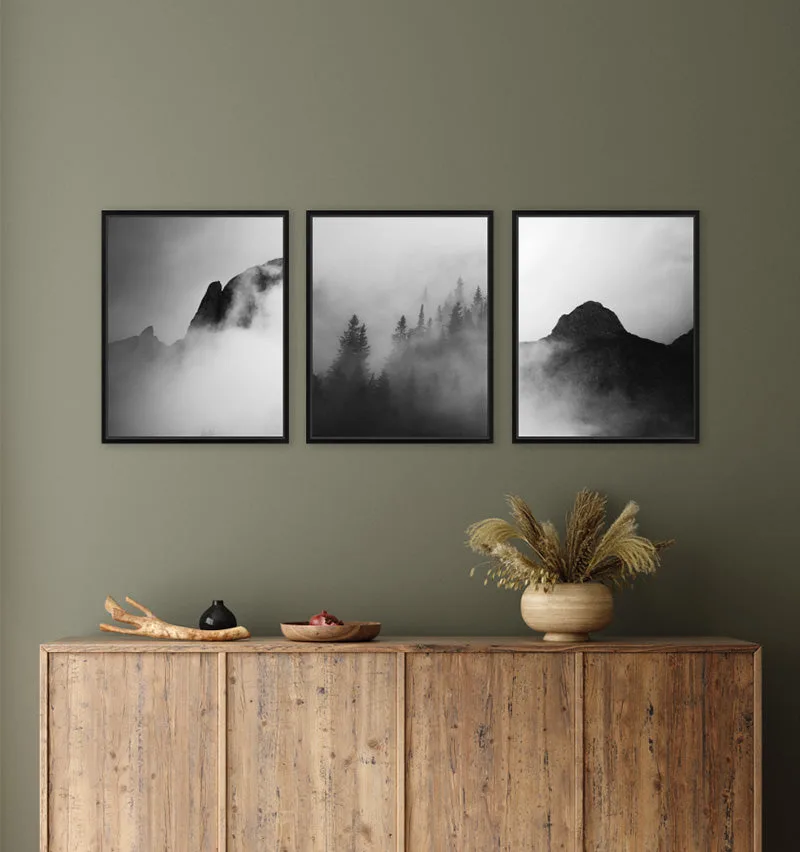
- Canvas Triptych: Canvas Triptych is a three-panel framed canvas set with three 16x20 prints, and the catalog notes it does not come with a hanging template. Three panels are the fastest grid to hang and the easiest to keep level, but you will need to make your own template or measure carefully.
- Canvas Grid IV: Canvas Grid IV uses twelve 16x20 framed canvas prints arranged in three columns for a floor-to-ceiling look, and it also ships without a hanging template. A 12-panel grid gives the strongest gallery wall grid effect, but it demands more wall height and more careful spacing before you drill.
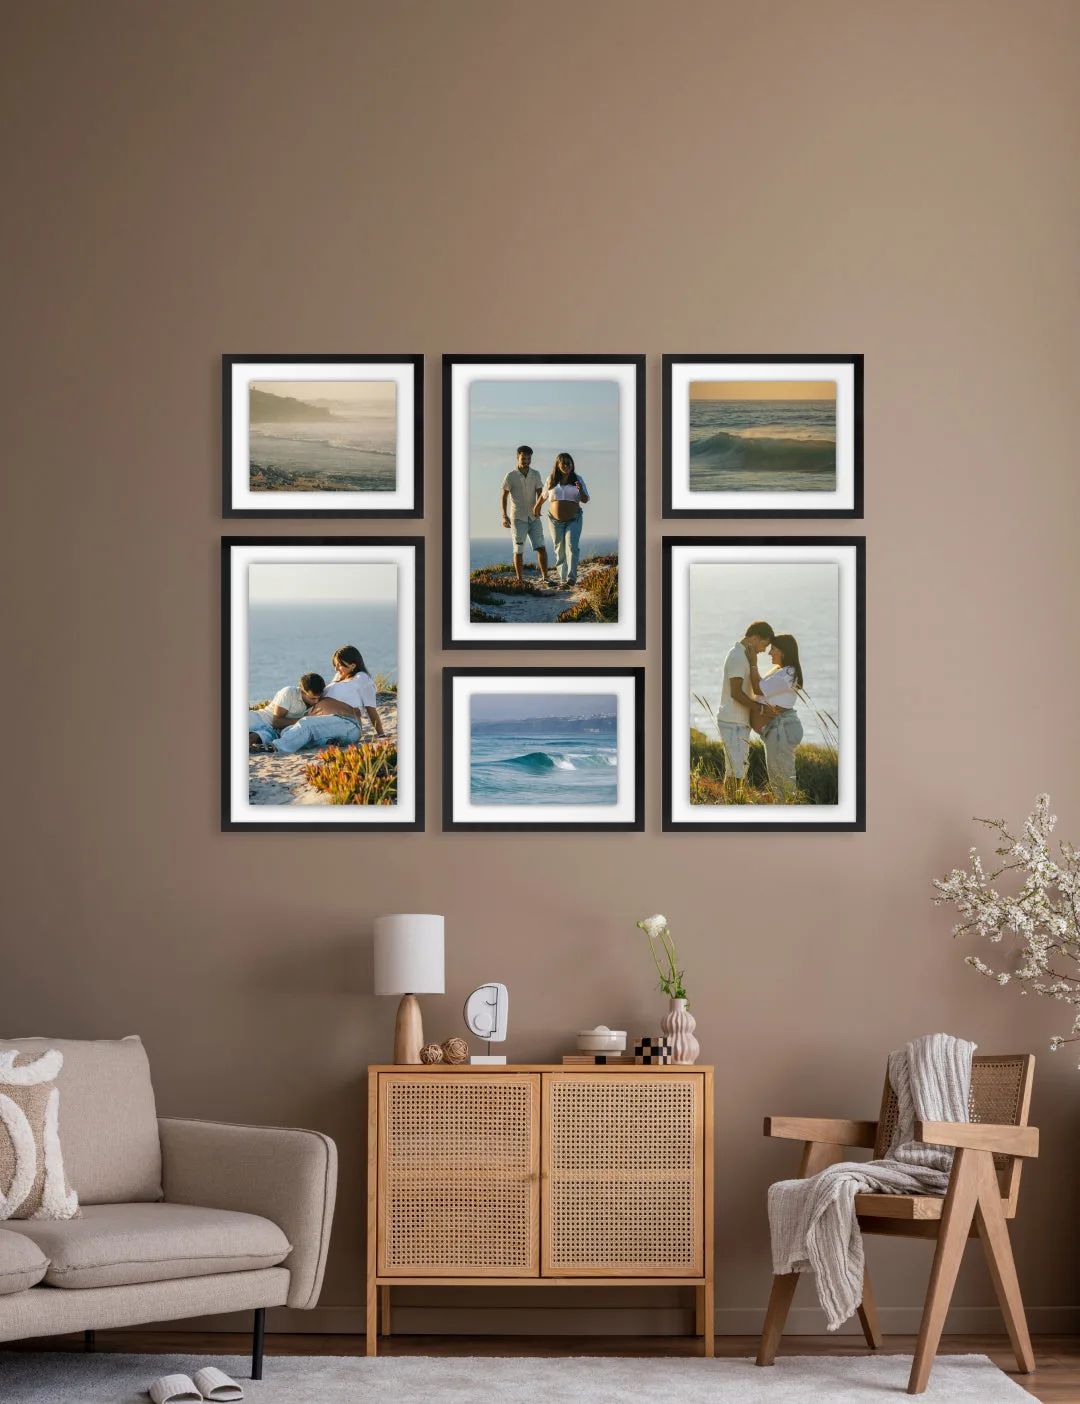
- Bobby Berk - The Bricklay Collection - Black (Float Mount): Bobby Berk - The Bricklay Collection - Black (Float Mount) is a six-photo float mount set that includes an augmented reality preview tool for checking the design in your space. If you are unsure how a multi-panel canvas grid will look on your wall, the AR preview takes some of the guesswork out of spacing and scale.