Quick Answer
To use a dotting tool for nail art, dip the tip into polish, place it gently on the nail to create dots, and vary pressure and tip size for different effects. Start with a few basic tools and practice on a palette to build confidence.
Why Dotting Tools Are Beginner-Friendly
Dotting tools are one of the easiest ways to start nail art because they don't require steady brush strokes or freehand painting. You simply press the tip onto the nail to leave a dot, making it forgiving for shaky hands.
Unlike brushes, dotting tools give you consistent dot sizes and are simple to clean, so they're a smart first purchase for anyone new to nail art.
Choosing the Right Dotting Tool Kit
Look for a kit that includes multiple tip sizes. This lets you create everything from tiny polka dots to larger floral centers without needing extra tools.
A good starter kit balances variety with simplicity—you don't need dozens of tools, just a few sizes that cover common designs.
Trade-Off: Practice vs. Perfection
Expect a learning curve. Your first few dots may be uneven or too big. That's normal—dotting tools reward practice, and you'll improve quickly.
If you're aiming for symmetrical patterns, work slowly and plan your dot placement before you start. Precision comes with repetition.
Step-by-Step Dotting Tool Techniques
- Prep your nails and workspace: Start with clean, dry nails and a flat surface. Apply a base coat and let it dry completely. Gather your polish, dotting tools, and a palette (like a piece of foil or a plastic lid) to dab off excess polish. Check that your base coat is fully dry—pressing into wet polish will smudge your dots.
- Load the dotting tool: Dip the tip of the dotting tool into the polish, then touch it lightly to the palette to remove any excess. You want a small, even amount on the tip—not a big blob. If the polish is too thick, it will drag or create uneven dots. Thin it with a drop of polish thinner if needed.
- Place dots on the nail: Hold the tool perpendicular to the nail and press gently. The longer you press, the larger the dot. For a small dot, use a light touch and lift quickly. For a larger dot, press a bit longer. Avoid dragging the tool—lift straight up to keep the dot round.
- Create patterns and designs: Use different tip sizes to build patterns: make a row of small dots for a polka-dot look, cluster dots for flower petals, or use a larger dot as a base and a smaller dot on top for a two-tone effect. Plan your pattern before you start to keep spacing even.
- Seal and clean up: Let the dots dry completely, then apply a top coat to seal the design. Clean your dotting tools with polish remover right after use to keep them ready for next time. Wait until the dots are dry before adding top coat to avoid smudging.
Product Highlight
-
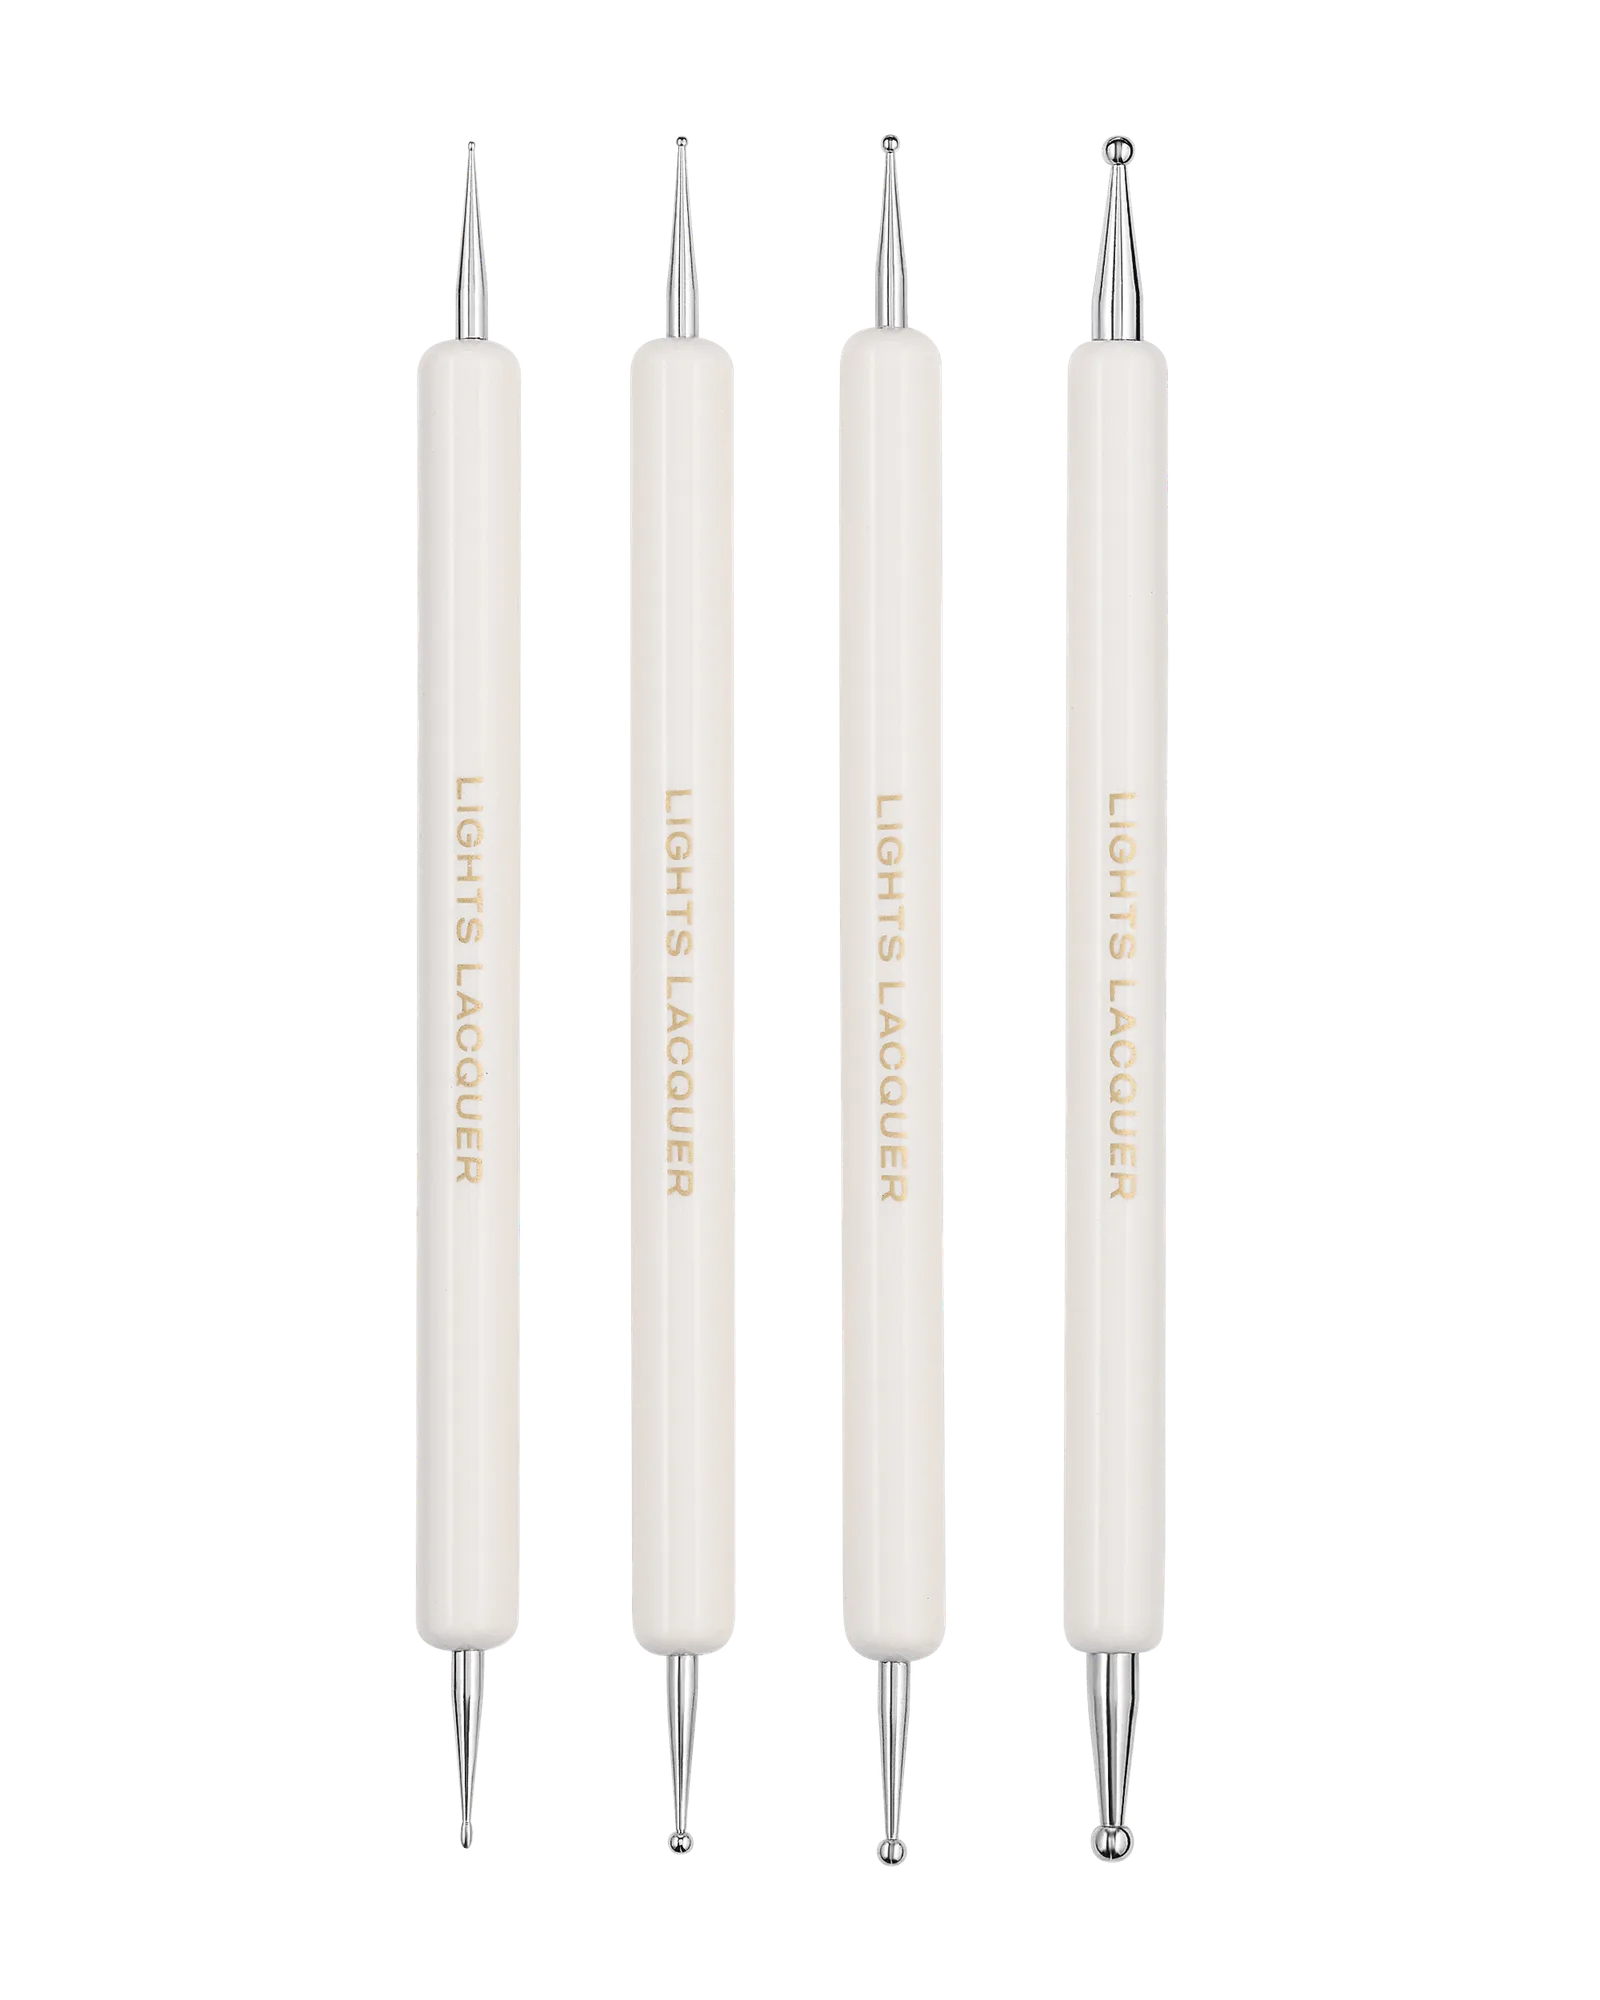
Dotting Tool Kit: Lights Lacquer’s Dotting Tool Kit includes dotting tools with varying tip sizes for versatile design options. Having multiple tip sizes lets you switch between fine details and larger dots without needing extra tools, making it easier to follow these techniques.
Dotting Tool Kit