Quick answer
To use a vacuum sealer for meal prep, choose the right bag type and sealing setting for your food—wet, dry, or just sealing—then portion, seal, and label before freezing or refrigerating.
Why vacuum sealing beats regular storage for meal prep
Vacuum sealing removes air that causes freezer burn and spoilage, keeping meats, vegetables, and ready-to-go meals fresh much longer than standard containers or bags. It also saves fridge and freezer space because sealed bags stack flat and compact.
The Dash SuperSeal™ Vacuum Sealer offers multiple sealing settings so you can tailor the process to different foods—wet ingredients like marinated chicken need a different approach than dry oats or nuts.
Choosing the right bag and setting
Not all vacuum sealer bags are the same. Single-use plastic bags work for most foods, but reusable bags cut down on waste and cost less over time. The SuperSeal™ comes with both options, so you can decide based on how often you prep.
For wet foods like soups or marinated meats, use the wet setting to avoid liquid being sucked into the machine. For dry ingredients like rice or coffee, the dry setting gives a tighter seal. There’s also a seal-only mode for Mylar bags or items you just want to close without vacuuming.
Step-by-step: Meal prep with your vacuum sealer
- Prepare your ingredients and bags: Wash, chop, and portion your food into meal-sized amounts. Cut a bag length that leaves at least 3 inches of extra material for sealing. For reusable bags, make sure the sealing strip is clean and dry. Common mistake: overfilling the bag. Leave enough space at the open end so the sealer can create a strong seal.
- Select the correct setting: Turn on the SuperSeal™ and choose the setting based on your food: Wet for moist items like raw meat or sauces, Dry for produce, grains, or cooked food without liquid. Use Seal Only for Mylar bags or to close bags without vacuuming. Using the dry setting on wet food can cause liquid to enter the machine, leading to a weak seal or cleanup hassle.
- Position the bag and start sealing: Place the open end of the bag into the vacuum channel, ensuring it lies flat and the sealing strip is aligned. Close the lid firmly and press the Vacuum + Seal button. Wait for the machine to finish—the indicator light will turn off when done. Checkpoint: watch for any wrinkles or folds in the bag near the seal area—they can cause air leaks. Smooth the bag before closing the lid.
- Label and store immediately: Write the contents and date on the bag with a marker or use a label. Place sealed bags in the refrigerator for short-term use (3–5 days) or the freezer for longer storage (up to 6 months for most foods). Stack flat to save space. Common mistake: forgetting to label. Without a date, you won’t know how long the food has been stored, which defeats the purpose of meal prep.
- Clean the machine after use: Unplug the sealer and wipe the vacuum channel and sealing strip with a damp cloth. If any liquid or food particles got inside, use a cotton swab dipped in mild soapy water to clean the grooves. Let it dry completely before storing. A dirty sealing strip can cause weak seals on your next batch—make cleaning part of your routine.
Product spotlight
-
SuperSeal™ Vacuum Sealer: The Dash SuperSeal™ Vacuum Sealer has multiple sealing settings for single-use or reusable bags, wet or dry ingredients, and Mylar bags. You can use one machine for everything from sealing marinated chicken to portioning dry snacks, without needing separate gadgets.
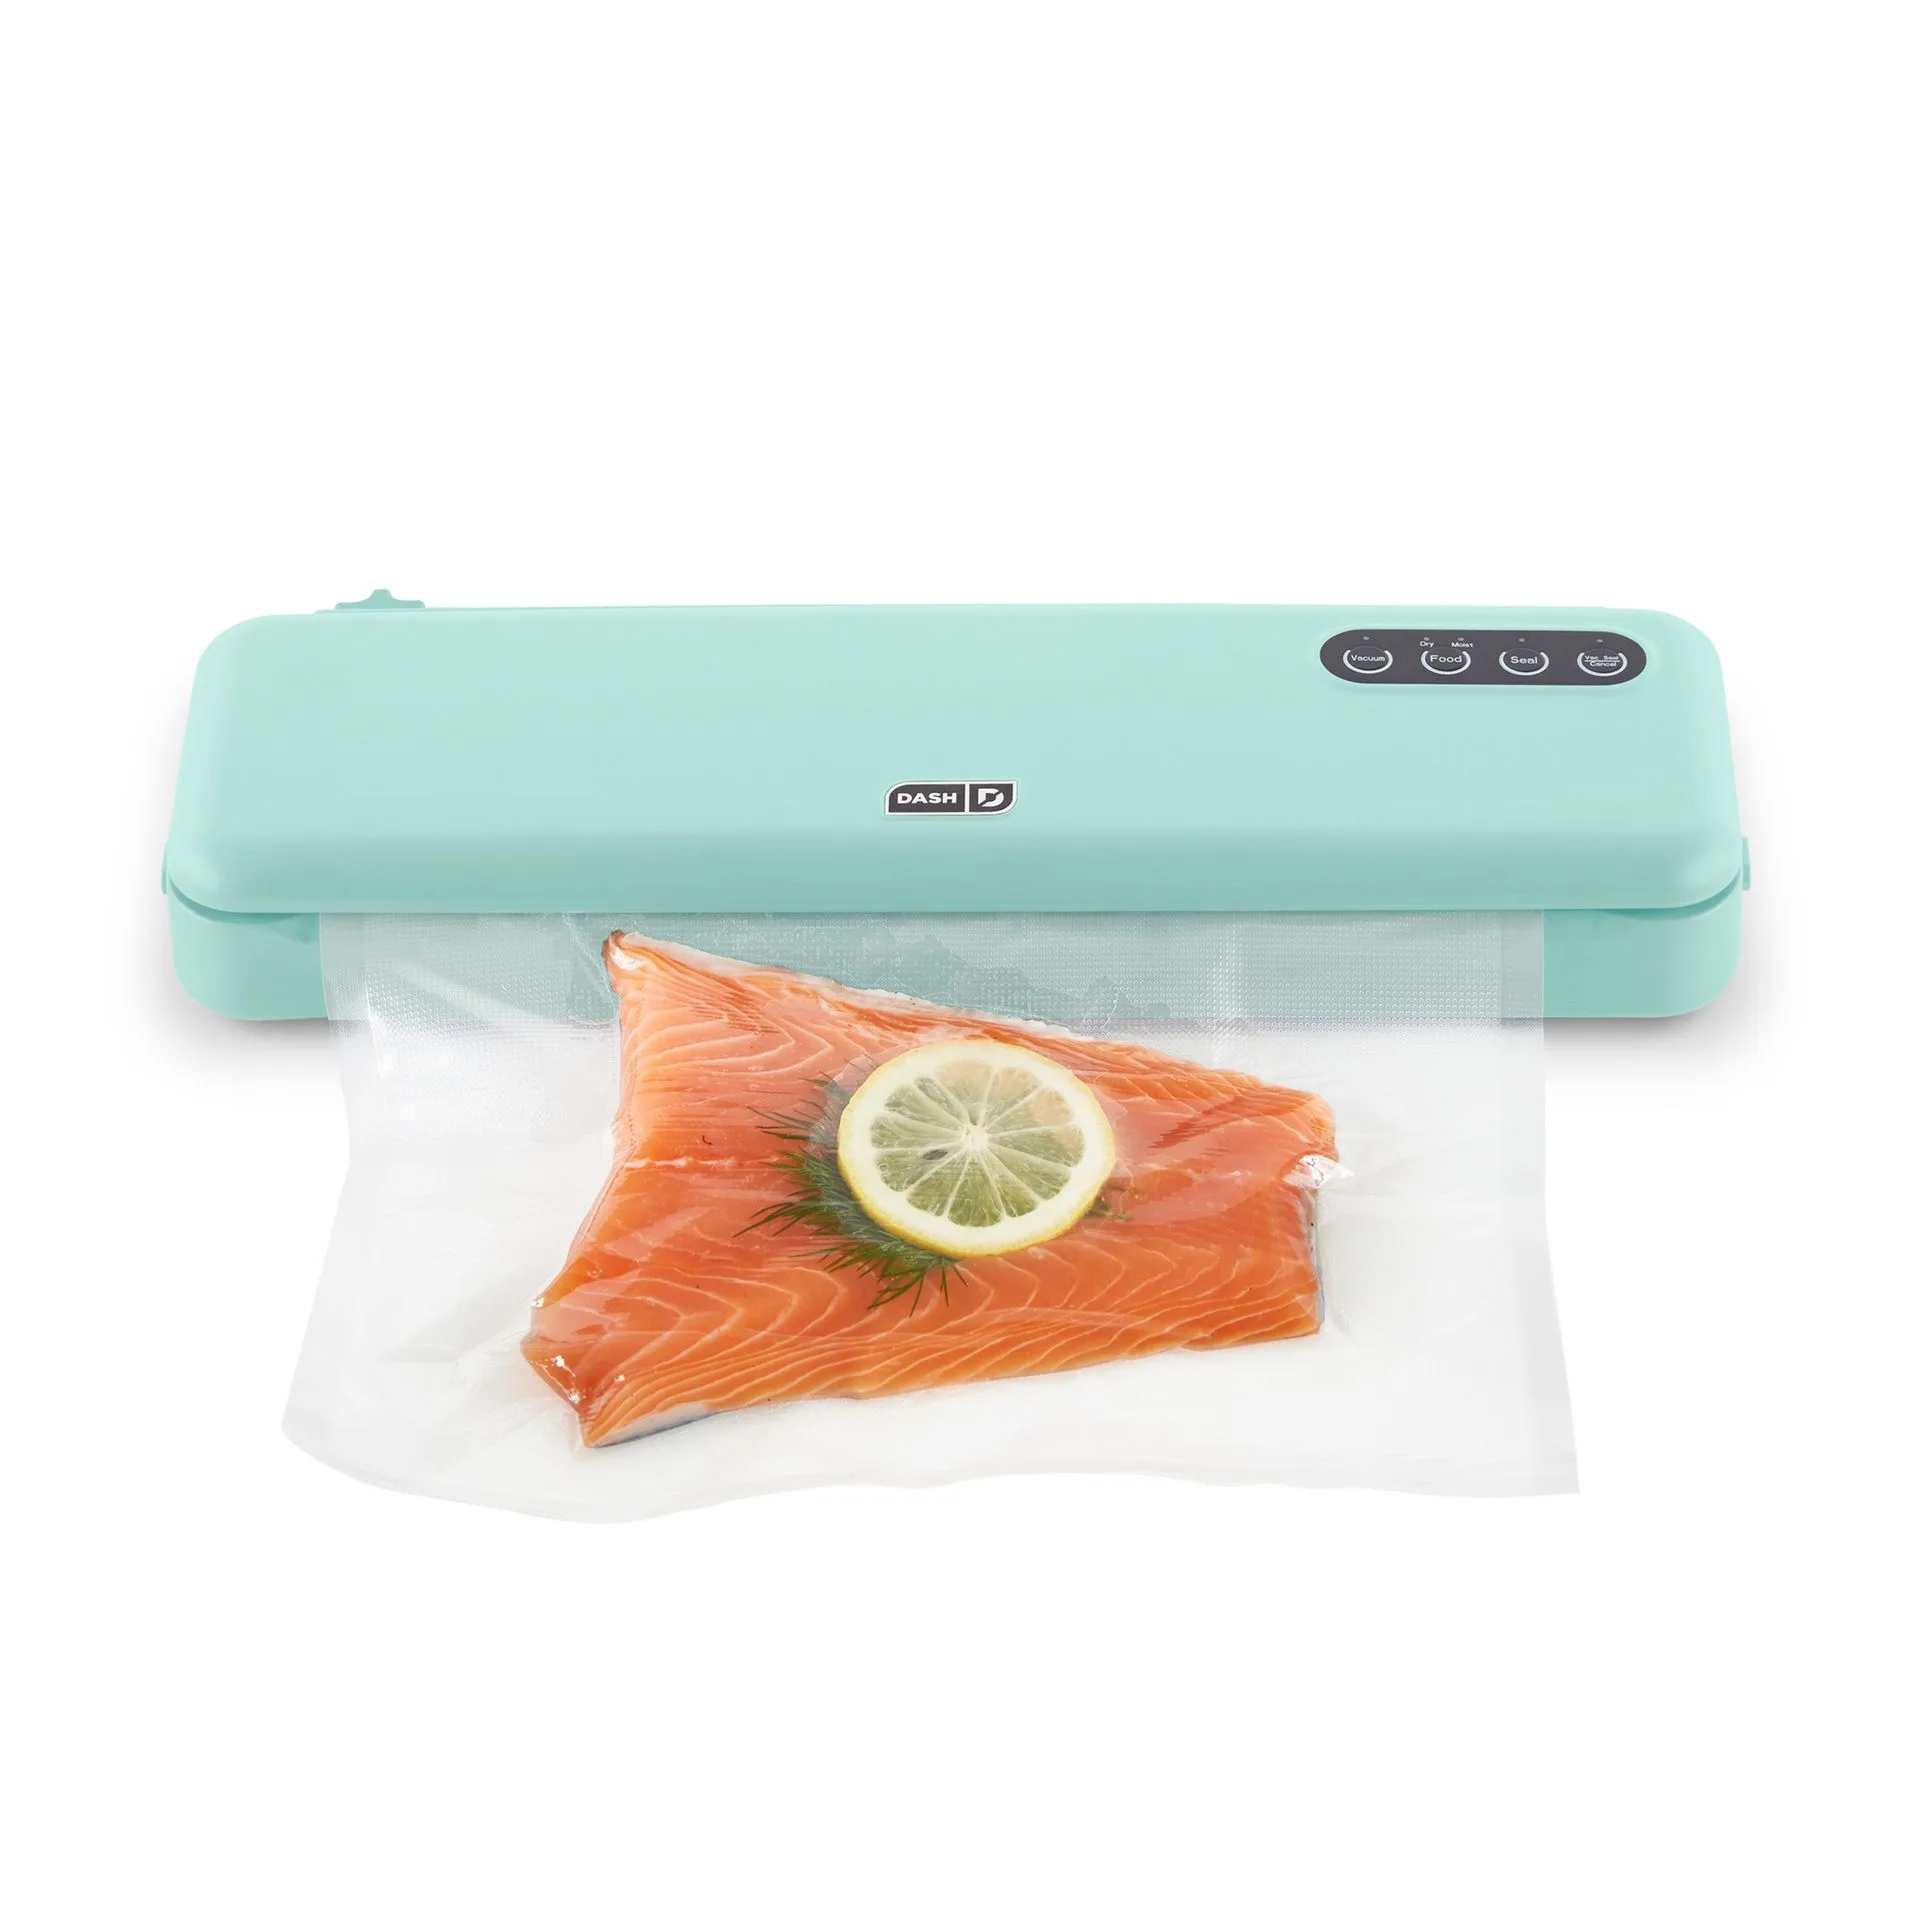
SuperSeal™ Vacuum Sealer