Quick Answer
To use a grill press effectively, preheat it with your pan, place it over the food with even pressure, and avoid pressing too early to keep juices locked in. For sandwiches, press until golden and crispy, and always use a heat-safe surface. Caraway's ceramic-coated pans pair perfectly with a grill press for non-stick, even cooking.
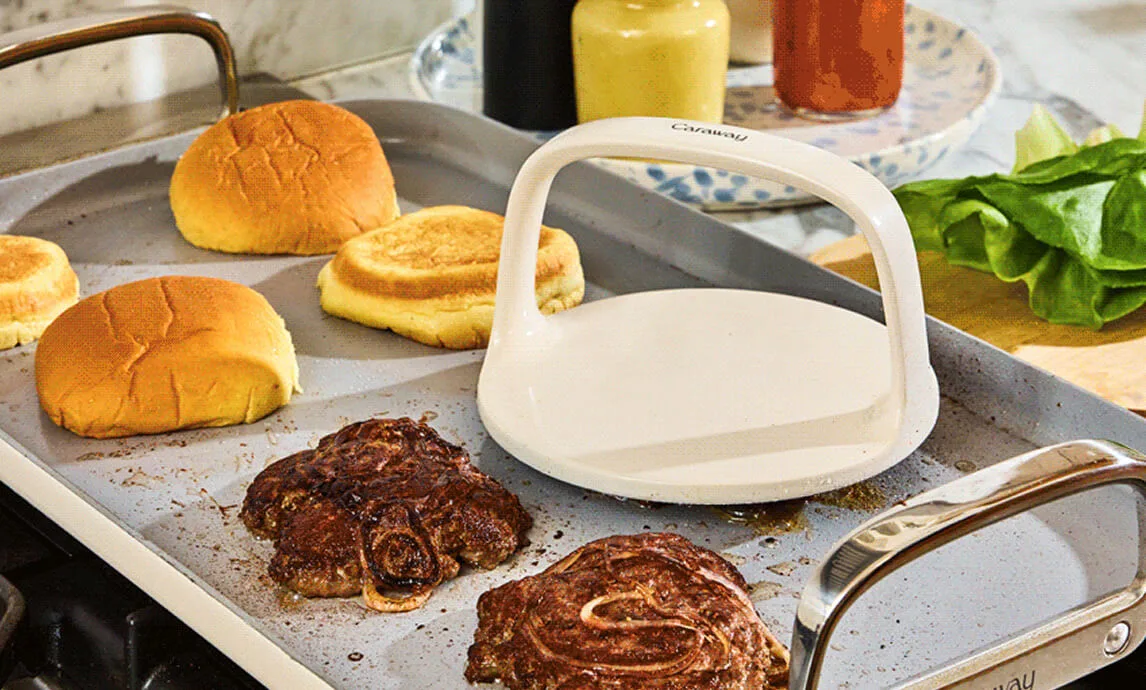
grill press
A grill press is a simple tool that transforms your cooking, giving you perfectly pressed meats, crispy sandwiches, and even vegetables. Whether you're a seasoned cook or just starting out, mastering the grill press can elevate your everyday meals. In this guide, we'll walk you through the essential techniques, common mistakes, and how to get the most out of your Caraway cookware.
From juicy burgers to golden paninis, the grill press is all about control. It applies even pressure, ensuring consistent contact with the cooking surface, which means better browning and faster cooking. But using it correctly requires a bit of know-how. Let's dive into the steps.
Why Use a Grill Press?
A grill press isn't just for restaurants. It's a versatile tool that helps you achieve professional results at home. By pressing down on food, you increase surface contact with the pan, which promotes even browning and reduces cooking time. This is especially useful for thick cuts of meat like chicken breasts or pork chops, which can easily dry out if not cooked evenly.
For sandwiches, a grill press creates that irresistible crispy exterior while keeping the inside warm and melty. It also helps flatten ingredients, so everything cooks uniformly. Whether you're making a classic grilled cheese or a hearty Cuban, the grill press is your secret weapon.
- Even pressure for uniform cooking
- Crispy textures without excess oil
- Reduces cooking time for thicker foods
Step-by-Step Guide to Using Your Grill Press
Using a grill press is straightforward, but there are a few key steps to ensure success. First, always preheat your pan and the press together. This ensures the press is hot when it touches the food, preventing sticking and promoting even searing. Place the press on the pan while it heats up, then remove it just before adding your food.
Once your food is in the pan, place the press on top and apply gentle, even pressure. Avoid pressing too hard or too early—let the food cook for a minute or two before pressing to allow a crust to form. This locks in juices and prevents moisture from escaping. For sandwiches, press firmly to flatten and toast the bread evenly.
Timing is everything. For meats, press for 30-60 seconds, then remove the press and continue cooking without it. For sandwiches, press for 2-3 minutes per side, or until golden and crispy. Always use a heat-resistant glove or handle cover, as the press gets very hot.
- Preheat the press with the pan for best results
- Let food sear before pressing to lock in juices
- Use a timer to avoid over-pressing
Common Mistakes to Avoid
One of the most common mistakes is pressing too early or too hard. This can squeeze out juices, leaving your meat dry and tough. Instead, let the food cook undisturbed for a few minutes to develop a crust, then apply gentle pressure. Another mistake is using a grill press on a pan that isn't preheated, which can cause sticking and uneven cooking.
Additionally, avoid using a grill press on non-stick surfaces with metal utensils that could scratch the coating. Caraway's ceramic-coated pans are durable, but it's always best to use wooden or silicone tools to protect the surface. If you're using a press with a wooden handle, be mindful of the heat and avoid placing it directly on the stovetop when not in use.
- Don't press too early—let the crust form first
- Use the right tools to protect your pan's coating
- Never leave the press unattended on a hot surface
Step-by-Step: Using Your Grill Press
- Preheat: Place your Caraway pan over medium heat and set the grill press on top to preheat for 2-3 minutes. This ensures even cooking and prevents sticking. A hot press is key to a good sear.
- Prepare Food: Season your meat or assemble your sandwich. Pat meat dry to encourage browning. For sandwiches, butter the outside of the bread. Dry surfaces mean better crust.
- Sear First: Place food in the pan and let it cook undisturbed for 1-2 minutes to develop a crust before pressing. This locks in juices. Don't rush the sear.
- Press Gently: Place the preheated press on top and apply even pressure. For meats, press for 30-60 seconds; for sandwiches, press for 2-3 minutes per side. Adjust pressure to food thickness.
- Check and Serve: Lift the press and check for desired doneness. For meat, use a thermometer (internal temp 165°F for poultry). For sandwiches, look for golden brown and crispy. Always verify doneness.
Caraway Products That Pair Perfectly with a Grill Press
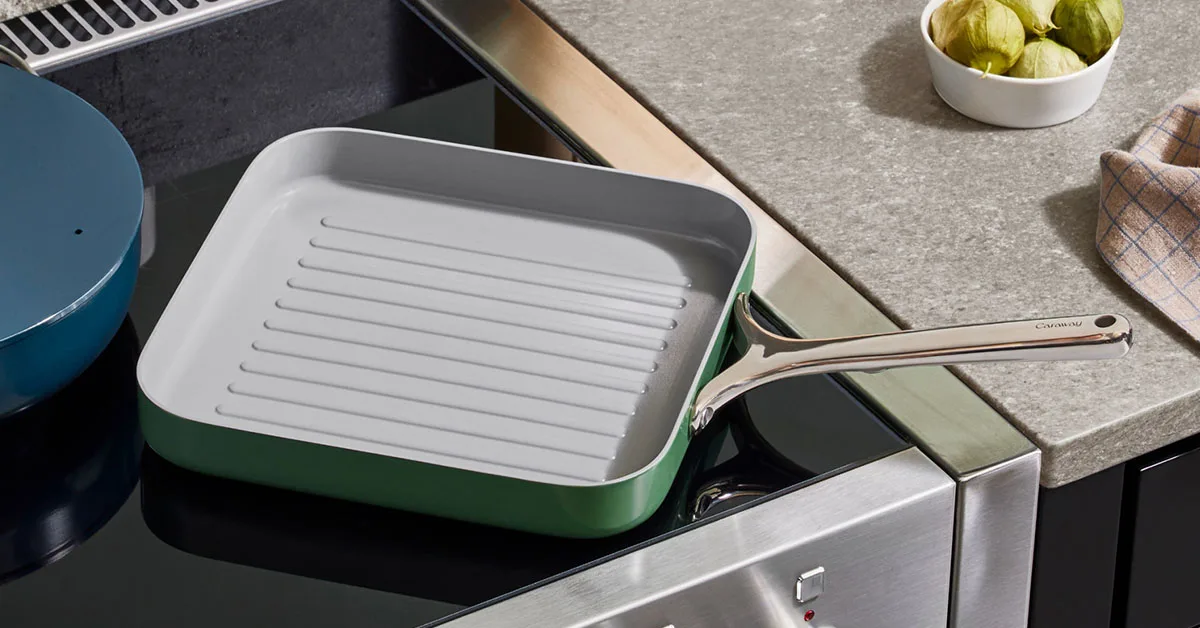
- Square Grill Pan: Shop Caraway's Ceramic Grill Pan and master the art of indoor grilling. Sear, sizzle, and enjoy the flavors of outdoor grilling all year around. The Square Grill Pan's ridges mimic an outdoor grill, and its ceramic coating ensures your grill press glides smoothly without sticking, giving you those beautiful sear marks.
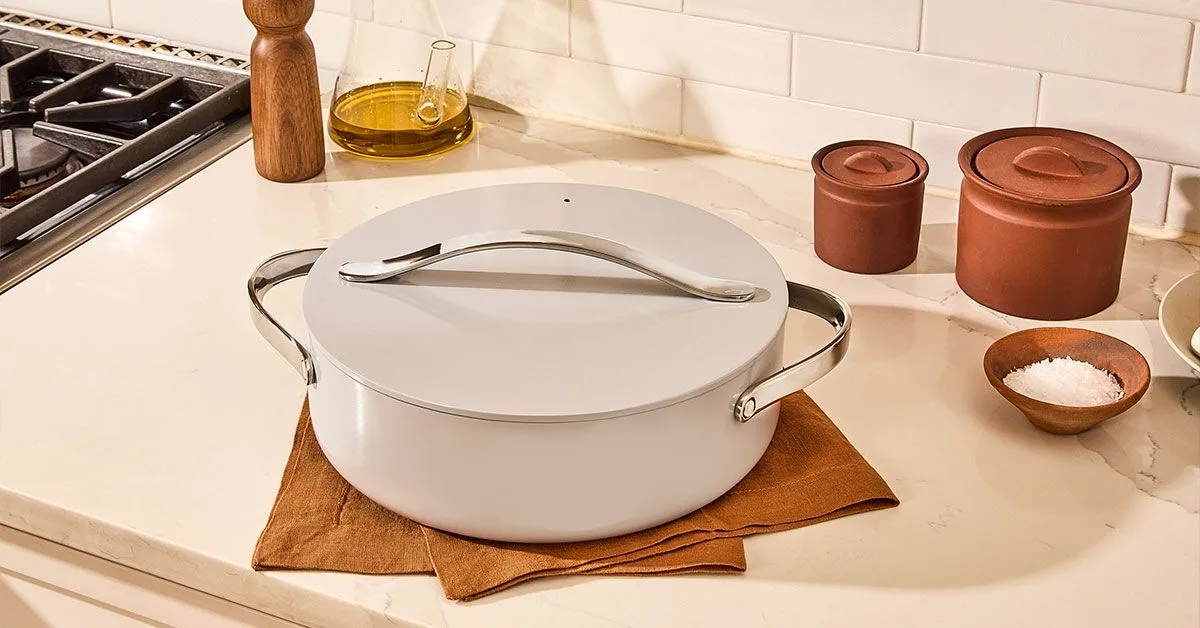
- Rondeau: Caraway's 6-qt ceramic rondeau pan offers a non-toxic, non-stick surface with high walls, perfect for braising, roasting, & versatile stovetop-to-oven cooking. When pressing larger cuts or making multiple sandwiches, the Rondeau's high walls contain splatter and its even heat distribution works beautifully with a grill press.
With these steps, you'll be pressing like a pro in no time. The key is to preheat, sear, and press gently. Pair your grill press with Caraway's Square Grill Pan for the best indoor grilling experience, or use the Rondeau for versatile stovetop-to-oven dishes. Explore the Square Grill Pan and elevate your cooking today.