Quick answer
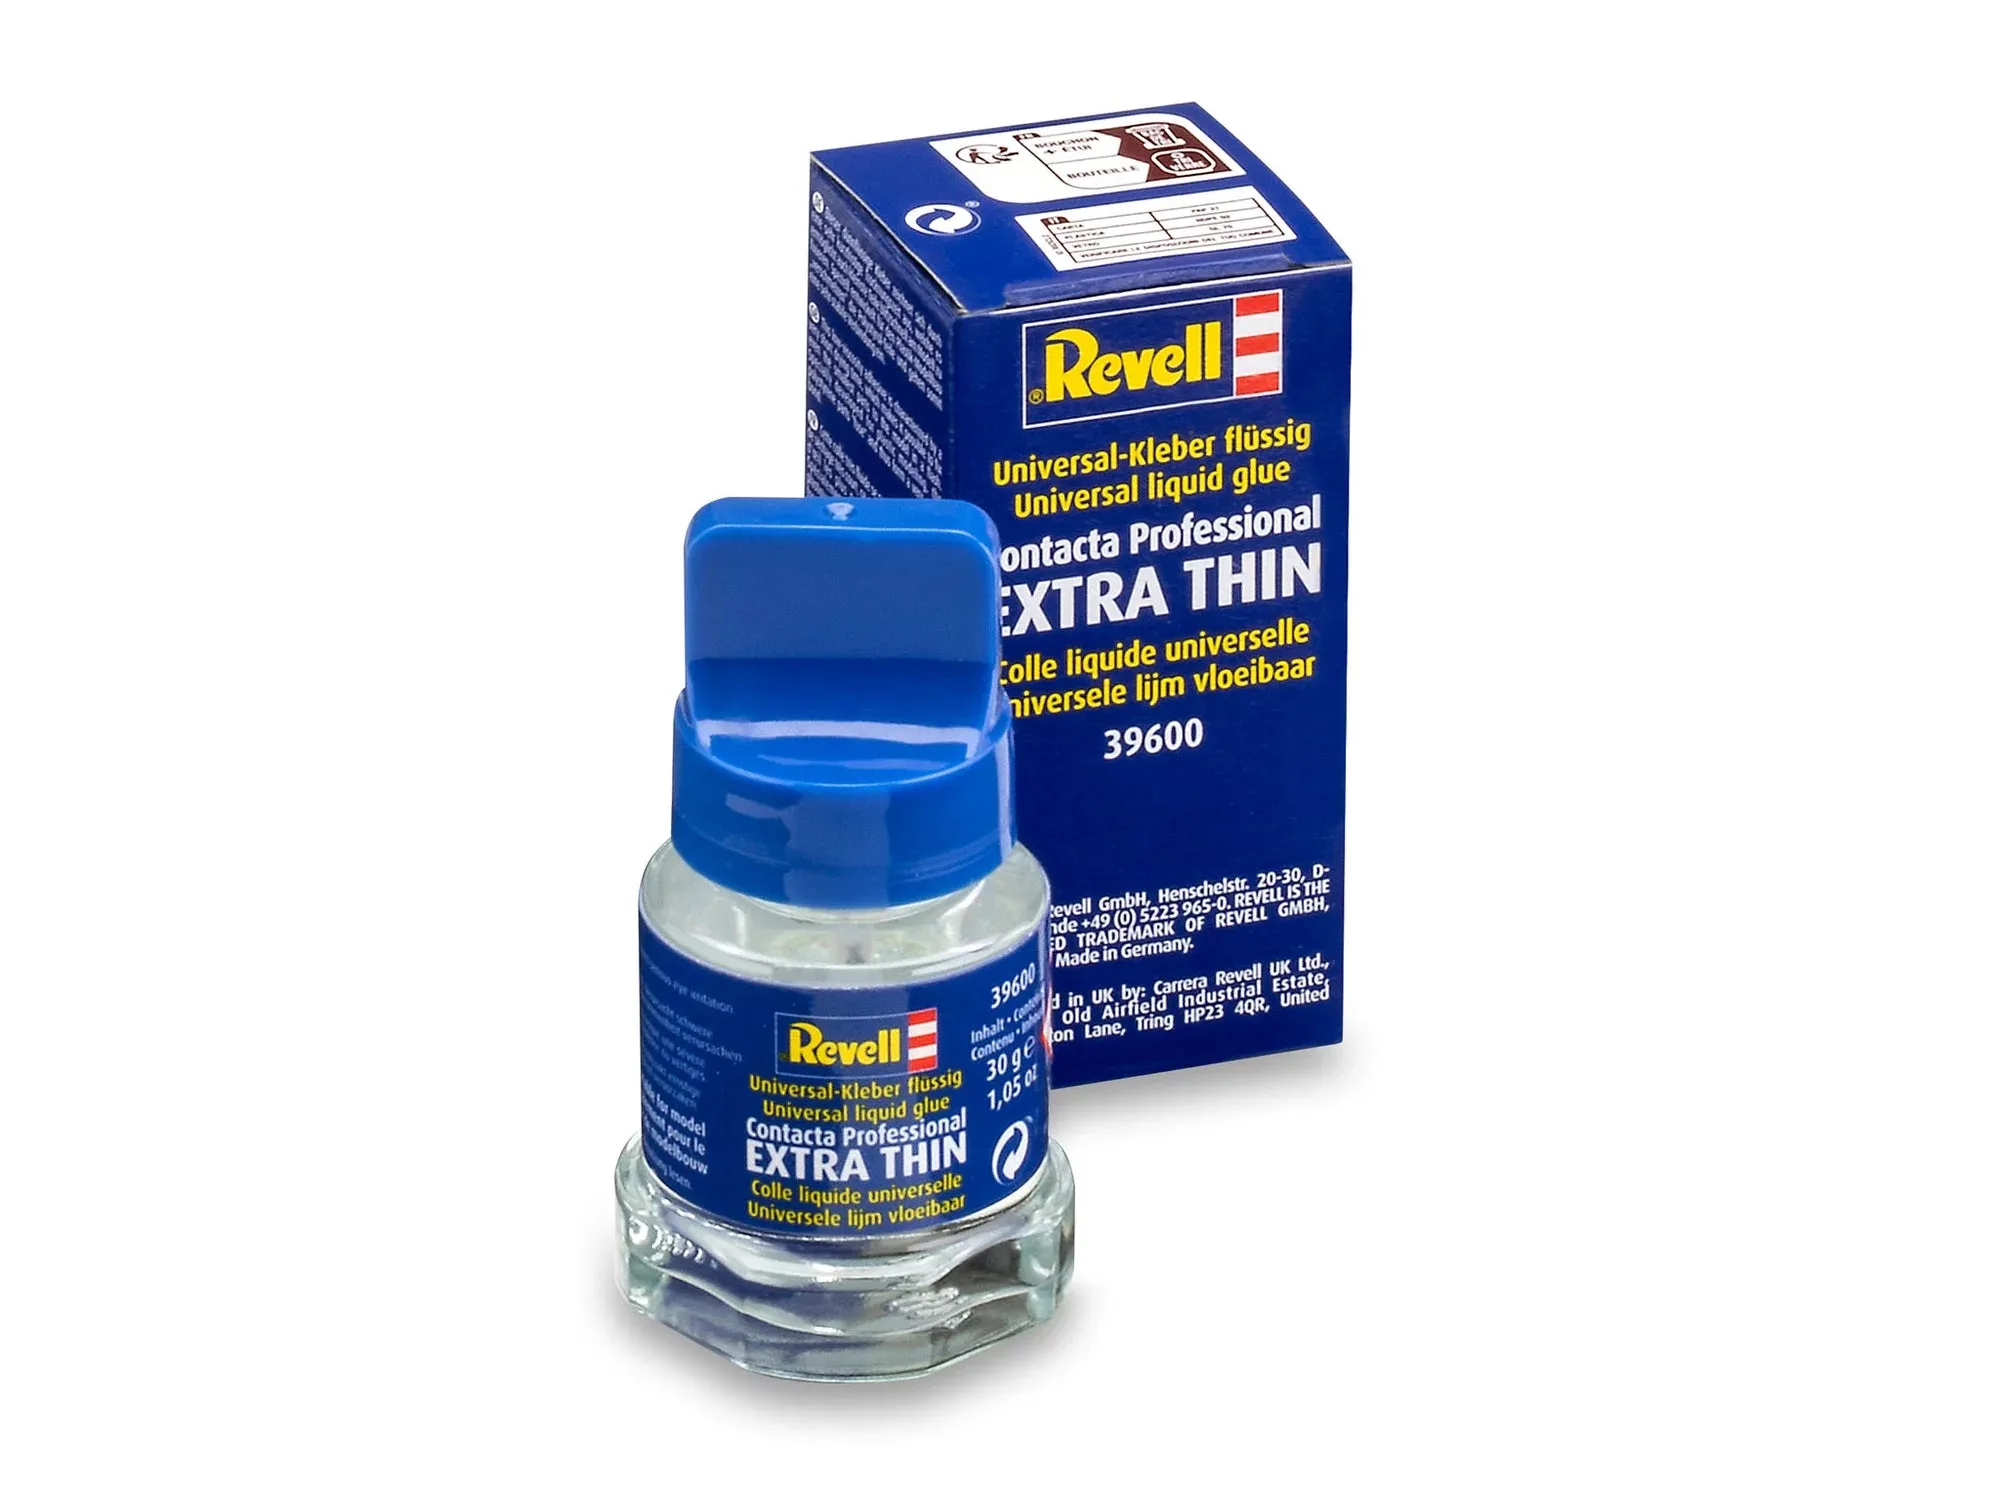
Contacta Professional Extra Thin Glue is a high-precision, extra-thin liquid cement that flows into the smallest gaps for seamless joins. For fine details, apply a tiny drop to one surface, press parts together, and hold for a few seconds. Avoid over-application, which can cause fogging or weakened joints.
Why Extra Thin Glue Works for Delicate Parts
Standard model glues are thicker and can leave visible residue or require clamping. Contacta Professional Extra Thin Glue has a water-like consistency that wicks into tight seams by capillary action, making it ideal for attaching small details like railings, antennas, or cockpit instruments. The bond forms quickly without needing heavy pressure, reducing the risk of distorting fragile parts.
Because the glue is so thin, it evaporates faster than thicker cements. This means you have a shorter working time, so it is best to dry-fit parts first and have everything ready before applying the glue. The tradeoff is speed: you gain precision but lose the ability to reposition parts after the glue touches the plastic.
Step-by-Step: Applying Contacta Professional Extra Thin Glue for Fine Details
- 1. Prepare the parts: Dry-fit the pieces to ensure they align perfectly. Clean any mold release or grease from the joining surfaces with mild soapy water and let dry. Use tweezers for very small parts. Common mistake: skipping dry-fit leads to misalignment that is hard to correct once the glue sets.
- 2. Apply a single small drop: Touch the tip of the Contacta Professional Extra Thin Glue applicator to one of the joining surfaces. A tiny drop is enough—the glue will spread by capillary action when you press the parts together. Checkpoint: if you see excess glue squeeze out, you used too much. Wipe it immediately with a dry cloth before it dries.
- 3. Press and hold: Bring the two parts together and hold firmly for 5–10 seconds. The thin glue bonds rapidly, so you will feel the joint set quickly. Do not move the parts during this time. Common mistake: releasing too early can cause the joint to weaken or the part to shift. Count to ten to be safe.
- 4. Let the joint cure fully: After the initial set, leave the assembly undisturbed for at least 30 minutes before handling. For load-bearing joints, wait 24 hours for full strength. Checkpoint: if the joint looks cloudy or frosted, you applied too much glue. Lightly sand the area after curing and repaint if needed.
Product used in this guide
- Contacta Professional Extra Thin Glue - 30ml: Contacta Professional Extra Thin – precision and speed for model making. This high-precision adhesive is particularly thin and is ideal for delicate gluing work. Thanks to the extra fine consistency, the adhesive penetrates into the smallest gaps and connects parts seamlessly. For fine detail work, you need a glue that flows into tight spaces without leaving blobs. The extra-thin formula of this Contacta glue lets you achieve invisible joints on small parts like railings, antennas, and cockpit details.