Quick answer
Use a cordless LED nail lamp like the Gotti Pro Cure Light for even, salon-grade curing without being tethered to an outlet. Follow the steps below for flawless gel results every time.
Why choose a cordless lamp
A cordless LED nail lamp frees you from the outlet, so you can cure gels at the manicure table, pedicure station, or even in a client's home. The trade-off is battery management: you must keep the lamp charged to avoid interrupted curing.
Step-by-step instructions
- Charge the lamp fully: Plug in the cordless LED nail lamp until the battery indicator shows a full charge. A partial charge may cause weak curing or a dead lamp mid-manicure. Check the charge before starting your gel application.
- Apply gel polish as usual: Prep nails, apply base coat, color coats, and top coat in thin, even layers. Thick layers can trap heat and cause uneven curing. Thin coats cure faster and more completely.
- Place the lamp over the nail: Position the lamp so the nail is centered under the LEDs. For the Pro Cure Light, the dual wavelengths activate all gel types, so no need to adjust settings. Ensure the lamp is flush against the nail to avoid light leakage.
- Set the timer and cure: Use the lamp's built-in timer (typically 30 or 60 seconds) for each coat. Standard gel colors cure in 30 seconds; darker or thicker gels may need 60 seconds. Do not move the lamp during curing — movement causes tacky spots.
- Check for full cure: After the timer ends, touch the nail surface lightly. If it feels tacky or soft, cure for another 15-30 seconds. A fully cured gel will be hard and non-sticky. Under-curing leads to peeling and chipping later.
Product facts
-
Pro Cure LED Cordless Light 365nm & 405nm: Dual 365nm and 405nm wavelengths cure every gel formula evenly. This means you don't need to switch lamps for different gel brands or colors, reducing curing failures and wasted time.
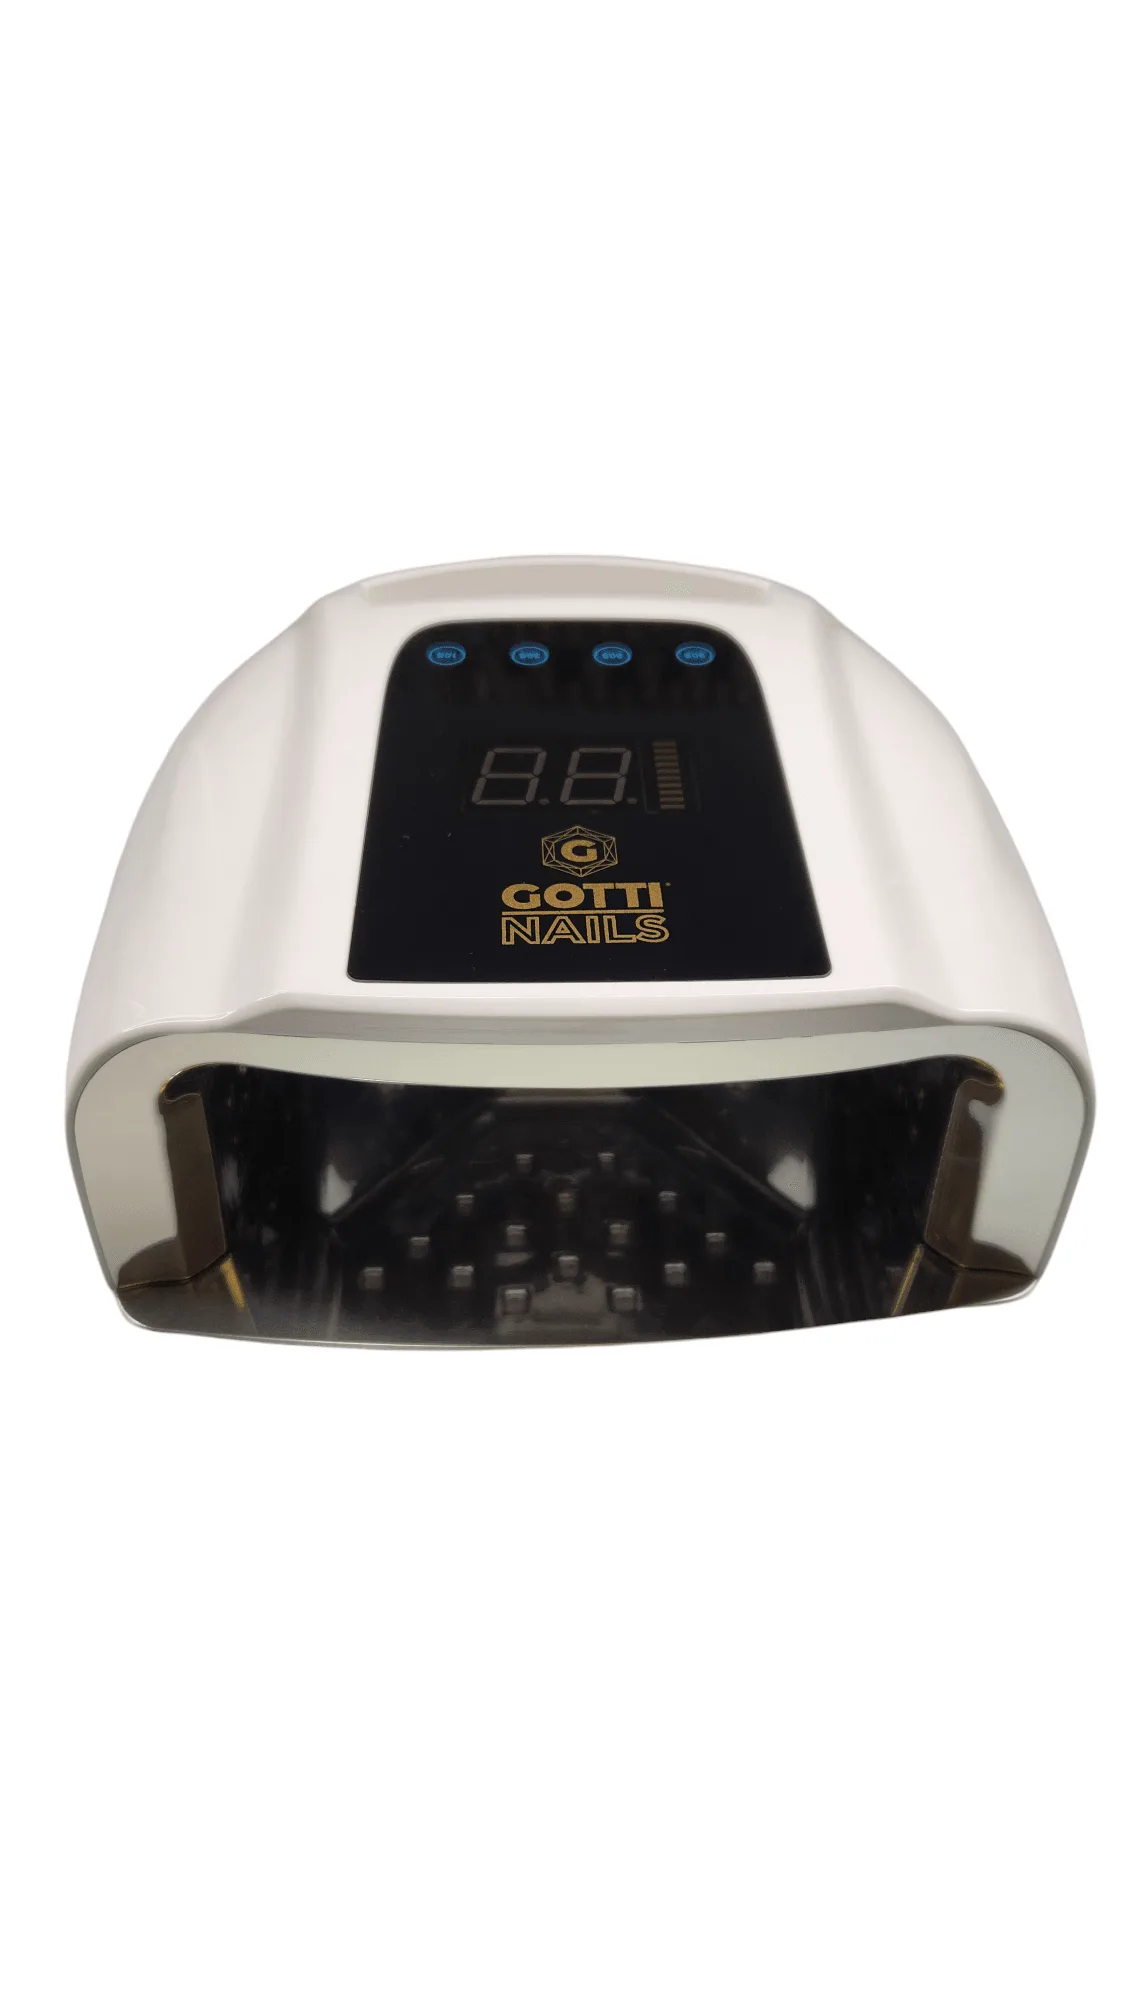
Pro Cure LED Cordless Light 365nm & 405nm