Quick Answer
Place Diagonal Seam Tape™ on the front plate of your sewing machine, align the red line with your needle, and use the black lines as guides for consistent diagonal seams.
Why Use Seam Tape for Diagonal Seams
Marking diagonal seam lines on fabric can be time-consuming and imprecise. Seam tape eliminates the need for marking by providing a visual guide directly on your machine. This speeds up piecing and improves accuracy, especially when sewing many identical blocks.
Diagonal Seam Tape™ is a washi tape that adheres to the front plate of your sewing machine. It is strong yet thin, sticks well to almost any surface, and removes easily without leaving residue. The red center line aligns with the needle, while the black lines on either side help you position the fabric for consistent seam allowances.
Trade-Offs and Limitations
Seam tape works best for straight diagonal seams, like those used in half-square triangles or flying geese. It may not be suitable for curved piecing or intricate angles, where a ruler or other marking method might be more appropriate.
Because the tape is applied to the machine, you need to ensure the surface is clean and free of dust or oil for optimal adhesion. Over time, the tape may lose stickiness, but a roll provides 10 yards of tape, so you can replace it as needed.
Step-by-Step Guide to Using Diagonal Seam Tape
- Clean the Machine Bed: Wipe the front plate of your sewing machine with a dry cloth to remove dust, lint, or oil. This ensures the tape adheres firmly and stays in place while sewing. Check that the surface is completely dry before applying the tape.
- Position the Tape: Peel a length of Diagonal Seam Tape™ from the roll. Place it on the front plate so that the red center line aligns exactly with your needle. Press down firmly along the entire length to ensure good adhesion. Double-check alignment by lowering the needle manually to confirm it touches the red line.
- Test the Guide: Sew a scrap piece of fabric, guiding the edge along the black line that corresponds to your desired seam allowance. Adjust the tape position if the seam width is not accurate. Always test on scrap fabric before sewing your actual quilt pieces.
- Sew Your Diagonal Seams: Feed fabric pieces through, keeping the edge aligned with the black guide line. The red line marks the needle position, so you can maintain a consistent seam allowance without marking each piece. Pause periodically to check that the fabric edge stays aligned with the guide line.
- Remove the Tape: When finished, gently peel the tape off the machine bed. It should come off easily without leaving residue. If any residue remains, clean with a soft cloth. Store the tape roll in a cool, dry place to preserve its stickiness for future use.
Product Facts
-
Diagonal Seam Tape™ by Cluck Cluck Sew: Diagonal Seam Tape™ is a washi tape placed on the front plate of your sewing machine to act as a guide for sewing diagonal seams. It is strong, thin, sticks well to almost any surface, and comes off easily. Each roll contains 10 yards of tape. This means you can rely on the tape to stay in place during long sewing sessions, remove it cleanly when done, and use it for many projects before needing a replacement.
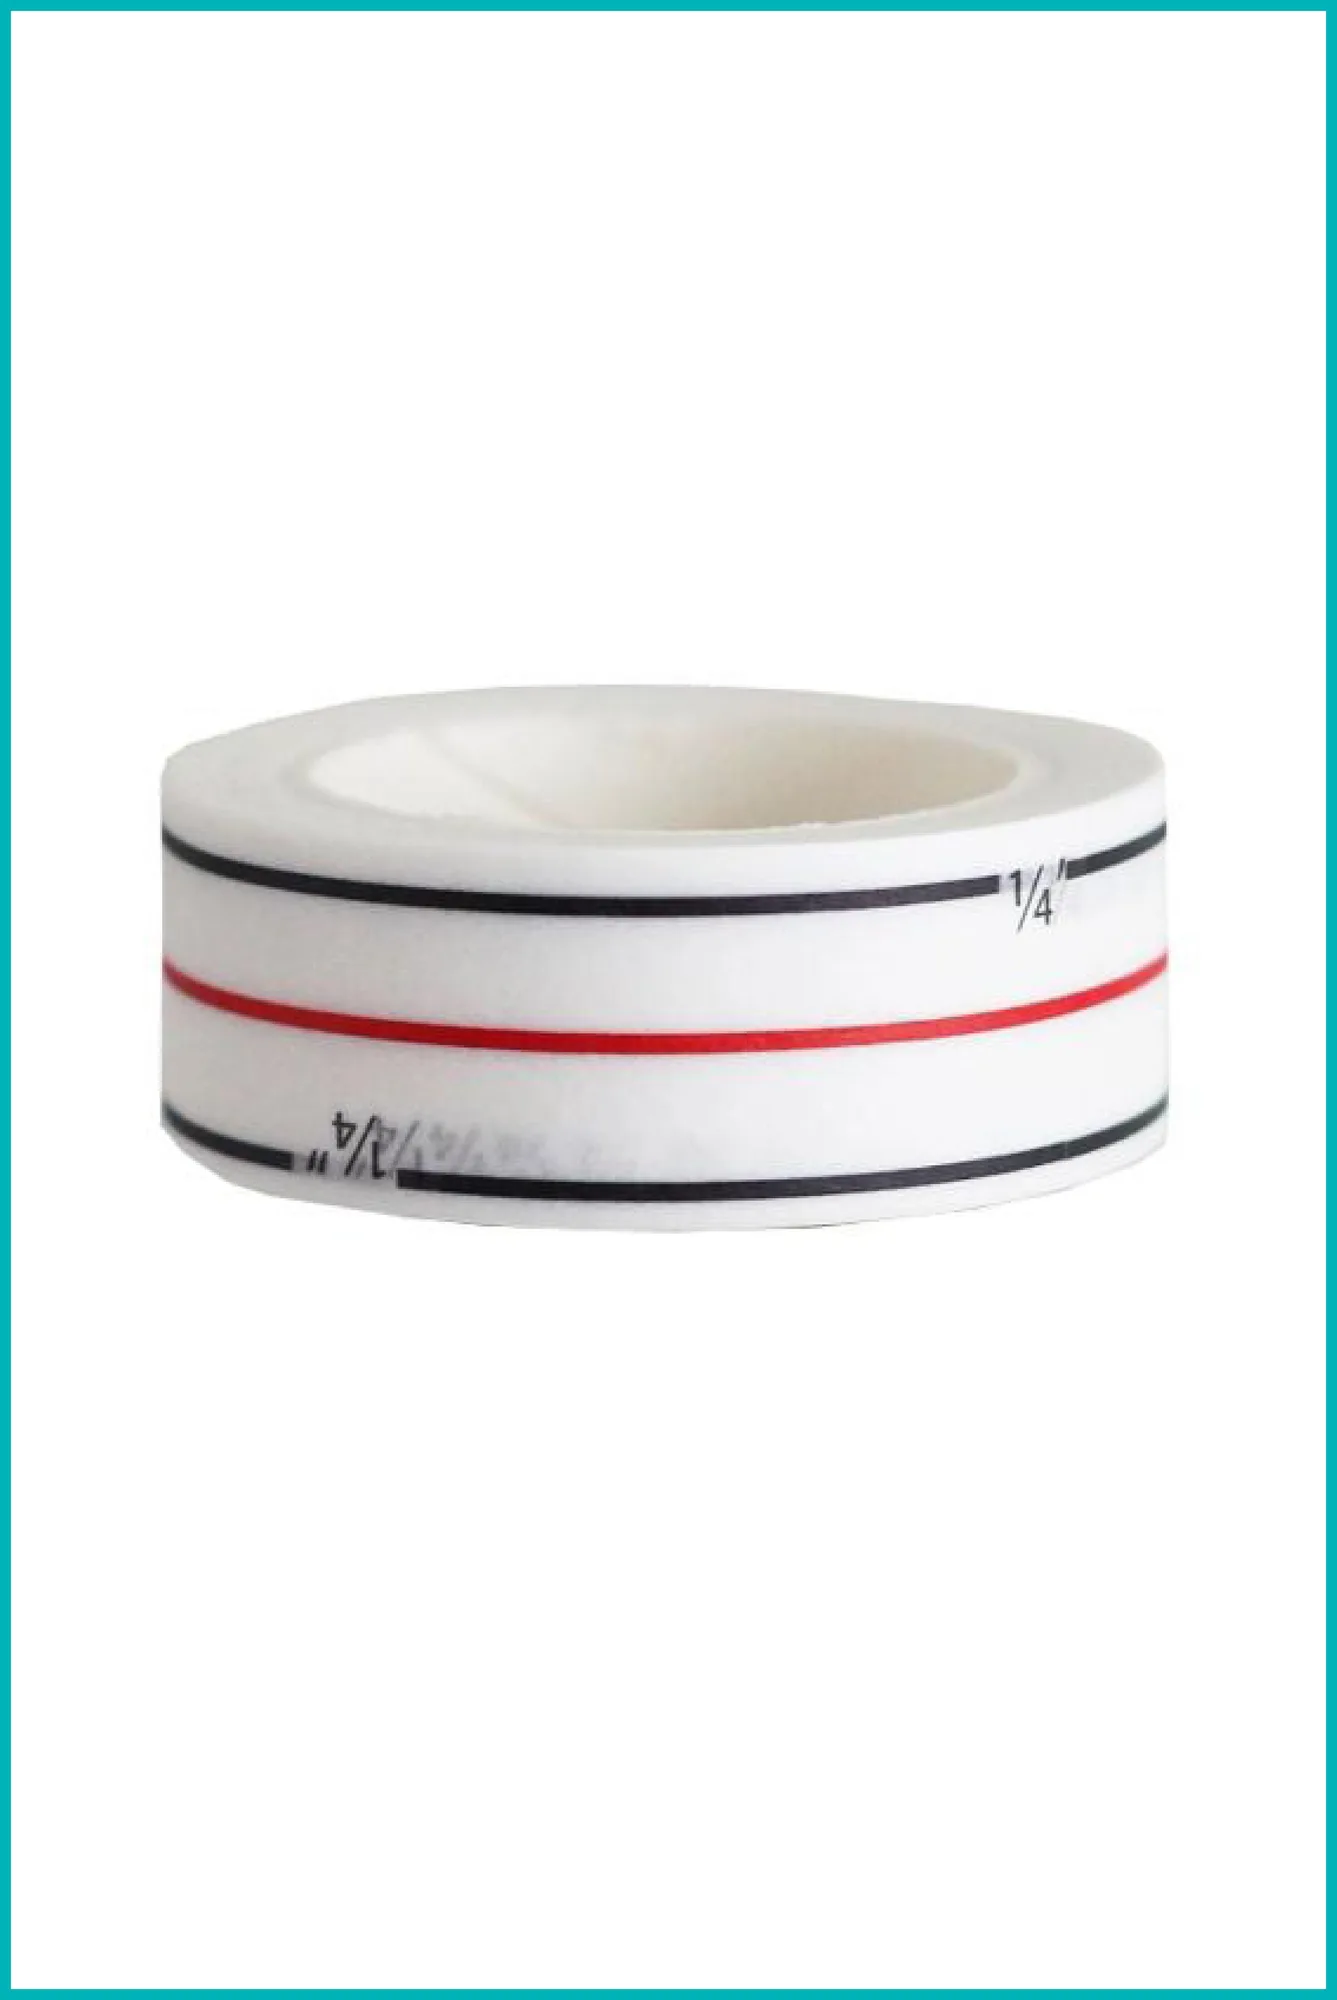
Diagonal Seam Tape™ by Cluck Cluck Sew