Quick answer
Hold the G.E.M. mirror in one hand, angle it toward the area you want to see, and adjust the distance until the reflection is clear. Use bright, indirect light, go slowly, and stop if anything feels painful. The mirror is a viewing tool, not a diagnostic device, so note changes and follow up with a clinician.
Set up your space and light before you position the mirror
Good lighting matters more than mirror angle. Sit on a bed or floor with a wall behind you, or lean against a headboard, so you can hold the mirror steady without tensing your arm. A lamp placed to the side and slightly behind the mirror reduces glare and shadows. Avoid pointing a bright light directly at the mirror surface, because the reflection will wash out detail.
Position the mirror without straining your neck or wrist
Start with the mirror about 6 to 10 inches from your body and tilt it until the reflection comes into view. If you are lying down, bend your knees and let them fall outward, then rest the mirror on your lower belly or hold it just above your pubic bone. If you are sitting, place one foot on a low stool and angle the mirror from below. The goal is a relaxed viewing angle, not a gymnastic one.
Check the mirror surface and your hands first
Wipe the mirror with a soft cloth before and after use. Wash your hands with soap and water, and keep nails short or gloved if you plan to part skin gently. A smudged or fogged mirror makes it harder to see texture and color, which are the details you are checking.
Step-by-step: using the G.E.M. mirror
- 1. Wash hands and prepare the mirror: Clean your hands and wipe the mirror with a soft cloth. Check that the surface is free of smudges or lint before you begin. A dirty or fogged mirror is the most common reason people give up before they see anything useful.
- 2. Choose a supported, relaxed position: Sit or lie down with your back supported. Bend your knees and let them fall open, or place one foot on a low stool if sitting. Do not hunch over the mirror. If your neck or wrist starts to ache, you are holding the mirror too far away or at the wrong angle.
- 3. Hold the mirror and find the reflection: Hold the G.E.M. in one hand and start about 6 to 10 inches away. Tilt the mirror slowly until the area you want to see comes into view. Move the mirror, not your body, for small adjustments. Small tilts work better than big repositioning moves. Stop and reset if the image is blurry.
- 4. Scan slowly and compare sides: Look at one area at a time. Compare left and right for symmetry, and note any new bumps, color changes, or irritation. Use a hand mirror or phone light only if you need extra light, not as a replacement for the G.E.M. Most people rush this step. Give yourself a few minutes and check the same spots each time so you notice changes.
- 5. Clean the mirror and record what you saw: Wipe the mirror again after use and wash your hands. If you noticed anything unusual, write down the date and a short description, or take a photo for your clinician if you are comfortable doing so. A written note is more useful than memory when you follow up with a doctor.
Product facts
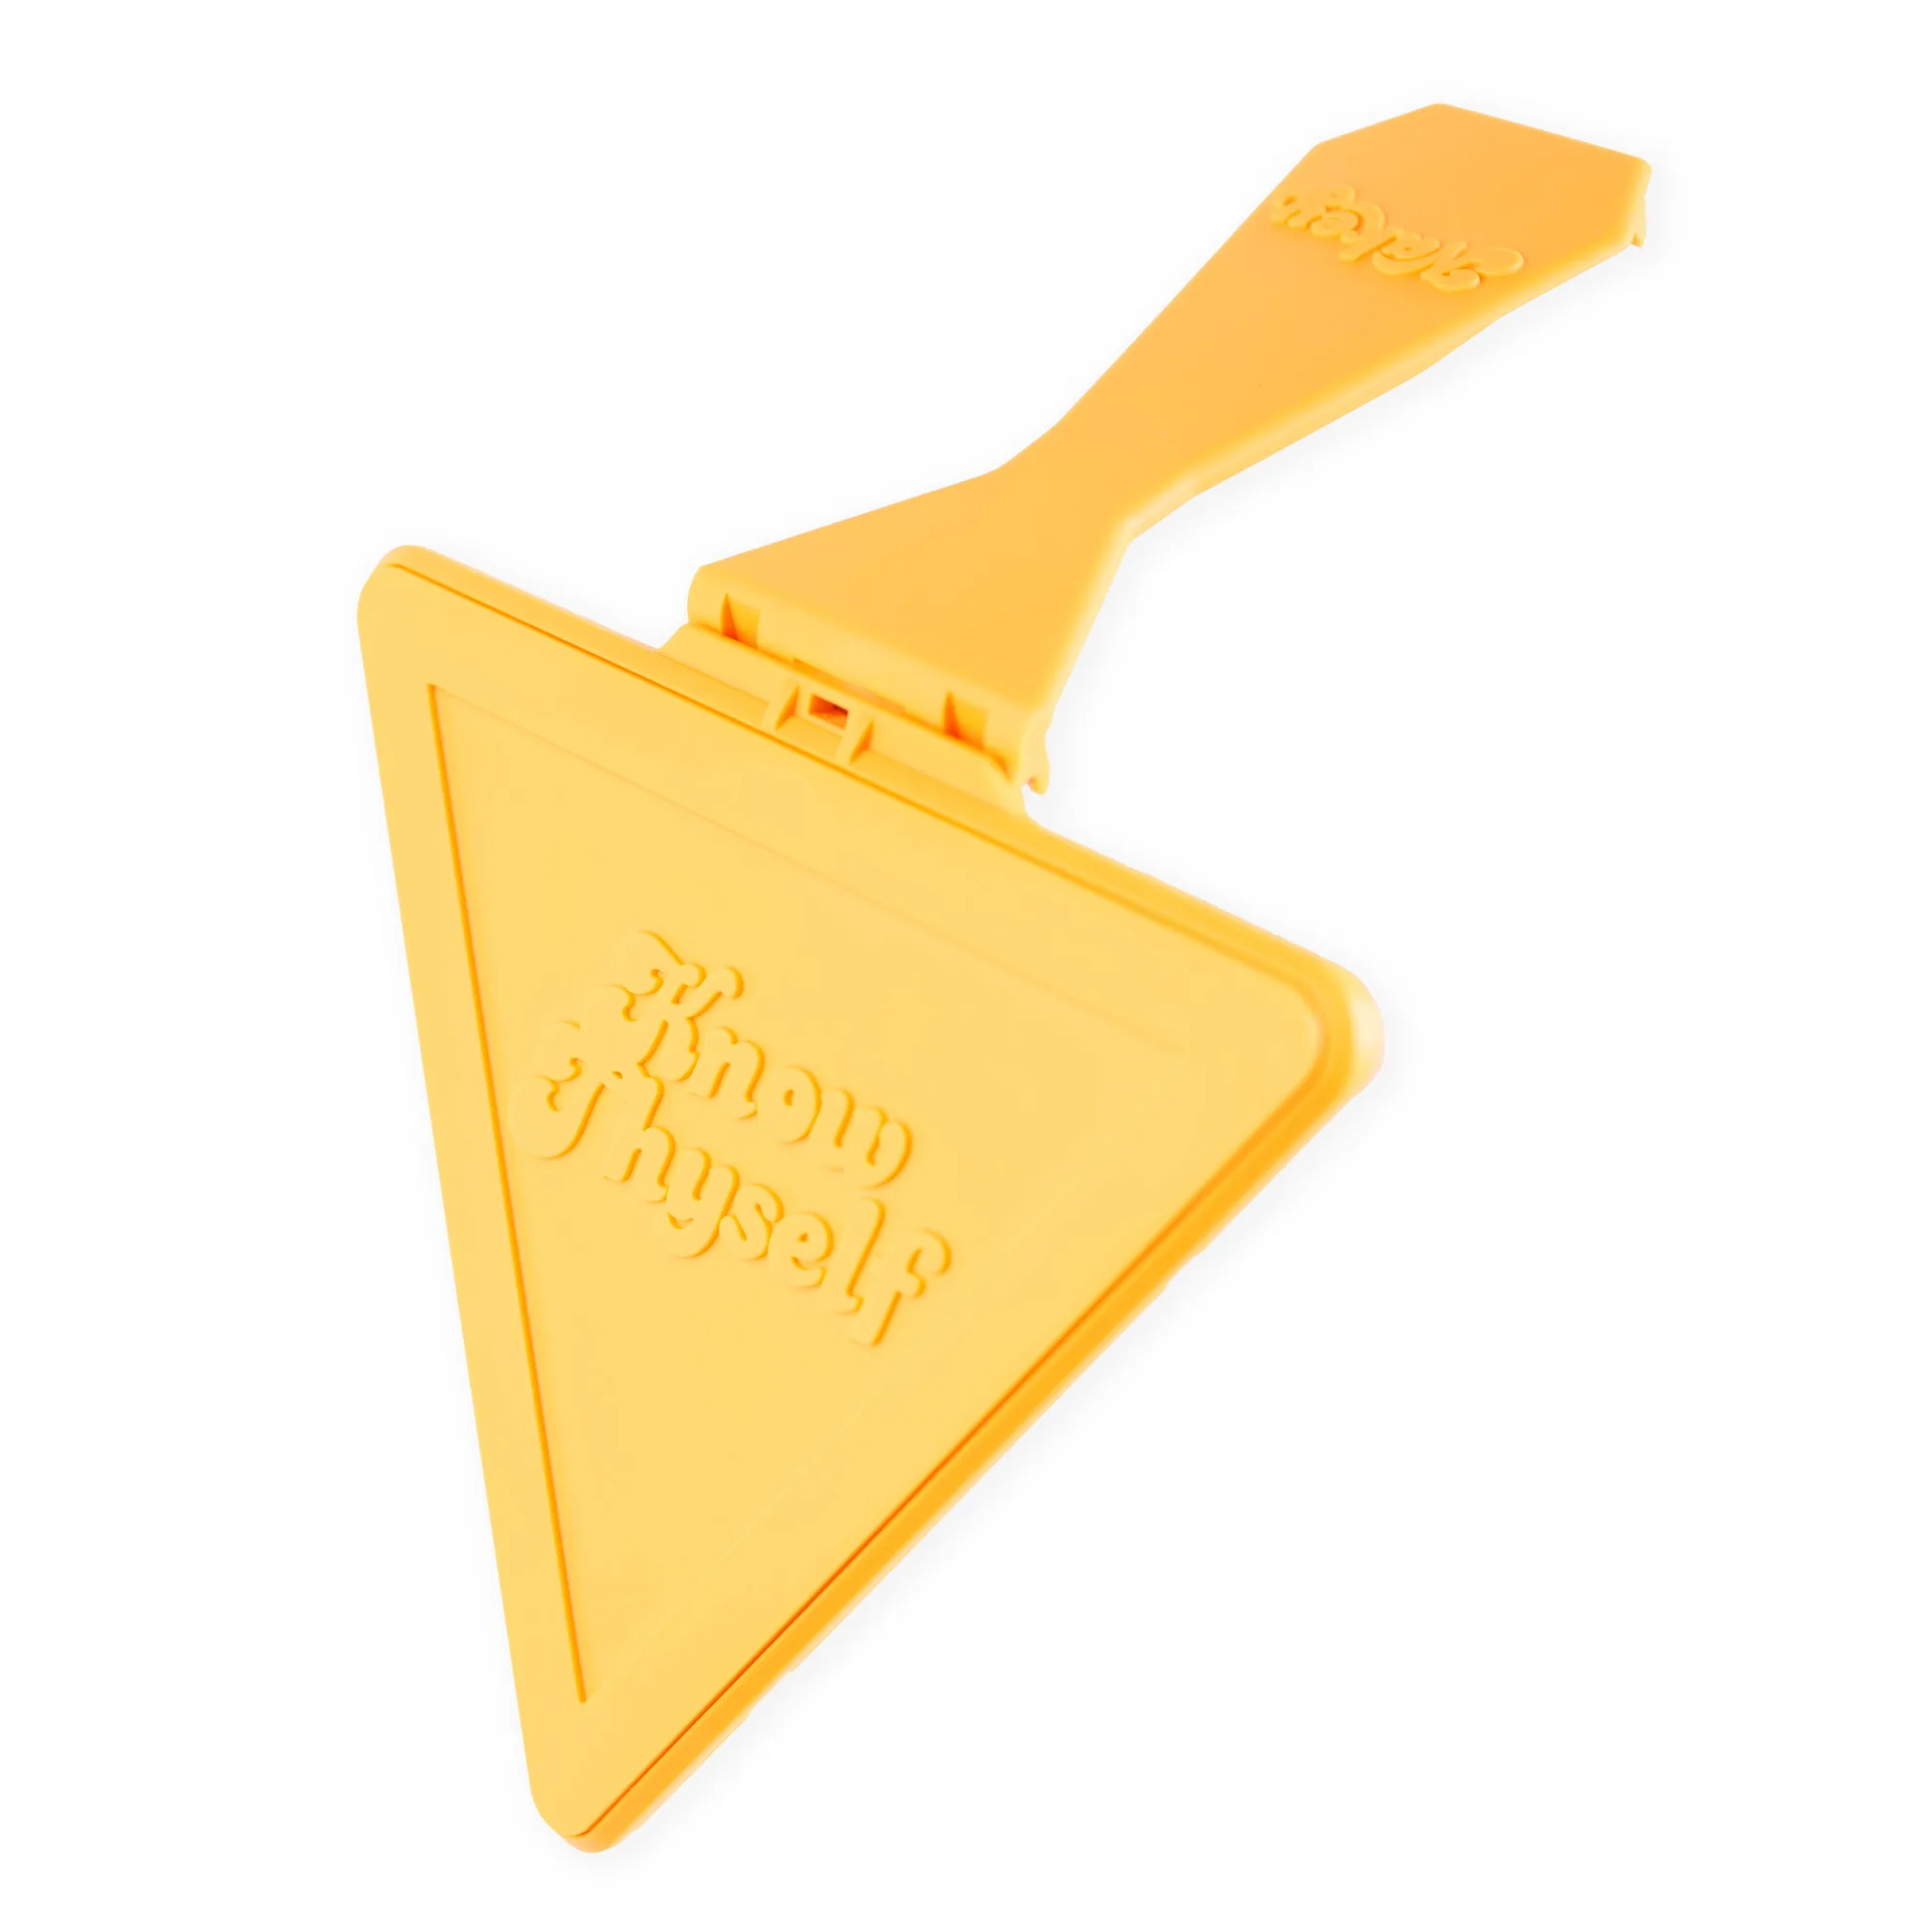
- The G.E.M. (Genital Examination Mirror): The G.E.M. is a hand-held genital examination mirror designed for easily viewing yourself, checking your haircut, monitoring your health, and feeling yourself. A hand-held mirror lets you choose your own angle instead of relying on a phone camera or awkward positions.