Quick answer
To use a gua sha tool for facial massage, start with a clean face and a generous layer of slip cream, then use gentle, upward strokes along your neck, jawline, cheeks, and forehead to encourage lymphatic drainage and release muscle tension.
Why technique matters more than pressure
Many first-time users press too hard, thinking deeper pressure equals better results. In reality, gua sha works by stimulating the lymphatic system and fascia, which respond best to light, consistent strokes. The tool glides over the skin; it should never drag or pull. Using too much force can cause bruising or irritation, especially on delicate facial areas.
The shape of the tool also influences technique. A porcelain gua sha like the Porcelain Gwalsa has curved edges that fit the contours of your face. The wider curve works well for the jaw and cheekbones, while the smaller notch targets the under-eye area and brow bone. Matching the correct edge to each area makes the massage more effective and comfortable.
When to gua sha and when to skip
Gua sha is most effective when done in the evening after cleansing, as it helps move fluids accumulated during the day and prepares the skin for overnight recovery. Morning use can also help de-puff, but keep strokes even lighter and shorter.
Avoid gua sha if you have active acne, sunburn, rosacea flare-ups, or any open wounds on the face. The friction can worsen inflammation. Also skip it right after chemical peels or micro-needling until the skin barrier is fully healed.
Step-by-step facial massage with a gua sha tool
- Prep your skin and tool: Cleanse your face and apply a generous layer of a slip cream or facial oil. The tool should glide without resistance. Hold the gua sha at a 15–30 degree angle against the skin. Skipping slip product is the most common cause of tugging and irritation.
- Start with the neck: Using the wider curve, stroke from the center of your neck outward toward the lymph nodes under your ears. Repeat 3–5 times on each side, always moving in one direction. Never stroke back and forth; lymphatic flow is one-way.
- Sculpt the jawline: Place the tool's notch under your chin and glide along the jawbone toward the ear. Keep the pressure light and the movement slow. Repeat 5 times per side. If you feel a drag, you need more slip product or a shallower angle.
- Lift the cheeks: Start beside the nostril and sweep the wider curve upward along the cheekbone toward the temple. Repeat 3–5 times per side. Then move from the corner of the mouth diagonally up toward the ear. Keep the tool flat against the cheek; tilting it digs the edge into the skin.
- Smooth the forehead: Place the tool horizontally at the center of your forehead and stroke outward toward the temples. Work from the brows up to the hairline, covering the entire forehead area. Use the gentlest pressure here; the forehead skin is thinner.
- Finish and clean: Gently wipe off excess product with a damp cloth. Rinse the gua sha with warm water and mild soap, then dry it completely before storing. A clean tool prevents bacteria buildup and keeps the surface smooth for future use.
Our recommended tool
-
Porcelain Gwalsa (Gua Sha): This ceramic massage tool is designed for lymphatic drainage and meridian release, made to pair with a massage cream. The smooth porcelain surface glides without tugging, and its traditional shape lets you target specific facial zones with precision.
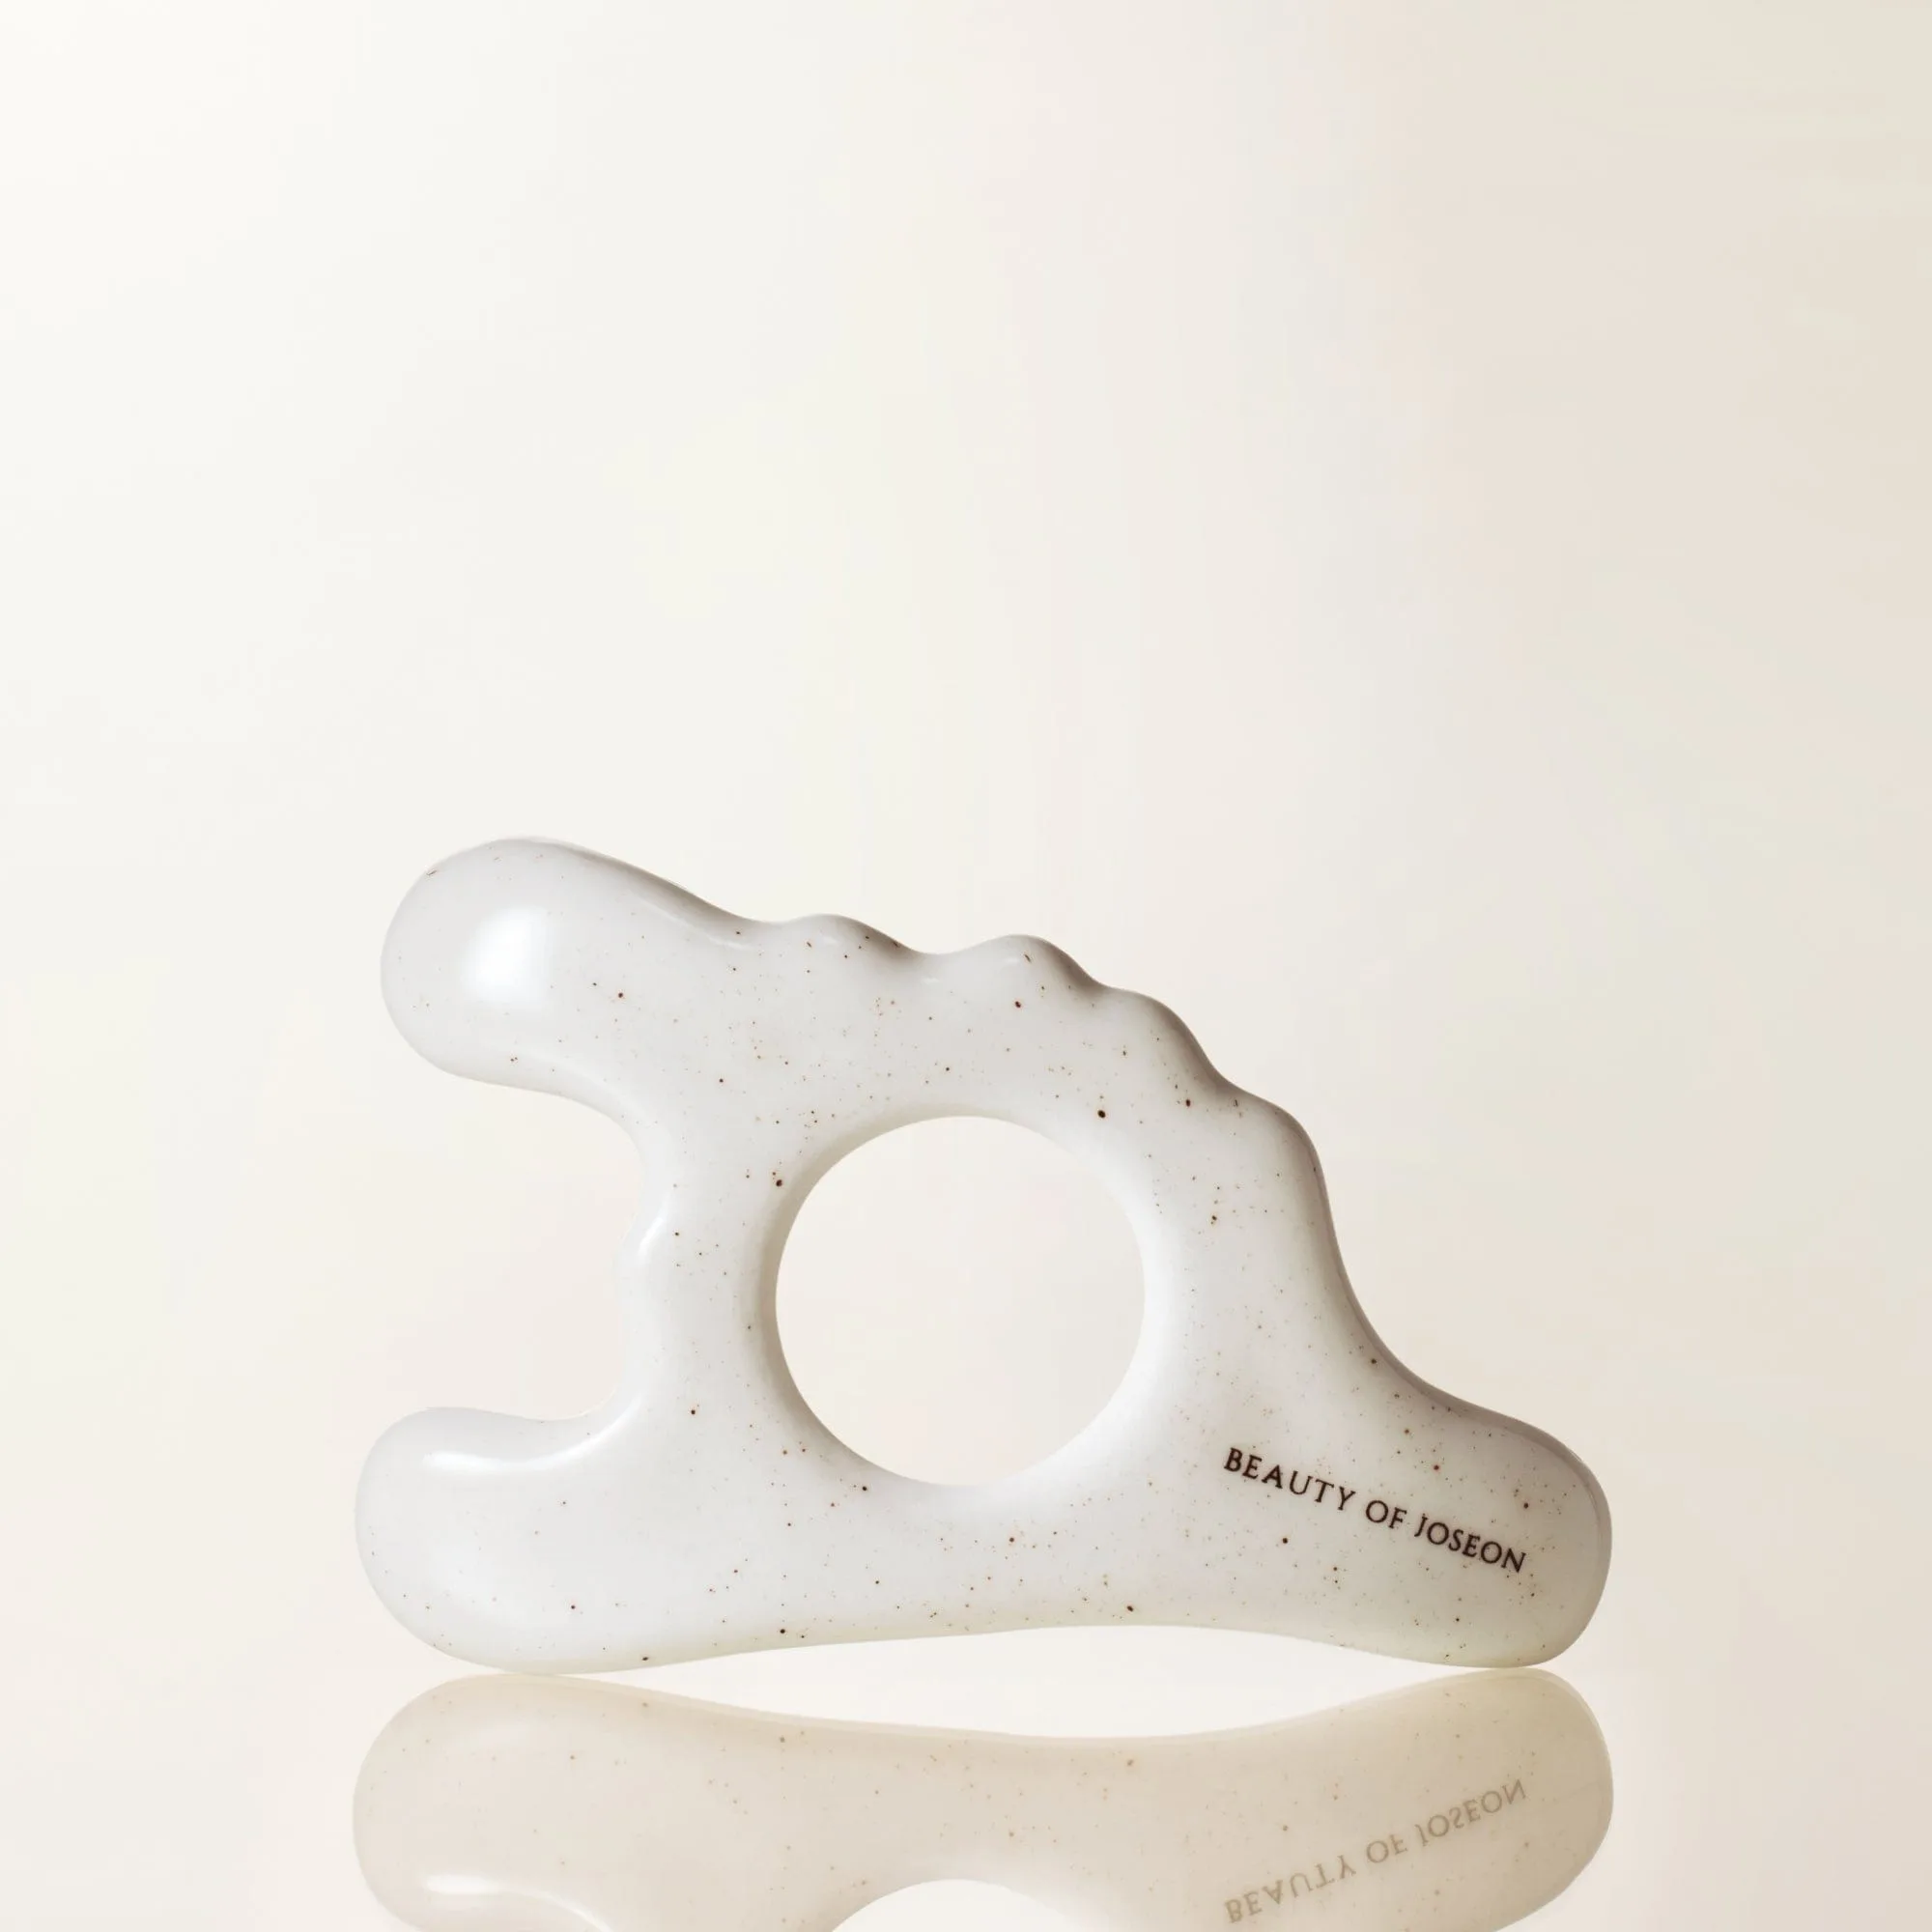
Porcelain Gwalsa (Gua Sha)