Quick answer
Use plastic wool needles for any job where a sharp point would split yarn or scratch a loom: darning knits, weaving in ends, and lifting stitches on knitting mills or dolls. The curved grey needle from the Prym plastic wool needle set handles mesh lifting, while the straight plum needles handle seaming and threading. For woven darning on socks or wool garments, switch to a steel darning needle so the tapered point can slide through tight fabric.
Match the needle tip to the job
Plastic wool needles are blunt on purpose. A rounded tip pushes between yarn plies instead of piercing them, which is why they work for loom knitting, knitting dolls, and any chunky yarn that would shred under a sharp needle. The Prym set gives you two tip shapes: a grey curved needle for lifting meshes off pegs or looms, and two plum straight needles for seaming and weaving ends. If you are darning a sock with fine sock yarn, the blunt tip will not open the fabric enough; use a hardened steel darning needle with a tapered point instead. The tradeoff is real: plastic flexes and forgives, steel grips and penetrates.
Thread chunky yarn without fraying it
A large eye is the main reason wool needles exist. Fold the yarn end over the needle shaft and pinch it flat, then push the fold through the eye rather than licking and twisting the tip. For very bulky yarn, thread a short loop of sewing thread through the eye first, pass the yarn through that loop, and pull the thread back out. If the yarn is already splitting, cut a clean end at an angle instead of pulling a frayed tail through. Plastic eyes can crack if you force thick yarn with pliers, so use finger pressure only.
Darning with wool needles: when blunt works
Blunt wool needles shine on open, stretchy knits where you are duplicating stitches rather than closing a hole. Work on the wrong side, anchor the yarn with a small backstitch, then run the needle under one leg of each stitch following the knit path. Keep the tension loose enough that the darned area still stretches with the garment. On dense socks or felted wool, the blunt tip will not separate the fibers cleanly and you will fight the fabric; that is your cue to switch to a steel darning needle. The Prym darning needle range covers both short needles for wool garments and socks and longer needles for finer darning tasks, so you can keep one of each on hand.
Loom knitting and knitting mill use
On a knitting mill or knitting doll, the curved grey needle is the tool for lifting loops over pegs or picking up dropped meshes. Slide the curve under the loop with the opening facing the direction you want to move the stitch, then lift and place it. Straight plum needles are better for seaming loom-knit panels and for weaving in ends on the inside of a tube. Plastic is the right material here because a metal tip can scratch plastic pegs and snag on the loom's grooves. Check the needle for burrs after heavy use; a rough spot will catch yarn on every pass.
Plastic vs metal wool needle: pick by fabric, not by preference
Choose plastic when the yarn is chunky, the surface is plastic or wood, or you need flexibility around curves. Choose metal when the fabric is dense, the yarn is fine, or you need the needle to hold a shape under pressure. A common mistake is buying one type and forcing it to do both jobs; the result is split yarn or a bent needle. For most knitters, a small plastic set plus one steel darning needle covers everything from chunky loom projects to sock repairs. Store plastic needles flat and away from heat, because they can warp if left on a radiator or in a hot car.
Step-by-step: darning and loom knitting with wool needles
- Pick the needle for the fabric: Use a plastic wool needle for chunky knits, loom work, and any surface you do not want scratched. Switch to a steel darning needle for dense socks, felted wool, or fine-gauge repairs. Checkpoint: if the needle will not slide through without force, you have the wrong tip material.
- Thread the yarn cleanly: Fold the yarn end over the needle and push the fold through the large eye. For very bulky yarn, use a thread loop to pull it through instead of forcing it. Mistake to avoid: licking and twisting the yarn tip, which makes it fray and jam in the eye.
- Anchor before you darn: On the wrong side, take a small backstitch through solid fabric to lock the yarn, then duplicate the knit path stitch by stitch, keeping tension loose enough to stretch. Checkpoint: the darned area should stretch with the garment, not pucker.
- Lift meshes with the curved needle: On a knitting mill or knitting doll, slide the curved grey needle under the loop with the opening facing the direction of travel, then lift and place the mesh. Mistake to avoid: forcing the curve against the peg; rotate the needle instead of pulling harder.
- Weave in ends with a straight needle: Use a straight plum needle to run tails through the inside of the work in two directions, then trim close to the fabric. Checkpoint: tug the end gently; if it slips, weave one more pass.
- Inspect and store: Run a finger along the tip for burrs after heavy use, and store plastic needles flat away from heat so they do not warp. Next step: keep one plastic set and one steel darning needle together so you never force the wrong tool.
Products that fit these steps
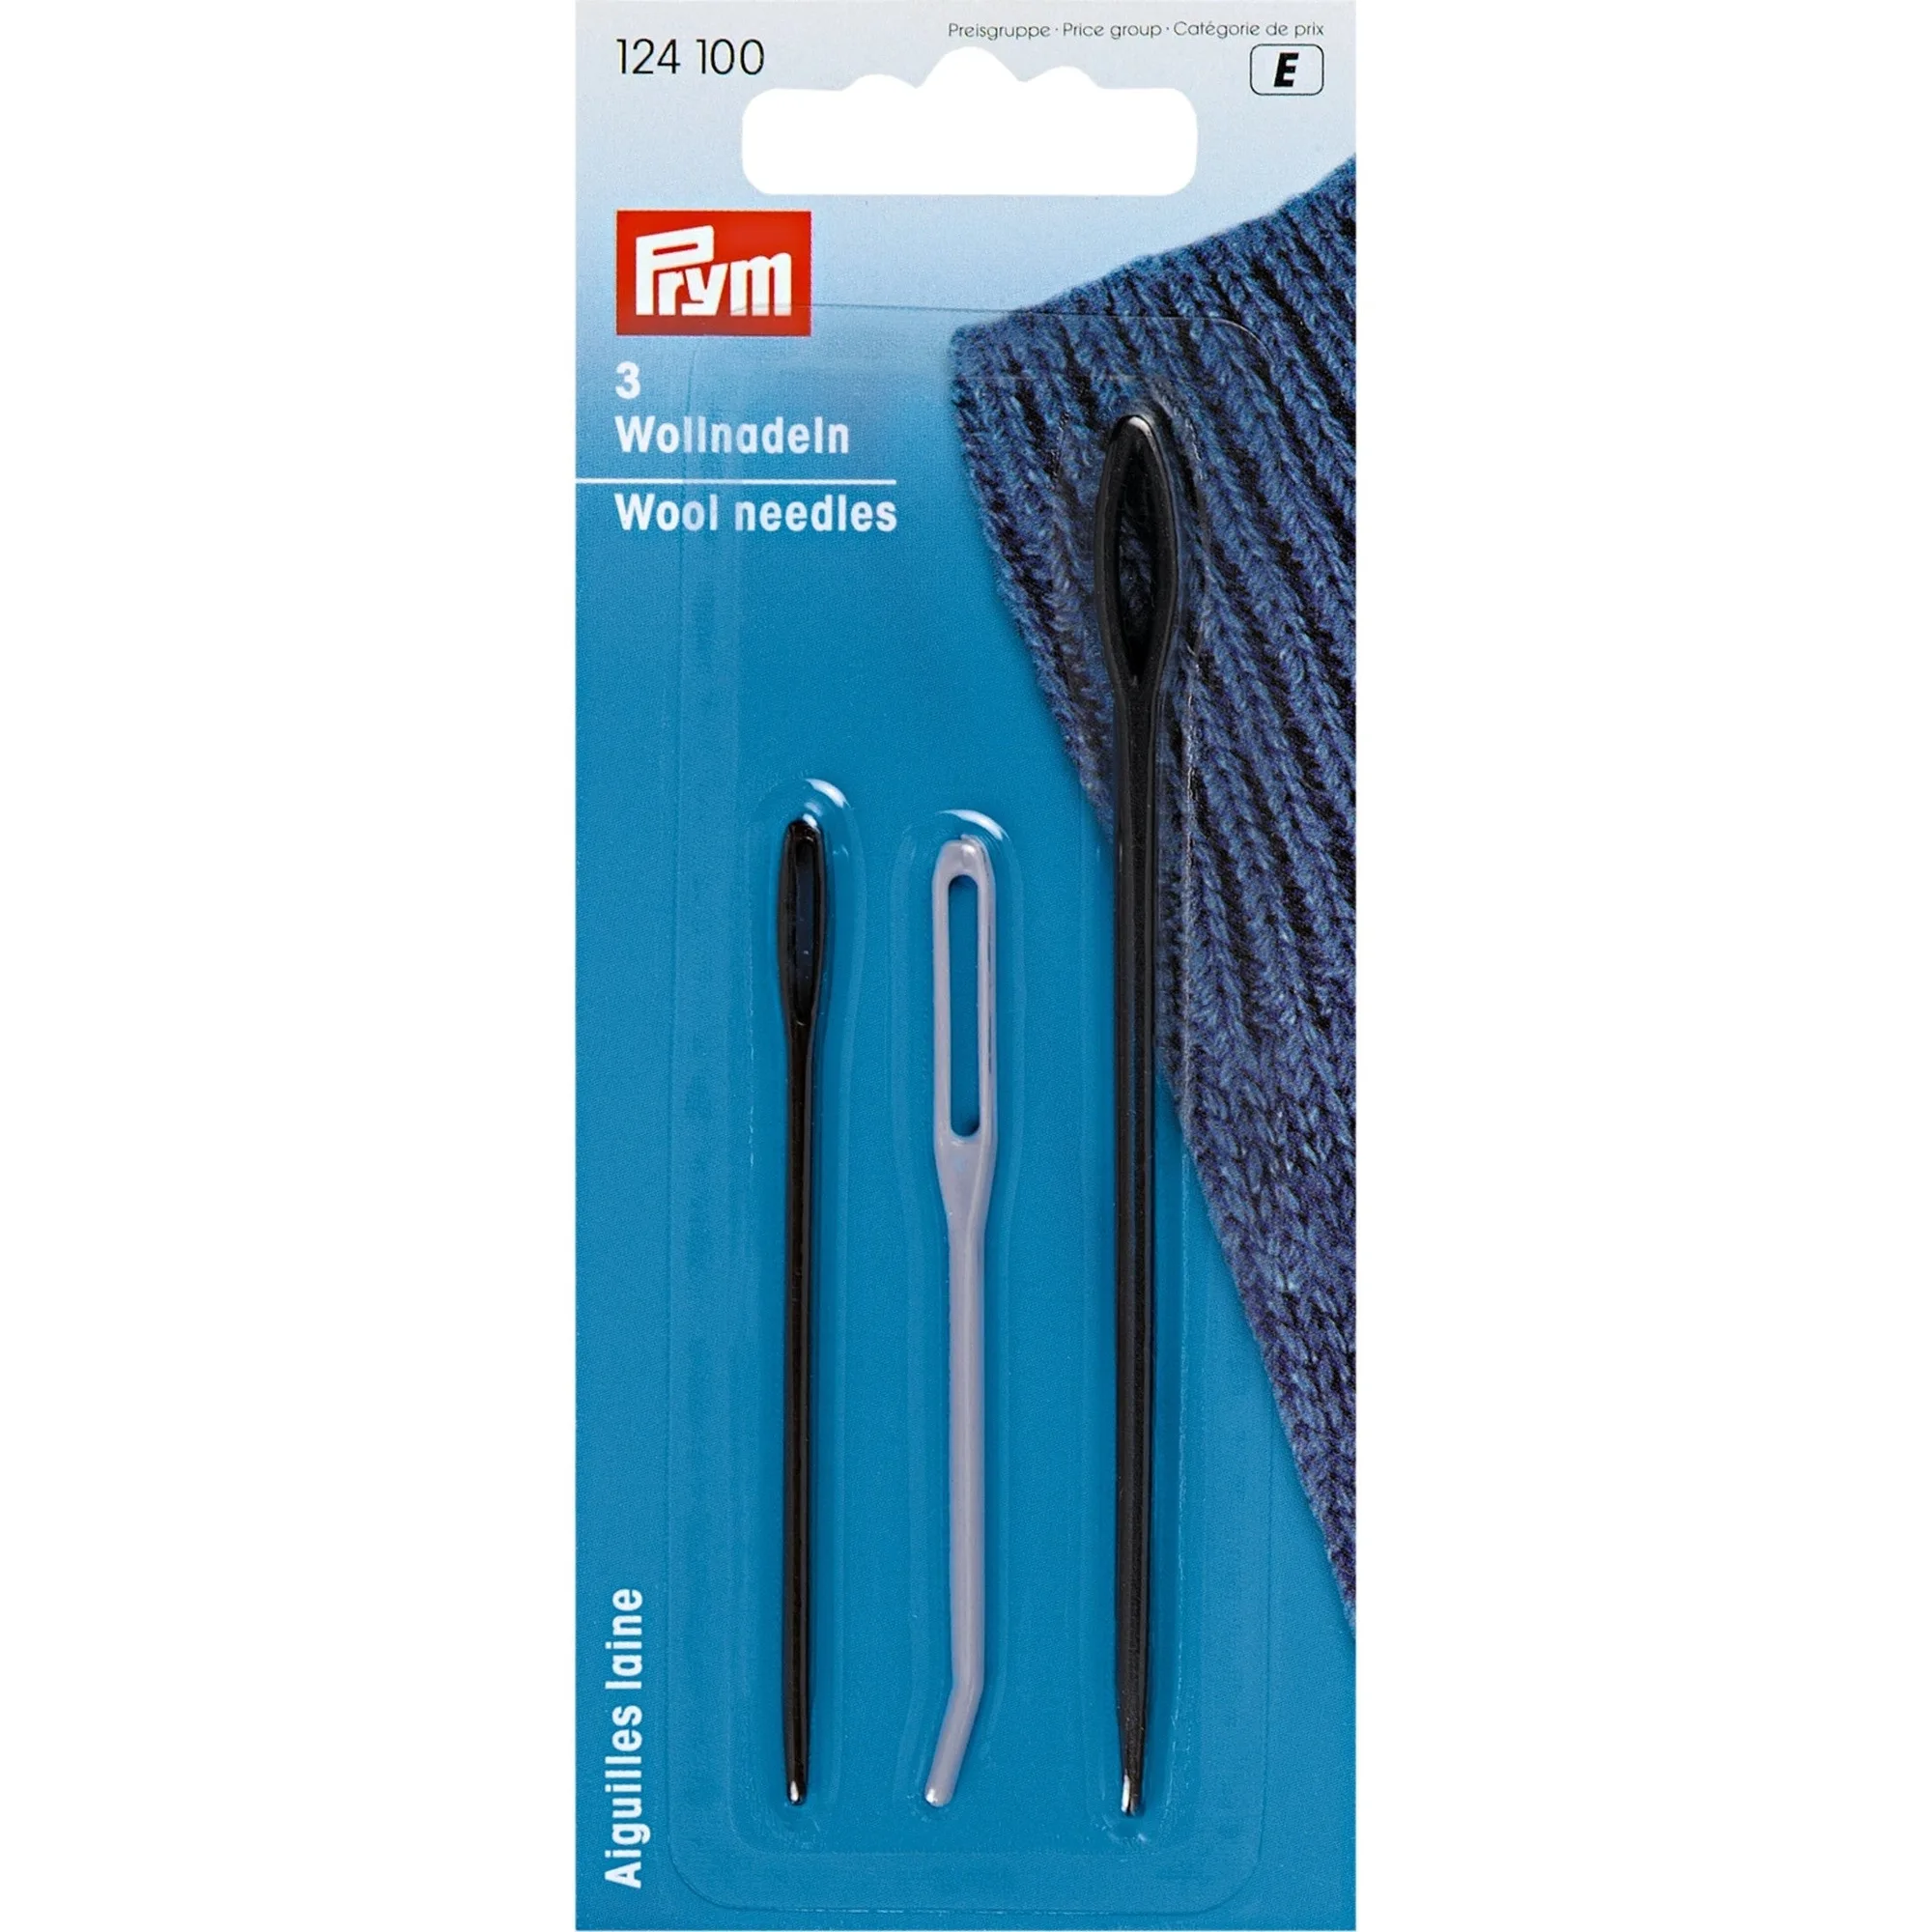
- Plastic Wool Needles, Assorted, 3 pc: Set of three plastic wool needles with a large eye for threading wool: one grey needle with a curved, rounded tip for lifting meshes, and two plum-colored needles with straight, rounded tips. The curved tip handles loom and knitting mill mesh lifting, while the straight tips cover seaming and weaving ends, so one set covers both jobs.
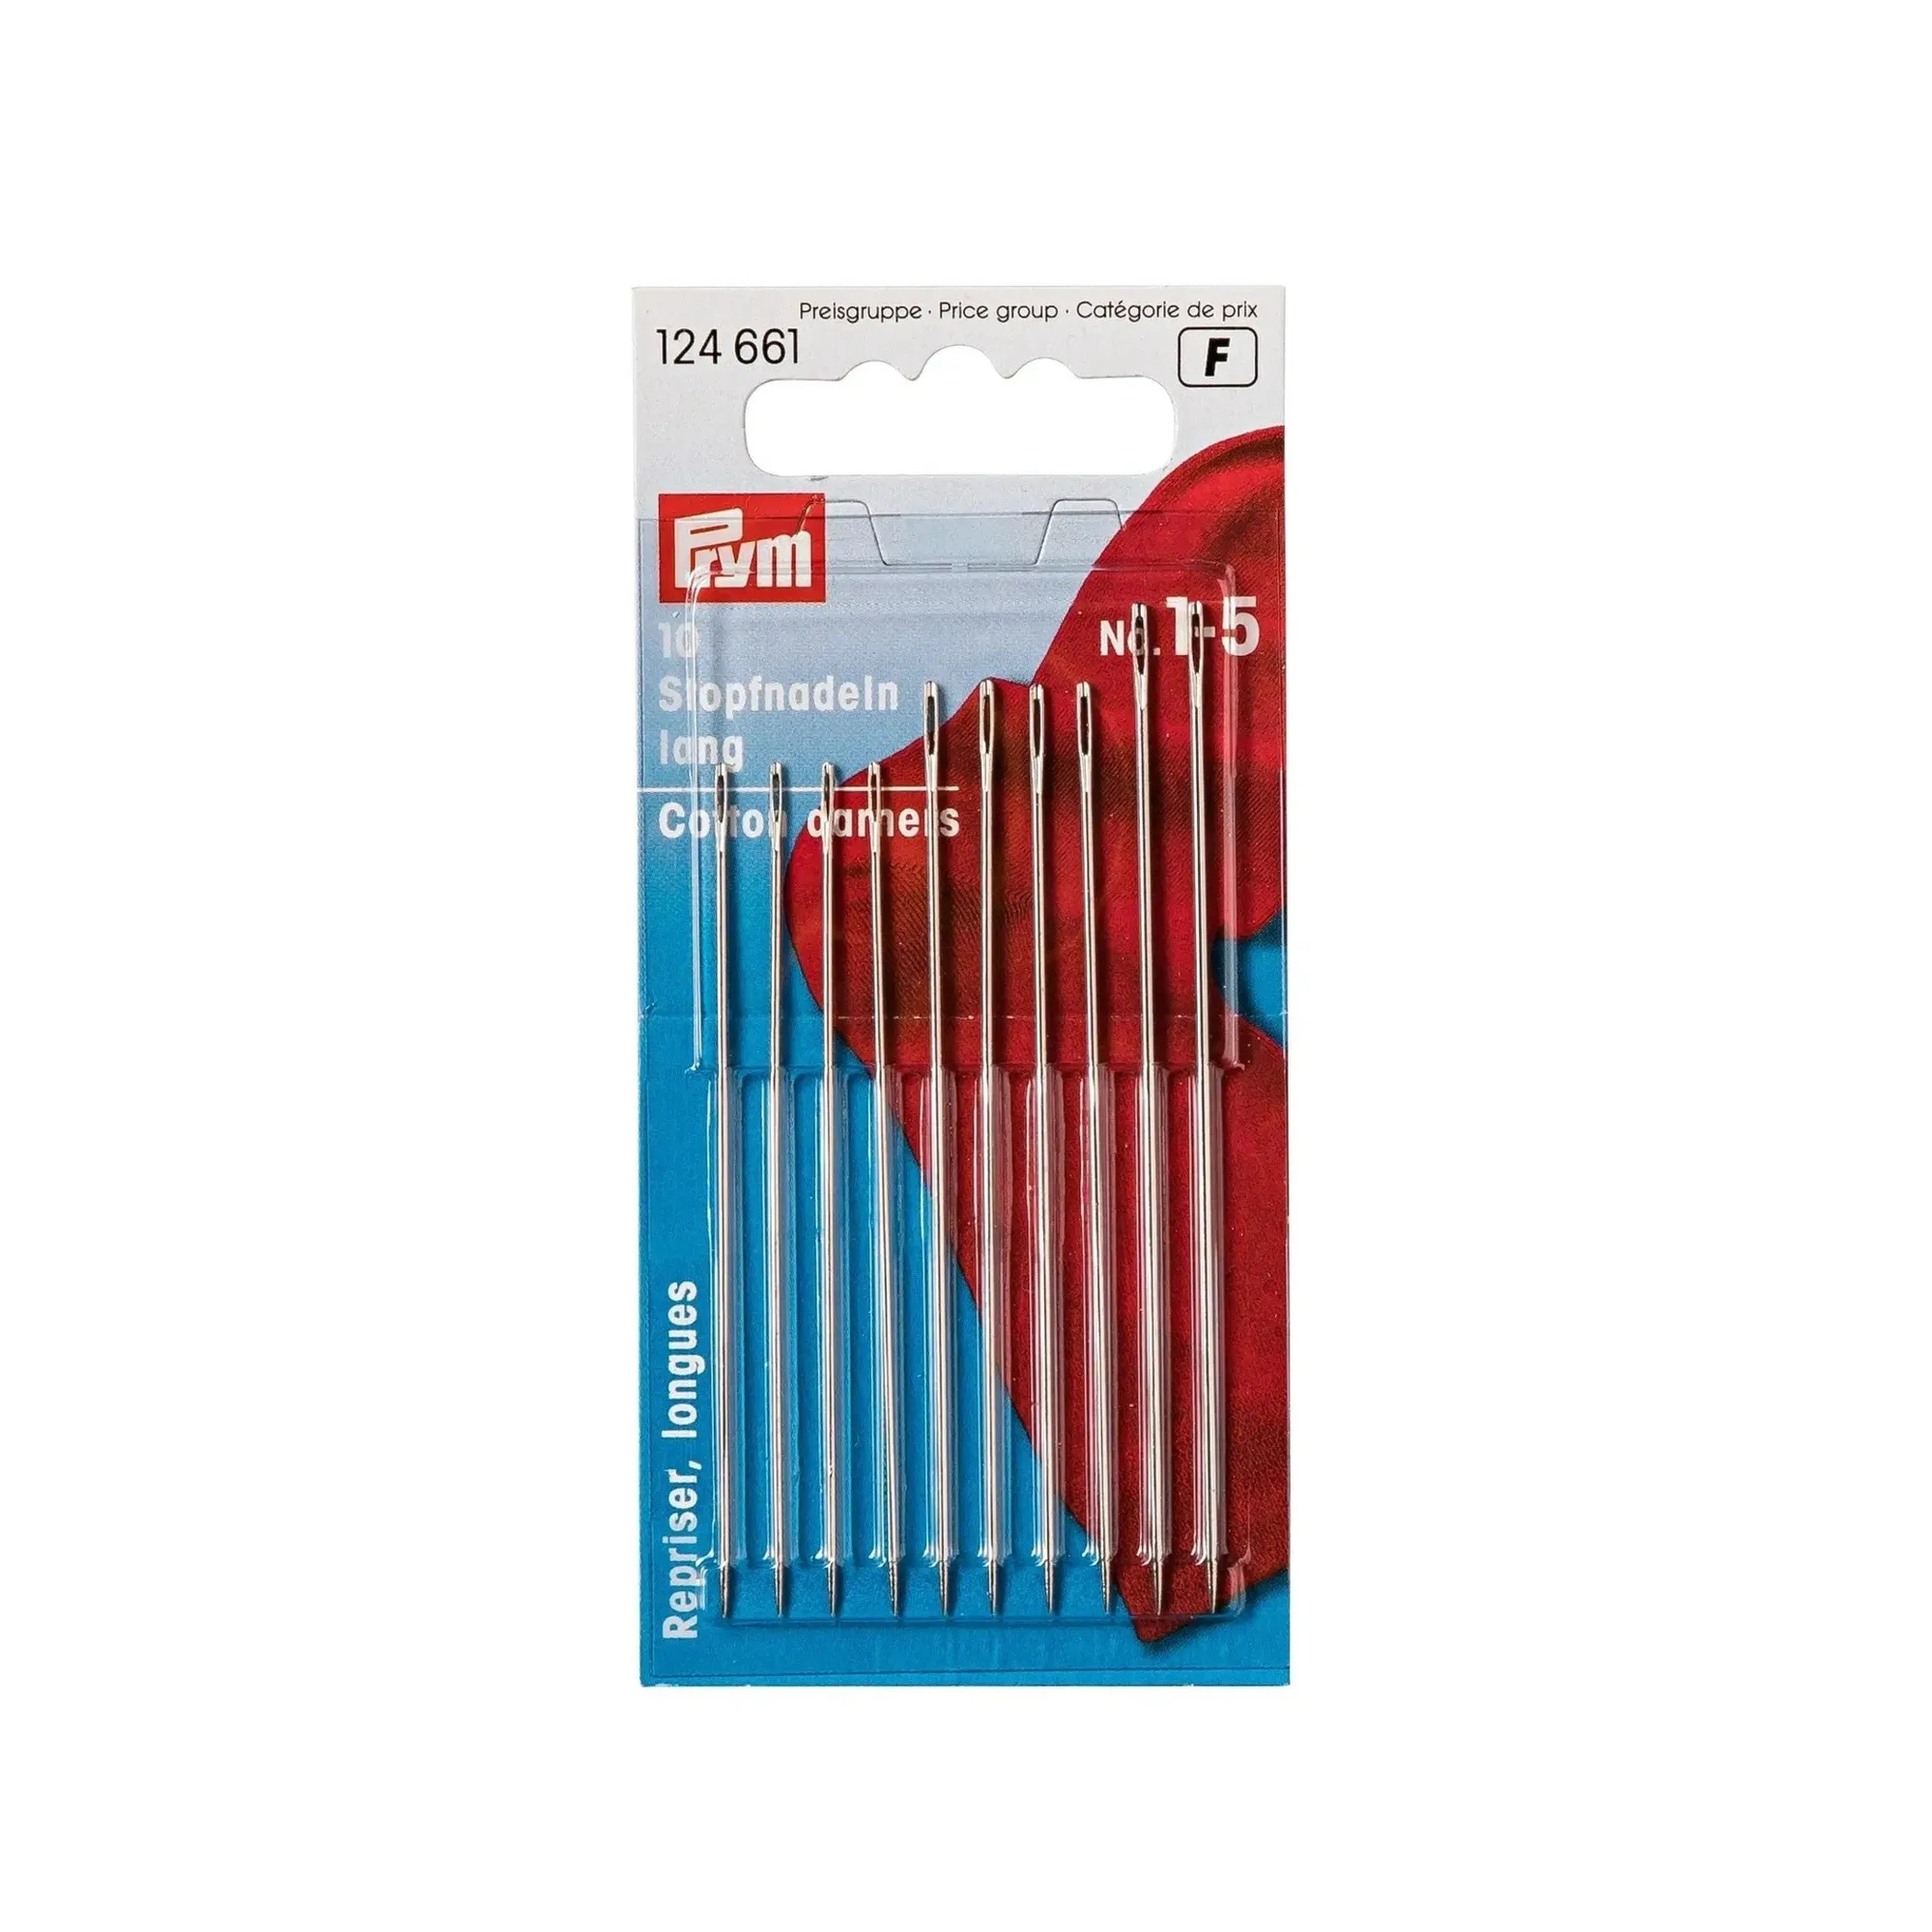
- Darning Hand Needles, No. 1-5, 10 PC: Hardened steel darning needles in sizes No. 1-5, with short needles for wool garments and socks and long needles for finer darning tasks, plus a larger eye than standard hand sewing needles. When a blunt plastic tip will not open dense sock or felted fabric, these tapered steel needles thread sturdier yarns and reach through tight weaves.