The MG Rick Dias Quattro Ver. is one of the most iconic Mobile Suit Gundam kits from the Zeta era. With its striking red color scheme and imposing silhouette, this 1/100 scale Master Grade kit offers a rewarding build for both newcomers and seasoned builders. In this guide, we’ll walk you through the entire assembly process, from prepping your tools to applying the final top coat, ensuring your Rick Dias looks its best.
Whether you’re a fan of Char Aznable or just love a solid Master Grade, this step-by-step tutorial will help you avoid common pitfalls and achieve a clean, professional result. We’ll also share tips on using the right paints and finishes to bring out the details of this classic kit.
Tools and Preparation
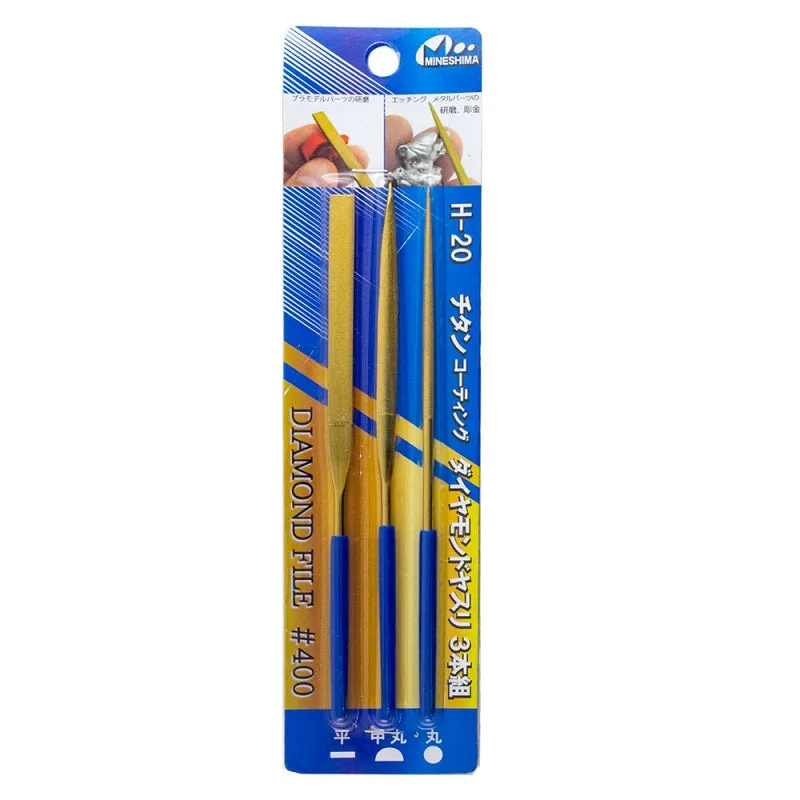
Before you start snapping runners, gather your essential tools. A good pair of nippers is crucial for clean cuts, and a hobby knife helps with nub removal. You’ll also want a glass file or sanding sticks to smooth out rough spots. For this build, we recommend using the Godhand nippers if you have them, but any quality pair will do.
Another key step is washing the runners in warm, soapy water to remove mold release agents. This ensures better paint adhesion if you plan to paint. Dry them thoroughly before cutting parts. Organize your workspace with a cutting mat and a parts tray to keep everything tidy.
- Use a sharp nipper to cut parts away from the runner, leaving a small nub.
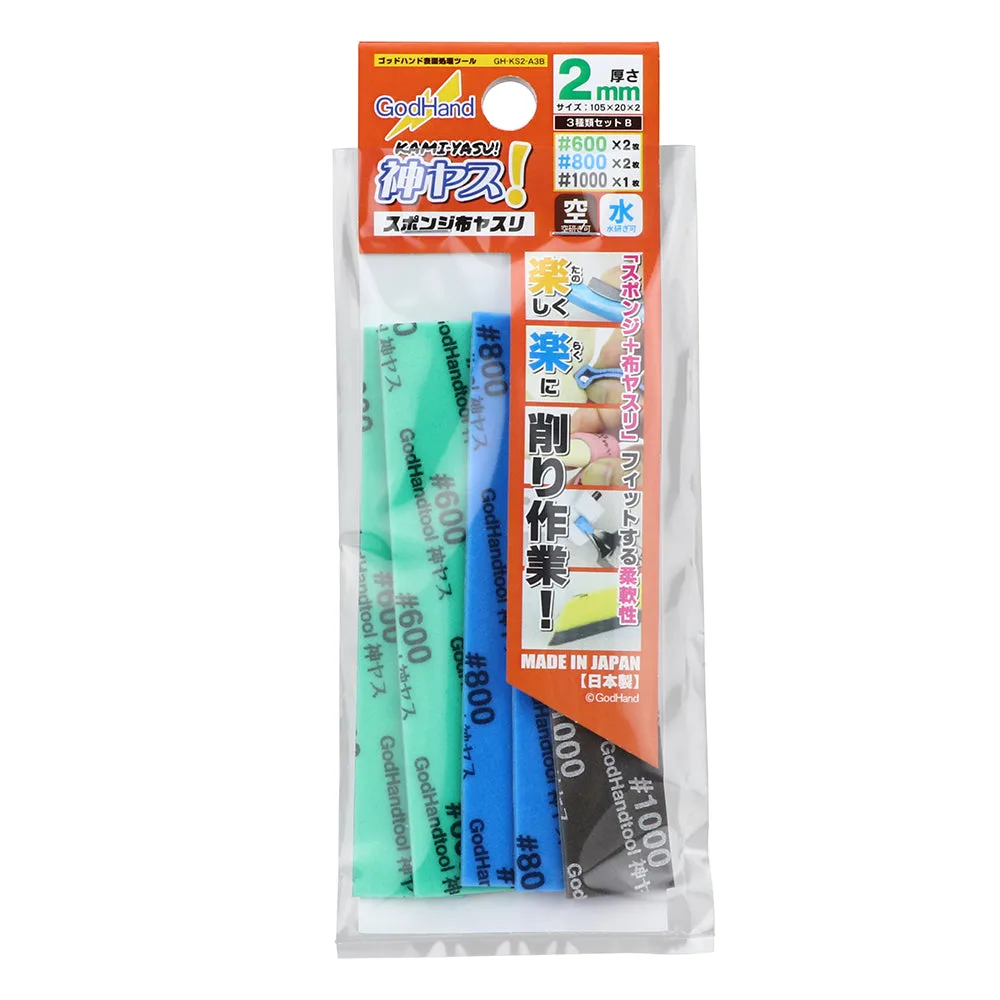
- Trim the nub with a hobby knife, then sand with fine-grit sandpaper for a smooth surface.
Step-by-Step Assembly: Head and Torso
Start with the head unit. The MG Rick Dias Quattro Ver. features a distinctive mono-eye camera, which can be tricky to align. Take your time to ensure the eye piece sits correctly behind the clear part. Use a small amount of plastic cement if needed to secure it in place.
Moving to the torso, you’ll notice the kit’s complex inner frame. Assemble the chest and waist sections carefully, as they connect to the backpack and skirt armor. Pay attention to the orientation of the polycaps; they should fit snugly without forcing. This section forms the core of the mobile suit, so a solid build here ensures stability later.
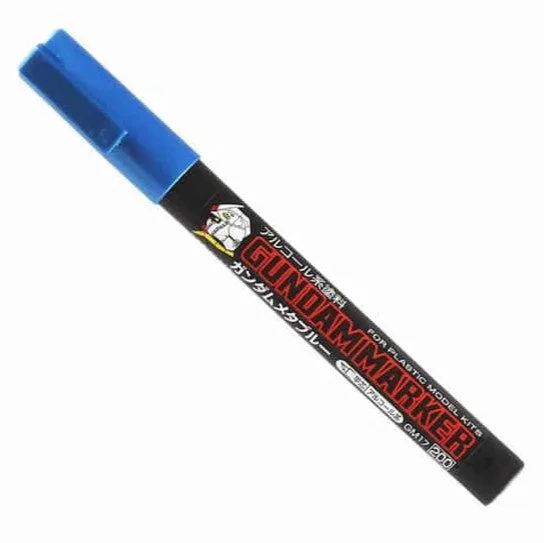
- For the mono-eye, use a fine-tipped marker to paint the eye for better visibility.
- Dry-fit parts before applying cement to avoid misalignment.
Arms and Legs: Building the Limbs
The arms feature multiple joints, allowing for dynamic poses. Assemble the shoulder armor, upper arm, and forearm sections, ensuring the elbow joint moves freely. The hands are interchangeable, so pick the ones you prefer for your display. Sand any tight joints to prevent stress marks.
The legs are the most substantial part of the build. Each leg has a complex inner frame with pistons and sliding armor. Follow the manual step-by-step, as the order matters for the armor to fit correctly. The ankle armor is particularly tricky – be patient and test the articulation before moving on.
- Use a hobby knife to carefully remove seam lines on the inner frame.
- Apply a small drop of silicone grease to joints for smoother movement.
Backpack and Weapons
The Rick Dias is known for its powerful backpack, which houses the main thrusters and beam sabers. Assemble the backpack unit and attach it to the torso. Ensure the connection is firm, as it supports the weight of the kit when displayed.
The kit comes with a large beam rifle and a shield. These parts are relatively straightforward, but take care with the shield’s clear parts – handle them by the edges to avoid fingerprints. For a more dynamic look, consider painting the weapon details with metallic paints.
- Use a panel liner to accent the details on the beam rifle.
- For the shield, apply a matte top coat to reduce glare and enhance the color.
Panel Lining and Decals
Panel lining brings out the details of the MG Rick Dias. Use a fine-tip Gundam marker or a wash to fill in the panel lines. For a clean look, use the Tamiya Panel Line Accent Color, but be careful with plastic that may crack if you apply too much. Wipe away excess with a cotton swab.
Applying decals is the final touch. The kit includes dry-transfer decals, which require a bit of practice. Use a cotton swab to burnish the decal onto the surface, working from the center outward. For stickers, use tweezers for precision. A top coat will protect your work and give a uniform finish.
- For panel lining, let the accent color dry for 10 minutes before wiping.
- Use a soft eraser to remove dry-transfer decal residue.
Final Assembly and Top Coat
Once all parts are complete, assemble the entire model. Check that all joints are tight and poseable. If any parts are loose, apply a thin layer of super glue to the peg and let it dry before reattaching. This adds friction.
Finally, apply a top coat to seal everything. A matte top coat is recommended for the Rick Dias to reduce shine and give a realistic look. If you prefer a glossy finish, use a gloss coat. Spray in a well-ventilated area, using even strokes from about 20 cm away.
- Test the top coat on a spare runner first to check compatibility.
- Apply two thin coats rather than one thick coat to avoid runs.
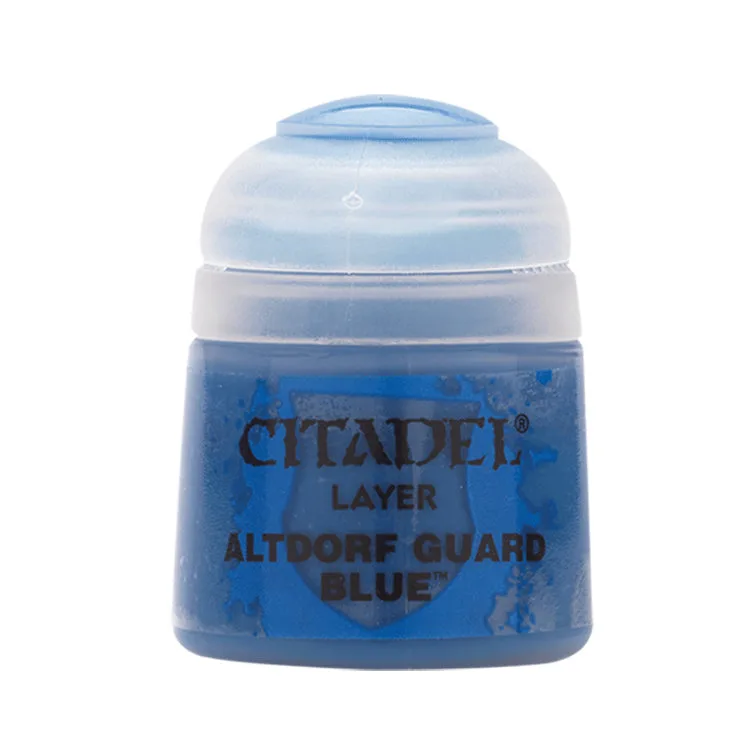
Building the MG Rick Dias Quattro Ver. is a rewarding experience that results in a striking addition to any Gunpla collection. By following this step-by-step guide, you’ll achieve a clean, professional finish. For more tips and supplies, check out the Citadel Air: Typhon Ash 24ml and Citadel Shade: Soulblight Grey 18ml to enhance your painting projects. Happy building!

Citadel Shade: Soulblight Grey 18ml